For leatherwork, people use a saddle stitch, back whip stitch leather, running, Corset, and basketball stitch around 80% of the time. But the other 20% times backstitch also comes into sight 😜I know what you are thinking! You must be thinking back stitching leather must be hard work.
It is indeed but it’s not impossible.
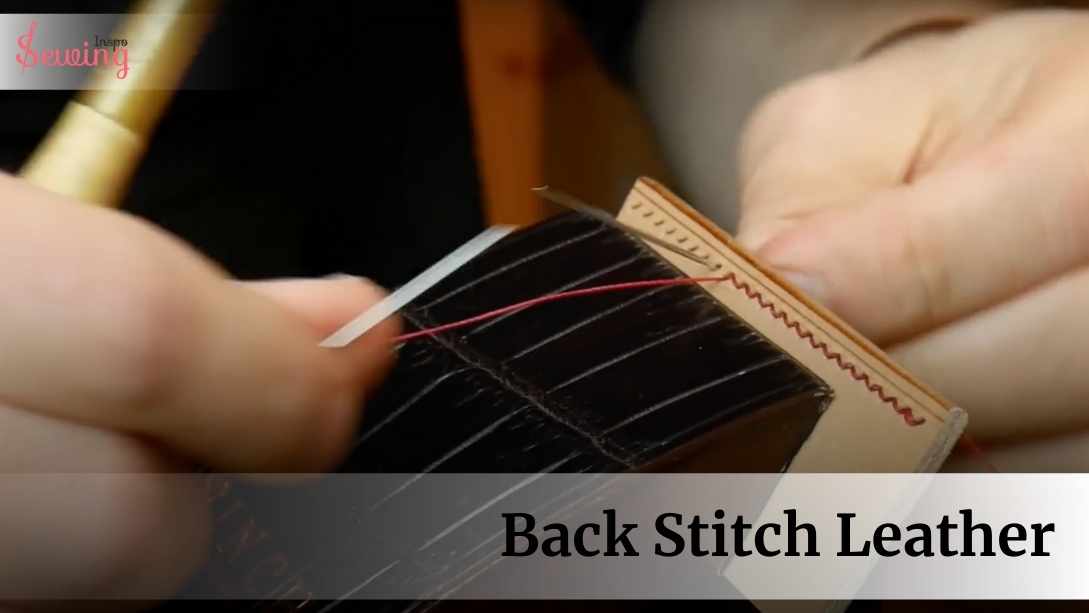
Here is how it works-
To do a backstitch on leather, use a strong needle and thread, stitching backward into the previous hole to create a solid, durable seam.
Want a more detailed answer? Then tag along with me for a closer look on leather goods project. Let’s can you stitch leather back together or not.

Here is what you will learn,
- Use of back stitch in a bit of leather work.
- Needle and thread size for backstitching leather.
- Process of back stitch in leather.
Table of Contents
Should You Backstitch Leather?
Yes, you can use a backstitch on leather, and it works well and looks like a normal backstitch too. The backstitch is strong and makes sure your seam stays tight. This is important because pieces of leather are tough and can pull on the stitches. It works like saddle stitch leather attaché.
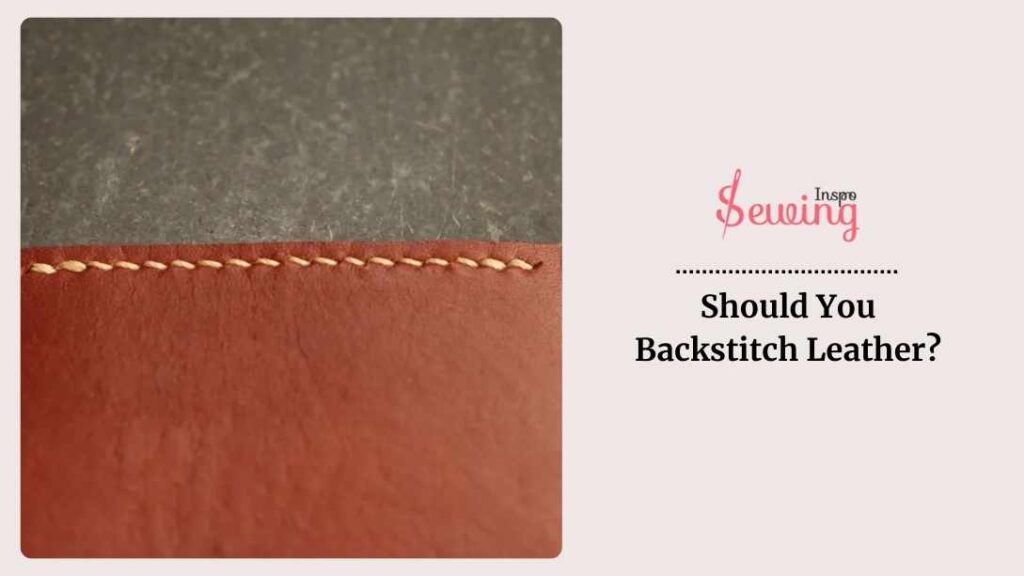
When you sew leather by hand, a backstitch helps keep the seam from coming apart. That is a must-have since the edges of leather don’t repair themselves like fabric does.
So, each stitch needs to be strong, backstitch ensures that and backstitch works perfectly in all kinds of fabric.
What Thread Do You Use For Leather?
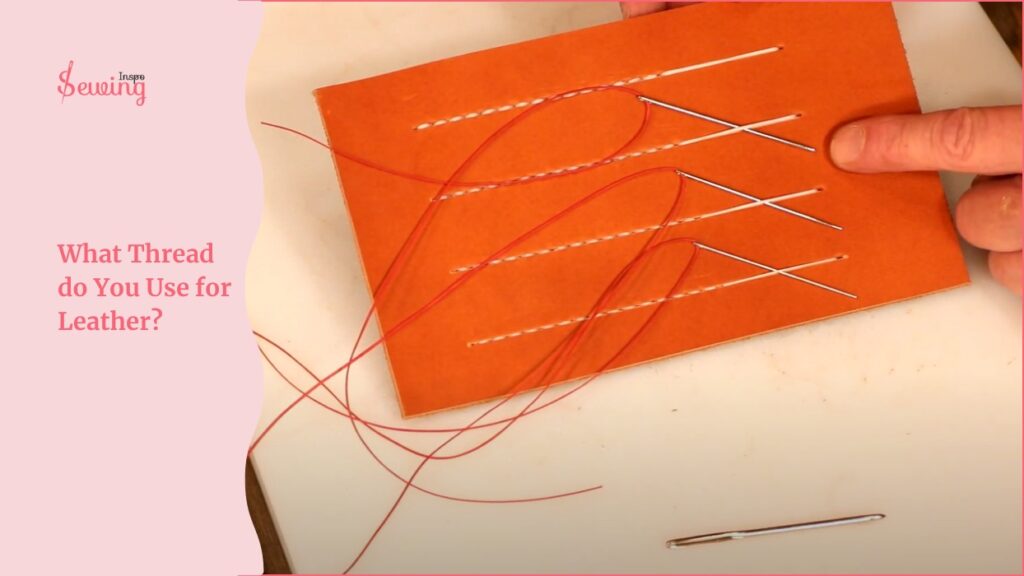
For stitching leather, the waxed thread is best. This is perfect for stitching patterns for leather. It glides through the leather smoothly and holds everything together securely. If you want something extra tough, bonded nylon or bonded polyester (like #69 or #92) adds extra strength. This is also can be used for stitching fabric together.
And if you’re going for a traditional, rustic look, sinew thread is a solid pick, especially for moccasins and saddlery. It all depends on what you’re making on hand sewn leather!
How To Do A Back Stitch Leather?
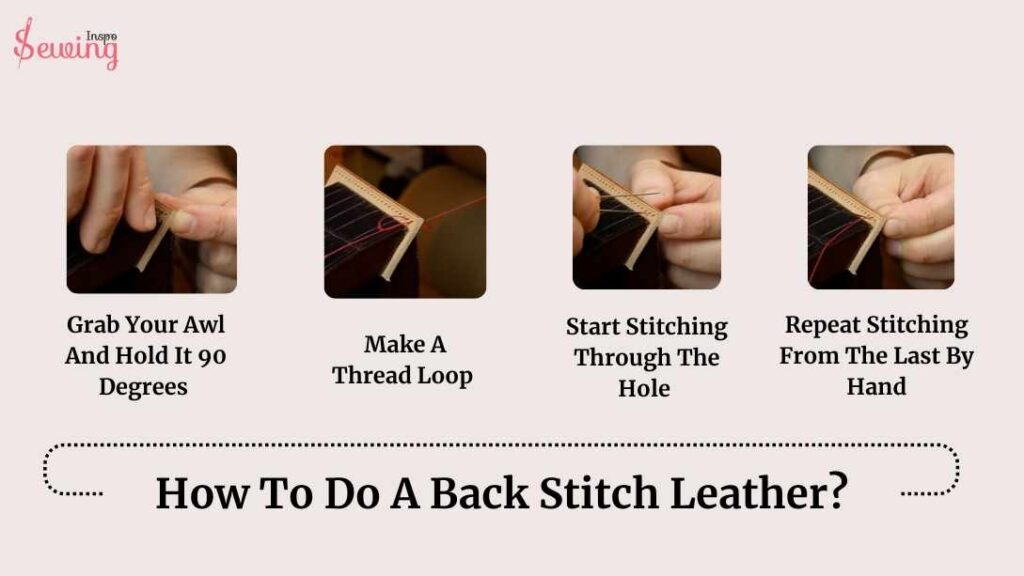
To do back leather you need to follow 4 steps. Such as:
- Grab Your Awl And Hold It 90 Degrees
- Make A Thread Loop
- Start Stitching Through The Hole
- Repeat Stitching From The Last By Hand
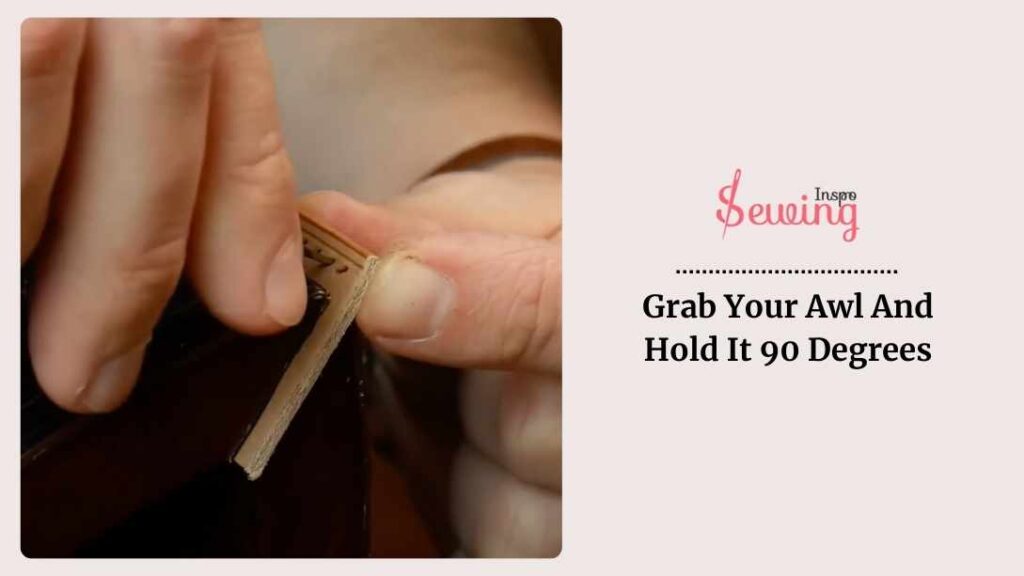
Grab Your Awl And Hold It 90 Degrees
Now, grab your awl and hold it 90 degrees, like a tiny fencing sword to create stitch holes. 🤺 You can even use a stitching pony.
The goal here is to poke holes straight through the leather. It’s like marking your stitch area like back tack stitch. Press the awl through each marked point carefully. But you need the right size awl. This will help you to do hand sewing stitches.
So, there are a lot of size options for Awl such as:
3.8mm stitch spacing, which is around 7 stitches per inch (SPI). And that is 1-2 mm wide. It is best not to go over the total thickness of 12mm (1/2”). For most smooth holes on heavy leather awl blades fall between 19mm (3/4”) and 25mm (1”).
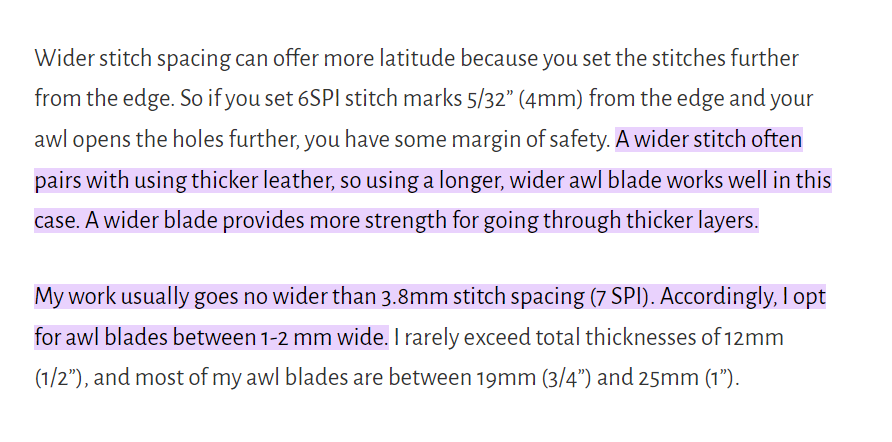
I like to use a 15mm awl for leather stitching.
With 15mm awwl you don’t need to muscle through it like you’re trying to impress someone. If the layers of leather are particularly thick, give the awl a gentle twist as you push like you’re unlocking a stubborn door.😜
Once you’ve made a few holes, take a moment to thread your needle and check if the holes are just right. like doing a leather whip stitch.
If they’re too small, you might end up in a tug-of-war with the needle. You need to maintain it to get the right use of the back stitch.
And too large, your stitches could look like they’re ready to party a little too hard. But with the right touch, your stitches will be perfectly neat and ready for admiration.
Make A Thread Loop
Imagine you’re lifting the thread, just as that loop is about to sink in. just like laced back piercing.
But wait what size needle and thread is best for leather? 🤔 There are plenty of needle sizes for leather I know.
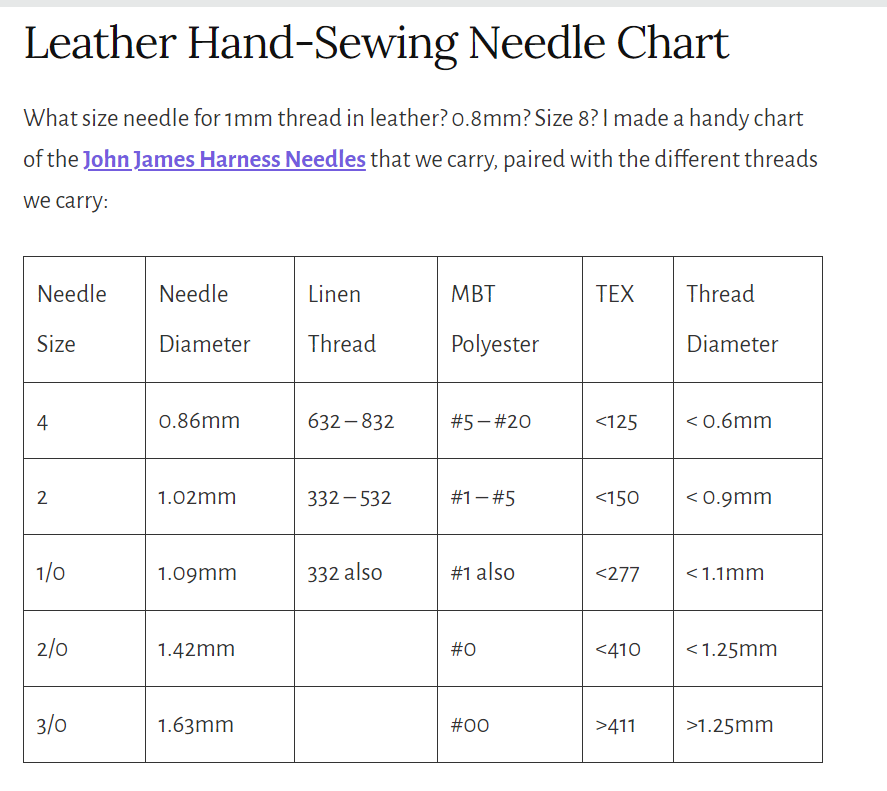
But I usually use 4-size stitching needles and 6mm thread for leather projects.
And now use the top of the thick waxed thread, pulling it through. As you pull the thread tight, use your left needle to push the linen thread through, making a “T” shape. Then, pull the thread out of the way, looping it over. Kinda like doing whip back stitch.
Now, take your left needle and push it through the next mark. Think of it like playing a guitar—your left hand comes up and forward, and your right hand follows. And pushing the needle through. Underneath, pull the thread with your spare fingers to tighten everything up.
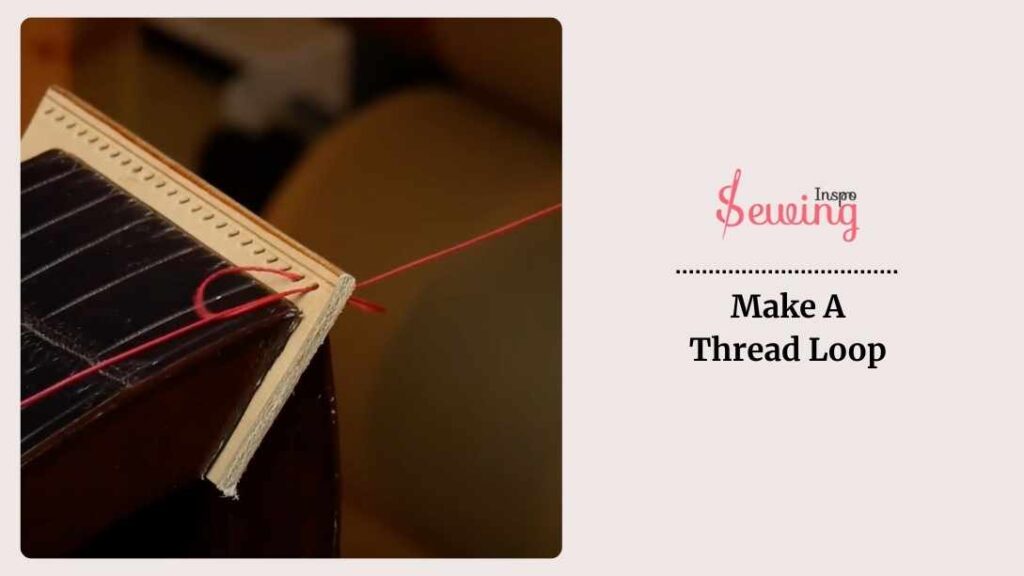
Then Start by going to your first hole and pulling the thread through until it’s halfway.
Now, pair up your needles—it doesn’t matter which one you use first. Put one needle through the second mark, and pull the thread.
Start Stitching Through The Hole
After you pull the thread out, the leather needle should slide right into that hole. As you stitch on your basic leather,
Focus on pulling the thread correctly: with your left hand, pull up and forward, and with your right hand, pull down and back.
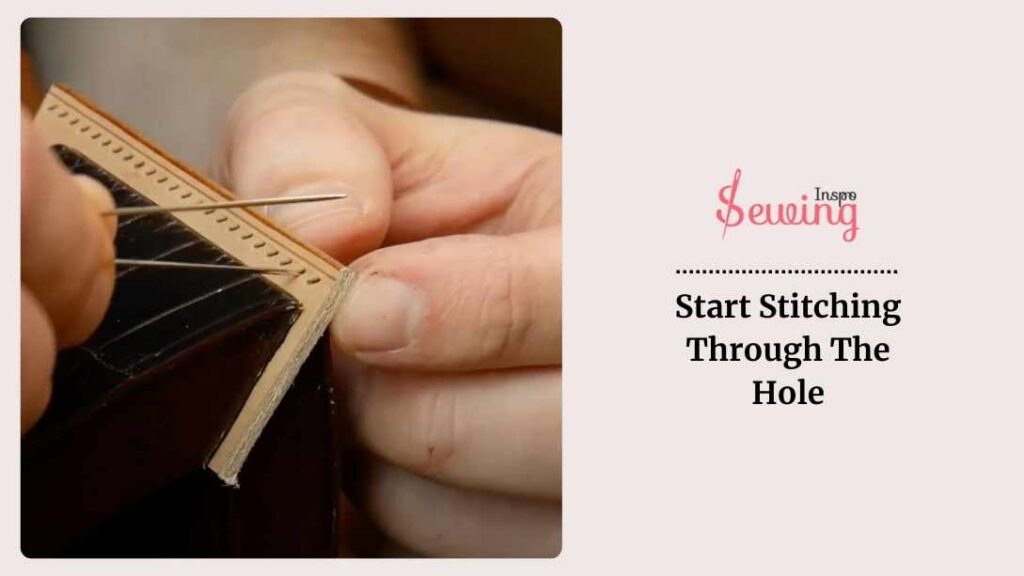
As you continue stitching, keep an eye on the process. Make sure your movements are smooth and consistent. That rhythm will create a simple back stitch design.
You’ll stitch along, side by side, keeping the thread above the first stitch. When you’re ready for the next step, skip the thread over the top of the needle and let it sink into place. The technique is kinda like the saddle stitching technique.
Repeat Stitching From The Last By Hand
Pull the thread in to repeat stitching from the last so it stays neat and side by side with the other stitches. This will make the back of the back stitch organized. As you stitch, remember the stitches go back underneath. So keep your needle close and in place. Use an extra needle to help guide the thread and hold the loop down.
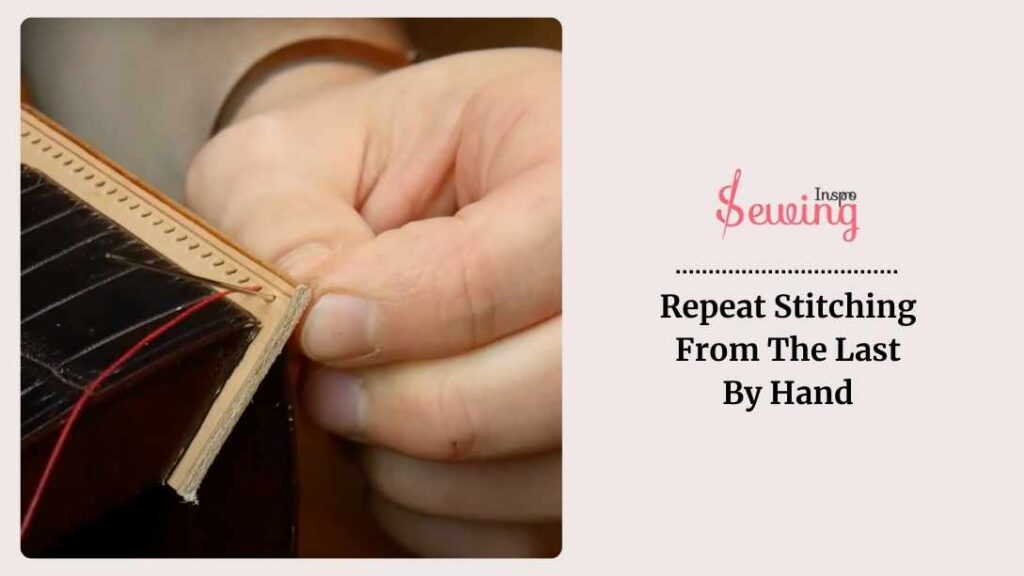
For the final stitch,
Put the needle through and pull the thread down, ensuring it sits neatly underneath. If it slips, just lift it back and try again.
As you move to the next stitch, hold the piece of thread down and pull the stitch tight, tucking the thread in nicely. You’ll notice that the thread is held down, going over the top. But this time, you don’t need to use your needle as much.
Keep making your stitches normally. And if you can’t see this side, just chase that needle through and push it in place just like the traditional method.
End it with a tie of back stitch and trim the thread with sharp scissors. And that’s how you do backstitch in leather.
If you are still confessed then watch this leather backstitching tutorial and leather sewing tips video.
Watch The Tutorial
Leathercrafting Tips & Tricks: Back Stitching
Hand Stitching Leather Techniques
Hand stitching leather is a technique used to join leather pieces together with needle and thread, offering a durable and neat finish.
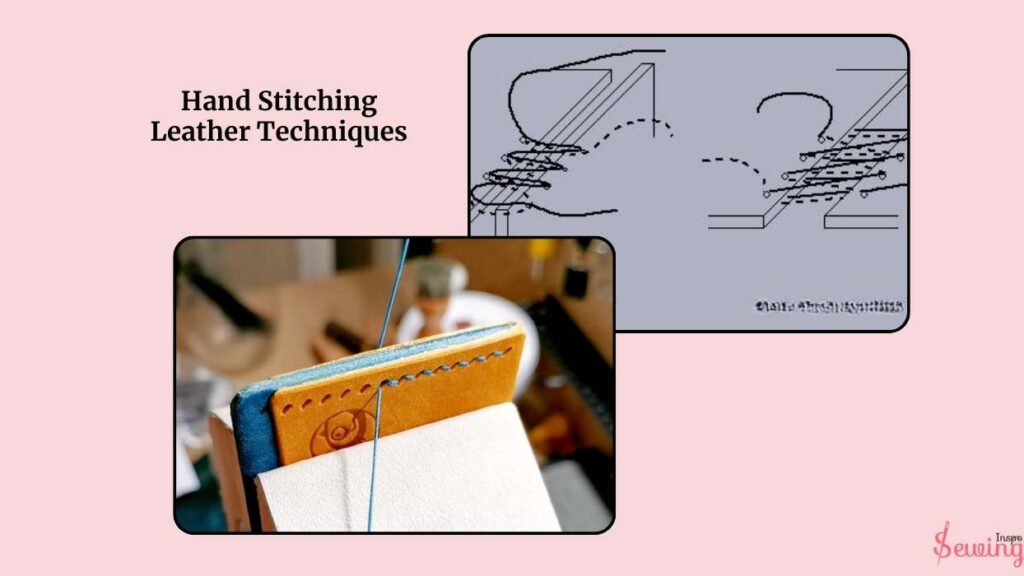
The most common methods include the saddle stitch. But back stitch also does the work whenever you want something strong.
You can even do backstitching in cross stitch in leather too. Use these leather hand stitching techniques and do a leather stitch pattern whenever you want.
Back Stitch Leather Patterns
The back stitch is not the most common stitch for leather. But it still manages to create a strong seam for thinner leather. If you want to explore more than backstitch patterns then here are a few pattern ideas for you:
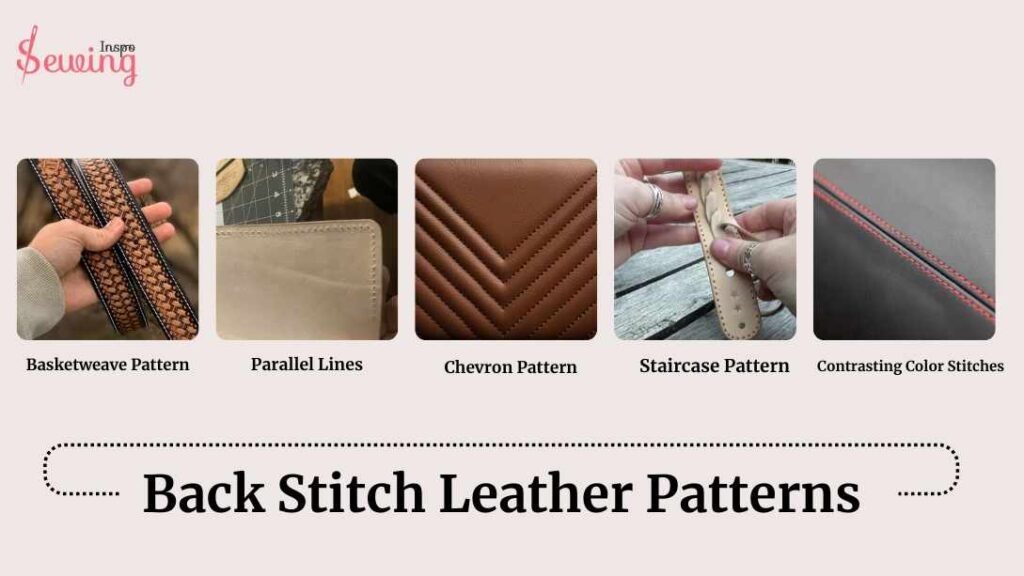
Basketweave Pattern: This involves creating a crisscross pattern with your stitches. It’s visually interesting and adds texture to your leatherwork. This is kinda like laced back stitch.
Parallel Lines: Stitch 2 or more parallel lines at equal distances in a layer of thread. This can create a sleek, clean look and is often used on straps or belts. A flat backstitch works better on this.

Chevron Pattern: Create a V-shaped stitch pattern. This can add a stylish and geometric touch to your leather pieces.
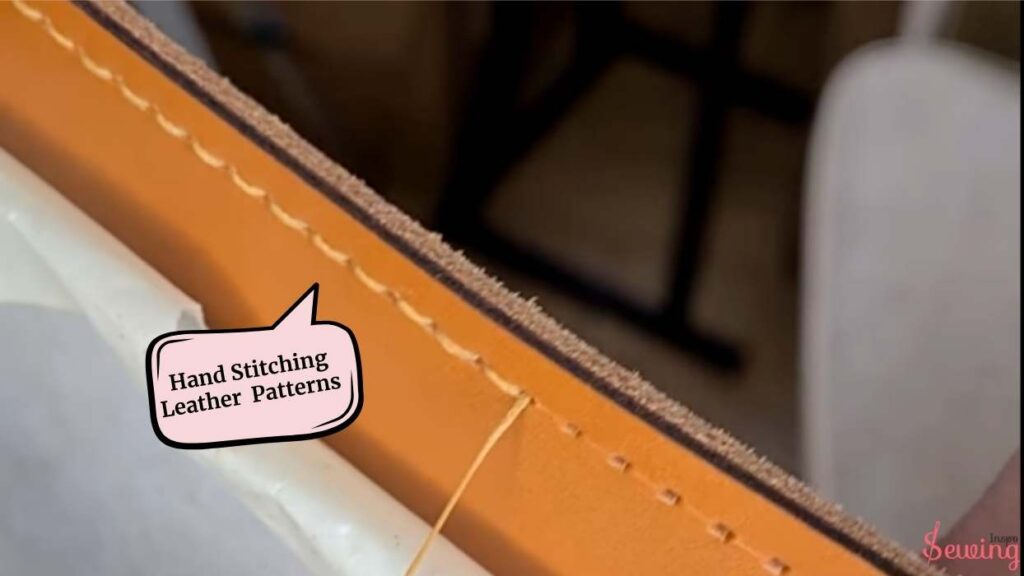
- Staircase Pattern: This involves stitching in a way that mimics stairs or steps. It’s great for creating unique textures and adding a bit of flair.
- Contrasting Color Stitches: Use a different color of thread to create patterns or highlight certain areas. This can make your straight stitches stand out and add a bit of contrast.
Frequently Asked Questions (FAQ’s)
Can You Sew Leather Back Together?
Yes, you can sew leather back together using a backstitch. It’s a strong and durable method that’s perfect for repairing or reinforcing leather items. Just use leather sewing needles and strong thread, make small, even stitches, and ensure the holes are evenly spaced for a neat finish.
How To Sew Leather Back Together?
To sew leather back together, align the straight edge treatment neatly and use a back stitch for strong seams. Start by marking the stitching line. Thread a heavy-duty needle with strong thread and insert it from one side to the other, pulling tightly after each stitch. Work your way down the seam, making sure to keep the stitches even and tight. This technique ensures a durable and neat repair.
Final Thought
See back stitch leather isn’t that hard to do? You just gotta learn and keep practicing. Over time you will be a master in leather hand sewing skills. I hope I help you to learn it. So, what are you waiting for? Try it out and share your beautiful-looking leather goods work with sewinginspo.
Till then all the best for your leather sewing project! 🤗


Leave a Reply