
Grandma taught me how to back stitch the other day very clearly. But I don’t want to stop there.
So, I find Hasan who is an expert in backstitch what is back stitch used for?
He said-
Purpose Of Back Stitch
Back stitch is used for 5 reasons. These are Seam Stitching, Repairing, Embroidery, Decorative Work, Securing.
Umm! That is a lot! Can you define it more clearly?
Of course. Tag alone. & learn what is back stitch used for.
Here is back stitch uses at a glance:
- The backstitch creates a strong and durable seam.
- Suitable for areas experiencing stress or movement.
- Back stitch is necessary for strong, durable seams, precise stitching, and professional finishes.
Table of Contents
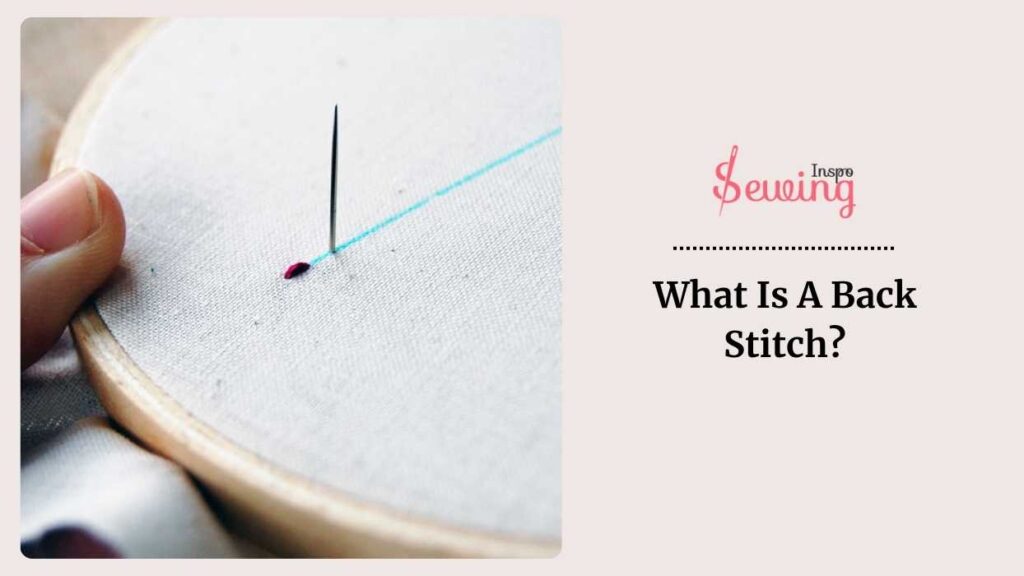
What Is A Back Stitch?
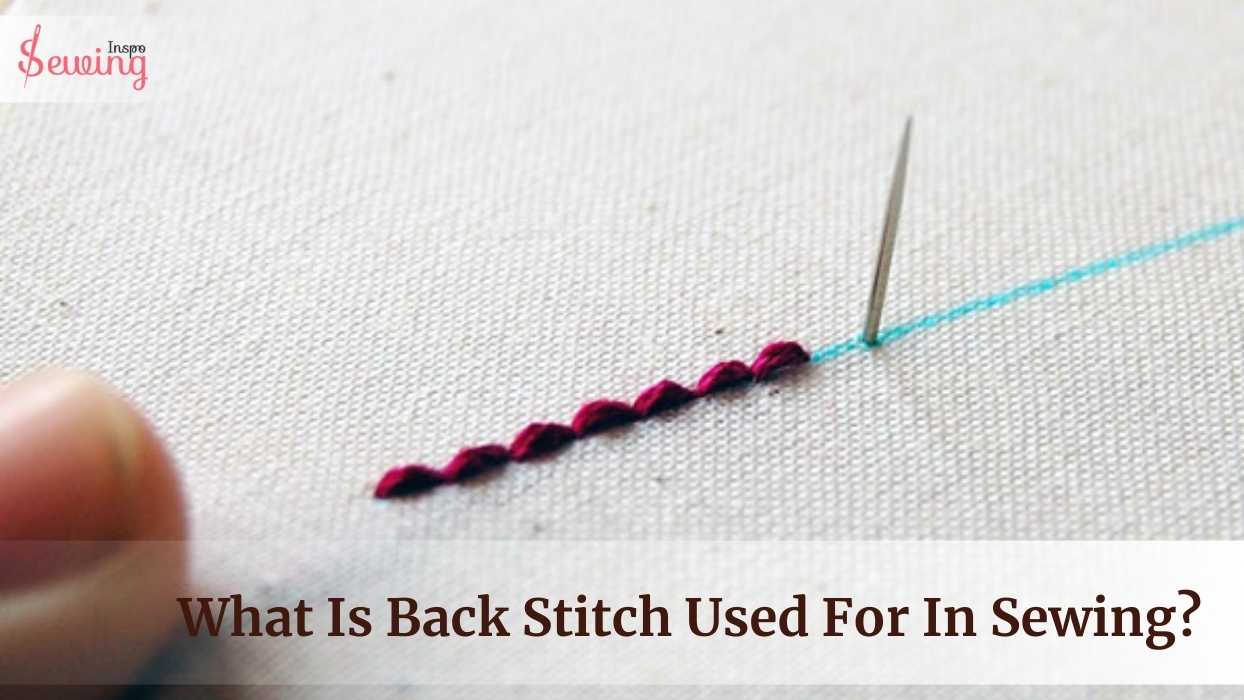
A backstitch is a strong sewing stitch method you sew one step backward on the front and 2 steps forward on the back.
This makes a strong line of stitching on both sides of the fabric. And the back of a back stitch looks like a loop that goes back on itself.
What Is A Back Stitch In Embroidery?
A back stitch in embroidery is a simple and versatile stitch used for outlining designs, adding fine details, or creating text. A backstitch in embroidery is like the unsung hero of stitching simple, strong, and oh-so versatile.
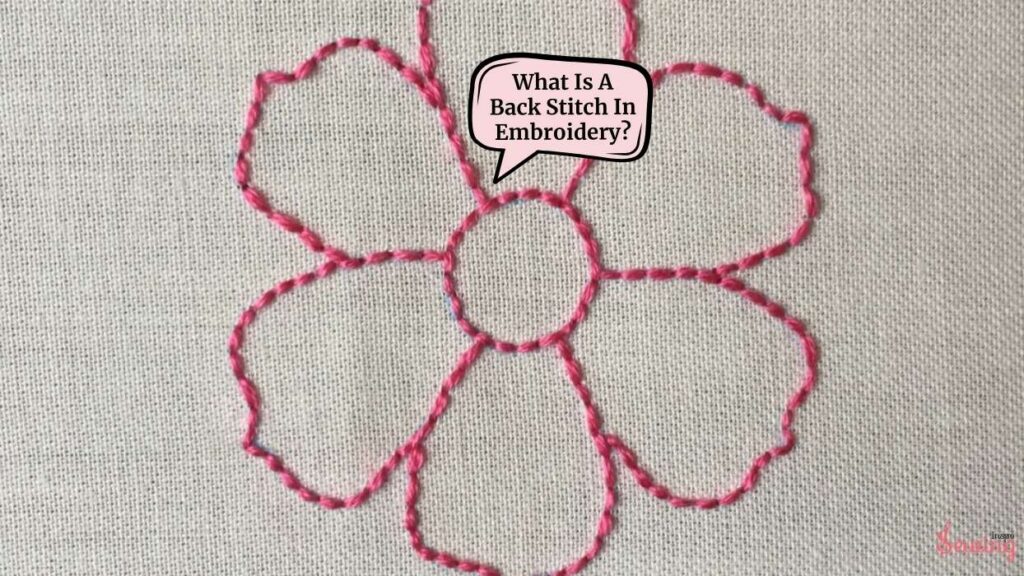
Perfect for outlining designs, adding fine details, or stitching words, it’s a go-to for clean, precise lines.
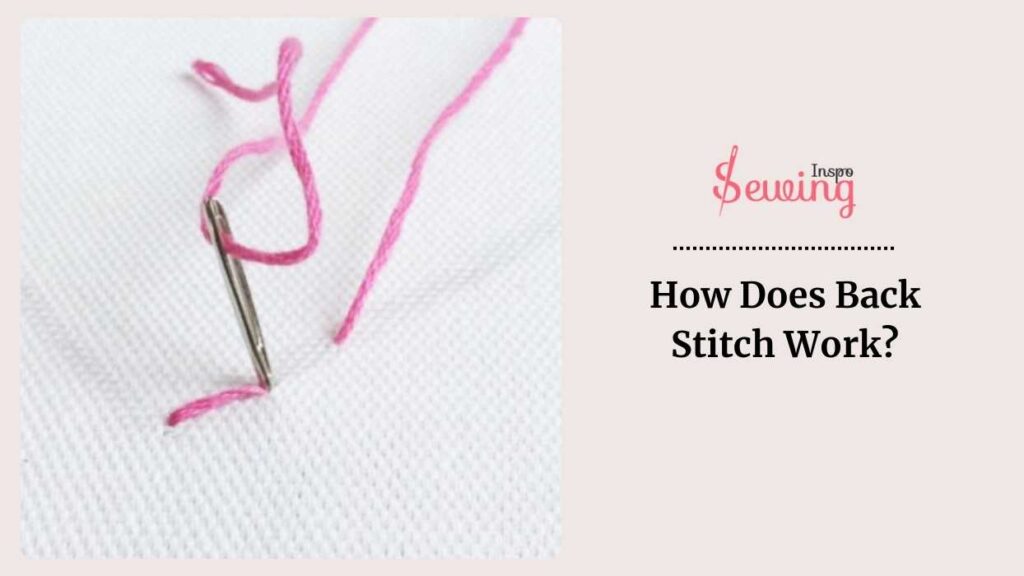
How Does Back Stitch Work?
Backstitch is a simple yet powerful hand-sewing technique used for creating strong, durable seams. Here’s how it works
- Knot the end of your thread to secure it.
- Push your needle through the fabric from the back to the front at the starting point and pull the thread all the way through.
- Move the needle forward by a small stitch length 1/4 inch, then push it through the fabric from front to back and pull the thread tight.
- Bring your needle back up from the back to the front, a stitch length ahead of where you started.
- Insert the needle back into the end of the first stitch (where the thread first came out) and pull the thread tight. This completes one backstitch.
- Continue this process, always bringing the needle up a stitch length ahead of your previous stitch and then going back to the end of the previous stitch.
The result is a line of small, tightly packed stitches that look neat and hold the fabric securely.
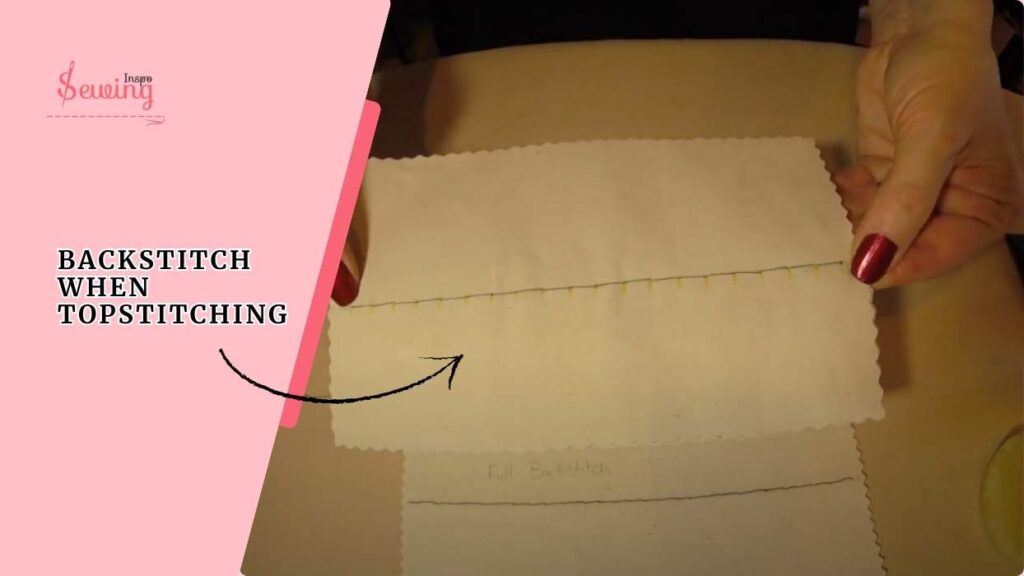
Do You Backstitch When Topstitching?
No, you don’t usually backstitch when topstitching unless the project specifically calls for it. Most sewists don’t like backstitching for topstitching because it can add unnecessary bulk and isn’t usually needed to secure the stitch.
However, some sewists like to add a backstitch during topstitching to secure the start and end of the stitch line.
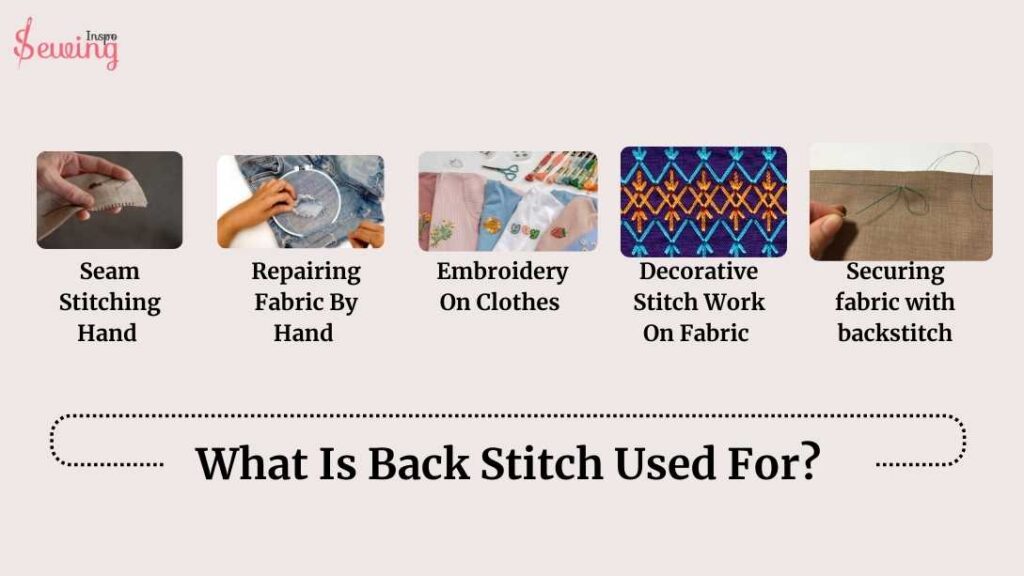
What Is Back Stitch Used For?
Back stitch used for 5 purposes.
- Seam Stitching Hand
- Repairing Fabric By Hand
- Embroidery On Clothes
- Decorative Stitch Work On Fabric
- Securing fabric with backstitch
Let’s talk in detail about the uses of back stitch.
Seam Stitching Hand
A backstitch helps in making seam stitching by creating a very strong and durable line of stitches. That’s what even back stitch in cross stitch is also used for. This is because the stitch overlaps slightly, reinforcing the seam and making it less likely to come apart.
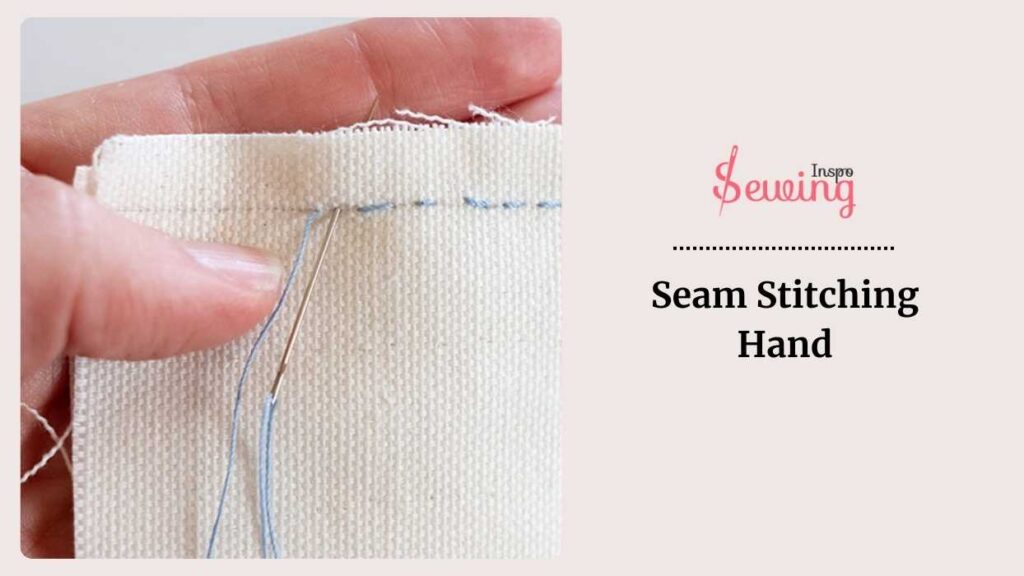
That is why the backstitch is called the strongest stitch by hand. The backstitch is particularly useful for areas that will experience a lot of stress or movement, ensuring the fabric stays securely sewn together. It is even used to sew something together.
Can’t I do other stitches for seam stitching? 🤔
Yes there are other stitches for seam stitching such as:
- Running stitch
- Blanket stitch
- Chevron stitch
- Overcast stitch
- Backstitch
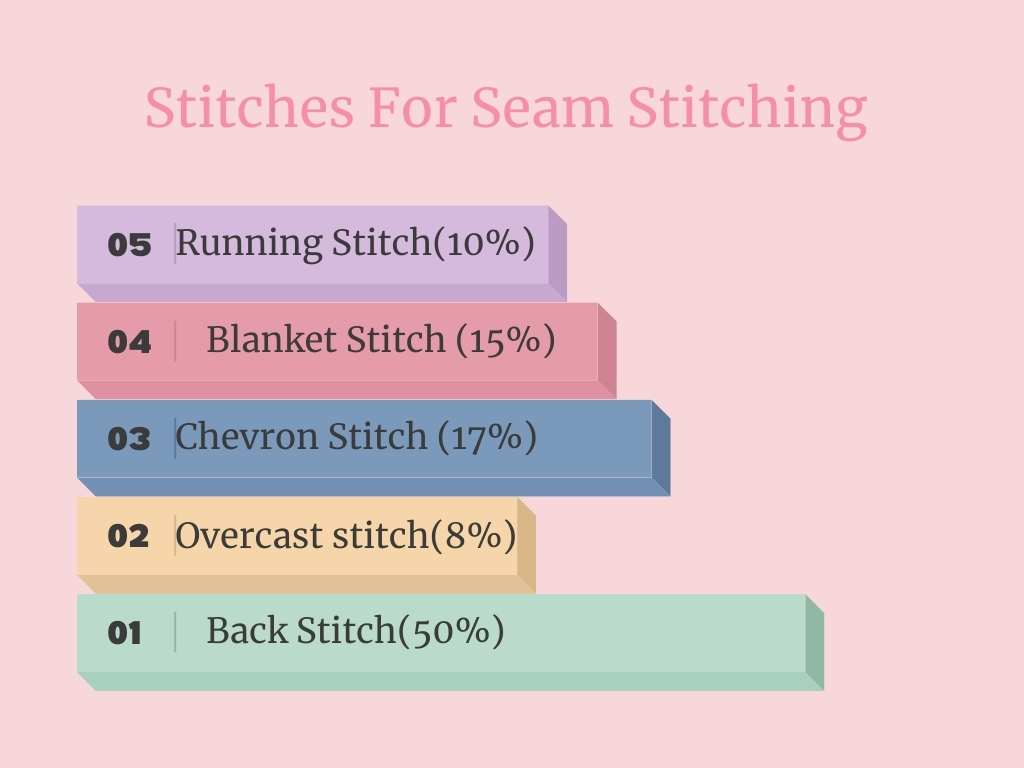
But the backstitch is the most suitable for seam stitching. That’s the basic back stitch uses.
Repairing Fabric By Hand
The backstitch is a handy hand-sewing technique perfect for repairs. It creates a strong, continuous seam that holds two pieces of fabric together securely. Its small, back-and-forth stitches make it the strongest basic stitch, ideal for fixing tears, securing hems, and mending seams. Which makes it perfect to sew something back together.
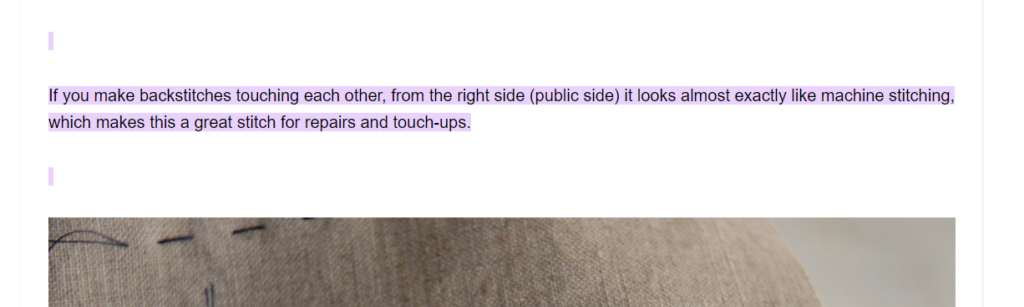
When the stitches are made close together, a backstitch can look almost like machine stitching from the front, making it a great choice for any repair or touch-up job.
Each stitch overlaps slightly with the last one, creating a tight, continuous line that can handle much stress. This makes the repaired seam as strong, if not stronger than it was originally. You can even do a half back stitch if you wanna add something unique.
I was wondering how to backstitch to repair fabric.
Well, To backstitch for fabric repair, thread your needle and knot the end. Start before the tear, pushing the needle through from the backside. Pull the thread through, then push the needle back through the fabric about 1 stitch length away. Bring the needle up one stitch length ahead and repeat. Keep doing that until your fabric damaged part is fully covered. That’s the perfect uses of back stitch.
That’s the difference use of backstitch vs running stitch.
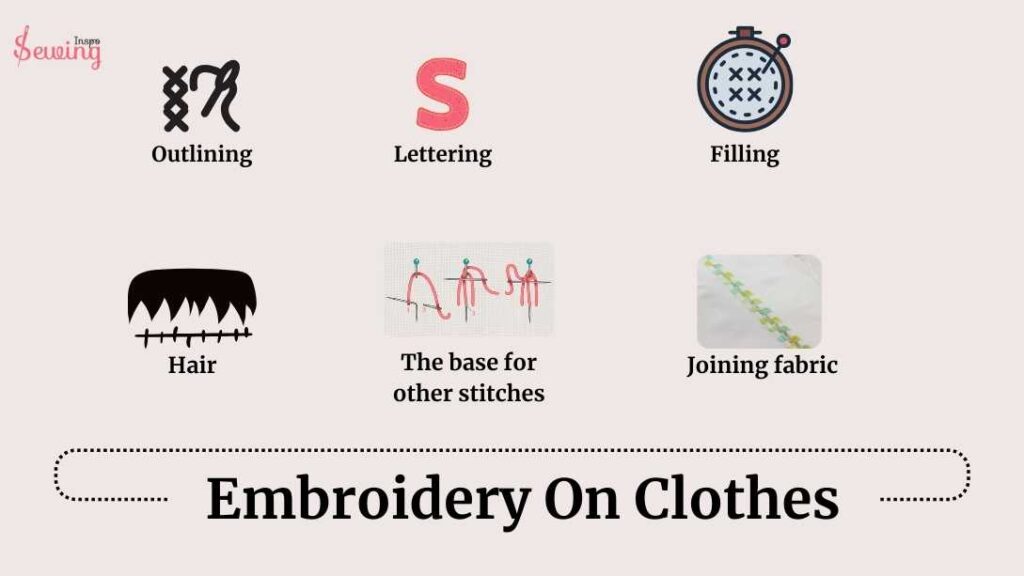
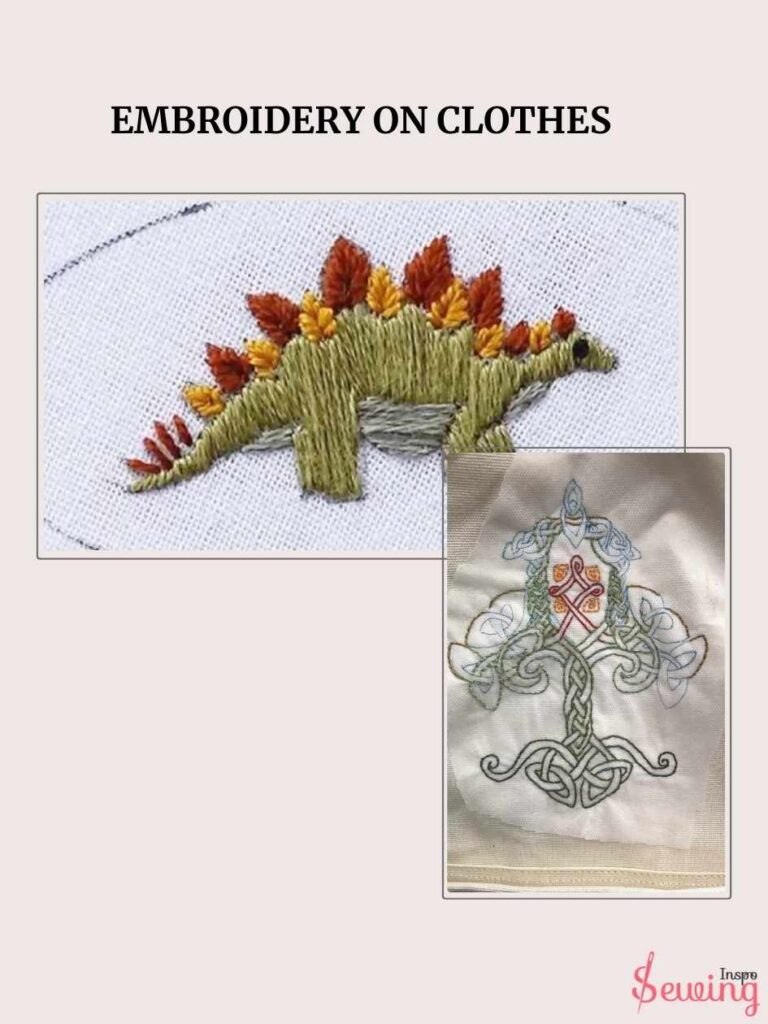
Embroidery On Clothes
Backstitch in embroidery does all sorts of things. As in:
- Outlining
- Lettering
- Filling
- Hair
- The base for other stitches
- Joining fabric
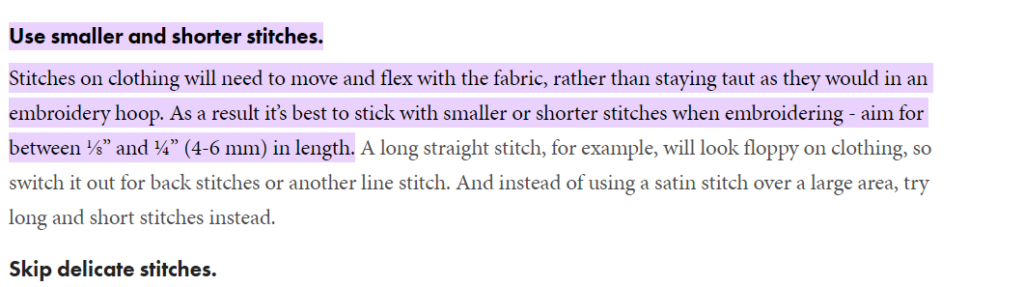
Outlining is the most frequent back stitch uses. So yes, the back stitch is the perfect outline stitch. It is perfect for creating lines around shapes and adding fine details to pictures. All thought back stitch length depends on you. But the rule of thumb is-
You Just gotta do ⅛” and ¼” (4-6 mm) in length of backstitch to create a beautiful embroidery outline.😁
And
It’s also great for sharp corners when a back stitch pattern changes direction quickly. You can use back stitch in embroidery for embroidering letters, too. Need to fill a larger area? The backstitch works as a filler stitch. It’s even handy for embroidering hair.
But that’s not all—
Backstitch can be a base for other stitches like the Pekinese stitch, laced backstitch, and whipped backstitch. Now you must be thinking about how to do all of that right?
It’s super easy to do. First, make a single, straight stitch around ¼ inch in length.
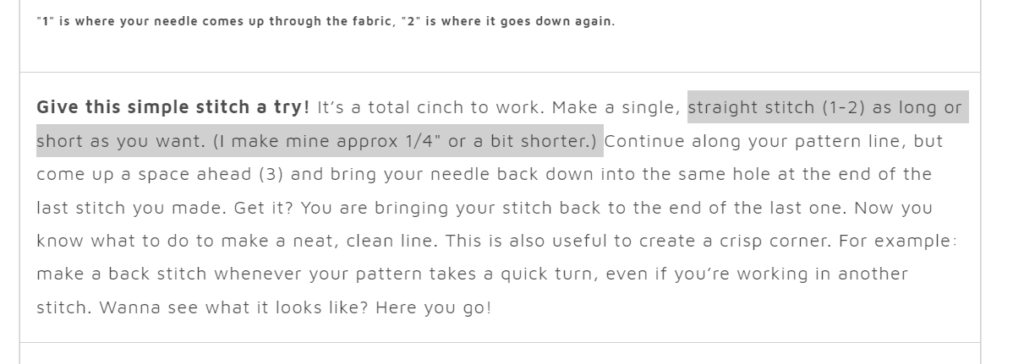
Keep following your pattern line, but bring your needle up a little ahead of where you are, and then bring it back down into the same hole at the end of the last stitch you made.
And that’s it! If you keep repeating the process then you will end up with a stunning embroidery stitch. 🤩 That makes the back stitch look perfect.
So what are you waiting for? Find out how many threads for the back stitch and start your embroidery work the right way.
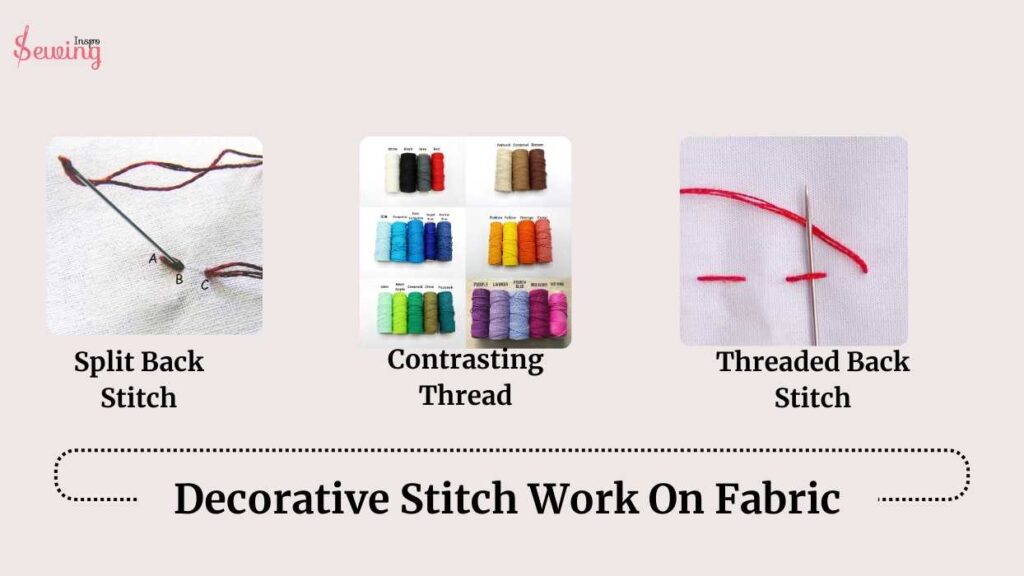
Decorative Stitch Work On Fabric
The back stitch is a great go-to for Decorative stitch work on fabric. Here are a couple of fun ways to decorate a backstitch:
- Split Back Stitch
- Contrasting Thread
- Threaded Back Stitch
- Split Back Stitch: This one’s perfect if you want to add some width and make it good for filling in areas. Start with a regular straight stitch. Then, come back up through the fabric on the stitch line, leaving a little gap. Split the previous stitch as you go back down. Repeat this process—coming up with a gap and splitting through the earlier stitch. It’s a cool way to add some texture.
- Contrasting Thread: Grab a blunt needle and some contrasting thread for this technique. Starting on the left, bring your needle up, then slide it under the adjacent stitch, looping it back around and under the first stitch. Keep repeating this along the line. For a more decorative look, make your loops a bit bigger. It’s an easy way to add a pop of color and some flair to your stitching.
- Threaded Back Stitch: This is a fantastic way to add some extra flair to your backstitch. Start by doing a regular back stitch. Once that’s done, grab a blunt needle and a contrasting thread.
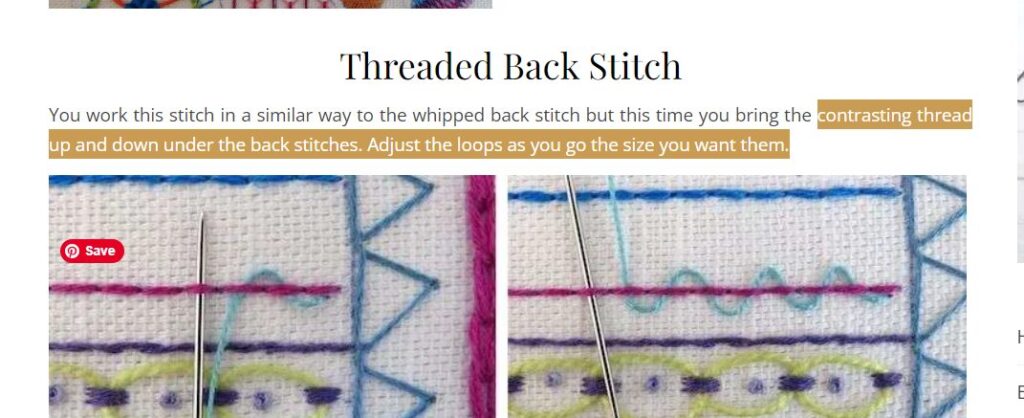
Bring the needle up through the fabric and then weave it under the first back stitch. Continue weaving the needle in and out of each stitch along the line. Make sure not to pierce the fabric—just go under the stitches. This creates a cool threaded effect that makes your design stand out. It’s a super easy way to add some texture and color to your project. That’s the main purpose of backstitch in cross stitch.
Securing Fabric With Backstitch
To make a secure fabric with a backstitch, start by making a stitch on the wrong side of the fabric and pulling the thread through until you have a small loop. Then, insert your needle through that loop and pull the thread through again until you have another small loop. This is kinda like whipped back stitch.
Next, insert your needle through the second loop and pull tight to secure both loops. And keep doing that until the end.
Is Backstitch the only way to secure fabric?
Of course, there are stitches like Zigzag stitch, Whip stitch, Basting stitch, and Catch stitch for securing fabric.
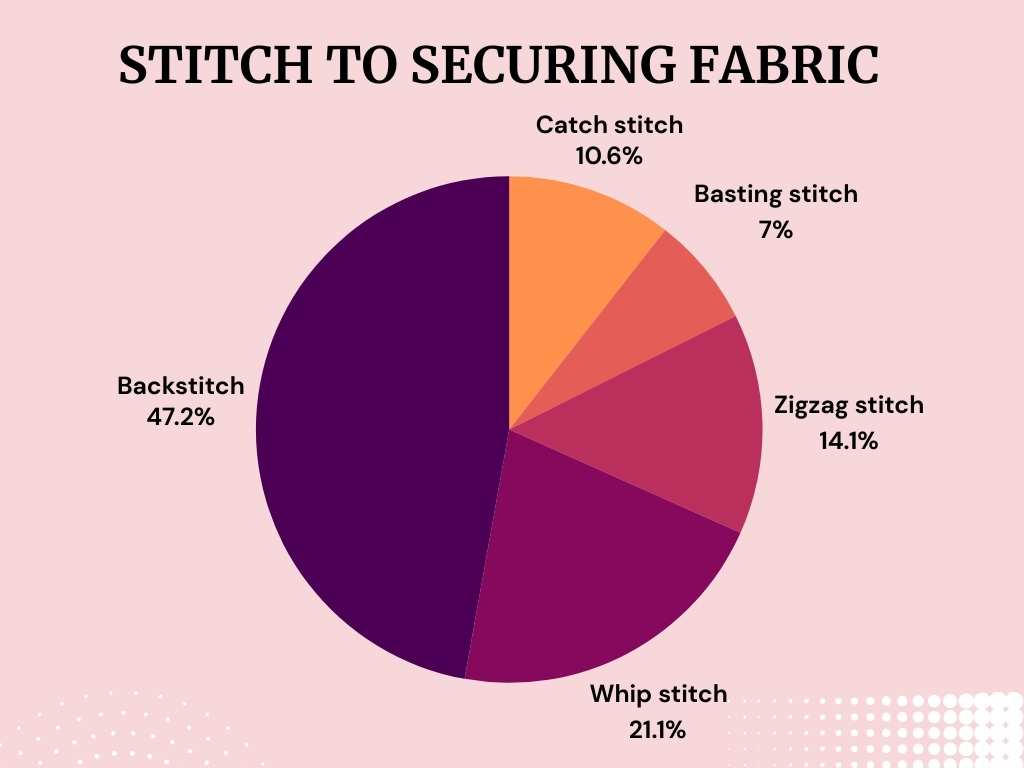
However, if you want the most trainable stitch to secure fabric then backstitch is your catch.
Is Back Stitch Uses In Embroidery
Backstitch may sound like it is meant to secure an edge but there are a few types of backstitch which can be used as embroidery. Here is the pattern you can try on-

- Outlining Designs: The back stitch creates clean, defined lines, perfect for outlining shapes, letters, or intricate details.
- Adding Detail: Its precision makes it ideal for small details, like facial features or tiny patterns.
- Lettering and Text: The back stitch is popular for embroidered text because it forms crisp, continuous lines.
- Joining Fabric: Although mainly decorative in embroidery, the back stitch is also strong enough for joining fabric pieces, especially in hand-sewn seams.
- Creating Texture: Variations, like the laced or double back stitch, add texture and depth, making designs stand out with extra dimension.
Back Stitch Uses Pdf
That’s the use of backstitch. But is it hard to memorize it? Then download this pdf
Is Back Stitching Necessary?
Yes. back stitching is necessary for some cases but not all the time. but its necessity depends on the task. It’s super strong and durable, ideal for frequently used items like clothes and bags. If you need precise, detailed stitching, backstitching is your go-to, especially for embroidery or decorative work.
Its versatility allows you to use it alone or with other stitches for different effects. Plus, it offers excellent control for curves and intricate designs, giving a neat, professional finish. While other stitches might work for some projects, having backstitching in your toolkit is definitely a good idea.
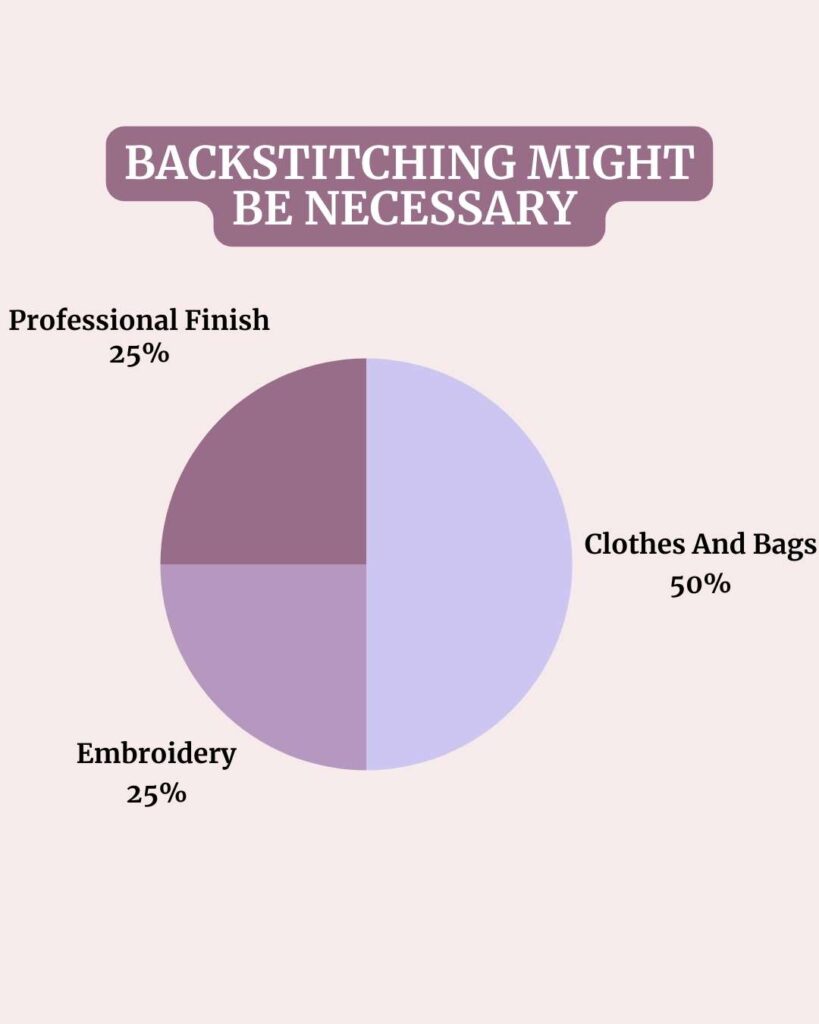
So, basically, a backstitch is necessary for a professional finish.
Is Backstitch Good For Clothes?
Yes, backstitching is great for clothes because it’s strong, permanent, and versatile. It’s perfect for creating strong seams by hand, with its small back-and-forth stitches mimicking a sewing machine’s straight stitch. Each stitch is almost like a knot, making it very sturdy.
But wait wait! Just because it is good for you doesn’t mean it is good for every type of clothing. 🤔Here is a quick look:
Stretchy fabrics such as jersey knit and spandex cloths aren’t for backstitch. Cause their fabric type can’t hold on to backstitch that well.
Not just that. There is more. 😒
Heavyweight fabrics like thick denim might be too tough to sew by hand with backstitching. Fabrics with heavy embroidery can make it hard to sew even stitches.
And let’s not forget-
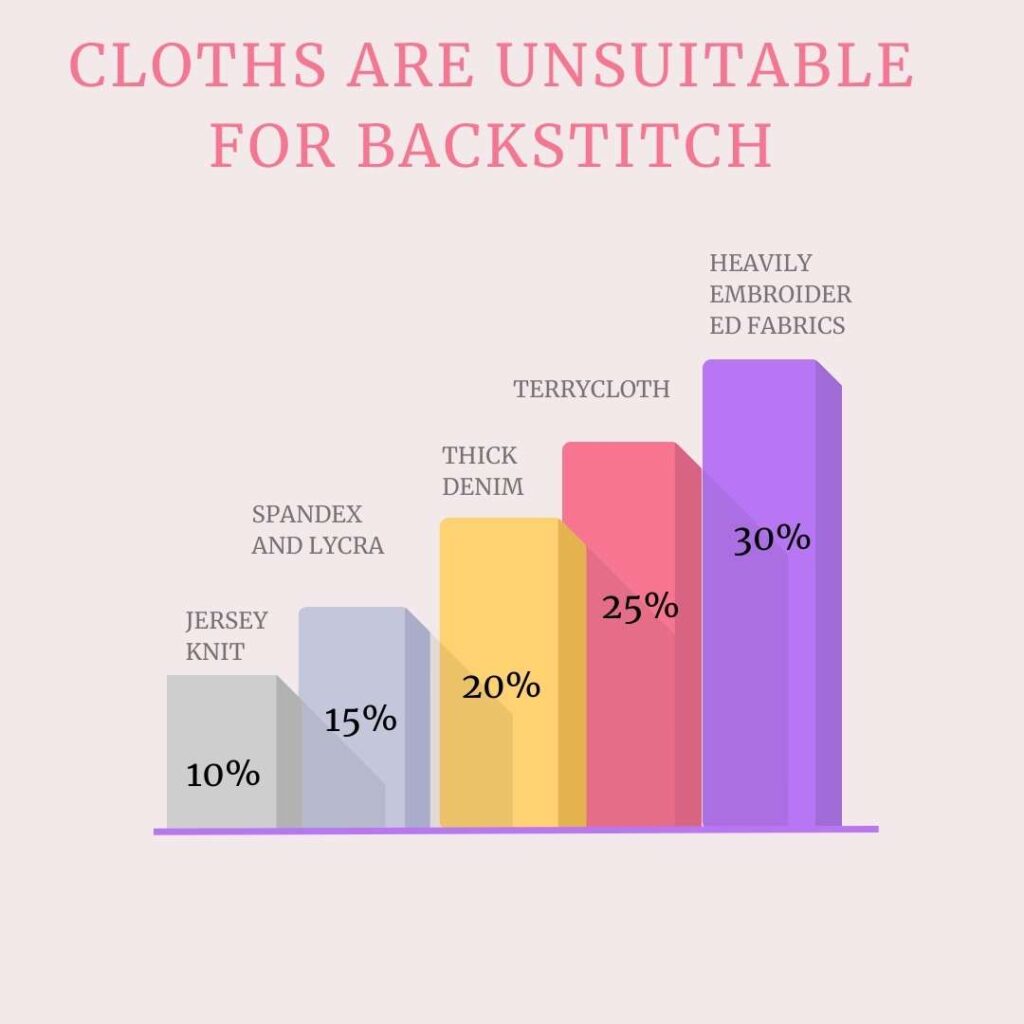
Highly embroidered fabrics such as terry cloth and faux fur can be tricky to stitch evenly with backstitching too.
Not because those aren’t strong but because you can’t do backstitch in those fabrics perfectly.
So next time you sit to do backstitch keep those clothes away.
Embroidery On Clothes
Embroidery on clothes adds a beautiful, personalized touch to any garment, transforming plain pieces into unique works of art. From subtle monograms to intricate floral patterns or bold designs, embroidery can make clothes feel special and one-of-a-kind.
Popular on items like denim jackets, t-shirts, jeans, and even sneakers, embroidery gives the fabric a textured, hand-crafted look that stands out.
This craft lets you upcycle or refresh old clothing, covering small flaws or adding new life to beloved items. With endless patterns and colors, embroidery on clothes allows you to showcase your style and creativity in a truly wearable way!
Flat Back Stitch On Epp
I was deep into an English Paper Piecing (EPP) project when I hit a snag—how do I join pieces together without the stitches showing on the front? I wanted something clean and polished, unlike the more visible split backstitch. That’s when I discovered the flat back stitch—and it changed everything.
Here’s how I stitched:
- Insert the needle at the very edge of the fabric (not through the paper).
- Stitch gently along the back, keeping stitches small and even.
- Take 2–3 tiny stitches at a time for better hold.
- Remove the tape as you go and replace it with clips if needed.
- Use a whipstitch-like motion only along the back of the piece.

Flat back stitch is amazing. It keeps your front clean, your back strong, and your project looking super polished. Even if your stitches aren’t perfect at first, don’t worry. They’ll stay invisible on the front.
Frequently Asked Questions (FAQ’s)
What Is The Primary Use Of Backstitch?
Backstitch is primarily used for creating strong, durable seams in hand sewing projects.
Can Backstitch Be Used For Decorative Purposes?
Yes, backstitch is often used in embroidery and decorative stitching to create sharp, detailed lines.
Is Backstitch Suitable For High-Stress Areas In Sewing Projects?
Absolutely, backstitch is ideal for high-stress areas as it provides a secure and durable seam.
Final Thought
Ok, now I know what is back stitch used for. So I won’t use it here and there where is isn’t needed. Rather than i will use it at the right place and at the right time. Have more questions? Then comment on sewinginspo.


Leave a Reply