In sewing, understanding the difference between permanent and temporary stitches can make or break your project literally! One stitch that often sparks curiosity is the back stitch. is back stitch a permanent stitch? Does it hold up to the test of time and tension?
Permanent Stitch
The answer is yes! The back stitch is one of the strongest, most reliable permanent stitches in sewing. It is perfect for seams that need durability and strength.
But how strong is it? Let’s compare it to other permanent stitches and help you decide when and how to use it for your projects. Let’s stitch this up! 🧵 And learn about what are permanent stitches. And see stitches with pictures.
Main Facts:
- Backstitch, buttonhole, blanket & zigzag stitch are the easy permanent 4 types of stitches
- The backstitch is the permanent & durable stitch.
- Its overlapping design reinforces the seam. The formation of back stitch back side makes it stronger.
- It is Ideal for garments, bags, and projects requiring strength and durability.
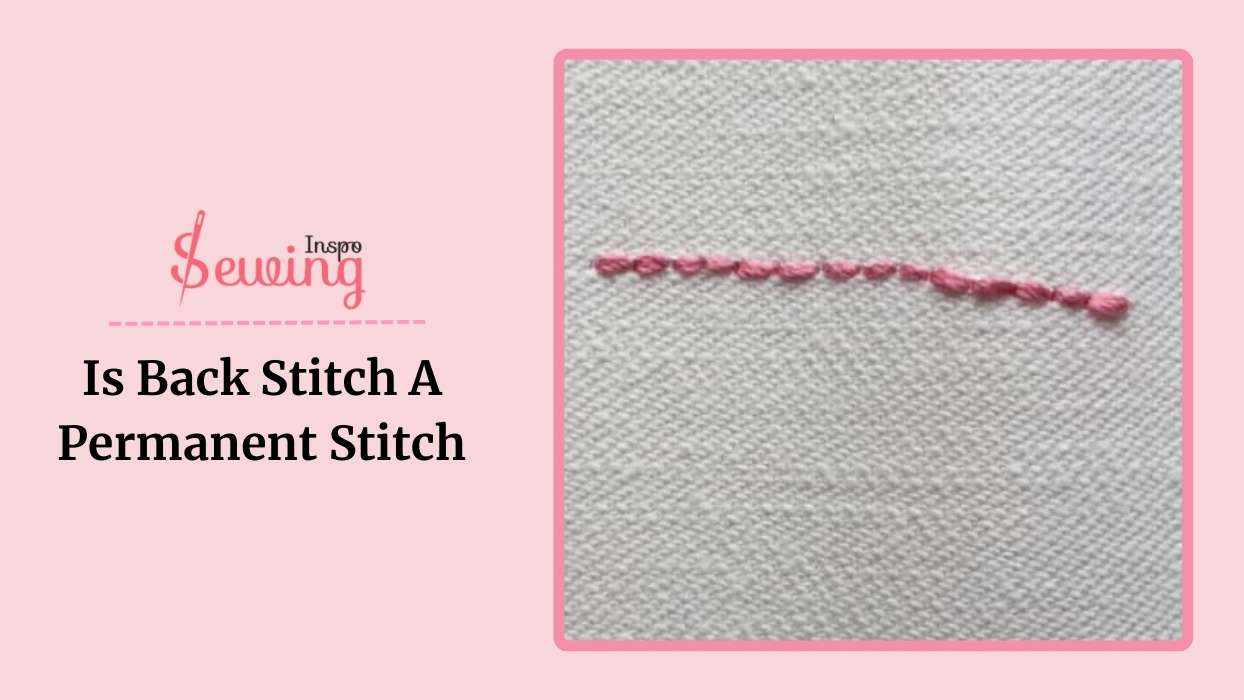
Table of Contents
What Is a Permanent Stitch?
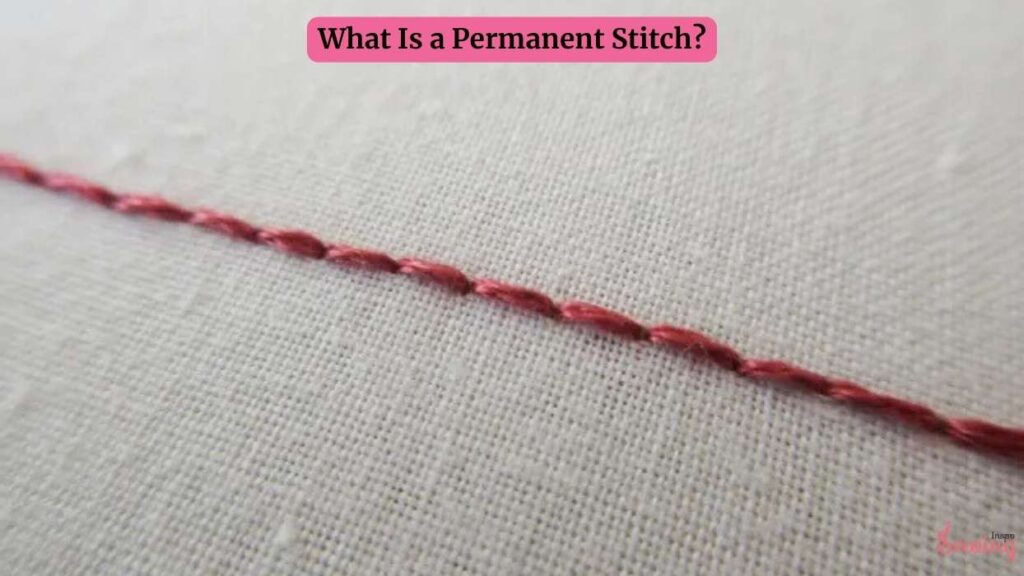
A permanent stitch is designed to hold fabric pieces together for long-term use. Unlike temporary stitches, which are meant to be removed later. For example, front stitch & back stitch.

Permanent stitches provide strength and durability. These stitches are used in seams, hems, and other areas that require lasting support. just like mattress stitch hand sewing.
Here are 7 permanent stitches with pictures:
- Back stitch
- Overlock stitch
- Straight stitch
- Chain stitch
- Zigzag stitch
- Blanket stitch
- Buttonhole stitch
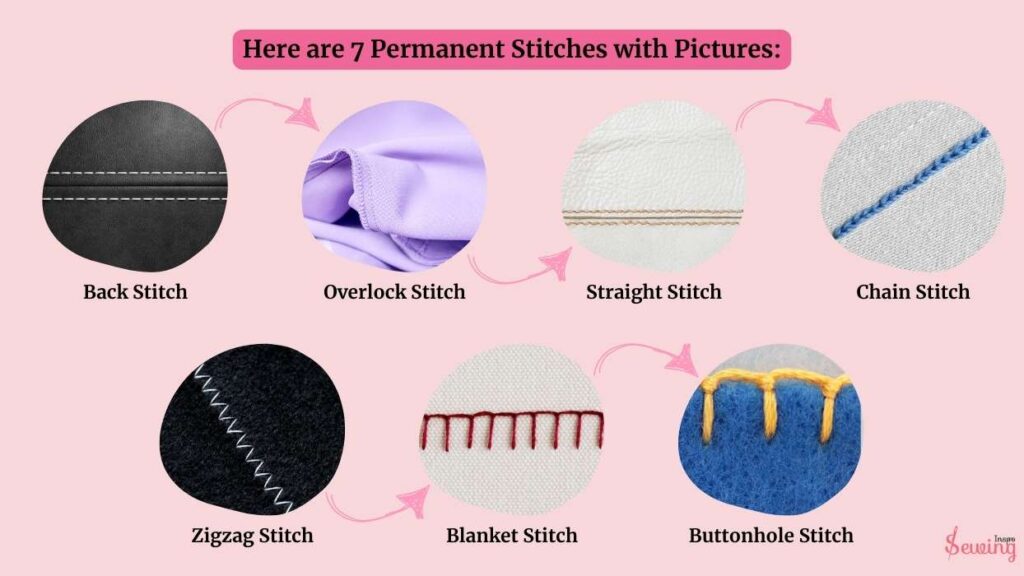
Those are the most popular 7 permanent stitches.These stitches serve a specific purpose and offer unique benefits depending on the fabric and project. But among them, backstitch is the stitch that is most talked about. Most stitchers love to use back stitch as permanent stitch.
Is Back Stitch A Permanent Stitch?
Yes, Back stitch is absolutely a permanent stitch in sewing. Its overlapping design creates a strong seam that can withstand tension and regular use. Every type of backstitch is stronger than ever. It may look like outline stitch but it’s far better and stronger than this. Even spaced backstitch wins in this race if it has to compete with something.
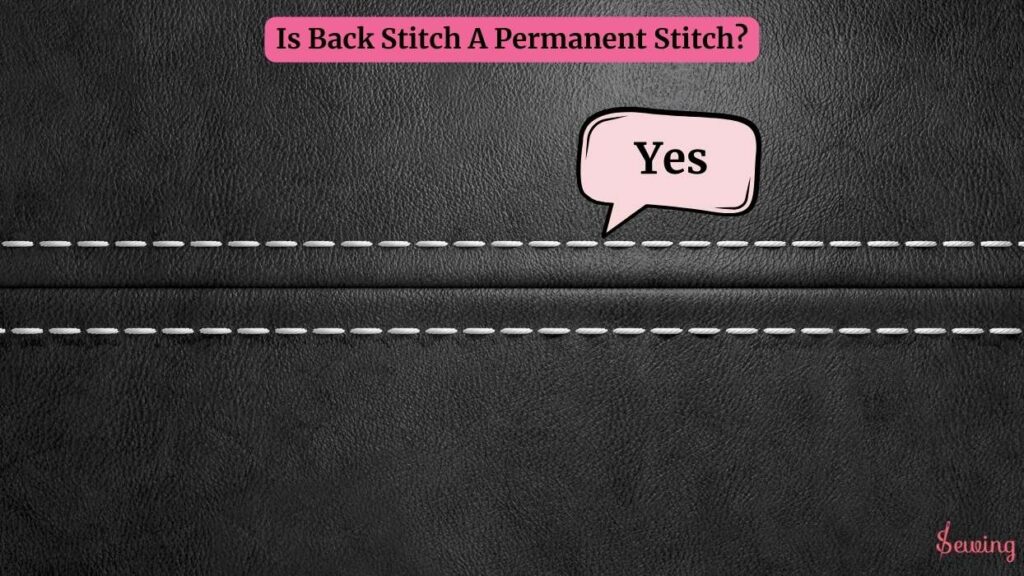
Unlike temporary stitches, which are meant to be removed, back stitches remain in place to provide structural integrity. It’s a favorite for sewing garments, bags, and other items that need durable seams. This is kinda like a lock stitch sewing machine.
What Makes Back Stitch The Strongest Permanent Stitch?
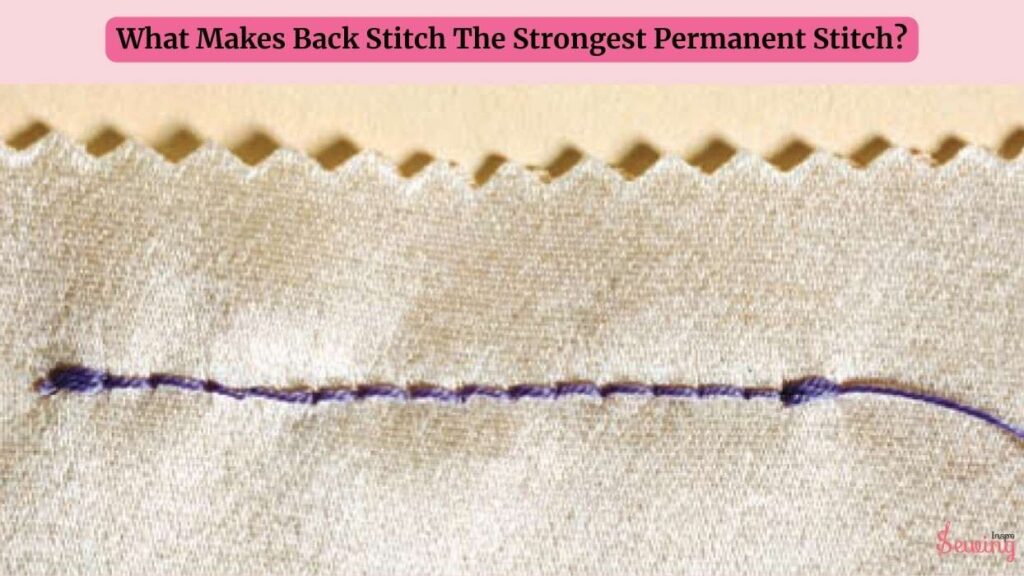
Back stitch is hands down the strongest permanent stitch, thanks to its overlapping design. This stitch creates a continuous, reinforced seam that can handle stress like a pro.
Compared to other stitches, it’s in a league of its own. Even a flat backstitch is stronger than other stitches. And back even can make beautiful back stitch embroidery designs.
Take the straight stitch, for example—
It’s neat and quick but not nearly as durable when done by hand. Then there’s the overlock stitch and zigzag stitch, which are great for finishing edges and stopping frays but not built for strength.
That’s why it is the most talked about stitch among 7 permanent stitches.
Chain stitches look pretty, but with one loose loop, everything can fall apart. Blanket stitches and buttonhole stitches are fantastic for decorative edges and specific tasks. But can’t really stand wear & tear.
So all those things make the backstitch stronger than other stitches. That’s why it’s even used between stitches. I sometimes use backstitch between cross stitch to add strength.
So, What Is A Back Stitch In Cross Stitch?
The back stitch in the cross stitch is a technique used to outline shapes, add finer details, or create text on your fabric. It’s different from the cross stitch, which forms the X-shaped stitches.
When is the back stitch in cross stitch used the most?
Well, imagine you’ve just completed a beautiful cross stitch design, but you need something to make those designs stand out. Those nearby stitches work stand out in your sewing project.

How Long Should A Back Stitch Be?
When doing a backstitch and wanting it to be strong and permanent, I keep the backstitch length between 3 to 6 mm. I usually go for shorter stitches, closer to 1/8 inch, especially for areas that need extra strength.
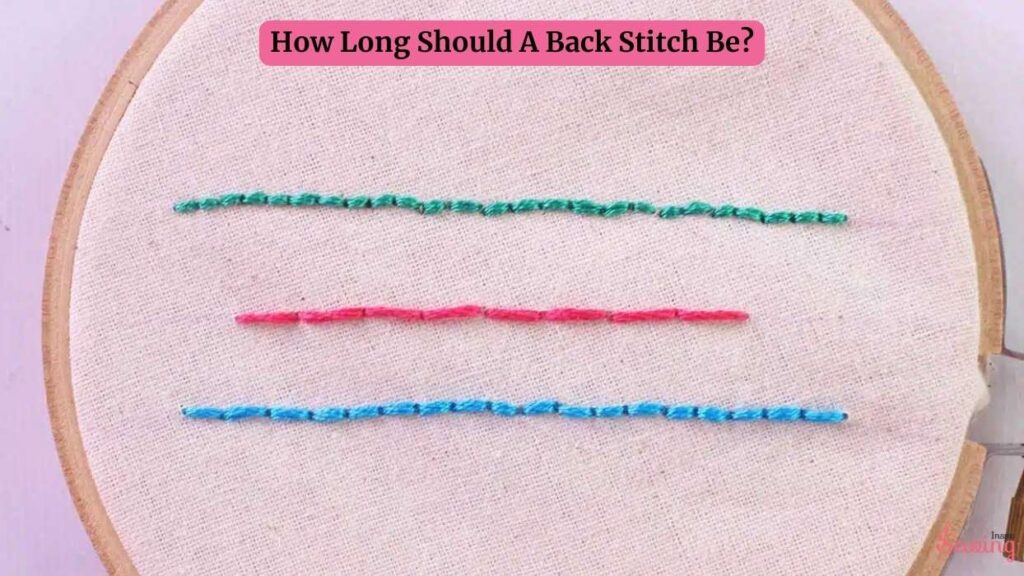
Consistency is key, so I ensure each stitch is the same size and overlaps slightly with the previous one. I also use a sturdy thread to make sure everything stays secure. It’s a simple technique.
Frequently Asked Questions (FAQ’s)
Can I Use Back Stitch For Decorative Purposes?
Yes, while the back stitch is known for its strength, it can also be used decoratively, especially in embroidery or hand-sewn designs for outlining shapes or creating bold lines.
Is Back Stitch Better Than A Straight Stitch?
Yes, when done by hand, the back stitch is stronger than a straight stitch because it overlaps, creating a reinforced seam that can handle more tension.
Does Back Stitch Work On All Types Of Fabric?
Back stitch is versatile and works on most fabric types, from lightweight cotton to heavy denim. However, for very delicate fabrics, consider using a smaller needle and finer thread.
The End
The back stitch stands out as a powerhouse in the sewing world, as it is strong, reliable, and versatile. Whether you’re working on garments, bags, or decorative projects, its overlapping design ensures durability and long-term use. Compared to other stitches. It’s unmatched in strength. If you wanna have more updates like this then stay with sewinginspo.


Leave a Reply