
The Mauzer chain stitch machine is the best chain stitch sewing machine for creating stitches that look like interlinked loops. It’s almost like the links of a chain running along the fabric. But if you just bought this, then the setting must feel overwhelming.
So many new stitchers come to us with this confusion. So, I thought I’d note it down rather than tell it person to person. So,
Mauzer Chain Stitch
The perfect Mauzer chain stitch sewing machine settings are adjusted by turning the screw, reducing the stitches per inch to around 11–12.
But that can vary depending on the fabric type or your stitch pattern. Let’s get into it.
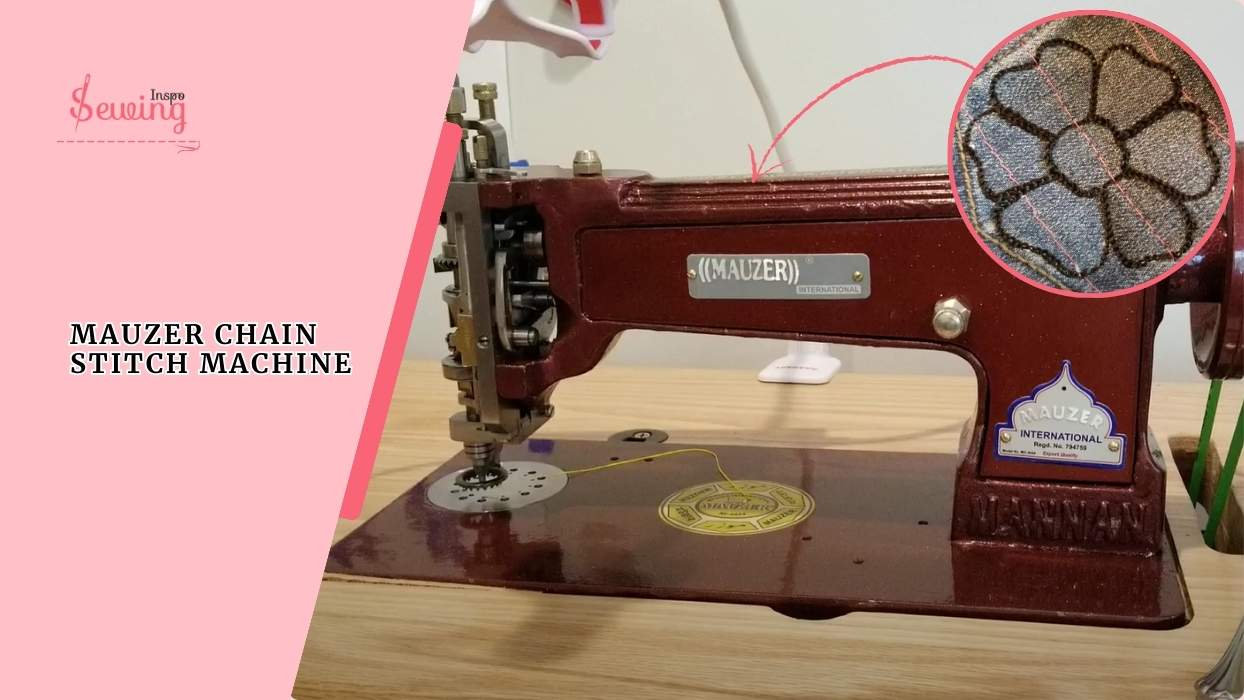
Table of Contents
Best Mauzer Chain Stitch Sewing Machine Settings
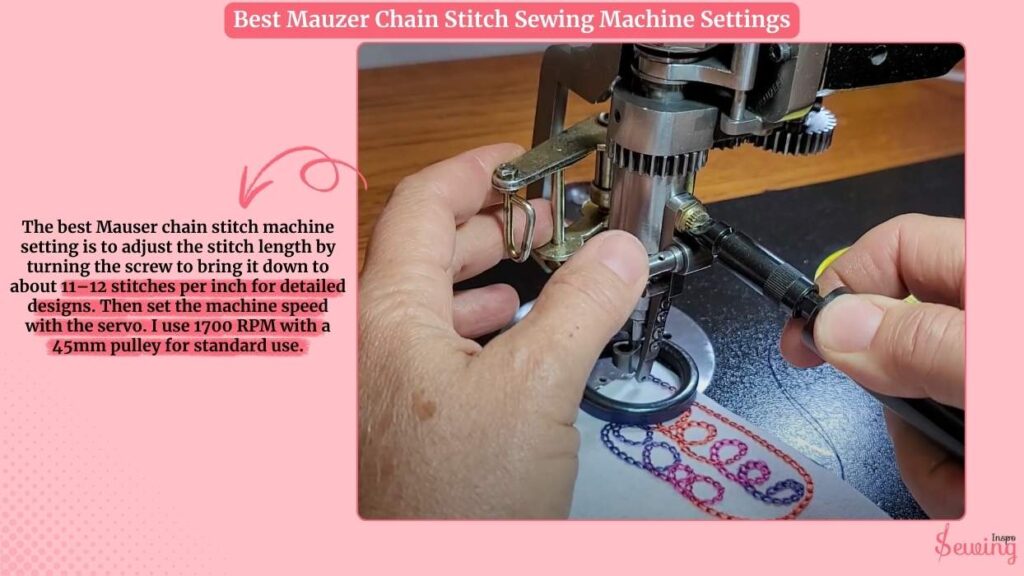
The best Mauser chain stitch machine setting is to adjust the stitch length by turning the screw to bring it down to about 11–12 stitches per inch for detailed designs. Then set the machine speed with the servo. I use 1700 RPM with a 45mm pulley for standard use.
And control thread tension by adjusting the nut on the spring mechanism. Then I lower the nut to increase tension, while raising it decreases tension. You can change it if you are doing a double chain stitch.
It helps to prevent thread breakage. When stitching curves, round them off gently since chain stitches don’t handle sharp turns well, just like a ladder stitch sewing machine.
How To Use Mauzer Chain Stitch Machine?
Got the setting right? Ok, now let’s stitch it-
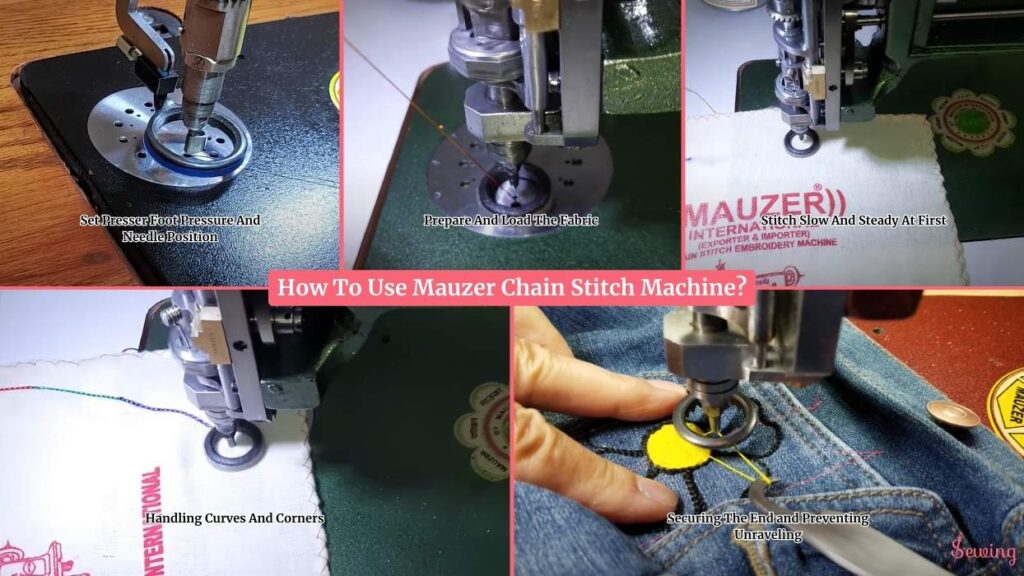
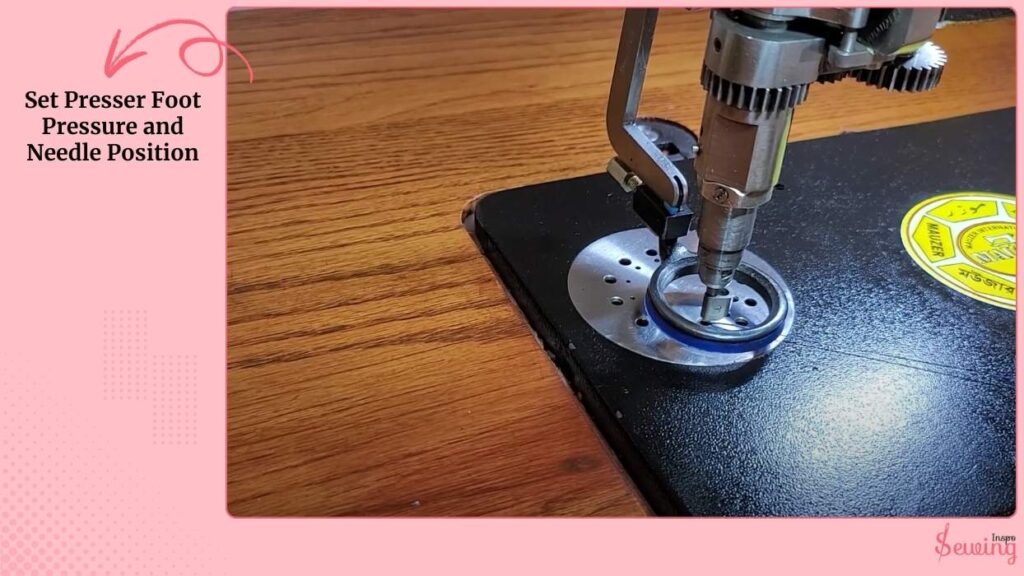
Set Presser Foot Pressure And Needle Position
I choose the correct presser foot for chain stitching and set the presser foot pressure so the fabric feeds evenly; too much pressure can flatten the chain, too little causes slipping. But if you are doing triple chain stitch then you can do it.
The needle should be centred and tightened. I lower the presser foot and perform a manual hand-wheel check to ensure the fabric feeds smoothly.
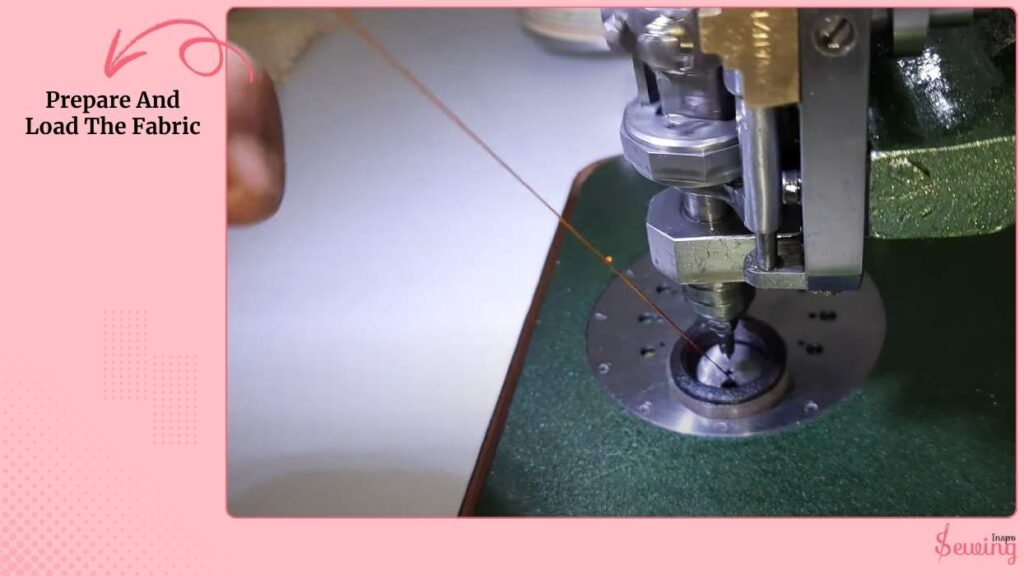
Prepare And Load The Fabric
I square and stabilise my fabric (use stabilizer for light fabrics), clip edges instead of pinning on leather/faux-leather, and position the fabric so the design will start where I want it. I just follow the rule i followed in singer sewing machine stitch.
For precise work, I start in the centre; for long seams I begin at one end. I always leave a short tail of thread and hold it gently for the first few stitches so it doesn’t tangle.
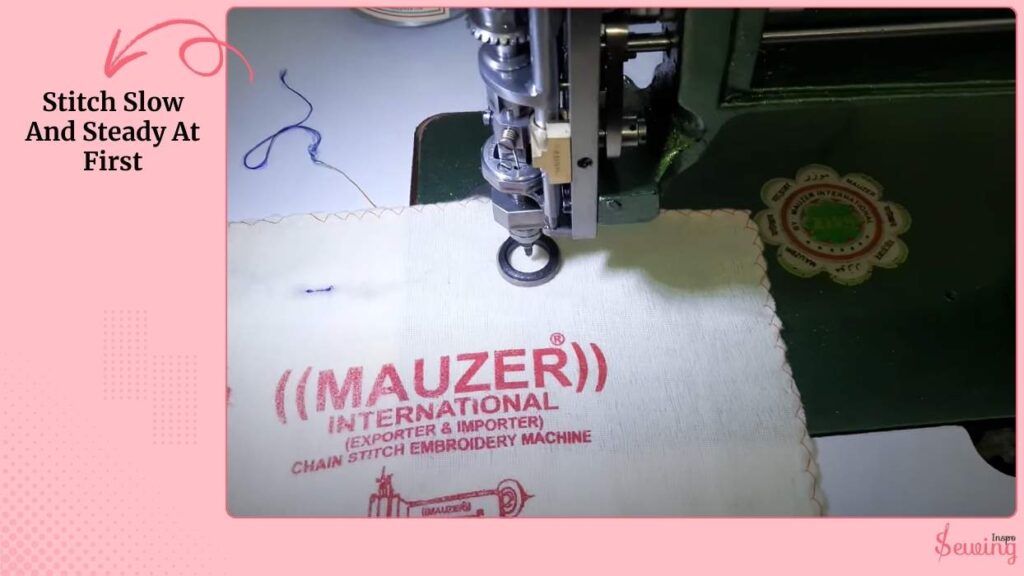
Stitch Slow And Steady At First
I start the motor at low speed, watching the needle and chain formation. I guide the fabric gently; do not pull. Let the feed dog and presser foot move the fabric just like using worlden chain stitch machine.
If you need to stop, lift the needle and presser foot, reposition the fabric, then continue. Keep an eye out for skipped loops or thread breakage and pause to fix them rather than continuing.
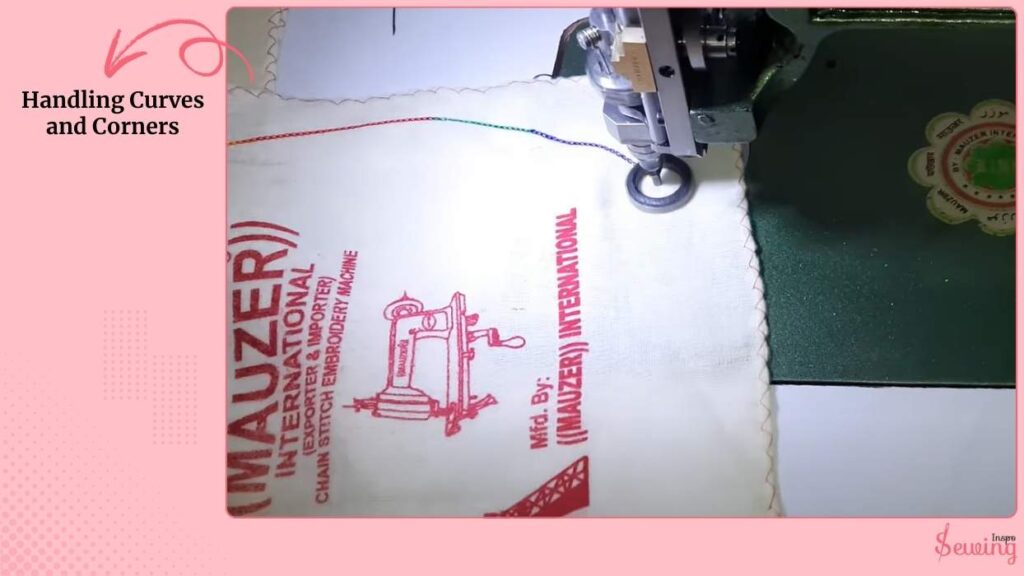
Handling Curves And Corners
Chain stitch machines don’t like sharp pivots. To turn work, I round off corners and slow the machine down to a crawl like a Juki chain stitch machine.
If I must change direction, I reduce speed dramatically and ease the fabric in a gentle arc rather than a sharp angle so the chain doesn’t collapse or skip.
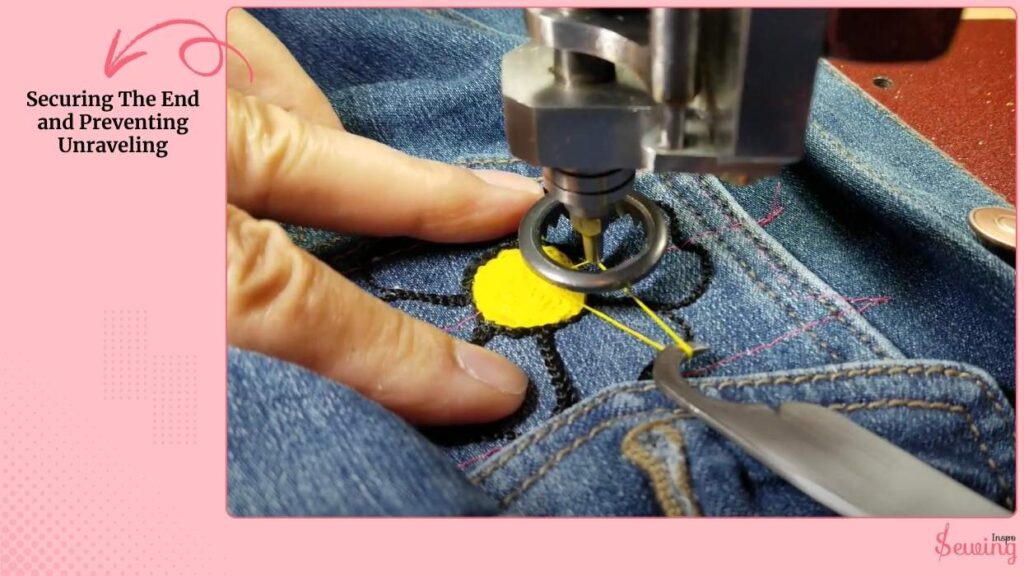
Securing The End And Preventing Unraveling
Because chain stitch can unravel if left loose, I finish by either using a small back tack if the machine supports it.
I do a few tiny hand stitches to tie off the chain, or pass the thread tail through the last few loops and knot it on the underside. You can use this trick for heirloom sewing too.
A dab of fray-stop or a tiny stitch with a lockstitch machine can also secure the end.
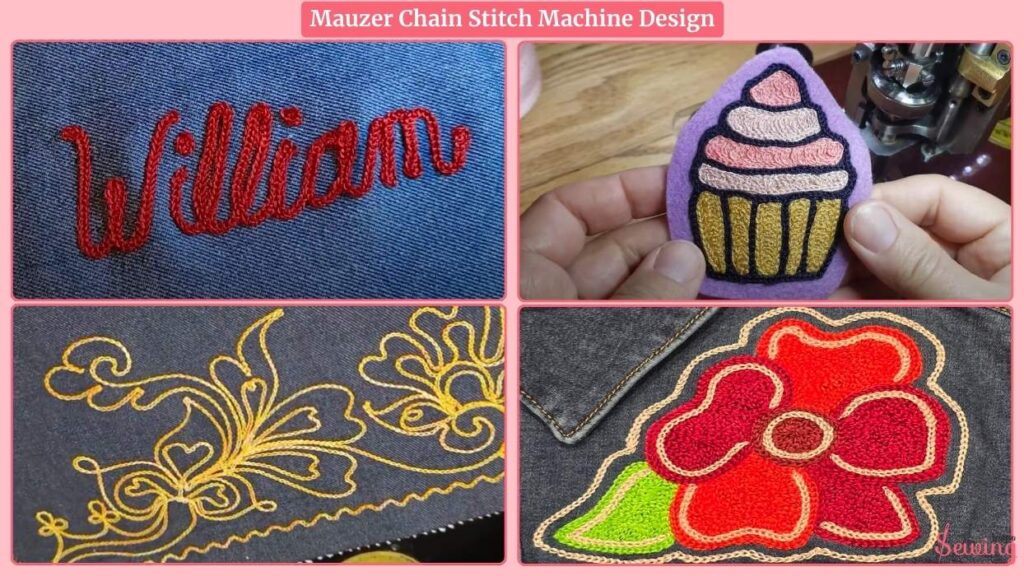
Mauzer Chain Stitch Machine Design
Here is how the pattern looks-
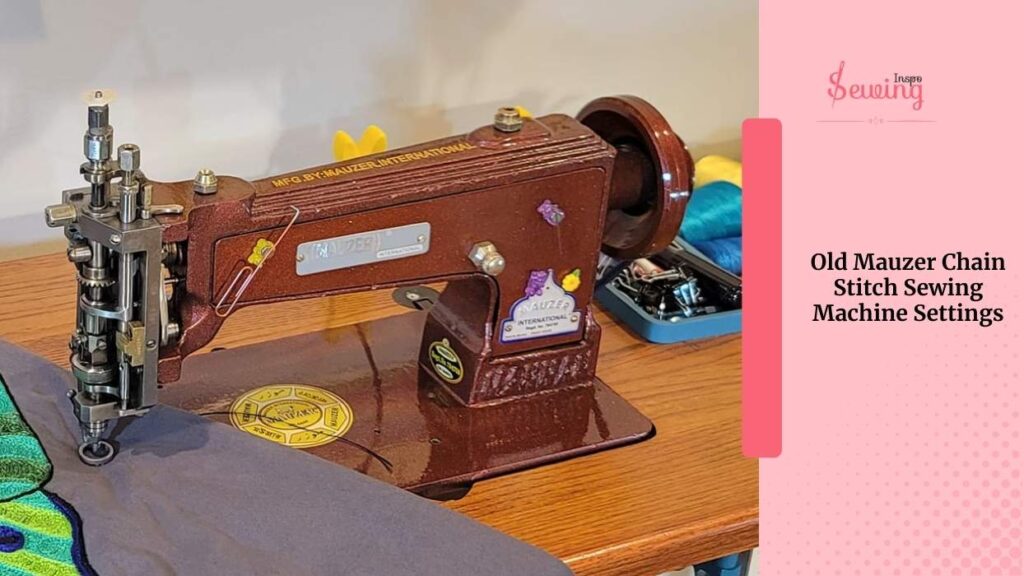
Old Mauzer Chain Stitch Sewing Machine Settings
If you are using an old model Mauzer chain stitch machine, then the above setting may not work. Cause the old model isn’t built that way like blind hemming machine.
To set up an old Mauzer chain stitch sewing machine, start by adjusting the stitch length using the regulator screw. The further the screw protrudes underneath, the shorter the stitches will be.
For chain stitch embroidery, a 12-weight cotton or wool thread works best, giving the stitches a bold, textured look.
Proper timing is also important. When the needle reaches its highest point and the handwheel is positioned at 6:00, the looper’s notch should align at around 12:30 to 1:00.
That is the perfect thing for chain stitch. This alignment ensures clean, consistent chain stitches every time.
If you like this, then read about the Falak chain stitch machine too.
Frequently Asked Questions
How do I set thread tension?
Adjust the tension nut on the spring mechanism; lowering the nut increases tension, raising it decreases tension.
What is the ideal machine timing?
When the needle is at its highest point and the handwheel is at 6:00, align the looper’s notch around 12:30–1:00.
Can I make sharp turns with a chain stitch?
Chain stitches struggle with sharp turns, so round corners slightly for best results.
What’s Your Best Mauzer Chain Stitch Sewing Machine Settings?
That’s the setting I use for chain stitch, and it works to my advantage. But you can change the setting according to your sewing project.
So what’s your machine setting?

Leave a Reply