
Handheld sewing machines are compact, portable tools designed to make sewing simple, fast, and convenient, especially when you don’t have access to a full-size machine.
They are perfect for quick fixes like repairing hems, attaching buttons, or mending small tears, and they can handle light fabrics with ease. It is basically a smaller version of a portable machine.
But, yes, they can’t replace a standard sewing machine for heavy-duty projects. They are incredibly handy.
I’ll walk you step by step through using a handheld sewing machine, from setup to stitching, so you can get neat, professional-looking results without the bulk of a regular machine.
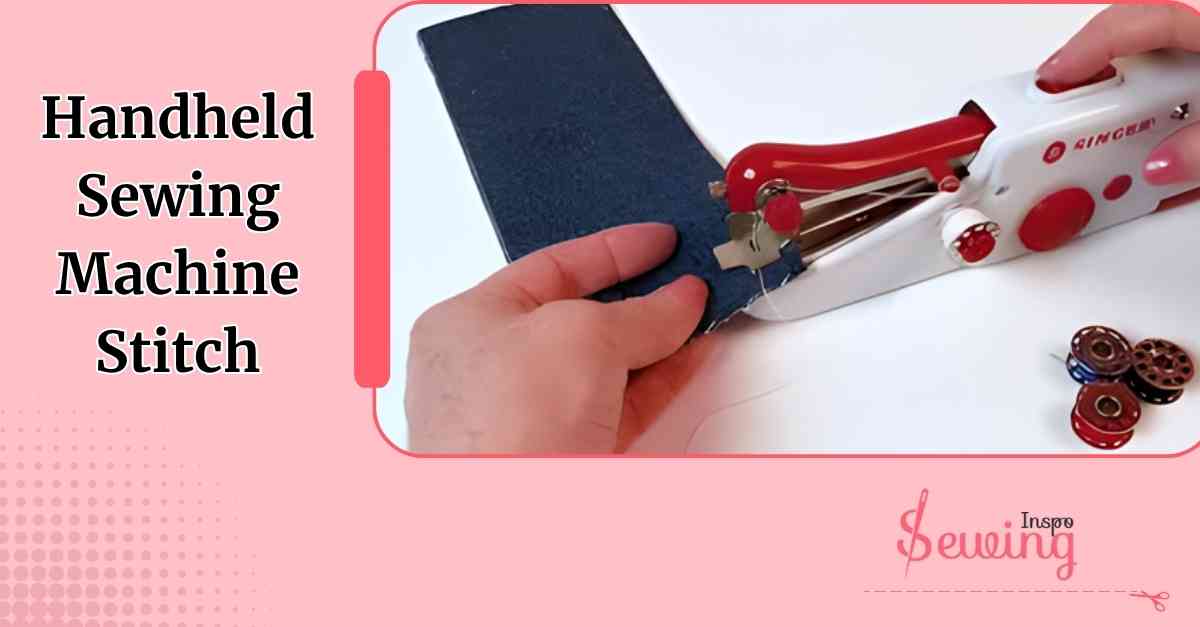
Table of Contents
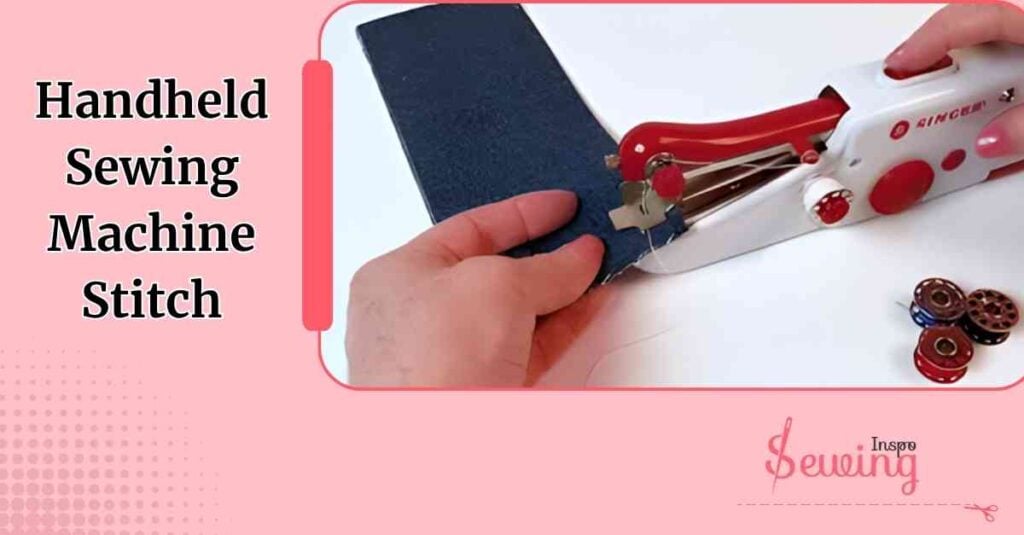
Handheld Sewing Machine Stitch
A handheld sewing machine may be small. But it can do quite a bit for quick fixes and simple projects. Most of these machines focus on just one main stitch, the straight stitch. Some newer models even come with other stitches too. As in-
- Zigzag Stitch (on select models): Some handheld machines come with a basic zigzag function.
- Adjustable Stitch Length: While limited compared to full-size machines, many handhelds allow minor adjustments in stitch length to suit your project needs.
So yes, just because it is small, that doesn’t mean it is a lesser option.
Handheld Sewing Machine Stitch Instructions
I’ll break down each step so you can see exactly how to sew with a handheld sewing machine. It’s compact, easy to use, and perfect for small projects or quick fixes.
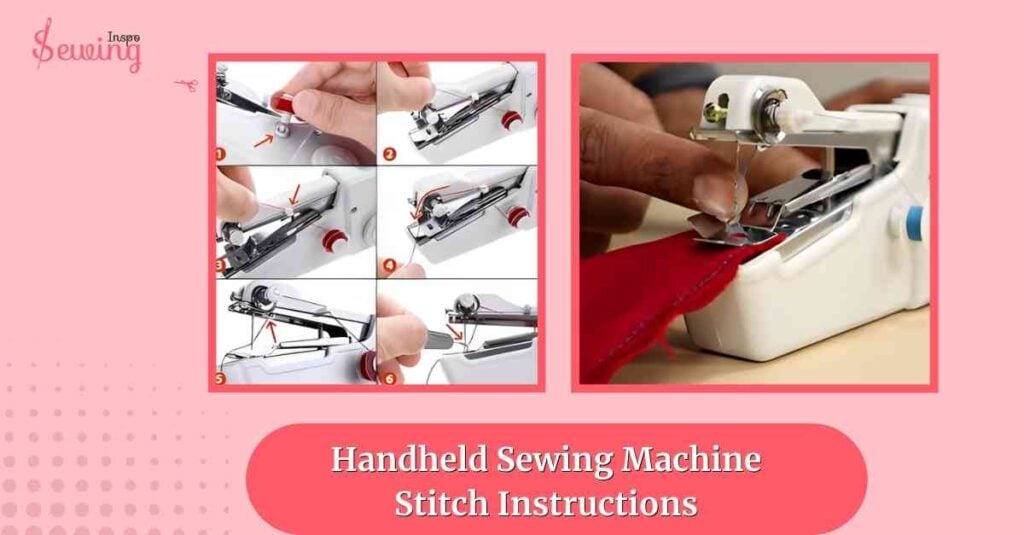
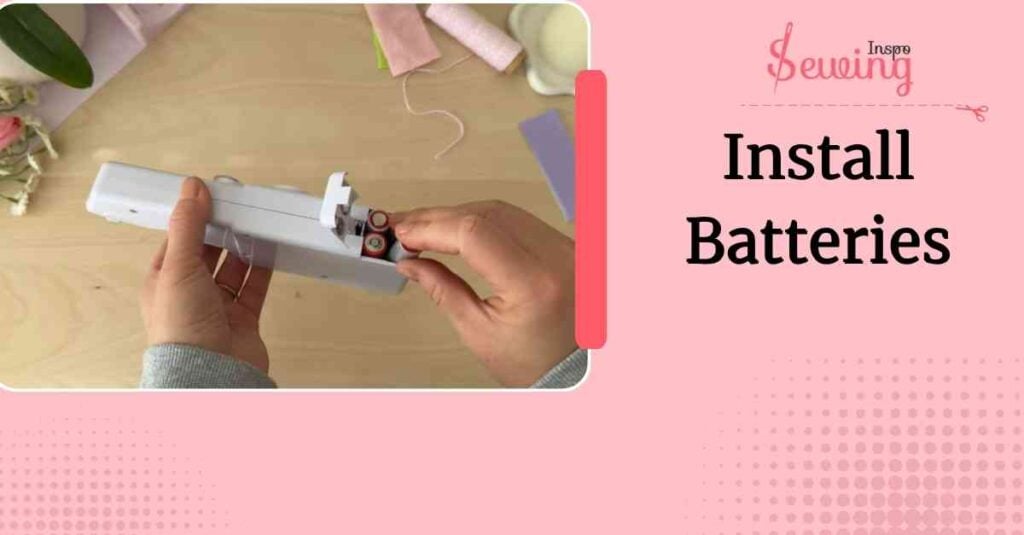
Install Batteries
This little machine runs on four AA batteries. I make sure to insert them correctly. It is positive and negative ends in the right direction.
A fresh set of batteries ensures smooth operation and consistent stitching speed like juki machine. If the machine feels weak, it’s usually the batteries.
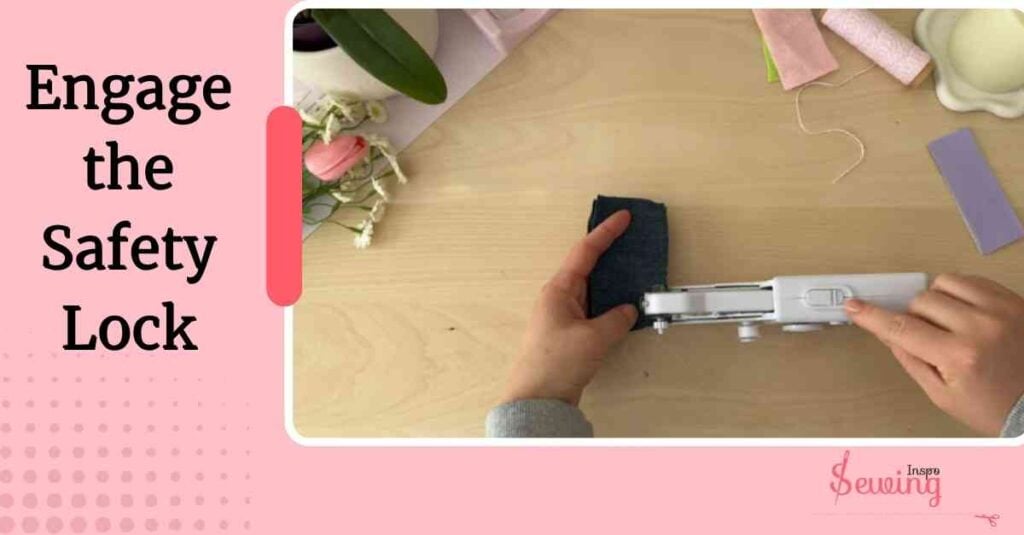
Engage the Safety Lock
At the top of the machine, there’s a safety lock. I keep it pushed toward the sewing button to lock the needle when I’m not stitching.
This prevents accidental needle movement, which is especially important when inserting or adjusting fabric.
Whenever I’m ready to sew, I just push the lock away from the button.
Adjust the Needle Position
There’s a small wheel on the side to lift and lower the needle. I use it to make sure the needle is in the correct position before starting.
It is especially if I need to reposition the fabric. This step helps prevent skipped stitches or needle jams.
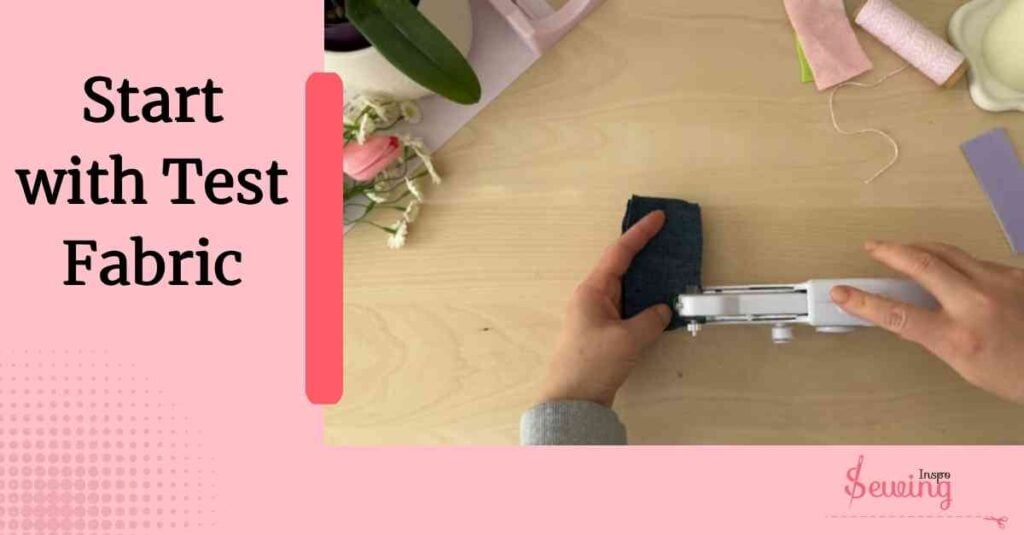
Start with Test Fabric
I like to begin with two pieces of denim. Holding the fabric carefully, I make sure my fingers are clear of the needle. I do this for the overlock stitch sewing machine.
I press the sewing button gently and let the machine glide through the fabric. This is where I check the tension and see how evenly the stitch forms.
Securing the Thread
Once a stitch line is complete, I leave a thread tail and hold it gently to prevent it from unraveling. Using the needle threader, I tie off the end on the back of the fabric.
This step is crucial because handheld machines don’t have automatic backstitching, so securing the end manually ensures your stitch won’t come undone.
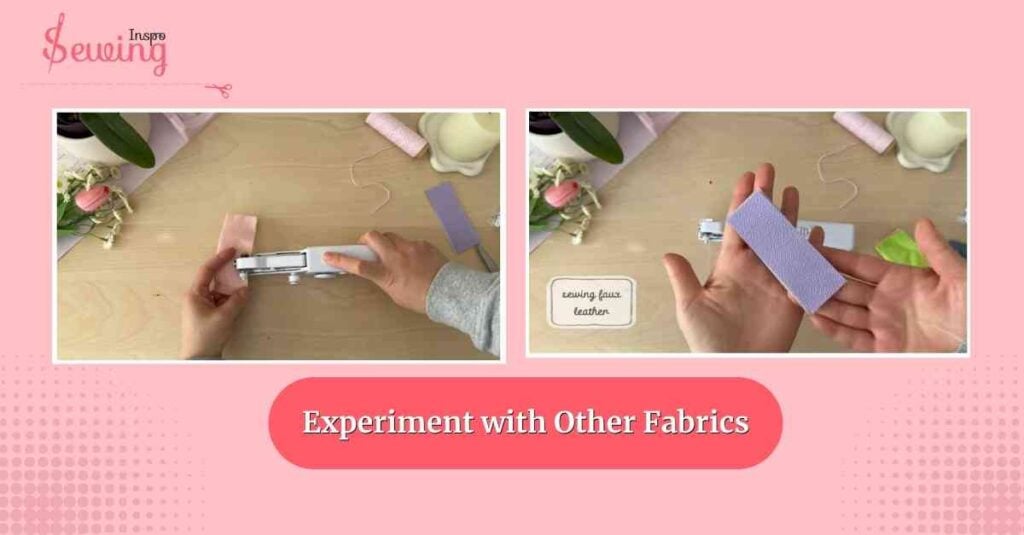
Experiment with Other Fabrics
Next, I try sewing felt. It’s thinner, so it goes through easily, but I notice the stitch line can drift a bit. This is where practice helps.
Then I test faux leather. The needle pierces it well, but I move slowly to avoid bending or breaking the needle. For delicate or thick fabrics, always go slow and steady.
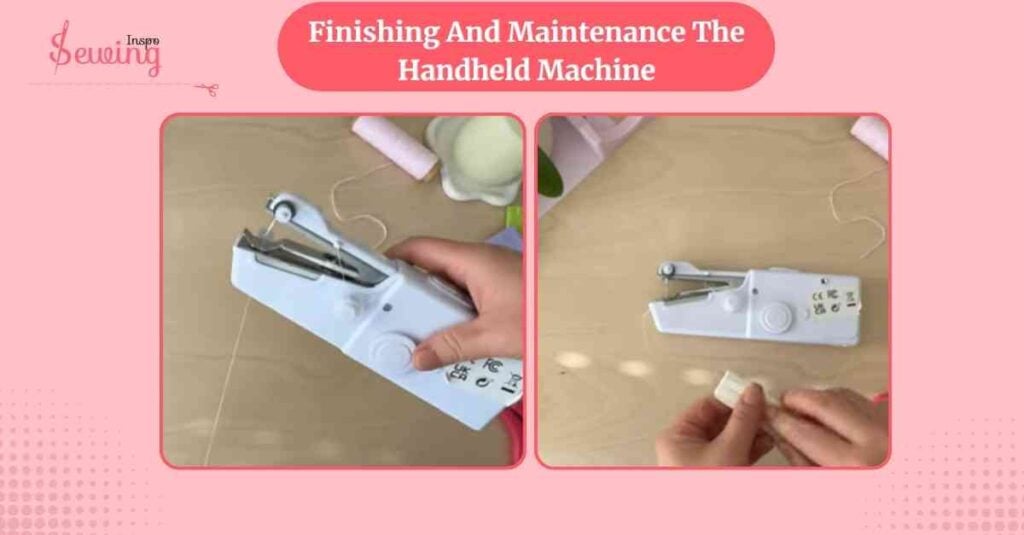
Finishing And Maintenance The Handheld Machine
After each project, I always remove the thread, wipe the machine for dust, and check the needle for any bends. This keeps it running smoothly and extends its life. Also, I store it in a safe place, out of reach of kids, since the needle is sharp.
Tips for Best Results
- Always keep your fingers away from the needle.
- Use appropriate thread for the material. Thick fabrics may require stronger thread.
- Go slow on thicker materials to avoid needle breakage.
- Practice on scraps before starting a real project.
Overall, this handheld sewing machine is perfect for quick repairs, simple DIY projects, and mini crafts. It’s not meant for long, precise sewing lines. But it’s surprisingly handy for on-the-go fixes and fun experiments.
Handheld Sewing Machine Instructions Pdf Free Download
Frequently asked questions
Can I use regular sewing machine thread on it?
Yes, standard threads work fine. For heavier fabrics, consider using stronger or slightly thicker thread to avoid breakage. Avoid very delicate threads on thick materials—they may snap.
How do I keep my stitches straight?
Handheld machines don’t have built-in guides, so take your time. Use your free hand to guide the fabric, and consider marking a line with chalk or a fabric pen to follow.
Is it suitable for permanent clothing repairs?
It works best for small repairs, quick fixes, or crafts. For full-scale garment construction, a standard sewing machine is more reliable and provides stronger, even stitches.
Conclusion
The handheld sewing machine is a handy little tool for quick fixes, small projects, and DIY crafts. While it won’t replace a full-size machine for precision work, it’s perfect for on-the-go sewing, simple repairs, and experimenting with creative projects.


Leave a Reply