Ever since I experimented with the overlock stitch on a Brother sewing machine, my inbox has not been quiet. ?
People loved the demo, but they also came back with more questions, additional requests, and a significantly larger number of machines.
“Can you try this on a Singer?”
“How about Janome?”
And most recently,
“Can the Juki blind stitch machine really make an invisible hem?”
Yes, it can. Here is how it works,
Juki Blind
To use a Juki blind stitch machine, fold the fabric for a blind hem, align it under the presser foot, select the blind stitch setting, and guide the fabric so the needle just catches the edge.
That’s why today, I’m testing out the Juki blind stitch machine to see if it lives up to the hype. Can it handle light and heavy fabrics? Does it make a clean, invisible hem? And more importantly, is it beginner-friendly?
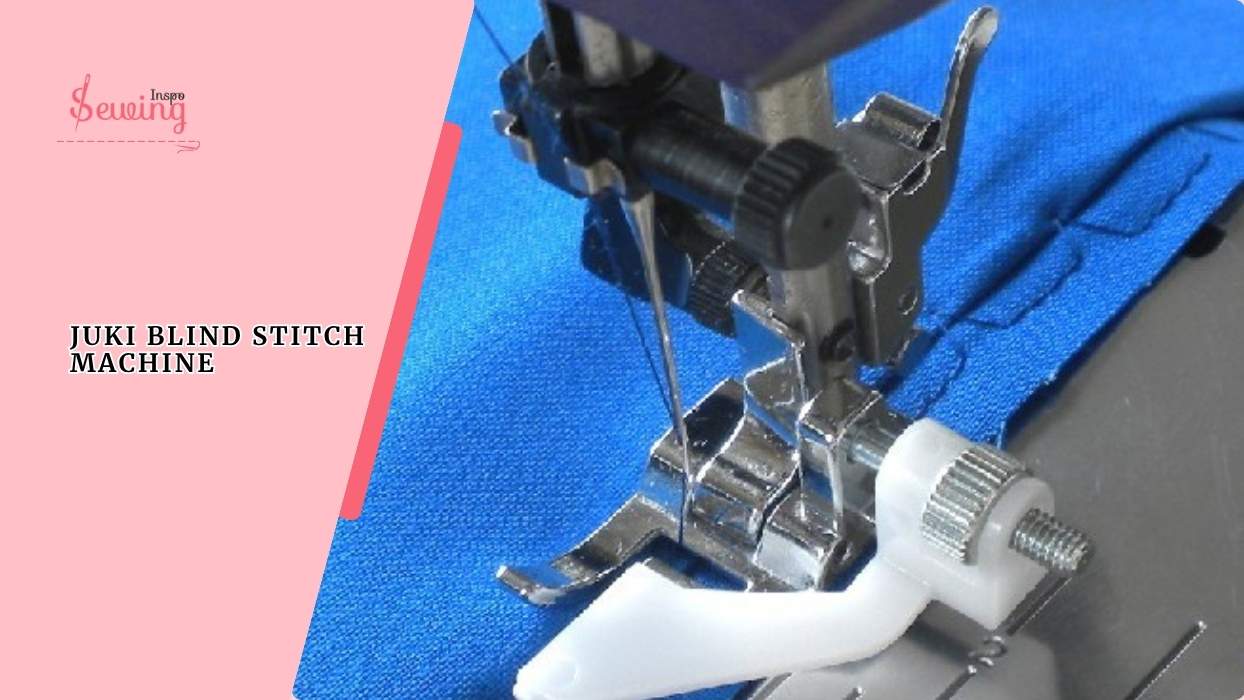
Table of Contents
What Is The Purpose Of The Blind Stitch Machine?
The purpose of a blind stitch machine is to create nearly invisible hems on garments or home decor items. It is mostly used in trousers, skirts, curtains, and dresses, with no visible stitching on the outside of the fabric. This machine also can be used as cutwork machine too.

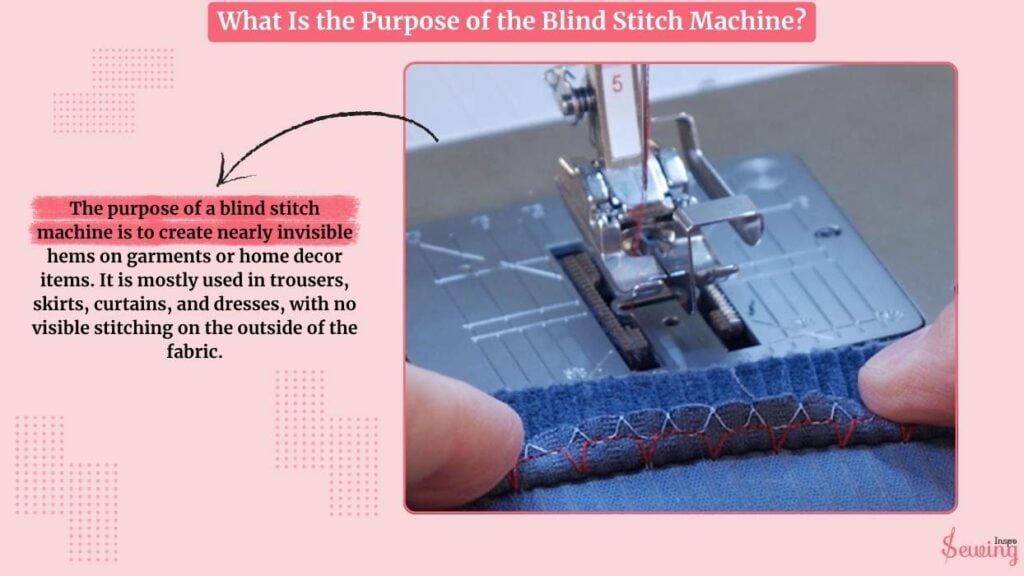
Instead of a full zigzag or straight line, it uses a unique stitch that “bites” into the fabric just enough to hold the hem but barely shows on the front. It’s perfect when you want a clean, professional finish. It is especially on formal wear or tailored clothing.
This machine is specifically designed for a blind stitch, similar to a chain stitch machine.
How To Use A Juki Blind Stitch Machine To Do A Blind Stitch?
To use the Juki blind stitch machine, follow 5 steps,
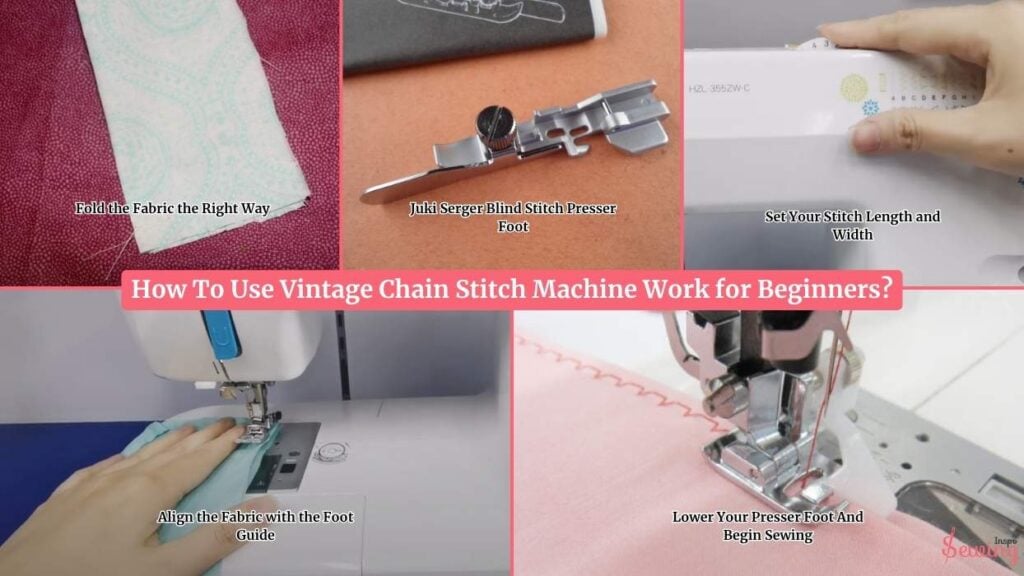
Fold the Fabric the Right Way
This is the step that most people struggle with, but once you understand it, it becomes clear. Here’s how to fold for a blind hem:
First, fold the hem up to the inside of the garment like you normally would. I typically 1″ to 2″ (2.5 cm to 5 cm) fold for blind stitch. However, the details will vary depending on your garment and style. That way, it won’t cause stitch jumping.
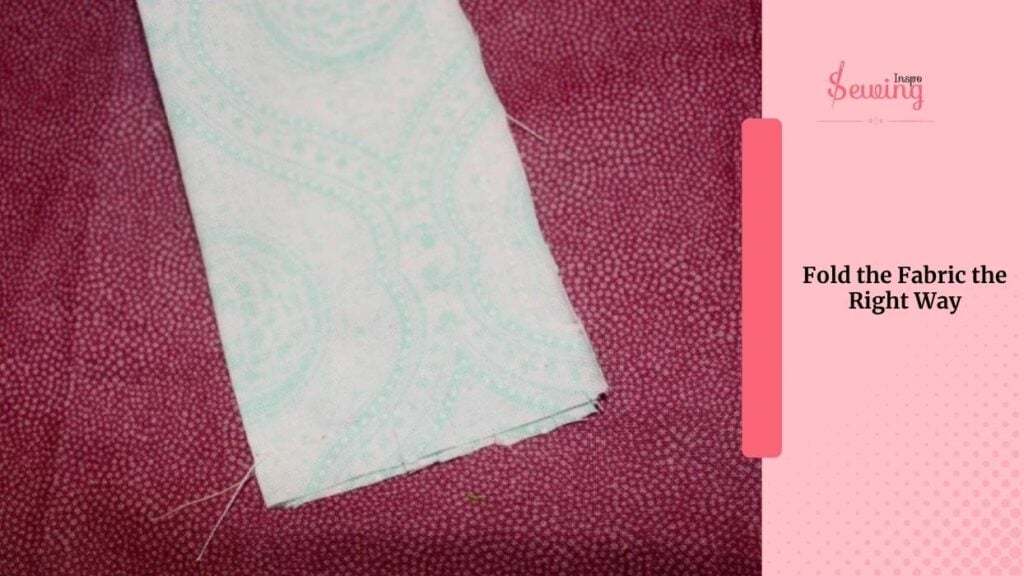
Then, fold the hem back down so that only a tiny edge of the fold is exposed at the top. That’s the part your machine will “bite.” For that, I like to keep it around 1/8″ to 1/4″ (3 mm to 6 mm). It also helps me to do a keyhole buttonhole, too.
After that, you should now see the main fabric, with just a little fold sticking up. Like any other machine stitches.
Juki Serger Blind Stitch Presser Foot
Juki Serger Blind Stitch Presser Foot helps you to get a cleaner, more controlled hems): Here’s how to attach it.
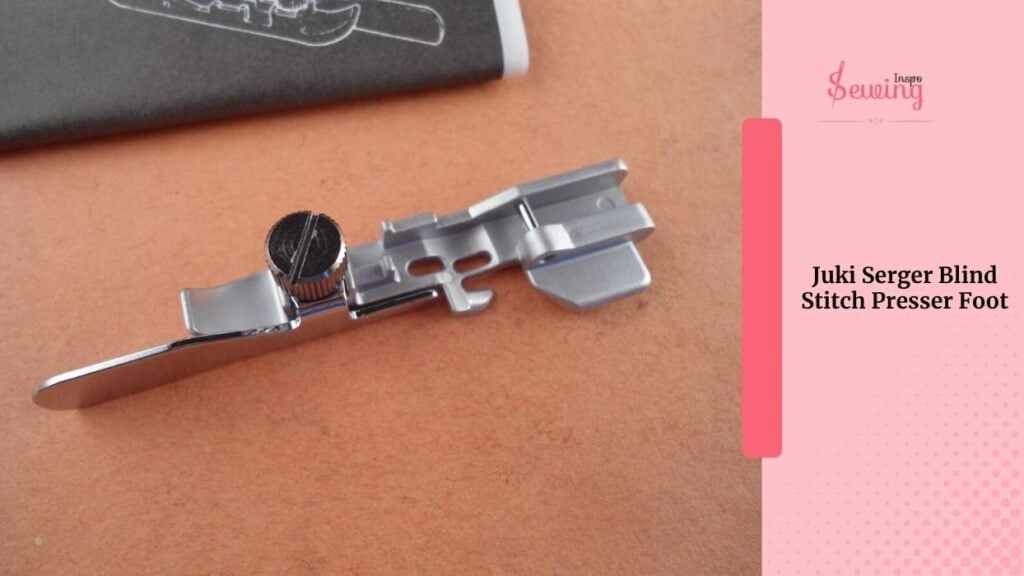
- Raise the presser foot lever to release any tension. It can help you to do a pick stitch on a machine.
- Unscrew or unclip the current presser foot (depending on your model).
- Slide the Juki blind stitch foot into place under the presser foot holder bar. You can even use it on a tack machine.
- Tighten the screw or snap it in, ensuring it’s secure and centered.
Once it’s on, lower the presser foot lever and test how the foot guides up with your fabric fold.
Set Your Stitch Length and Width
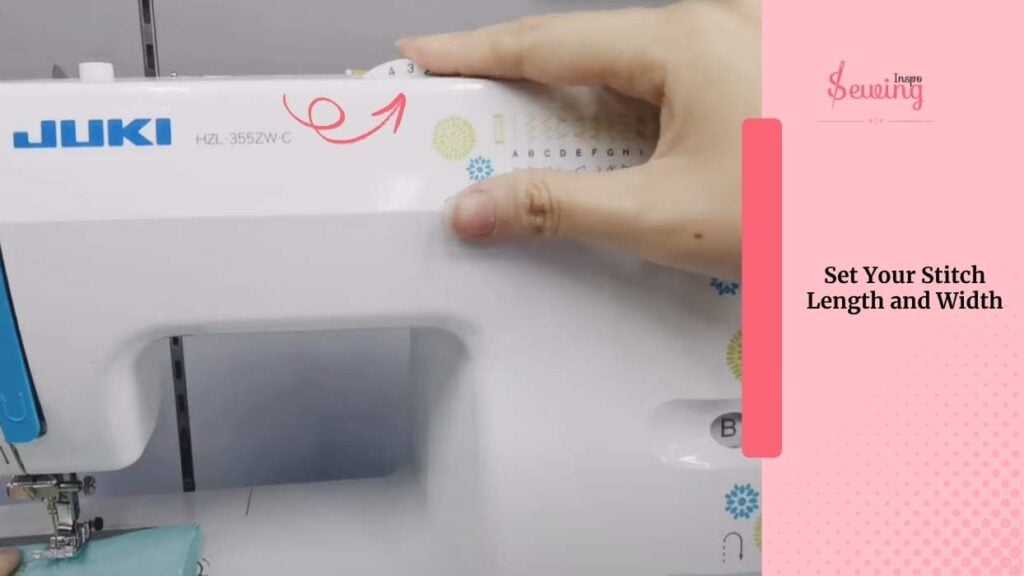
The blind stitch isn’t just a decorative feature. It’s technical. Here’s a good place to start. Set it between 2.5 mm to 4 mm, depending on your fabric.
Typically, a diameter of around 3.5 mm to 4.5 mm is suitable. This controls how far the needle swings to “bite” into the fold.
Align the Fabric with the Foot Guide
Place the folded edge under the foot so that the small vertical blade or guide on the foot sits directly against the inner folded edge. That edge acts as a wall. The needle will stitch straight until it hits the fold, take a “bite,” and return to the inner hem. At a glance, it looks like a blanket stitch on sewing machine.
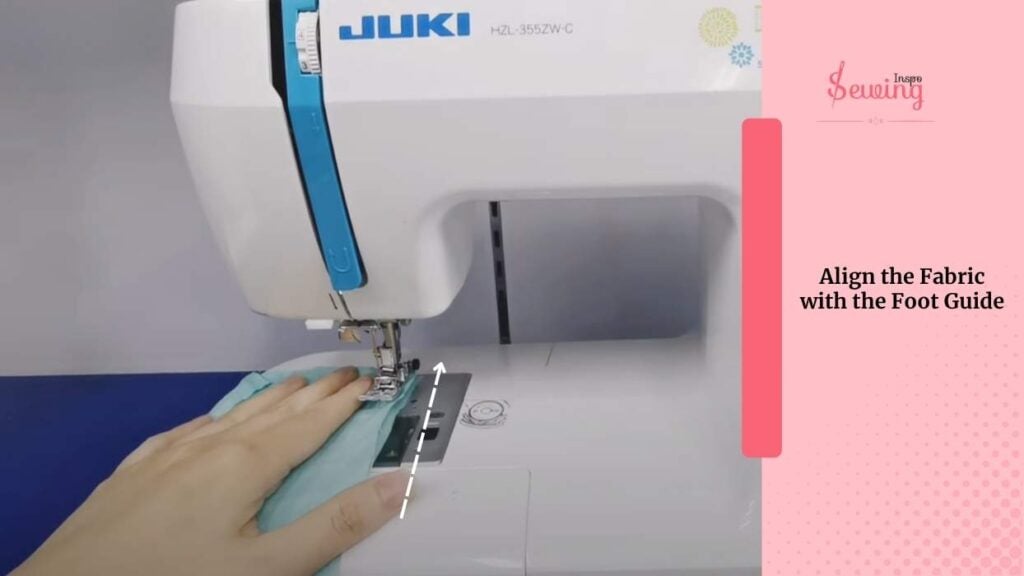
- You want the guide to sit snugly at the fold line, not riding on top of it. You can do it on edge stitch, too.
- The exposed hem underneath should measure around 6 mm to 8 mm.
Stat to remember: The needle should catch about 1–2 mm of the main fabric fold during the zigzag “bite”. Just enough to hold the hem, but not enough to show through.
Lower Your Presser Foot And Begin Sewing
Once everything is lined up, lower your presser foot and begin sewing at a slow, steady pace. No need to rush—it’s all about precision here. The blind stitch follows a simple pattern:
A few straight stitches along the hem, then one gentle “peek” of a zigzag into the folded edge.
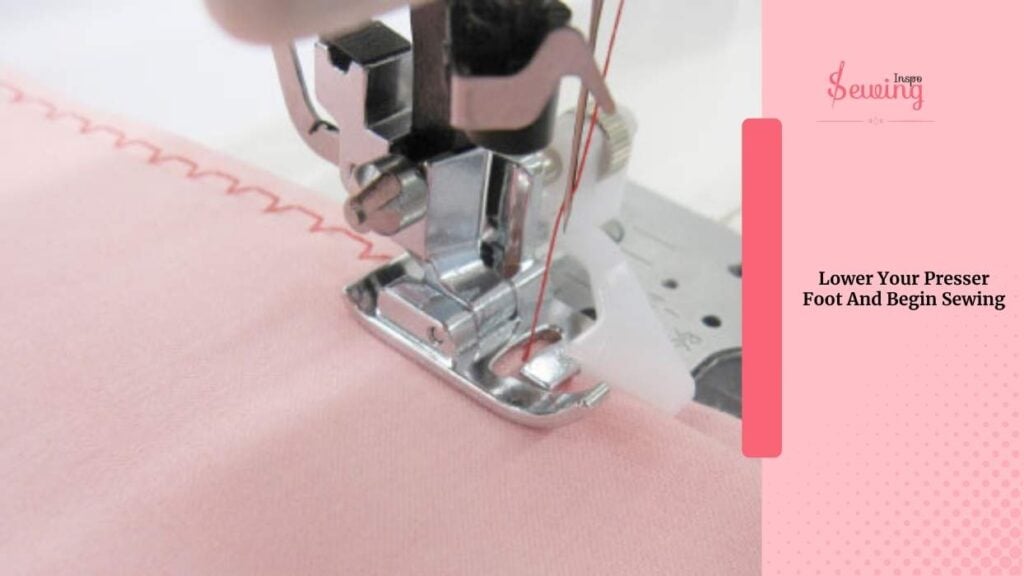
Think of it like a calm rhythm: tap-tap-tap nudge, tap-tap-tap nudge
The “nudge” is where the needle just barely catches the main fabric. That’s what holds the hem in place while staying mostly invisible from the outside. And that’s how to end a stitch sewing machine.
Juki Blind Stitch Machine Video Tutorial
Frequently Asked Questions
What fabrics work best for blind hemming?
Medium to heavy woven fabrics like wool, denim, linen, or cotton twill are ideal. Light and sheer fabrics can still be used, but you’ll need a finer needle, thread, and extra patience to ensure the stitches stay hidden.
Can I do a blind hem on stretchy fabric?
Yes! However, ensure your Juki machine has a stretch blind hem stitch (a more flexible version with extra zigzags), or use a woolly nylon thread in the loopers if you’re serging. It’ll move better with knits.
What’s the best stitch length to use?
Somewhere between 2.5–3.5 mm is the sweet spot for most medium-weight fabrics. You can go shorter for a tighter, neater finish, or longer for thicker materials.
Final Thought
So, yes, that’s how the Juki blind stitch machine works. Do you have any questions left? If you do, then feel free to let me know.


Leave a Reply