
‘can a regular sewing machine do serging?’ one of my sewinginspo students asked me this question with a curious eye.
Serging In Regular Sewing Machine
Well, technically no, A regular sewing machine can’t do real serging because it doesn’t have a blade to trim the fabric while sewing. But, with a trick, you can mock some of the serger stitch.
How does it work? Well, if you want it to look more like a real serger stitch, use an overlock or overcast foot.
And when you’re sewing stretchy fabric, a zigzag stitch works great because it lets the fabric stretch without breaking the thread.
She looks so hooked that I decide to make a detailed note.
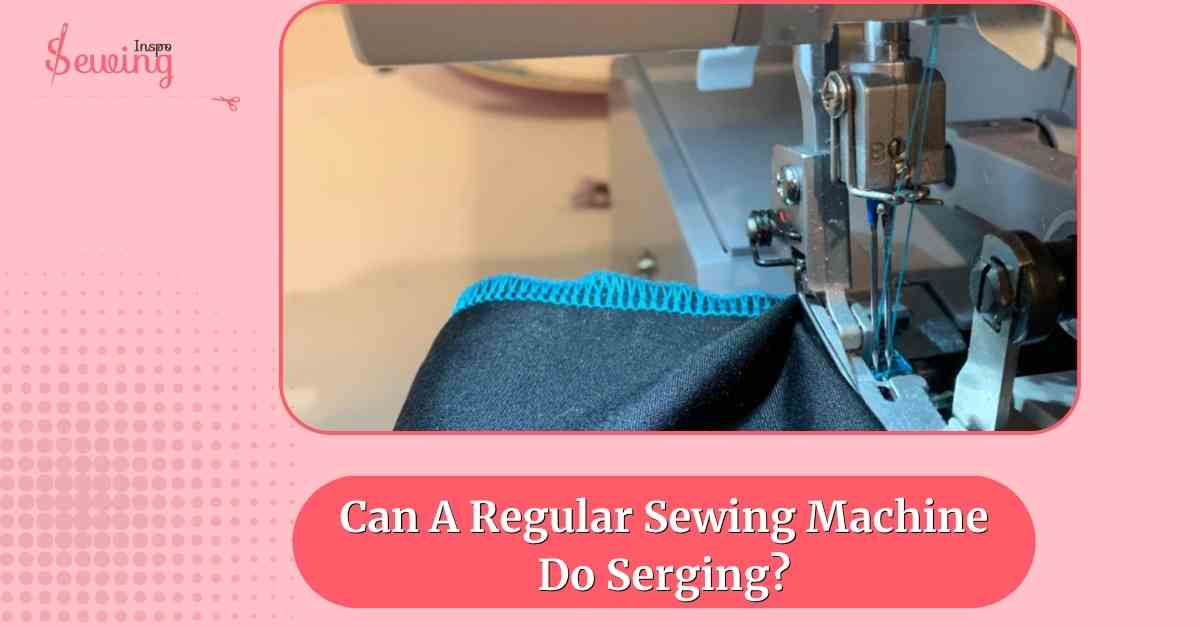
Table of Contents
Can A Regular Sewing Machine Do Serging?
Not really, a regular sewing machine can’t do true serging like serger machine.
Why? Well, a serger (also called an overlocker) is a completely different type of machine built to do 3 things at once:
- Trim the Fabric Edge,
- Stitch Over It With Multiple Threads,
- Lock The Seam To Prevent Fraying.
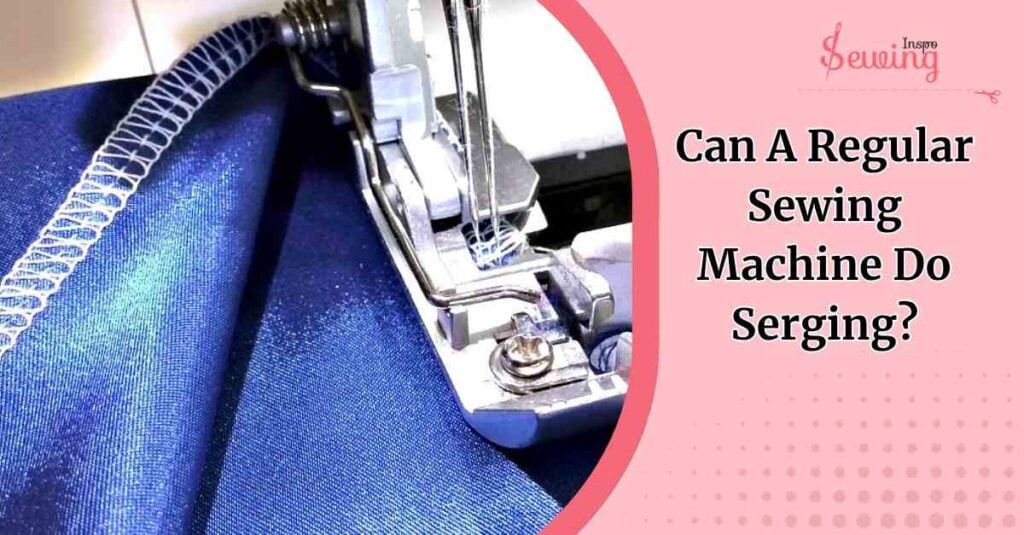
It uses loopers instead of bobbins, and most models have 3 to 5 threads. It makes the stitches stretchy and super strong. It is perfect for knits or professional-looking seams.
A regular sewing machine, on the other hand, doesn’t have a blade to trim the fabric or loopers to wrap the thread around the edge. It usually works with just one needle and one bobbin thread.
So, even though it’s great for straight or zigzag stitches. It simply can’t replicate the way a serger encloses the edge while cutting.
But wait a minute! There is a trick! You can still do it. Let me show you how.
How To Do A Serging Stitch On A Regular Sewing Machine?
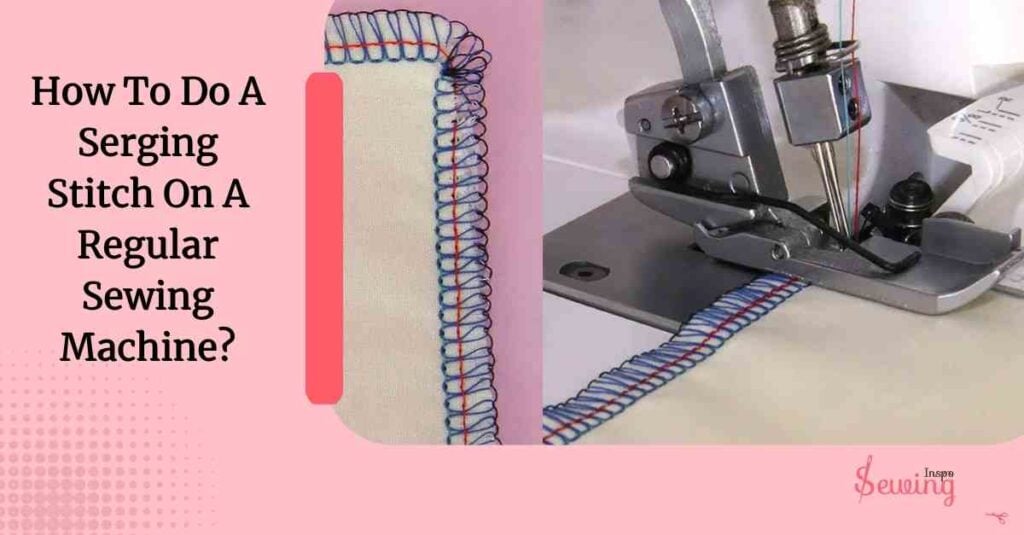
You can still mock a serged finish using your regular machine. Just switch to a zigzag or overcast stitch along the edge to stop fraying. If you use an overcast or overlock presser foot.
Here is how it works-
Fit an Overcasting or Overlock Foot
An overcasting foot is designed to mimic the way a serger wraps thread around the fabric edge. It has a small metal bar in the center and a wide side opening. It is the hero of mimic serger.
Here’s how to set it up and use it properly:
- Turn off your sewing machine (safety first).
- Raise the presser foot lever and the needle.
- Press the small black button or lever behind the current foot to release it.
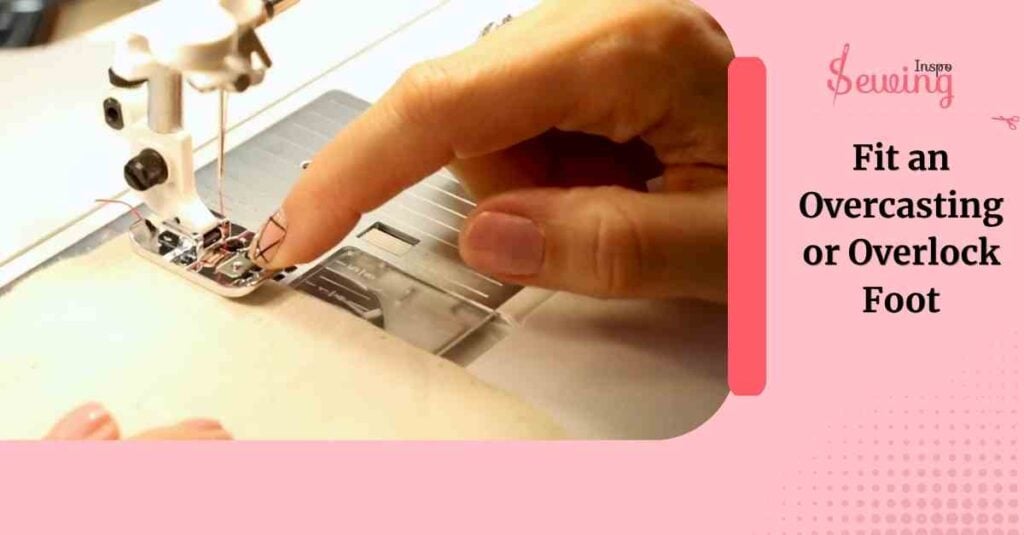
- Snap the overcasting foot onto the shank. You’ll hear a soft click when it locks in place.
- Make sure it’s sitting flat and secure; if it wobbles, it’s not clipped in right.
- Place your fabric so that its raw edge lines up with the small guide bar
This guide helps you keep a consistent distance from the needle to the fabric edge. It is important for an even, professional finish. That’s where the difference between sewing machine and serger is so looking.
Choose Your Stitch And Machine Settings To Mimic Serger
To mimic serging on a regular sewing machine, I usually start with a zigzag stitch. I keep the width of about 3–5 mm and a length of 1.5–2.5 mm works well for most fabrics.
If your machine has an overcast stitch, that’s even better; set it slightly narrower (around 2–3 mm) for a cleaner edge.
For stretch fabrics, I prefer a three-step zigzag since it allows flexibility without breaking threads. Keep your thread tension moderate.
Adjust only if you see loops or puckering.
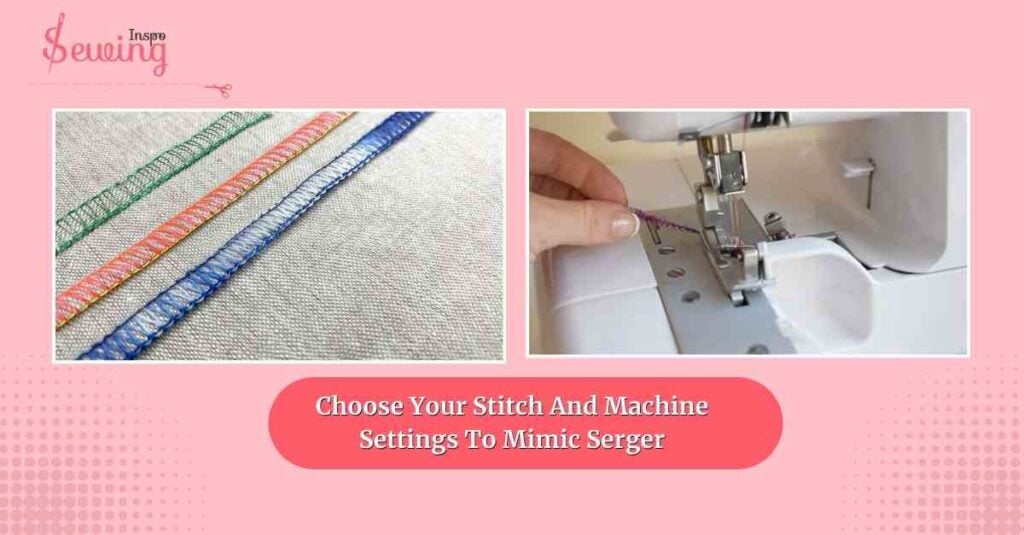
And always test your stitch on a fabric scrap first to make sure it wraps neatly over the edge before working on your final piece.
Stitch The Raw Edge
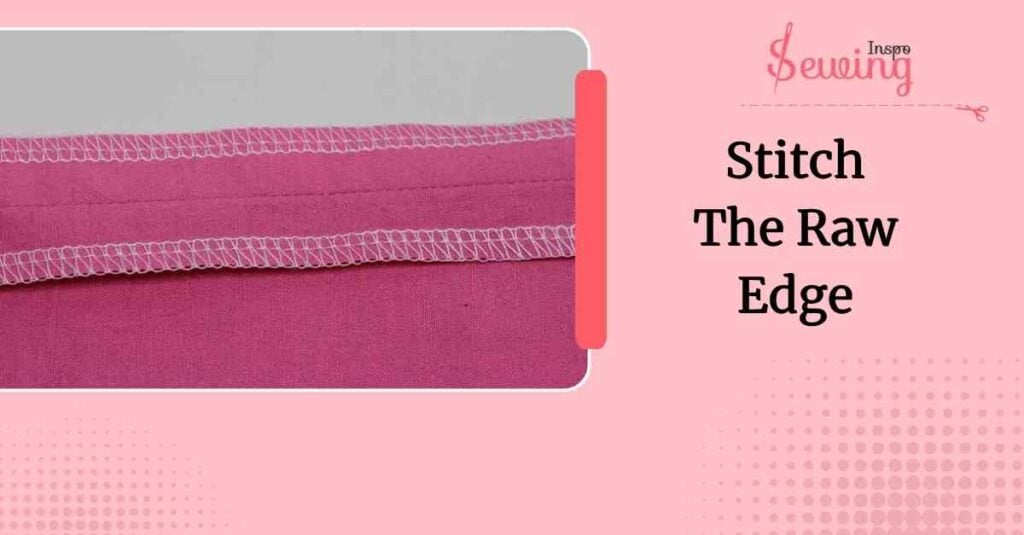
Feed the fabric so the needle hits just off the raw edge (or slightly onto the edge depending on the foot). Sew slowly and evenly. Keep the edge guided by the foot. Don’t pull or push the fabric; let the feed dogs move it.
Trim The Seam
For a cleaner, more serger-like look, trim the raw edge close to the stitch after sewing. Use sharp scissors or small trimming shears.
Don’t cut too close.
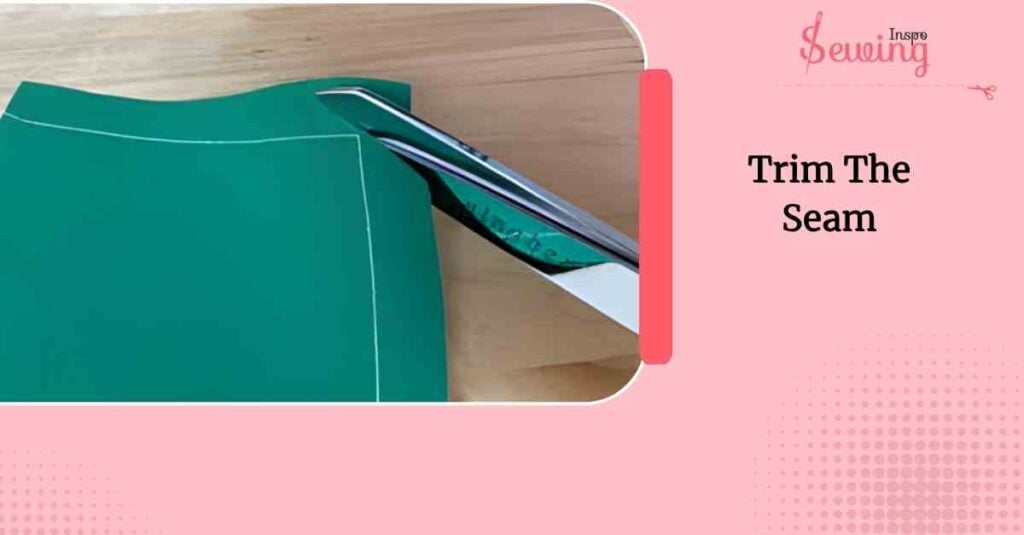
Leave a tiny bit of fabric so the stitches still have material to hold. If you prefer no trimming, the overcast stitch alone will secure the edge.
Finish Corners And Curves
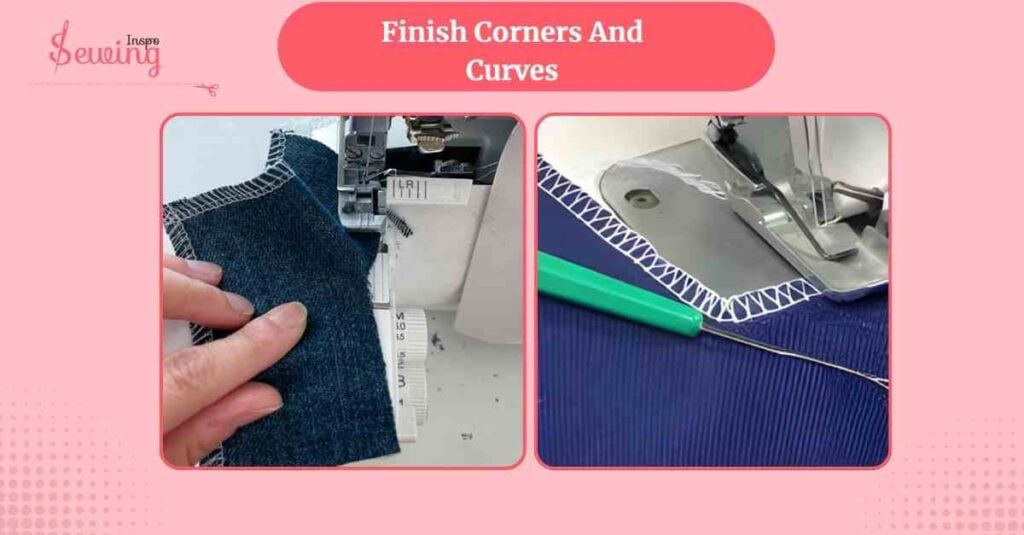
At corners, stop with the needle down, lift the presser foot, pivot, lower foot, and continue. For tight curves, shorten the stitch length and sew slowly so the stitches follow the curve smoothly. Clip curves lightly (notches) to reduce bulk.
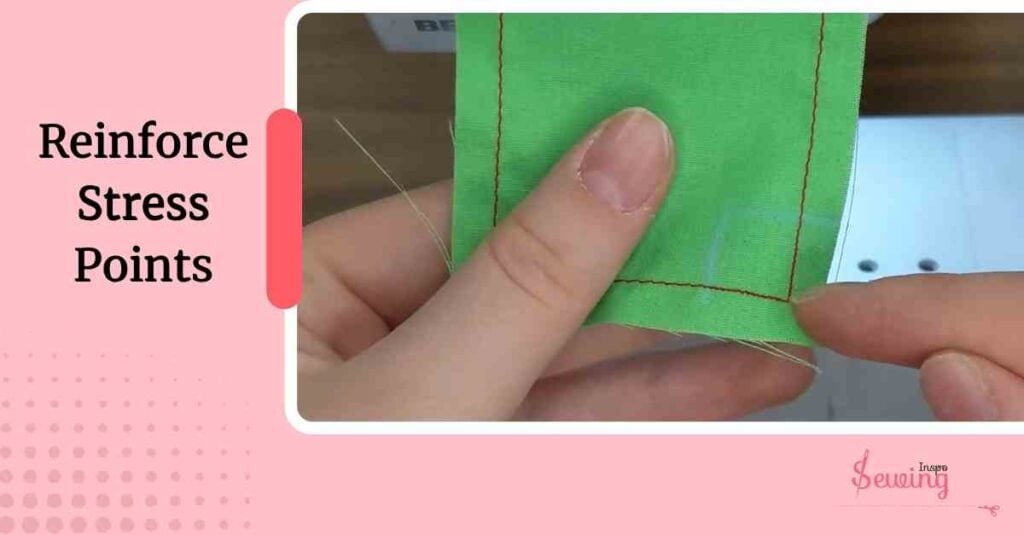
Reinforce Stress Points
If the seam will take stress (armholes, crotch), go back and reinforce with a short reinforcing stitch or a little bar tack where needed.
Can I Use Serger Thread On A Regular Sewing Machine?
Yes, you can use serger thread on a regular sewing machine. But there are a few things to keep in mind.
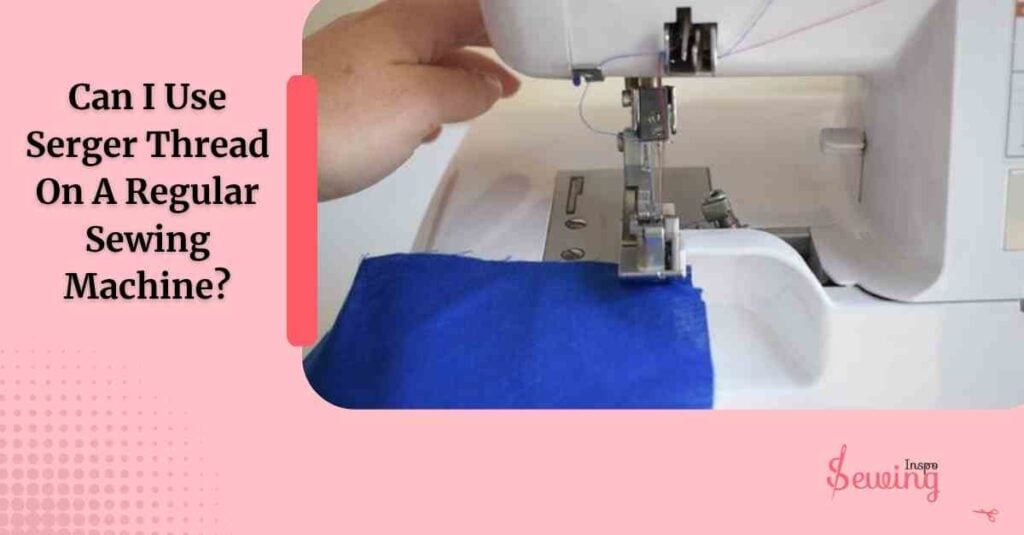
Serger thread is usually finer and lighter than standard sewing thread. It helps it run smoothly at high speeds on a serger.
On a regular machine, it works best for topstitching, decorative stitching, or lightweight fabrics. Make sure to adjust your tension and use a compatible needle to avoid breakage or skipped stitches.
Always test on scrap fabric first.
Frequently Asked Questions
Do I need to change my machine tension?
Yes, adjusting the tension is recommended. Serger thread is thinner and smoother, so reducing tension helps prevent skipped stitches and thread breakage.
Is serger thread better for stretchy fabrics?
Yes, it works well with stretch fabrics because it’s smooth and allows for some give in the seams, similar to how a serger would handle stretchy material.
Conclusion
In short, you can use serger thread on a regular sewing machine, but it works best for lightweight or stretchy fabrics.
Just make sure to adjust your tension, choose the right needle, and keep in mind it’s not ideal for heavy seams. It’s a handy trick for a smoother, more flexible finish without a serger.


Leave a Reply