Sewing the edge of fabric is the most confusing one. A wrong stitch can ruin the whole dress. So I was sitting on the edge, not knowing what to do. Cause i am new to machine stitches/ overlock stitches.
Without bragging, I called my machine stitch expert, Jeo, and asked for a rescue. He said, Do an overlock stitch on the sewing machine. Why are you so worried about it?’
I don’t know how to do it, so I asked him to explain it,
To overlock stitch on a sewing machine, select the overlock stitch option and guide the fabric through the machine while adjusting the stitch width and length.
His explanation sounds so easy, so I decided to give it a try like machine lockstitch. Here is how overlock stitch on sewing machine went.

Table of Contents
Can I Do An Overlock Stitch On A Sewing Machine?
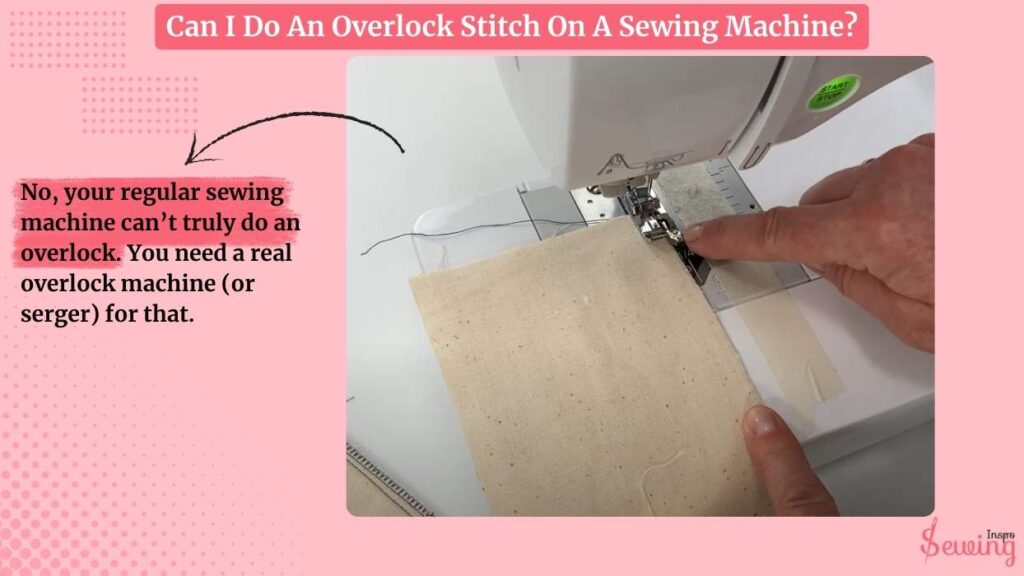
No, your regular sewing machine can’t truly do an overlock. You need a real overlock machine (or serger) for that. That’s why the overlock stitch is often called the serger stitch. Honestly, this is kinda tricky machine embroidery stitches.
A serger uses multiple threads and needles, and it actually trims the fabric as it sews. That’s something a basic sewing machine just can’t do, just like a machine can’t do ladder stitch.
Some people try using the “H” stitches on their sewing machines to create a faux overlock effect (similar to a serger stitch on sewing machine).
Honestly, though, every time I’ve tried that, it just stretched out my fabric and made a mess, so I personally don’t bother with it anymore. That’s how overlock differs from flatlock.
But that doesn’t mean you can’t do overlock without a serger. You can just apply a trick😉 like a mock overlock stitch.😉
How To Use Overlock Stitch On Sewing Machine?
The internet is filled with tutorials on doing an overlock stitch with a serger. But my machine did have a serger. 😑 But insist on worrying, I found a way to do an overlock stitch on a sewing machine without a serger.
Here is how it went,
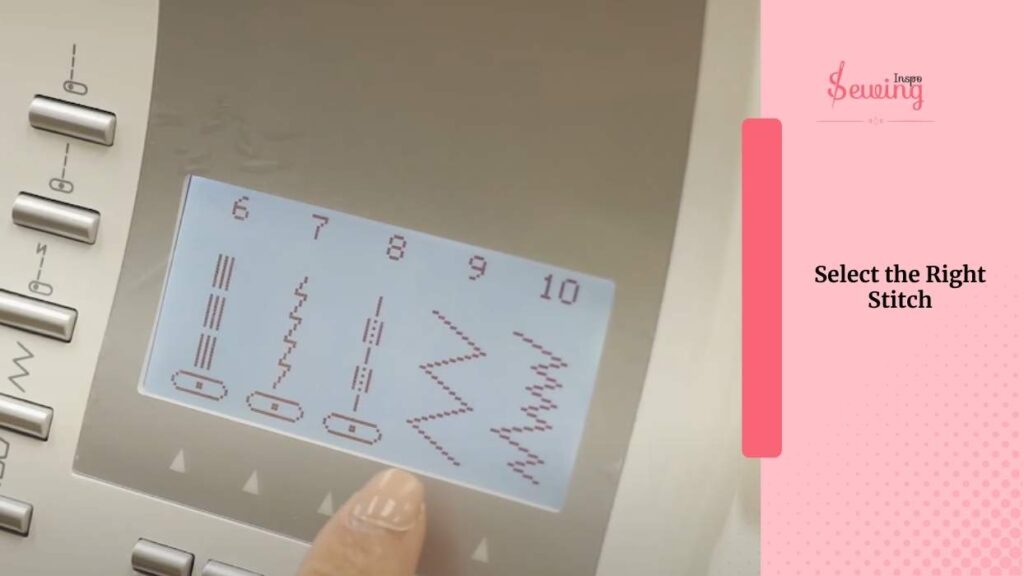
Select the Right Stitch
I start by selecting the overlock stitch on my machine. Some machines have a built-in overlock stitch (which resembles a zigzag with multiple threads), while others may require you to use a regular zigzag stitch or an overcast stitch setting.
On my machine,
I pick the overlock stitch (often labelled as Stitch 14 or something similar). If your machine doesn’t have this specific stitch, a basic zigzag will work, but the overlock stitch is usually more effective at securing edges.
Set the Stitch Width
Next, I adjust the stitch width. I want a width that is wide enough to cover the raw fabric edges completely, but not so wide that it makes the fabric bulky.
For most projects,
I set the width to around 3 mm. If I’m working with a delicate fabric or smaller seams, I might go down to 2 mm. This length is even perfect for stretch stitch, excess seam allowance or even stretch fabric.
For thicker fabrics, I go wider to ensure the stitch securely wraps the edge. The key is to make sure it fully covers the raw edges to prevent fraying.
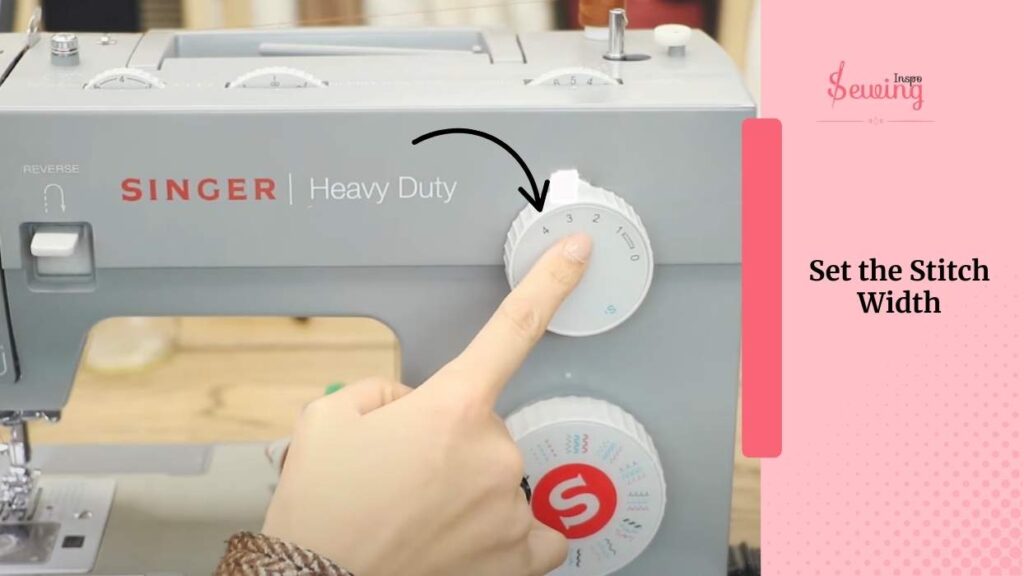
And if you want more visible edge finishes, go wider (around 4–5 mm). For a more subtle and neat look, keep it narrower (2–3 mm).
Set the Stitch Length
Now it’s time to adjust the stitch length.
I set mine to 1.5 mm because it’s a good balance between tightness and speed.
The shorter the length, the more tightly the stitches will form, which is excellent for securing fabric edges.

If the stitch length is too long, the stitch will look more like a regular zigzag, and it won’t give that clean overlock finish I’m aiming for.
Tip: A shorter stitch length will give a denser, tighter overlock, which is great for heavier fabrics. A longer stitch length is better for lightweight fabrics, but it may not prevent fraying as well.
Place the Fabric Under the Pressure Foot
With the settings ready, I place my fabric under the presser foot. I’m making sure the raw edge is aligned with the guide for the overlock stitch.
I keep the edge slightly to the right of the foot’s edge so the stitch covers it entirely as it stitches along. It’s essential that I don’t pull or push the fabric just like a chain stitch embroidery machine.
If I do that, the stitches might get stretched or uneven, which can mess up the overlock finish. I just let the machine feed the fabric through naturally while I gently guide it to keep the edges neat.
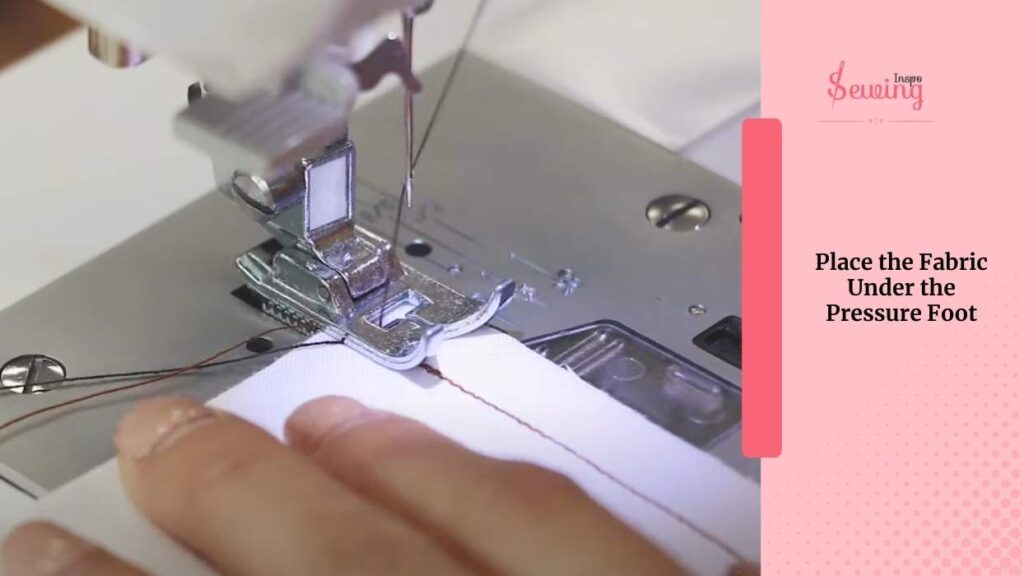
Tip: Keep the fabric flat and smooth under the presser foot for the best stitch formation. If you have to, gently guide it without pulling or pushing it.
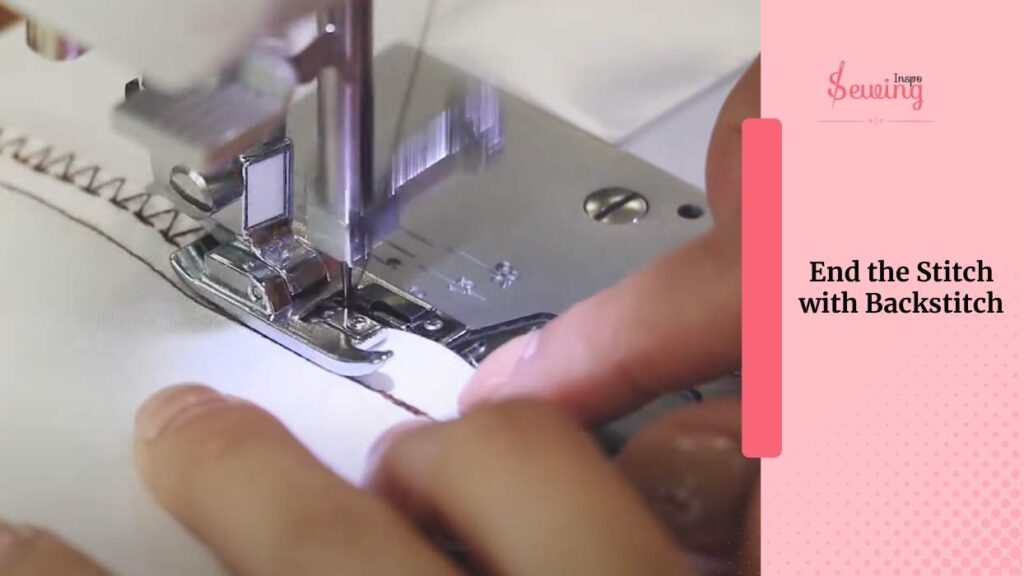
End the Stitch with Backstitch
When I reach the end of my stitching, I make sure to secure the thread so it doesn’t unravel. For more durability, especially on items like garments, I do a few tiny backstitches.
If I’m finishing a decorative piece or an item where I want a cleaner finish, I pull the thread tails to the back with a needle and tie them off.
If I’m working on a decorative project, I prefer to tie off the threads at the back for a seamless, professional finish that doesn’t show any knots or ends at the front of the fabric. If you want some extra security, then do a double overlock stitch sewing machine.
Overlock Stitch On Sewing Machine
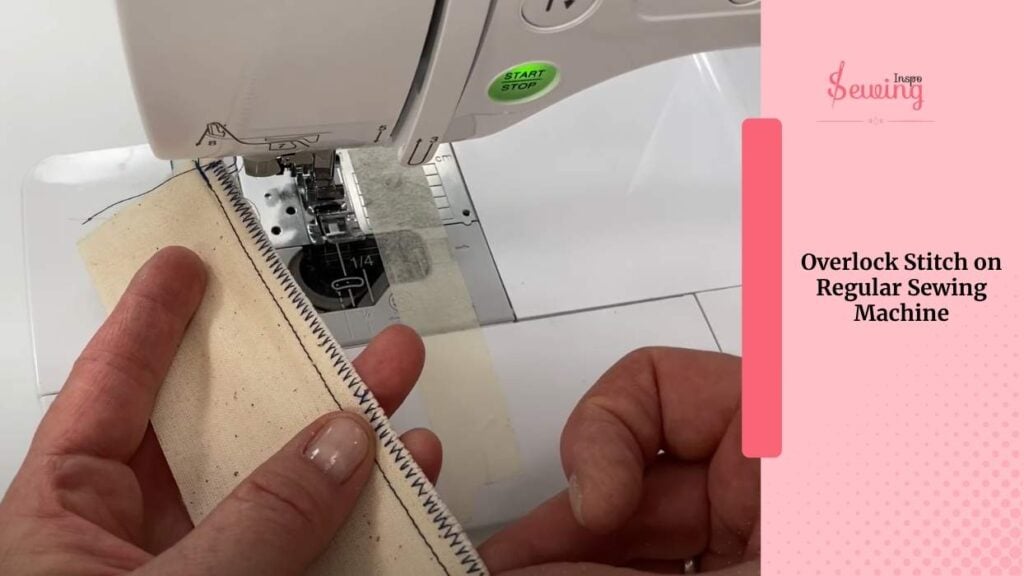
I know not everyone has a special overlock stitching machine. But had to do an overlocked seam from time to time. No worries, you can do it on a normal sewing machine. Here is how,
if your machine has one (usually marked with a little zigzag-and-straight combo icon). Pair it with an overcasting presser foot (it has a little metal bar in the middle) to guide the fabric edge.
But,
If your machine doesn’t have that stitch, no stress—use a zigzag stitch close to the edge of the fabric. It won’t trim like a serger. However, it’ll still protect your fabric from fraying and provide a clean finish to your seams.
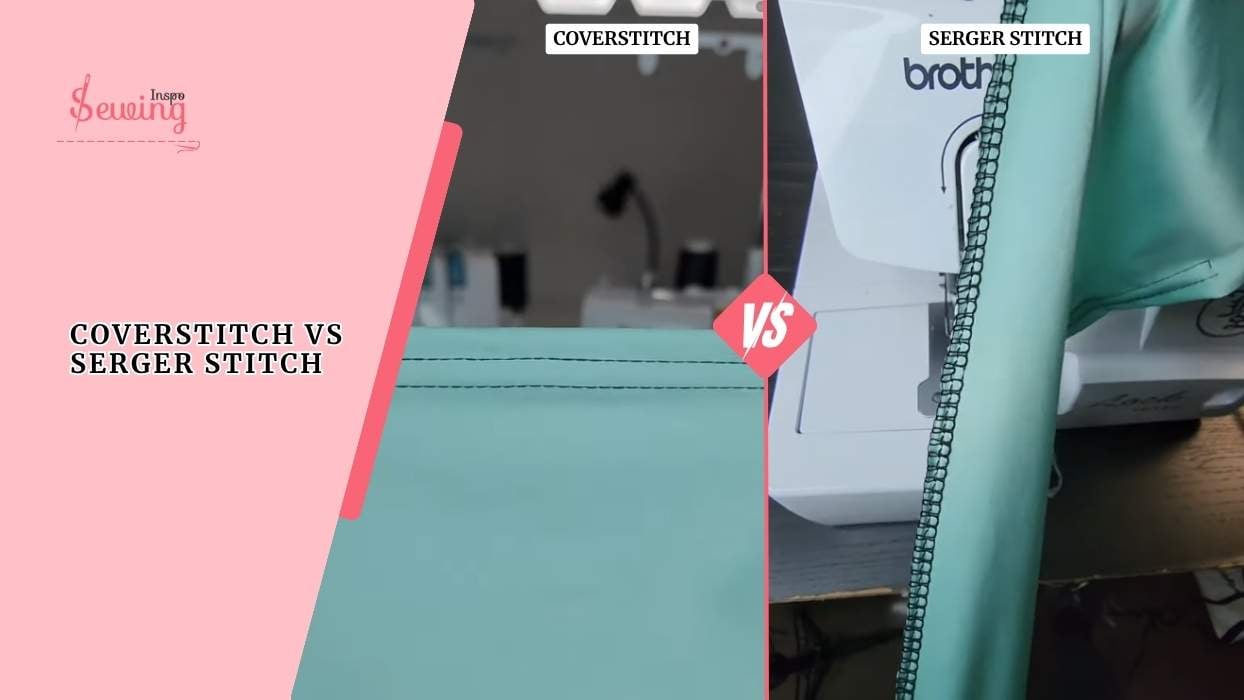
People got confused about coverstitch vs serger. If you are one of them then read this article out.
Frequently Asked Questions
What stitch should I use to fake an overlock stitch?
You can try using the “overedge” stitch or the “H” stitch if your machine has it. It creates a zigzag-like pattern that wraps around the fabric edge. It won’t cut the fabric like a serger, but it can help prevent fraying.
Does a faux overlock stretch the fabric?
It can, yes — especially on lightweight or stretchy fabrics. Many people (me included!) find that sewing machine overlock look-alikes can sometimes stretch or distort the fabric if you’re not careful with tension and settings.
Do I need special thread for overlock-style stitching?
Nope, regular polyester sewing thread usually works fine for faux overlock stitches. If you’re using a real serger, you might switch to cone thread, but for a basic machine, standard thread does the job.
Conclusion
After that trick, I never really stopped using the overlock stitch on the sewing machine. I never look back to another stitch to secure fabric edge.


Leave a Reply