
After learning what blanket stitches are, my thoughts instantly went to search for the types of blanket stitches. Surprisingly, there are 15 different types of blanket stitches. This is another versatile stitch. Among all those types, the most interesting ones are-
Blanket Stitch Variations
- Closely packed blanket stitch
- Double blanket stitch
- Boxed blanket stitch
- Closed blanket stitch
Sounds interesting? Others are more interesting, too. Let’s discuss it below and get you a clear idea of what are the types of blanket stitches.
Key Takeaways:
- There are 15 kinds of blanket stitch.
- Double blanket stitch is easy for them cause it is just blanket stitch but done twice.
- Mirror blanket stitch 2 blanket stitch facing each other.
- You can create 3D effects on embroidery with a blanket scallop stitch.
Table of Contents
What Does A Blanket Stitch Look Like?
Before we get into types, let’s get to know the blanket stitch a little. And the easiest way to know something is to understand it.
A blanket stitch looks like a series of evenly spaced vertical “legs” extending from the fabric edge, with horizontal loops connecting them at the top.

These loops sit neatly along the edge, creating a secure and decorative border that’s both functional and attractive.
But does it look the same on both sides? Not quite.
On the front of the blanket stitch,
Those signature loops form a clear, decorative pattern along the edge.
The back side,
It reveals a cleaner, more minimal design with diagonal or slightly curved threads.
15 Types Of Blanket Stitch / Blanket Stitch Variations
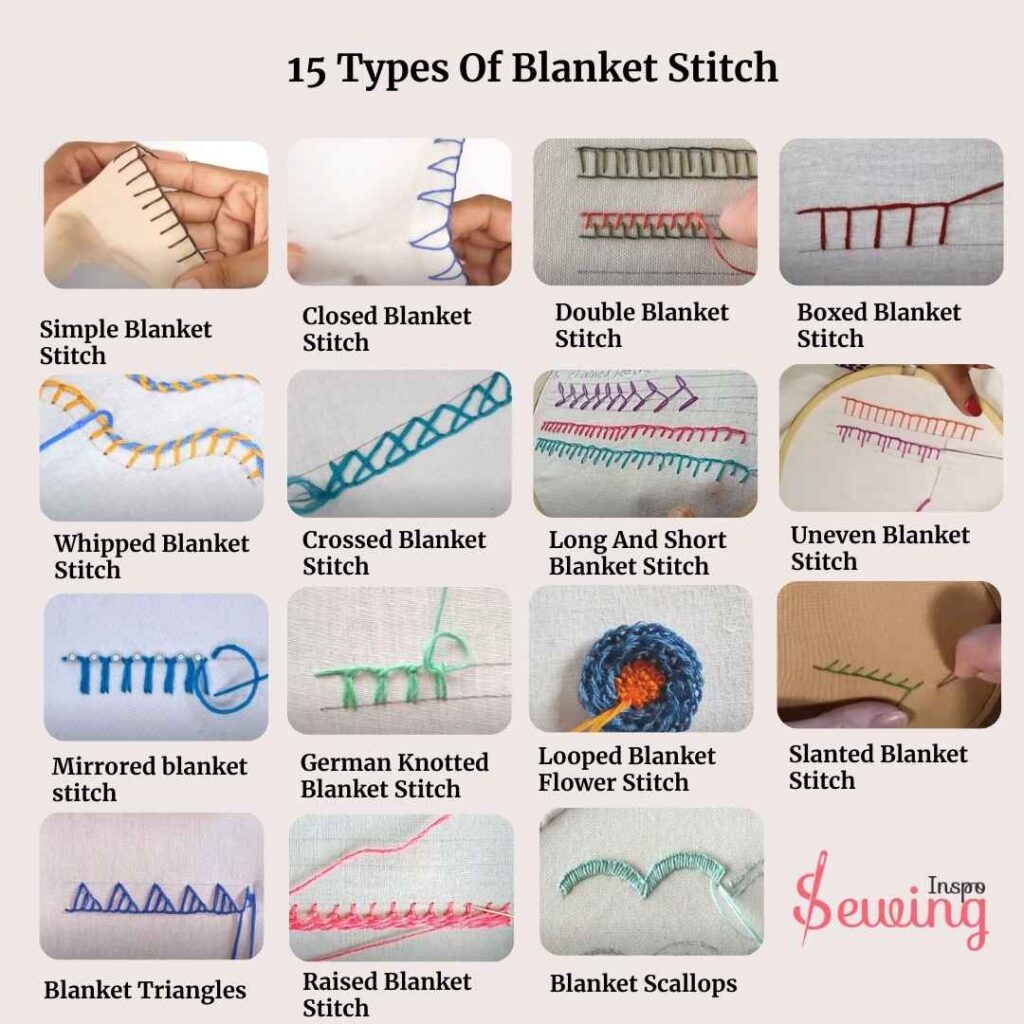
There are 15 versions of blanket stitch such as:
- Simple Blanket Stitch
- Closed Blanket Stitch
- Double Blanket Stitch
- Boxed Blanket Stitch
- Whipped Blanket Stitch
- Crossed Blanket Stitch
- Long And Short Blanket Stitch
- Uneven Blanket Stitch
- Mirrored blanket stitch
- German Knotted Blanket Stitch
- Looped Blanket Flower Stitch
- Slanted Blanket Stitch
- Blanket Triangles
- Raised Blanket Stitch
- Blanket Scallops
Now, let’s learn all the blanket stitch variations one by one.

and here is Blanket Stitch Variations Embroidery!
here is Blanket stitch variations edging!

Simple Blanket stitch
Blanket stitch is an even speed loop stitch along with fabric edge. Simple stitches are mostly straight stitches if you do it with the right sewing tools.
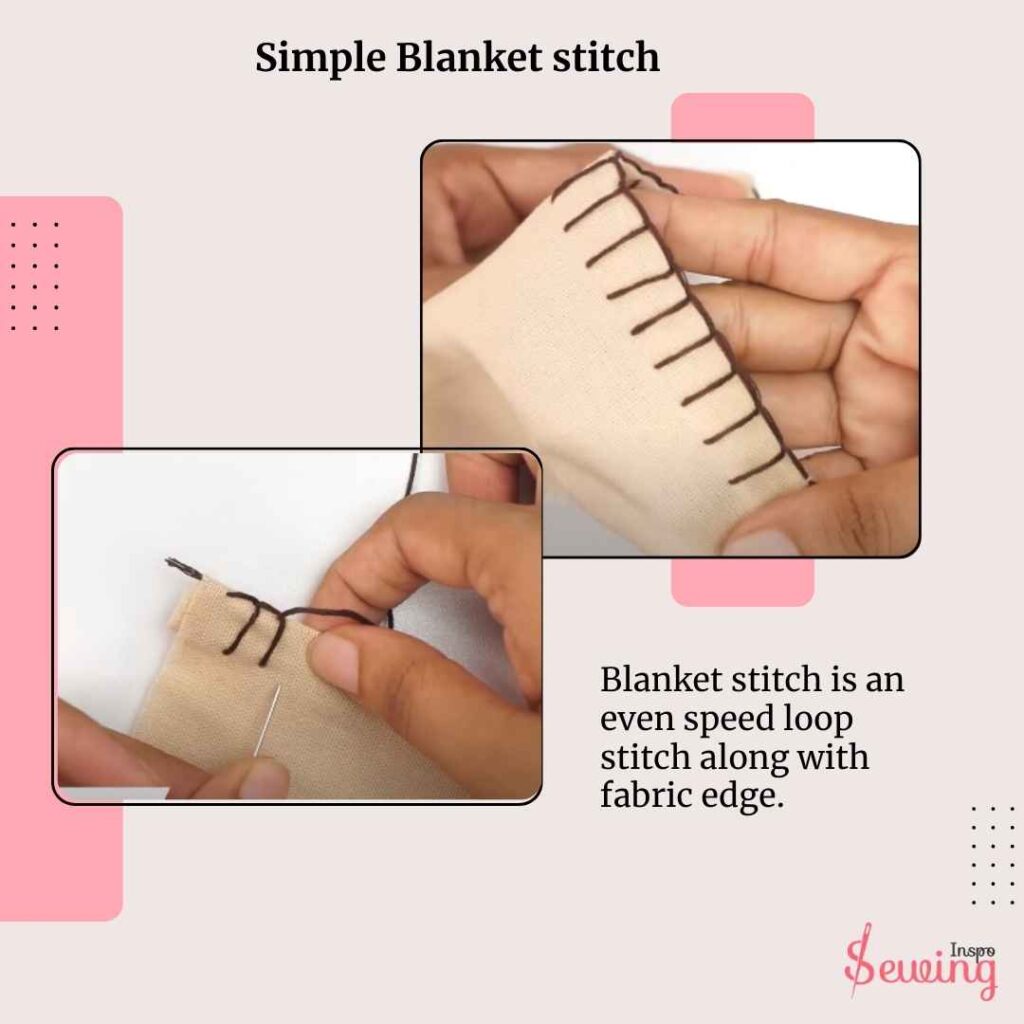
The Simple Blanket Stitch is like the bread and butter of embroidery—easy to learn, yet so versatile that you’ll use it in all sorts of projects. It’s perfect for finishing raw edges, adding a neat border, or even giving a decorative touch to your work. The stitch creates evenly spaced loops along the edge of your fabric, with a straight line connecting them. The look of this blanket stitch is simple yet smooth.
You just need to learn the blanket stitch step by step with picture and be ready to make a blanket with it.
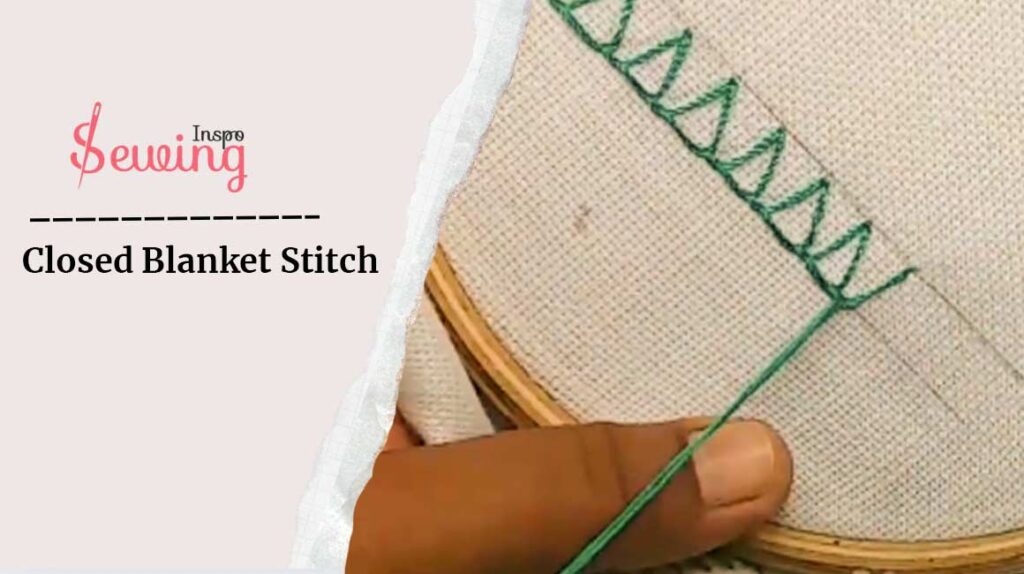
Closed Blanket Stitch
The Closely Packed Blanket Stitch worked the same way, but the stitches were placed very close together, leaving no gaps between them.
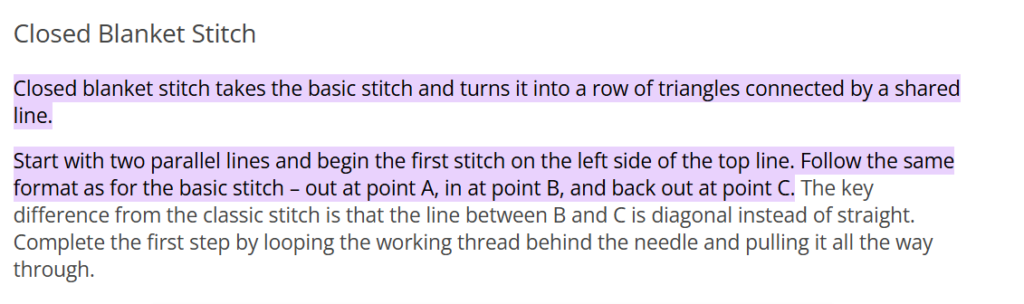
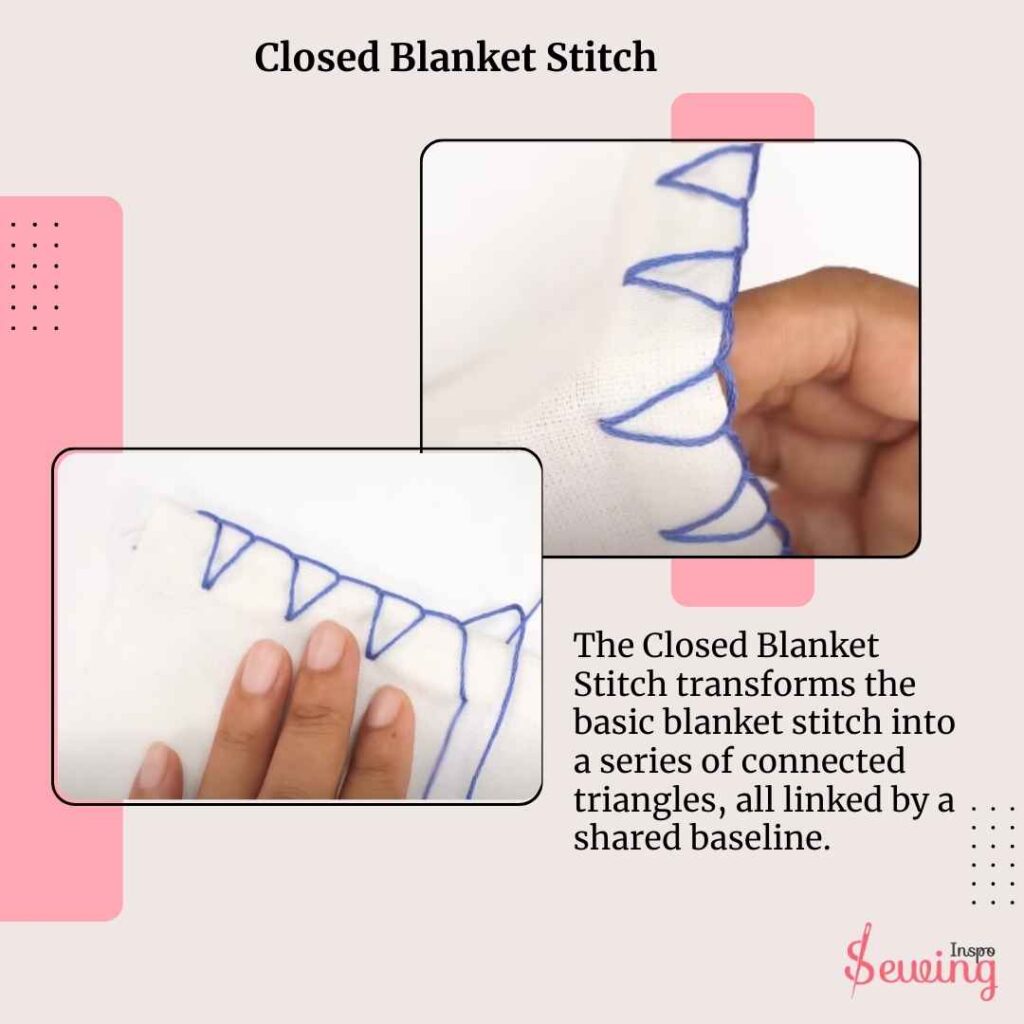
The Closed Blanket Stitch transforms the basic blanket stitch into a series of connected triangles, all linked by a shared baseline.
This creates a dense, thick border that’s both decorative and functional. It’s ideal for areas that need extra durability or a bold edge, like heavy fabrics or projects where you want the stitching to stand out.
It looks like a thick, solid line along the edge of your fabric. The stitches are placed so close together that no gaps exist between them. That makes it look dense and slightly raised. This creates a bold and textured edge that stands out.’
It’s perfect for thicker fabrics or when you want the stitching to be strong and decorative at the same time. Think of it as a neat, tightly packed, pretty, and practical border!
Curious about how the closed blanket stitch works. Here is how,
- Begin by anchoring your thread at the desired starting point.
- Use size 8 crochet thread (or preferred size) and make a small knot at the back to secure it.
- Insert the needle at a 45-degree angle from above the starting point.
- Pull the needle through and exit a short distance from the insertion point, maintaining the 45-degree angle.
- Reinsert the needle at the same point where the previous stitch exited.
- Bring the needle out at a 45° angle to the left, deciding the stitch length (about 1 inch is standard).
- Ensure to leave a loop of thread under the needle before pulling through.
- To finish, sew a small knot at the back of the fabric by passing the needle through fabric threads, forming a loop, and pulling it tight.
- Repeat knotting 1–2 times for extra security, then trim any excess thread for a clean finish.
Double Blanket Stitch
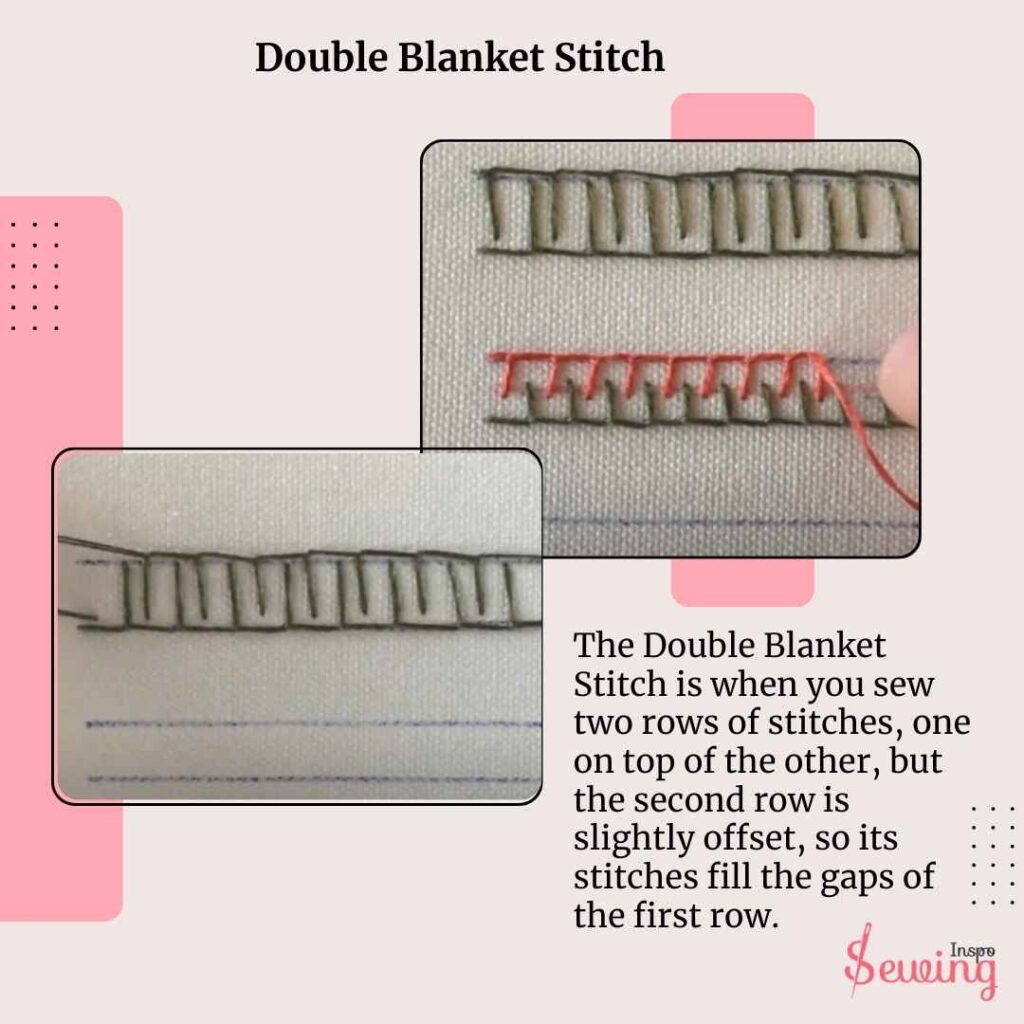
The Double Blanket Stitch is when you sew two rows of stitches, one on top of the other, but the second row is slightly offset, so its stitches fill the gaps of the first row.
This creates a thicker, more eye-catching border that stands out. It’s like upgrading your blanket stitch by doubling it for extra flair and texture!
You can use different color to pop up the design or flip the stitch and start stitching. Either way, it will add some creative touch to it.
The Double Blanket Stitch looks like 2 rows of blanket stitches layered together. The double layering makes the edge look bold and eye-catching. It is perfect for projects that need extra flair or reinforcement.

This stitch is commonly used:
- For decorative borders
- To strengthen edges
- In embroidery projects
Boxed Blanket Stitch
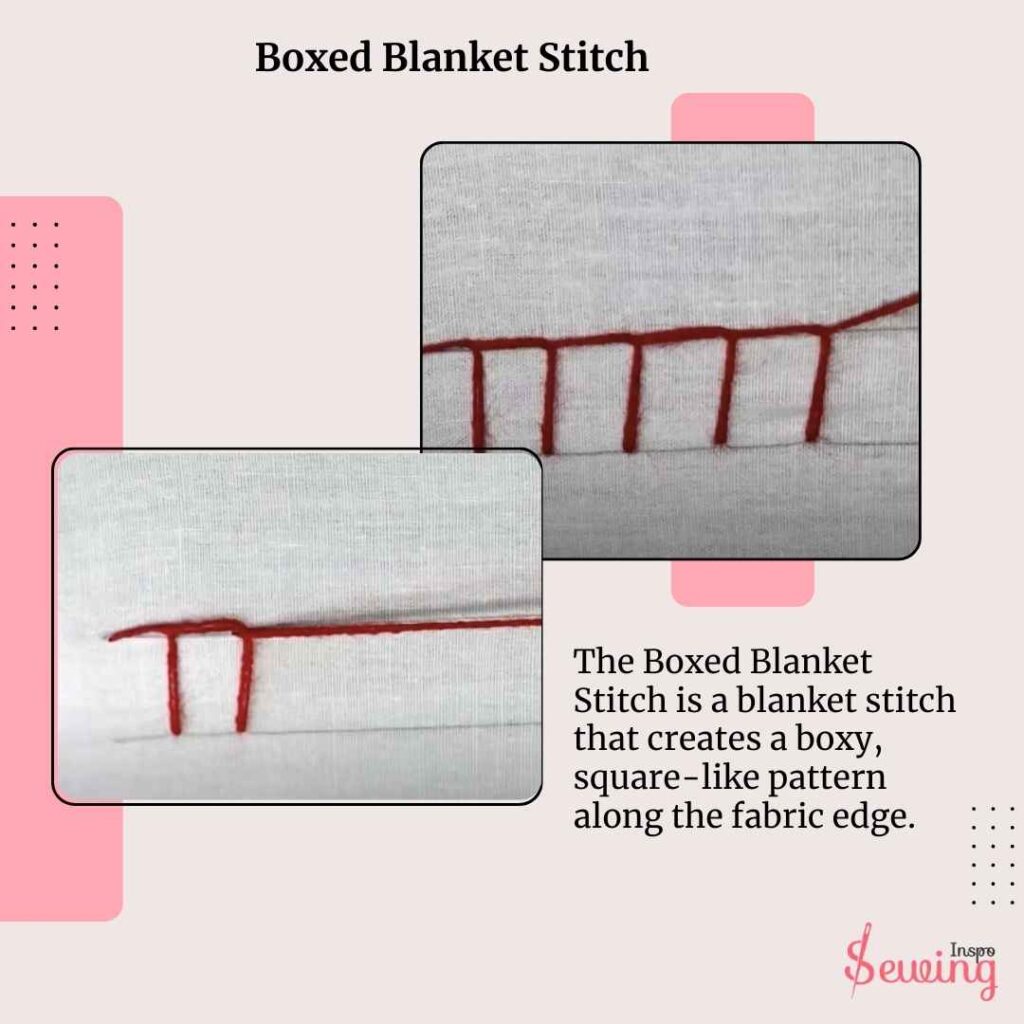
The Boxed Blanket Stitch is a blanket stitch that creates a boxy, square-like pattern along the fabric edge. It combines the basic blanket stitch with horizontal or diagonal connections between the vertical stitches, forming small “boxes” or rectangles.
This stitch forms neat, geometric shapes along the edge, resembling a row of tiny boxes or squares. The vertical stitches are evenly spaced, and the connecting threads create a structured, grid-like effect.
You can Use This Stitch:
- Borders for decorative items
- Geometric embroidery designs
- Edge reinforcement
- Craft projects
Whipped Blanket Stitch
The Whipped Blanket Stitch is basically a whipped version of blanket stitch.
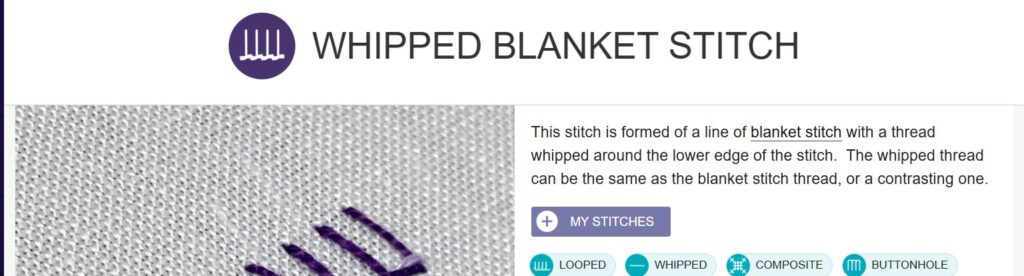
After sewing a row of blanket stitches, you “whip” another thread around them by weaving it through without piercing the fabric. This creates a wrapped, textured look that enhances the basic stitch.
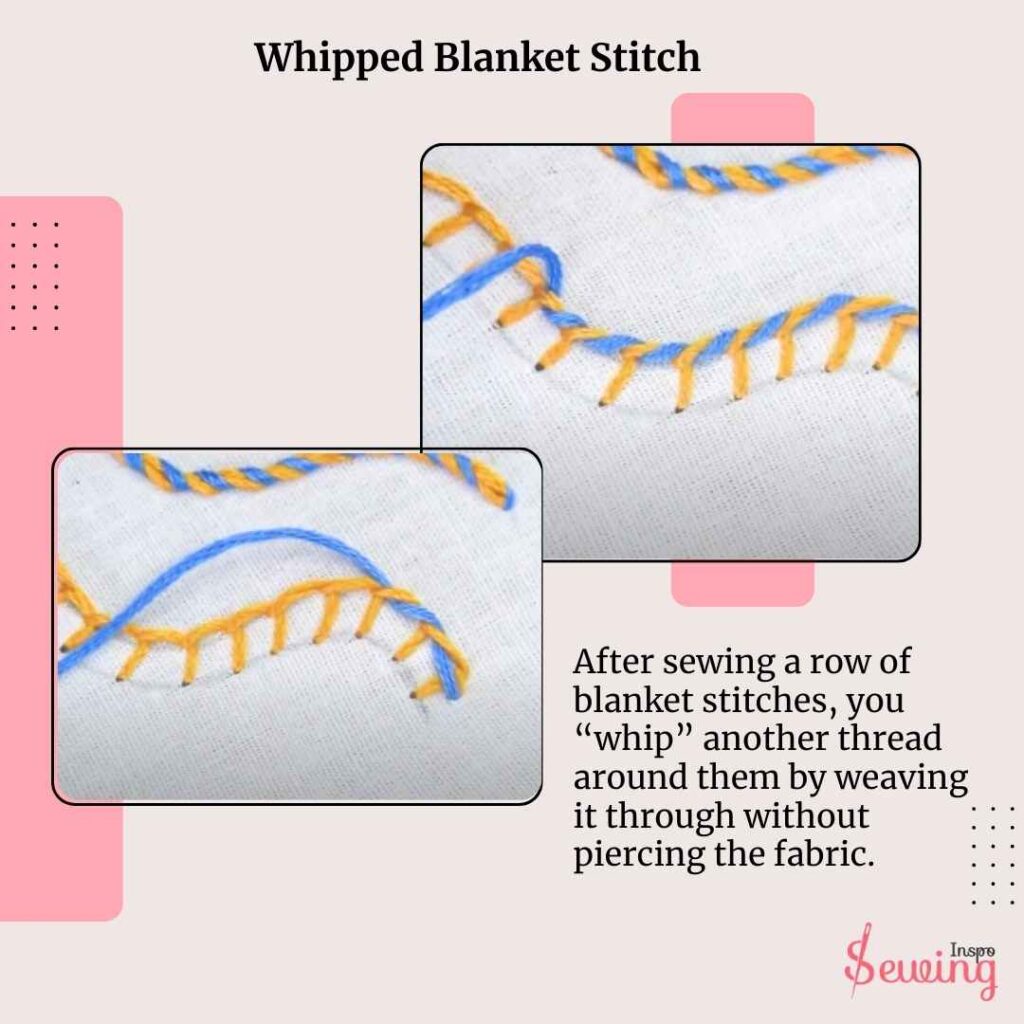
This stitch has a raised, twisted appearance. It’s highly decorative and looks even more striking when contrasting colors are used for the whipping thread and the base stitches.
It Mostly Uses:
- Edge Decoration
- Embroidery Accents
- Layered Designs
Sounds like you need it for most of the time? Ok then let me give you a glance of how you can do it,
- Begin by making a row of basic blanket stitches, just like you would with a mirror blanket stitch.
- Bring your needle up through the fabric at the edge where you want the stitches to start.
- Insert the needle back down at a small distance along the edge for each stitch, keeping the thread taut to form each stitch.
- Choose a second thread in a contrasting color for the whipped effect.
- Cut about 18 inches of thread and thread it through a 24-size chenille needle.
- Tie a small knot at one end to secure it in place while you work.
- Position the needle just next to the first blanket stitch, bringing it up from underneath the fabric.
- Ensure the needle comes up at the same level as the blanket stitch.
- Slide the needle under the first blanket stitch, threading it through the “leg” of the stitch, not the fabric.
- As you pull the needle through, the second thread will wrap around the first stitch, creating the whipped effect.
- Repeat this for each blanket stitch in the row, pulling the second thread tightly to form a twisted, snake-like effect.
- Finish by tying a knot to secure the thread.
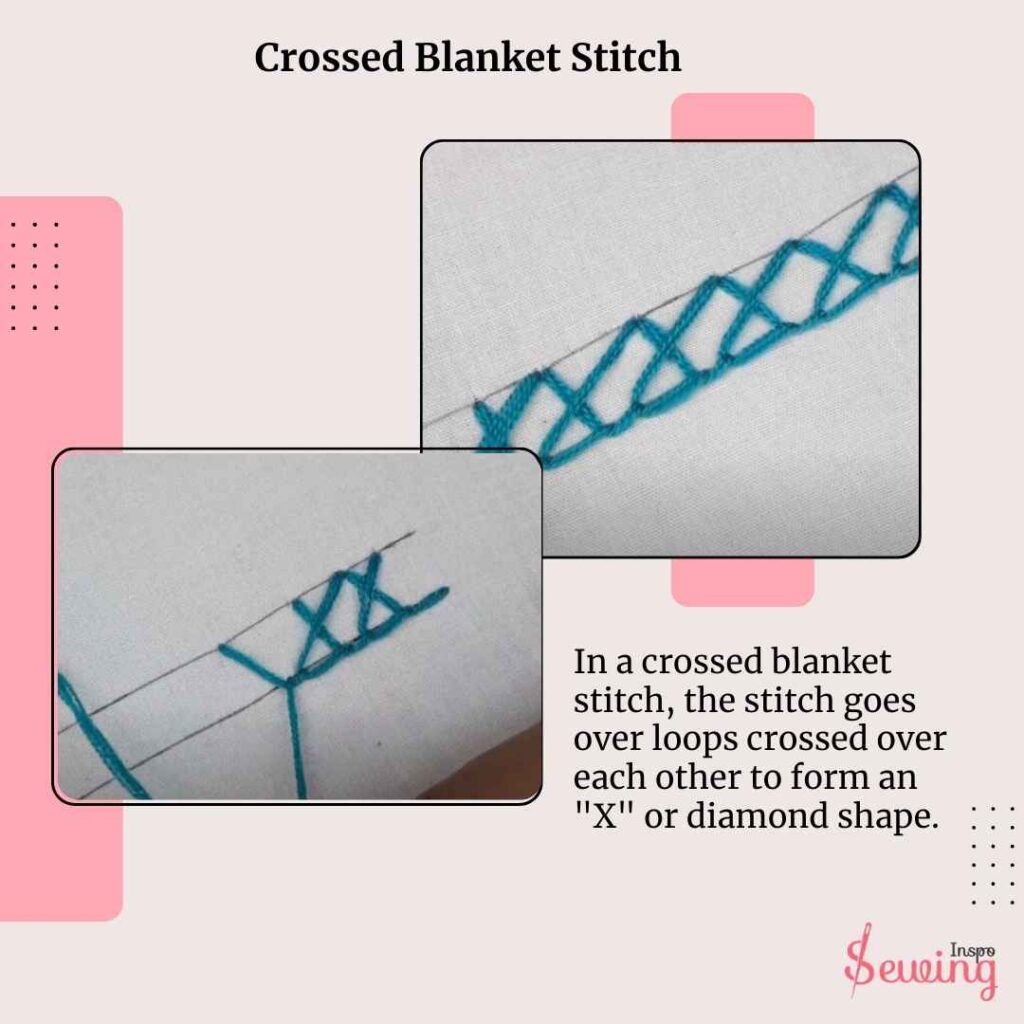
Crossed Blanket Stitch
A crossed blanket stitch is basically a crossed or x form of blanket stitch.
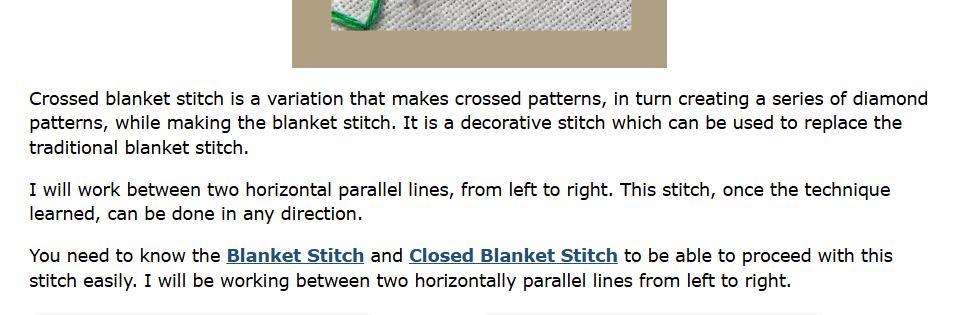
In a crossed blanket stitch, the stitch goes over loops crossed over each other to form an “X” or diamond shape. This stitch combines the practicality of securing fabric edges with a visually striking, crisscrossed design.
And it mostly used to,
Embellishing blankets, cushions, or garments gives them a unique and stylish finish. Adds definition to embroidered designs like borders or appliqués.
If you wanna do cross blanket stitch on embroidery, then follow the steps below,
- Draw a straight parallel line using a ruler.
- Mark dots on the top and bottom lines, leaving a ½-inch gap between each dot, for even spacing.
- Begin stitching by inserting the needle into the starting dot on the marked line.
- Bring the needle up from the back of the fabric to the front.
- Push the needle through the second dot from the top row.
- Insert it back through the first dot on the bottom line at a 45-degree angle, creating the first part of the cross.
- Push the needle through the first dot from the top row, completing the “X” shape by crossing the thread.
- Keep the tension even and continue stitching along the marked line.
Long And Short Blanket Stitch
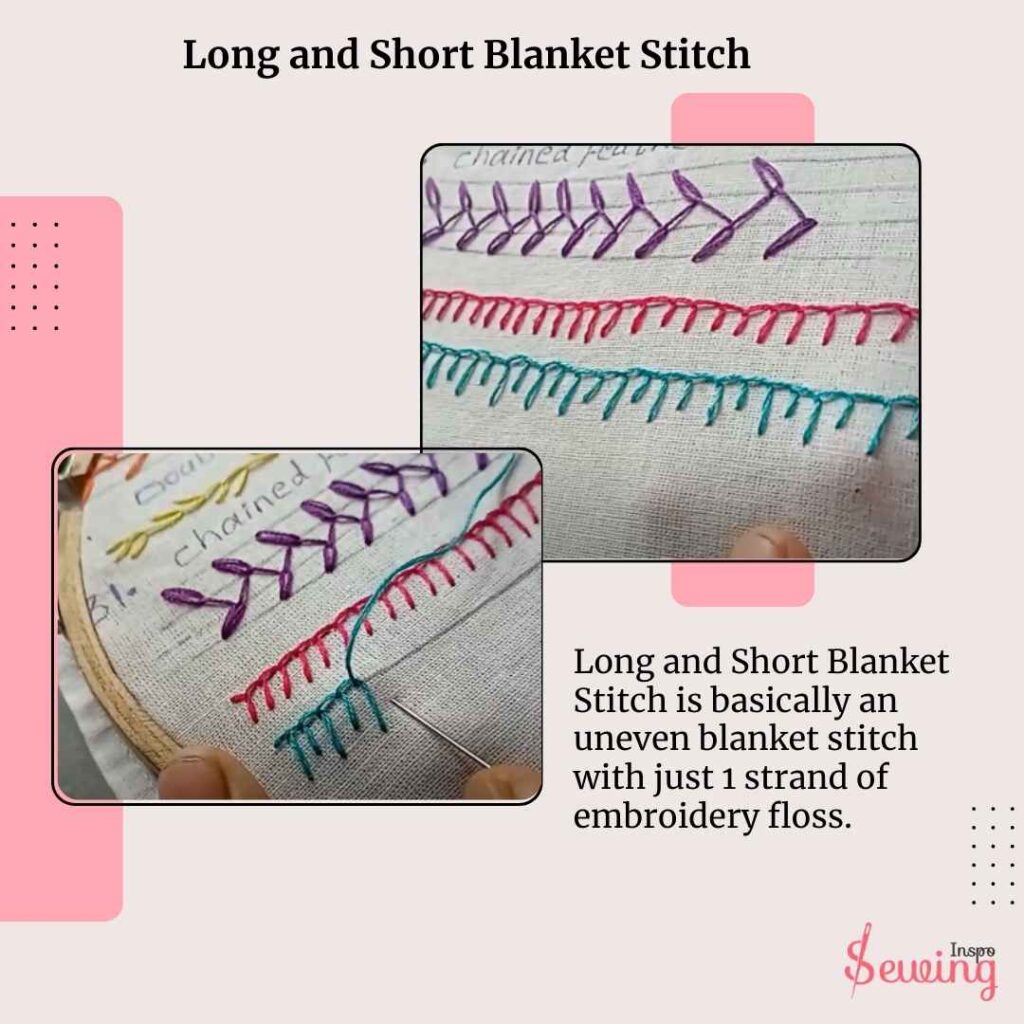
Long and Short Blanket Stitch is basically an uneven blanket stitch with just 1 strand of embroidery floss. Nothing fancy at afar. It looks like the sewing work of some noob. But that’s not the case, of course.
The Long and Short Blanket Stitch comprises a row of loops, each anchored by the next stitch, creating an L-shape. It’s stitched much like the regular blanket stitch.
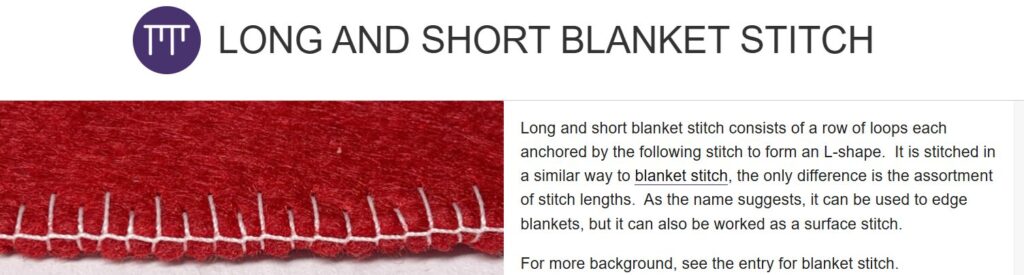
However, the key difference is that the stitches are of different lengths. It gives a more varied look.
It looks like a row of blanket stitches where some stitches stretch longer while others are shorter, forming a fluid, almost wavy pattern. The Stitch has a unique texture due to the variation in stitch length.
The longer stitches create a smooth flow along the edge, while the shorter ones provide contrast and a sense of movement. The overall effect is less uniform than the regular blanket stitch, giving your design a softer, more dynamic edge.
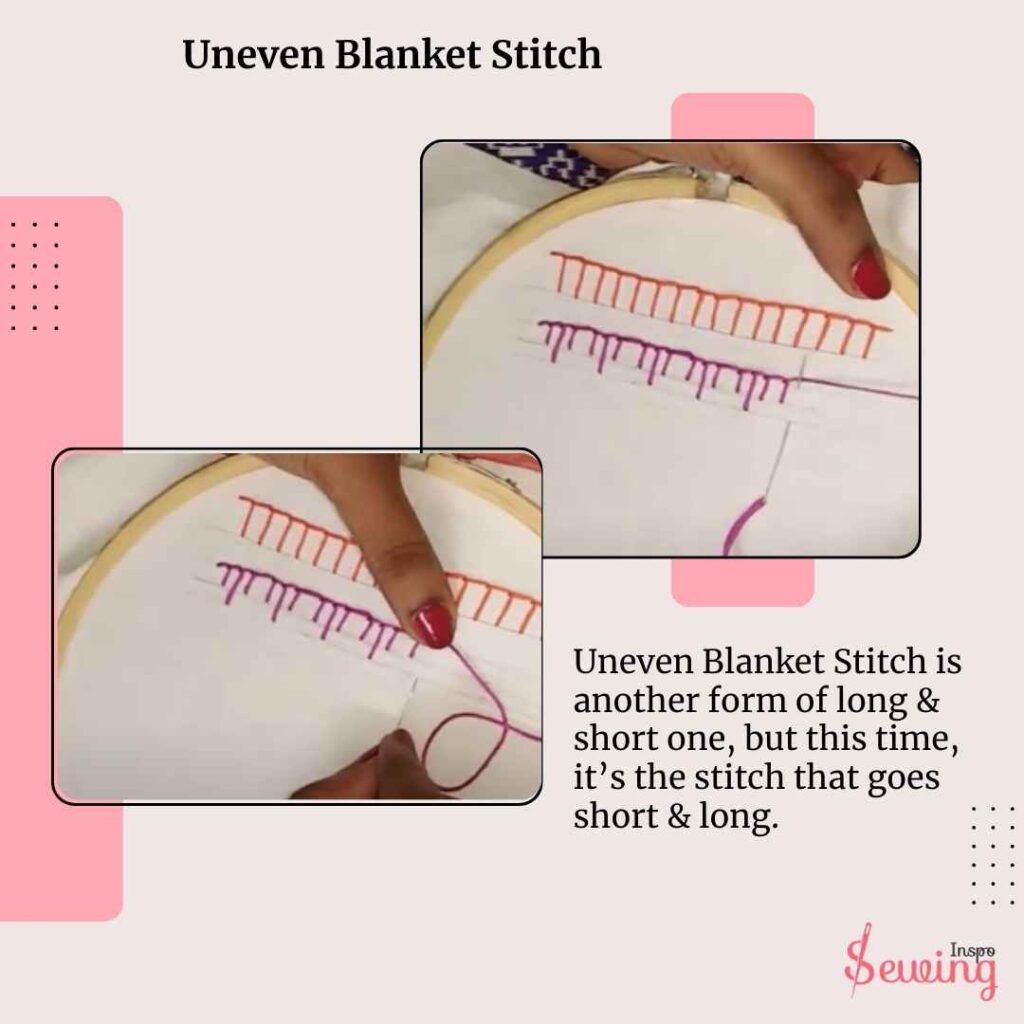
Uneven Blanket Stitch
Uneven Blanket Stitch is another form of long & short one, but this time, it’s the stitch that goes short & long.
This stitch adds a fun twist. Because instead of all the stitches being the same size, the vertical lines alternate between long and short. It looks like a zigzag pattern where the lengths of the stitches change.
It gives your fabric edge a unique and artistic feel. It’s perfect for adding a casual, handmade touch to kids’ crafts, decorative projects, or playful embroidery designs. If you want your stitching to stand out in a fun and relaxed way, the uneven blanket stitch is a great choice.
Mirrored Blanket Stitch
Mirrored blanket stitch is 2 blanket stitches facing each other, as you can tell by the name. It is also called an up and down blanket stitch. These rows are usually sewn along opposite edges or on a central line, with the “loops” of each stitch meeting in the middle of creating a reflective design.
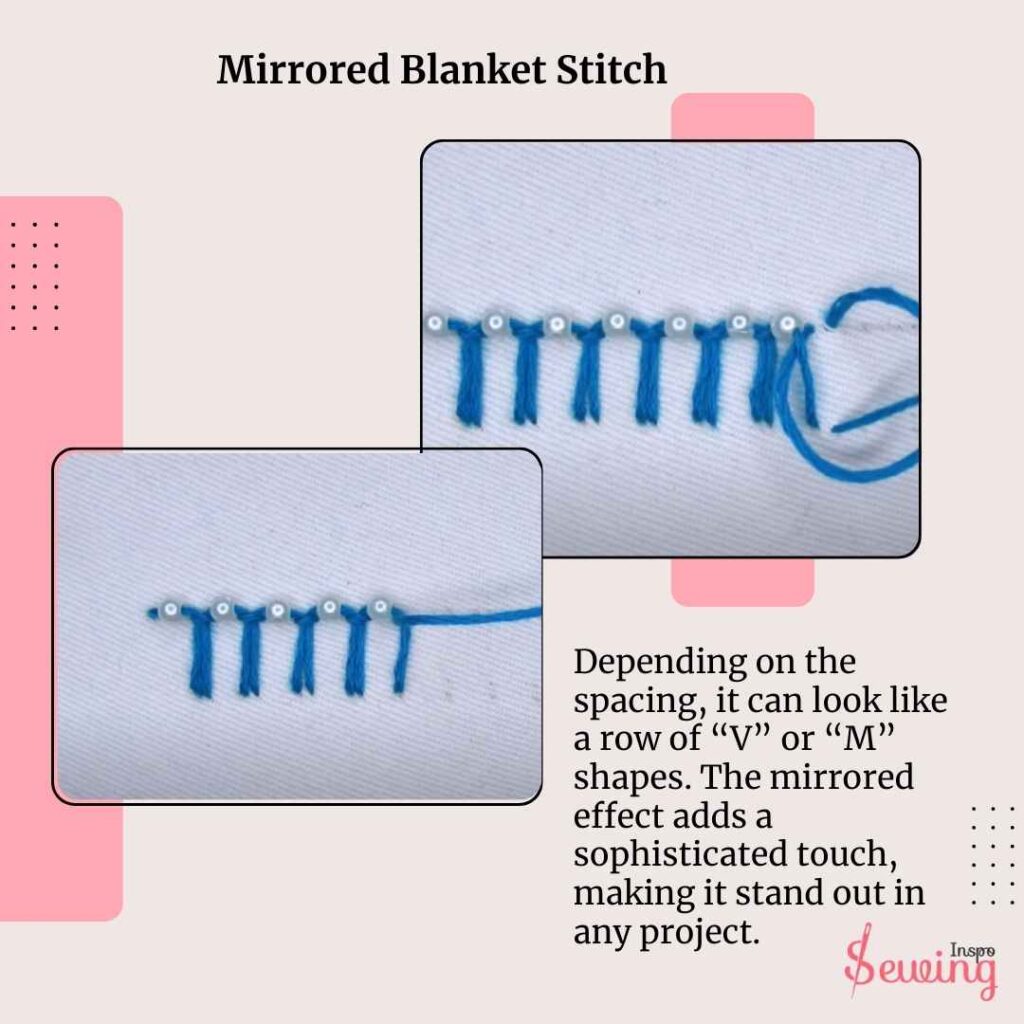
The Mirrored Blanket Stitch forms a striking double-edge pattern. The result is a bold, decorative line that adds balance and symmetry to your design.
Depending on the spacing, it can look like a row of “V” or “M” shapes. The mirrored effect adds a sophisticated touch, making it stand out in any project.
That unique look makes it perfect to do embroidery with it.
German Knotted Blanket Stitch
The German Knotted Blanket Stitch is a variation of the blanket stitch that adds small knots along the edge. It’s created by incorporating a knot into each loop of the blanket stitch.
This stitch features evenly spaced vertical loops like a regular blanket stitch but with a knot at the top of each loop. The knots add a touch of elegance and texture. It has a slightly bumpy, decorative finish that stands out beautifully on any fabric.
Uses:
- Embellishments
- Strengthening Edges
- Creative Designs

Looped Blanket Flower Stitch
The Looped Blanket Flower Stitch is a 3D version of a blanket stitch that creates petal-like loops. It creates a flower effect that looks natural.
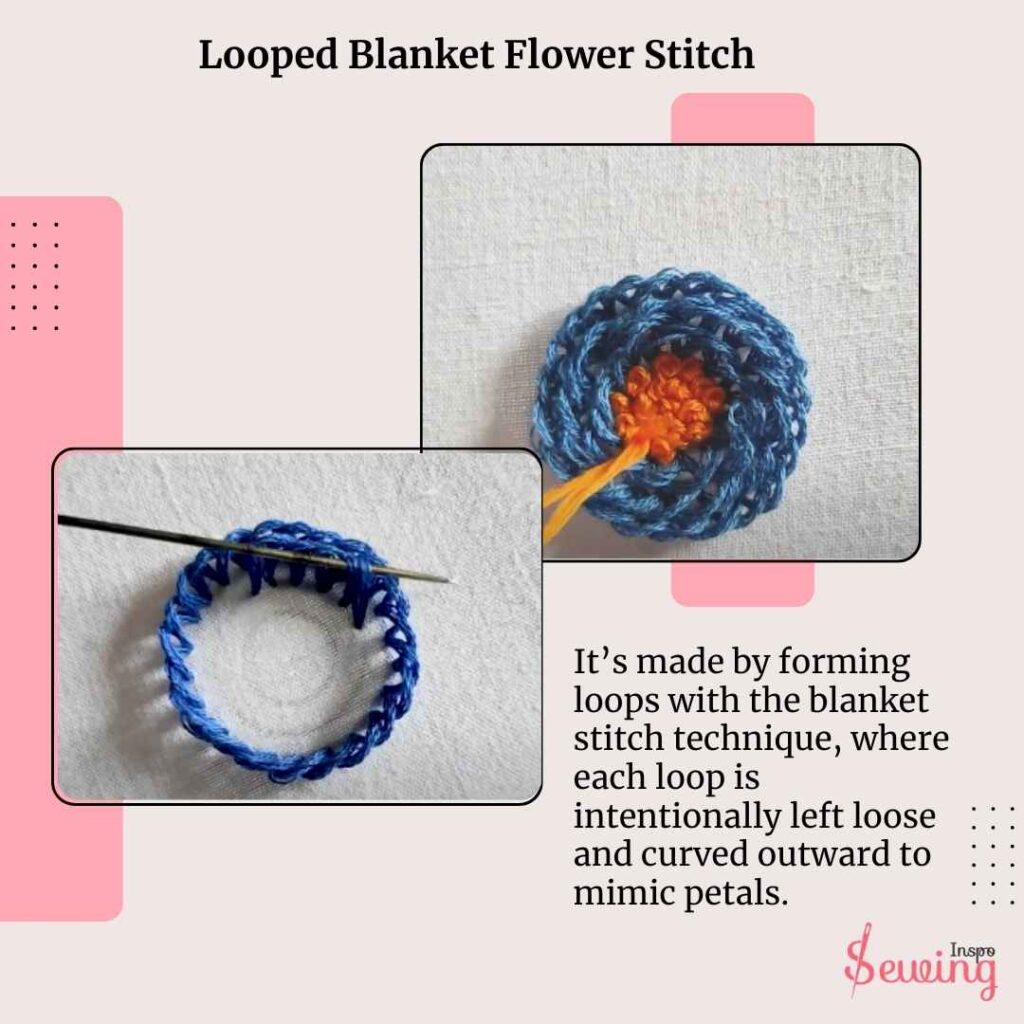
It’s made by forming loops with the blanket stitch technique, where each loop is intentionally left loose and curved outward to mimic petals. This creates the 3D effect and makes the design pop up.
This stitch resembles small, rounded flower petals arranged in a circular pattern. The loops are soft and slightly raised, creating a dimensional and playful appearance.
You can stitch this as a single flower motif or repeat it to form floral borders or embellishments.
Slanted Blanket Stitch
The Slanted Blanket Stitch is a blanket stitch where the stitches are worked at an angle, creating diagonal lines instead of the typical straight vertical ones. This looks kinda unlike the basic blanket stitch.
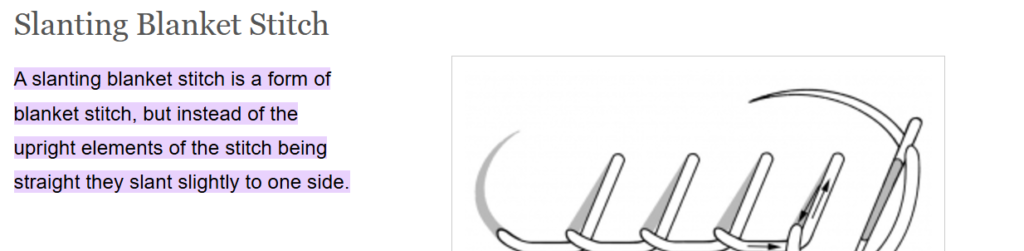
So basically, A Slanted Blanket Stitch is normally an upright stitch tilted to one side, creating a slanted effect instead of a straight vertical line.
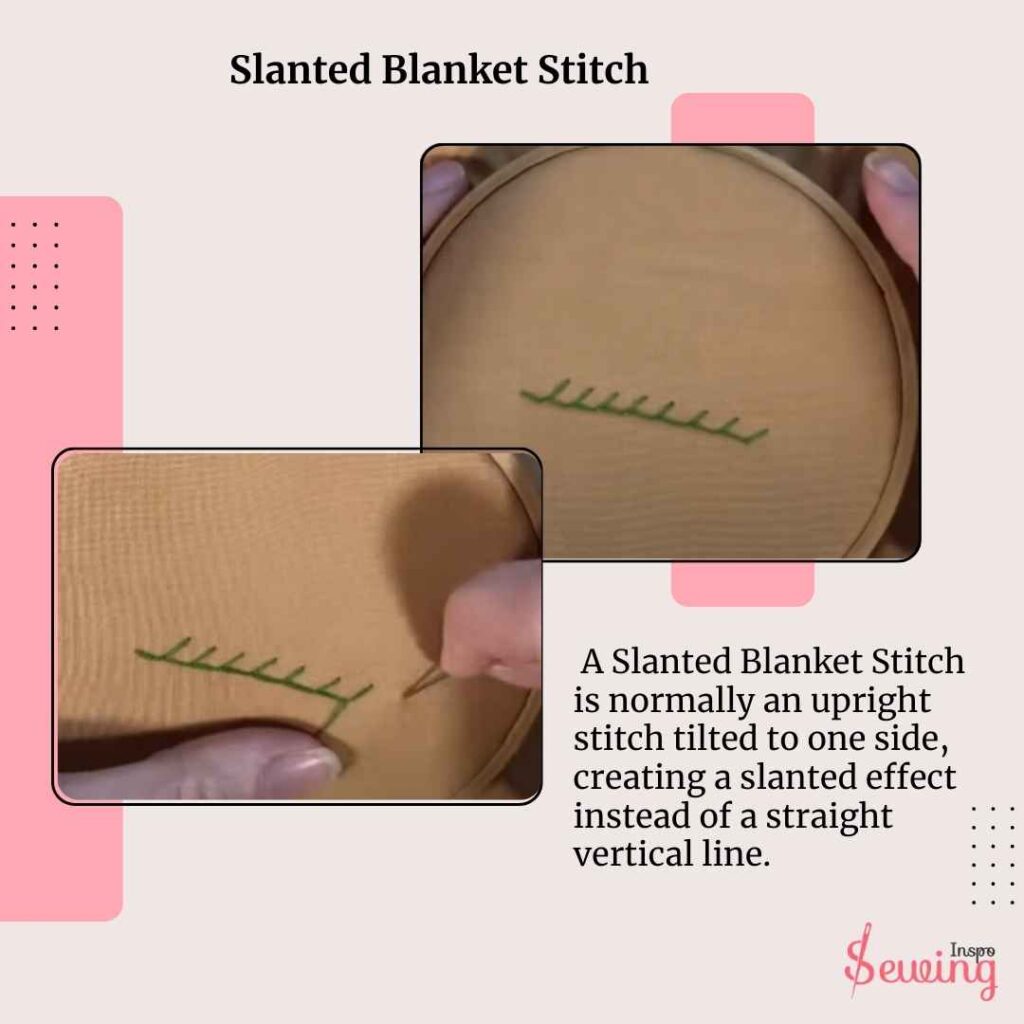
It’s perfect for adding a modern touch to borders on things like blankets, scarves, or any craft project where you want a bit of extra flair. Plus, it works wonders in embroidery. And if you’re looking to finish fabric edges, the slanted stitch provides a polished.
Blanket Triangles
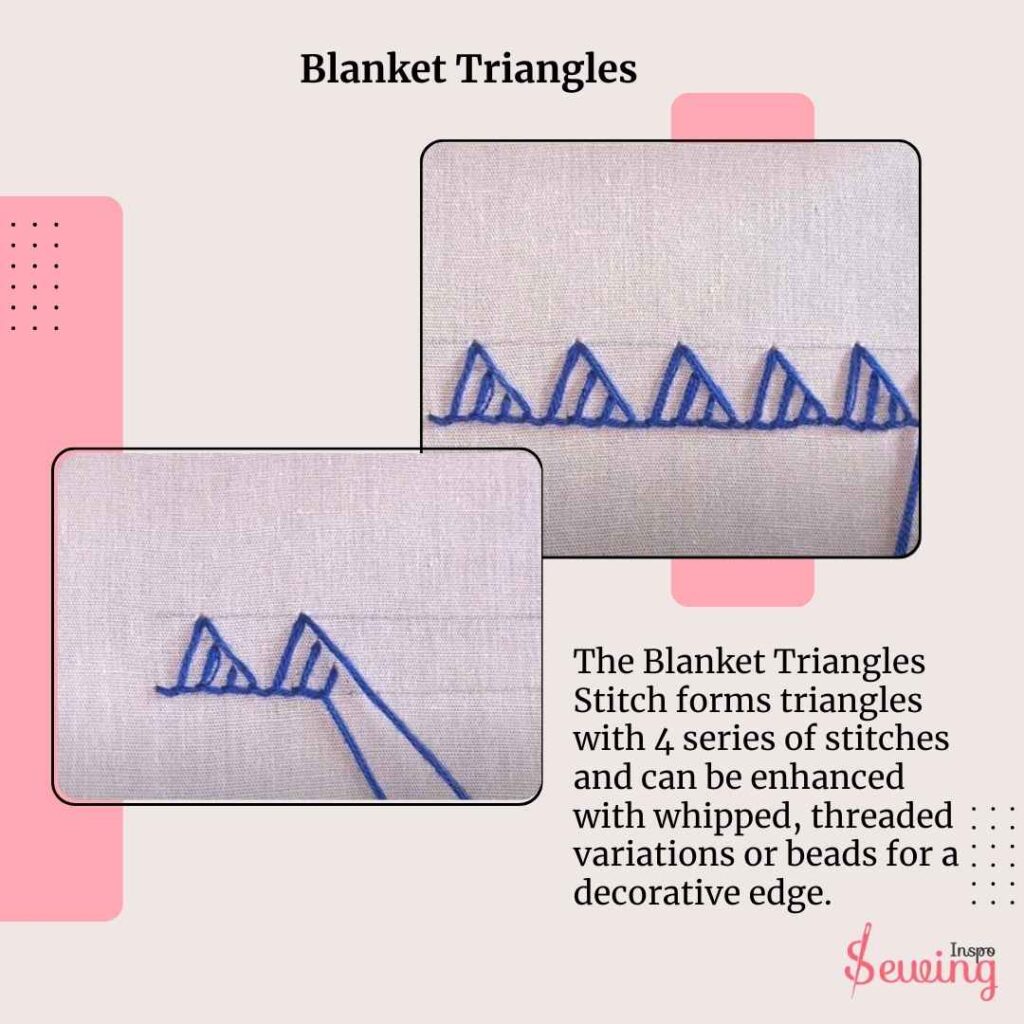
The Blanket Triangles Stitch creates small, evenly spaced V-shaped stitches, which connect to form a triangular pattern. It’s a great way to add some geometric flair to your project. That’s why it is my favourite triangle blanket stitch.
The Blanket Triangles Stitch forms triangles with 4 series of stitches and can be enhanced with whipped, threaded variations or beads for a decorative edge.
When it comes to how it looks, imagine a row of little triangles pointing toward each other, making a textured, eye-catching border. The triangles can be small or large, depending on how you space your stitches.
This stitch is perfect for:
- It works great on the edges of blankets, pillows, or any project where you want a fun, creative border.
- You can use it to outline shapes or make interesting patterns in your design.
- Though mostly decorative, it can also help reinforce fabric edges while making them look extra special.
How can you use the triangle blanket stitch? Well, that’s easy,
To make a Triangle Blanket Stitch, first knot your thread and secure it to the fabric. Stitch across a lower line, catching a few threads of fabric. Then, move slightly down and stitch back up to create the triangle’s side.
Keep repeating this,
Make small, even triangles by stitching up and down between two parallel lines. Maintain steady tension for clean shapes, and secure the thread by knotting it. It’s a fun, creative twist on the classic blanket stitch!

Raised Blanket Stitch
Raised Blanket Stitch creates a raised version of the stitch, and each stitch works in a way that creates a raised, 3D effect on the fabric.
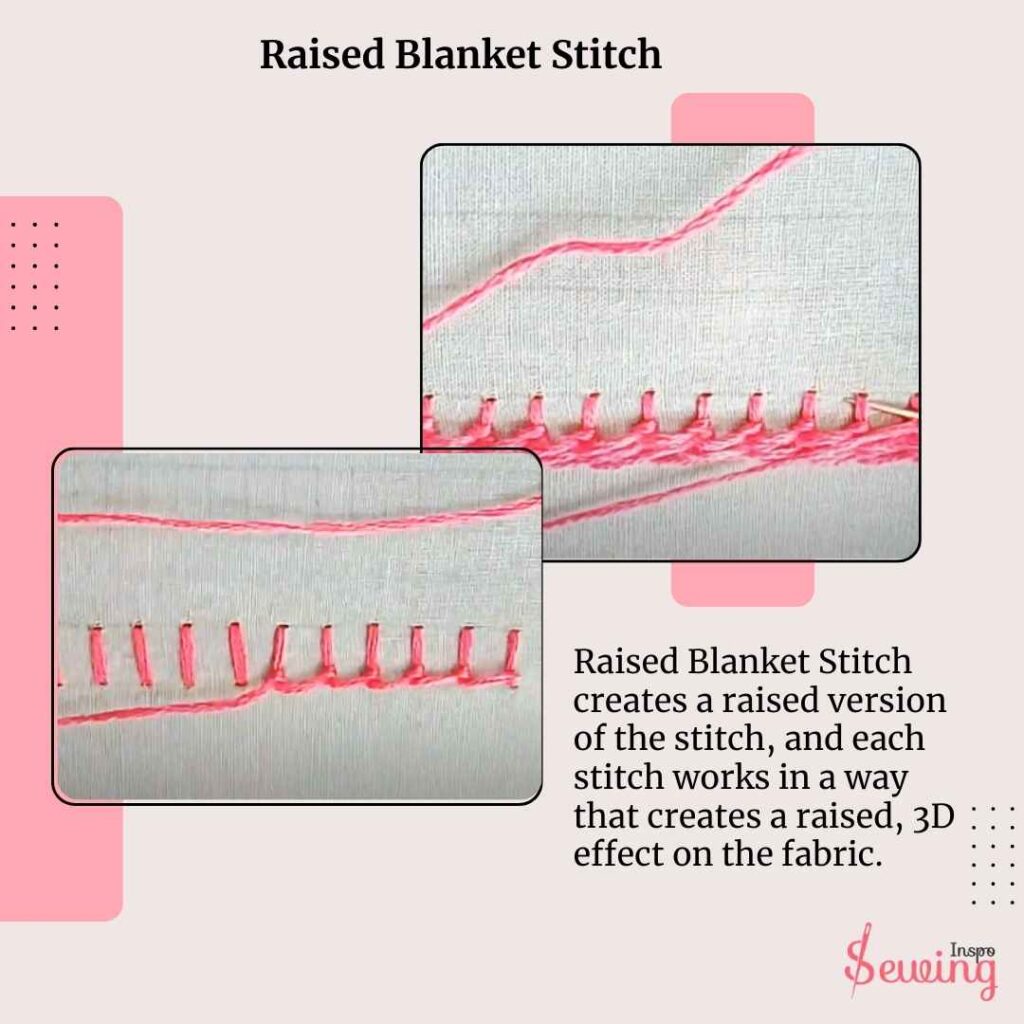
The stitch is sewn the same way as a basic blanket stitch, but with the thread pulled tightly, the stitch worked in a slightly different direction to lift it off the fabric’s surface, giving it a textured, elevated look.
The Raised Blanket Stitch appears as a series of loops along the edge of the fabric, but each loop stands out from the surface, creating a raised almost padded effect.
This makes it bold and sculptural, ideal for adding depth to designs.
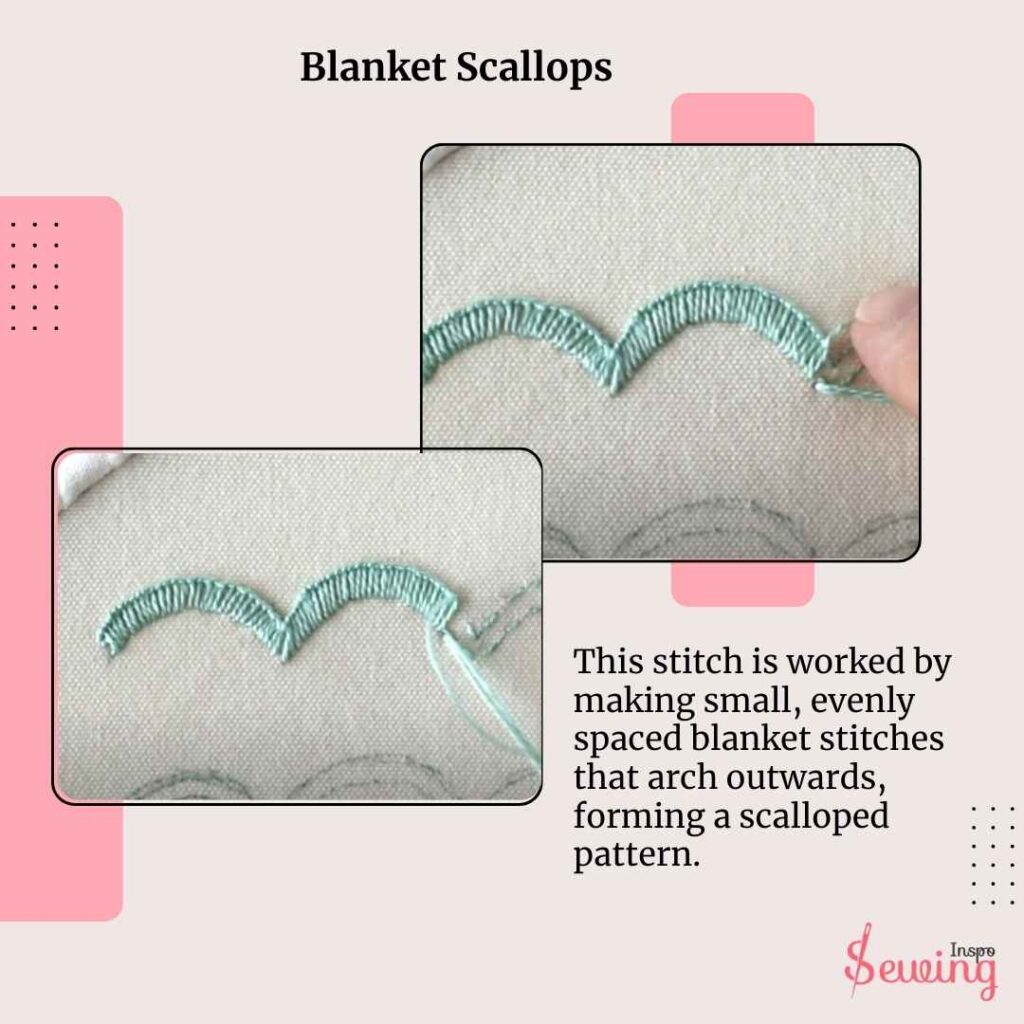
Blanket Scallops
Blanket Scallops is a decorative stitch that creates a series of soft, curved shapes along the edge of your fabric, resembling scallop shells.
This stitch is worked by making small, evenly spaced blanket stitches that arch outwards, forming a scalloped pattern. The result is a neat, rounded edge with a graceful, flowing look.
Blanket Scallops form a series of semi-circular or “U” shaped loops, creating a soft, scalloped border along the fabric. The stitches are evenly spaced. It gives the edge a smooth and rhythmic curve. It’s like a delicate, stitched version of the scalloped edges you might see on fabrics like lace or trim.
How about seeing all blanket stitches in 1 video tutorial? I know it will be helpful for you. That’s why I created this video tutorial just for you!

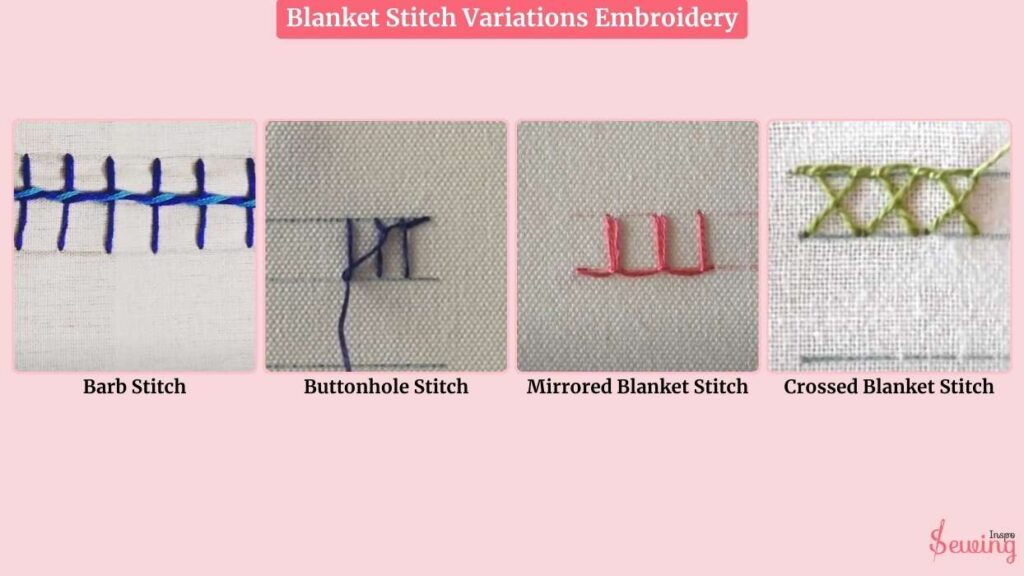
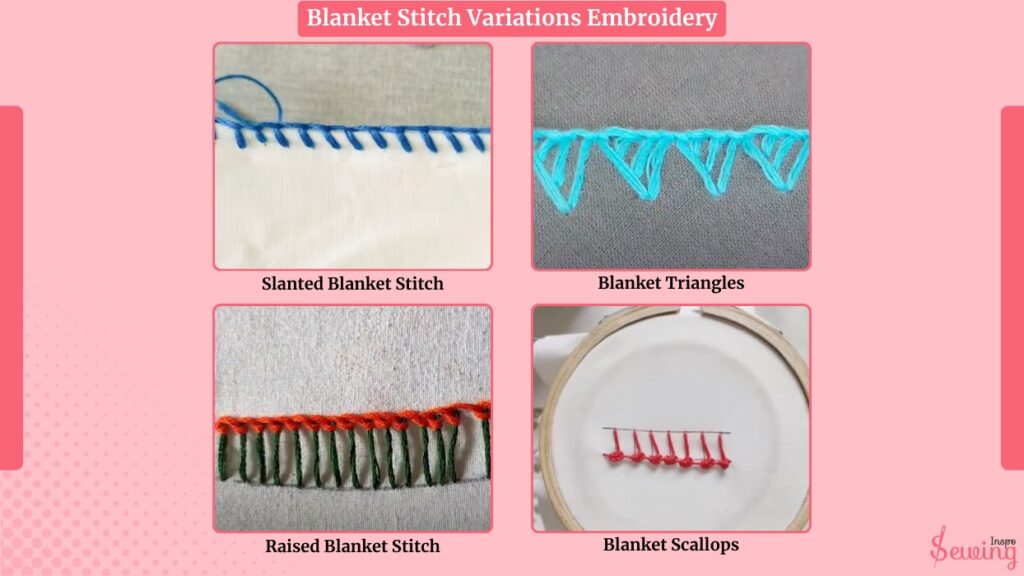
Blanket Stitch Variations Embroidery
There are many kinds of blanket stitches, but not all can be used in embroidery. Only a few can be used as embroidery. For intense,
- Slanted Blanket Stitch
- Blanket Triangles
- Raised Blanket Stitch
- Blanket Scallops
Types Of Blanket Stitch PDF
Want to keep this guide handy? Download the complete Blanket Stitch Family Album PDF to explore each stitch with pictures and tips! It will work as your sewing inspiration. This Blanket stitch variations pdf will save you a day.
Frequently Asked Questions
How Many Types Of Blanket Stitches Are There?
There are 15 types of blanket stitches. These variations offer different looks and functions, allowing you to choose the perfect stitch for your project.
When Should I Use A Closed Blanket Stitch?
A Closed Blanket Stitch is used when you need a smooth, gap-free edge. It’s perfect for a clean, polished look on your project without any visible spaces between the stitches, especially for delicate fabrics or when you want a seamless finish.
What Does A Whipped Blanket Stitch Look Like?
A Whipped Blanket Stitch involves wrapping the stitches with thread for added texture. The stitches typically work as simple blanket stitches, and then a second thread is used to “whip” around them, giving the border a raised textured look.
Summary
That’s all 15 types of blanket stitch I have learned so far. Among them, the mirror blanket stitch is my favourite. I love the unique look it provides to my embroidery.
So, what’s your favourite blanket stitch so far? Have you tried one? Feel free to comment with your favourite kind of blanket stitch.


Leave a Reply