The other day, a newbie came to my home and saw a fabric where I practice with various stitches. She saw a stitch and said, “Why is blanket stitch looking this way?” I looked and laughed and said, “This isn’t blanket stitch; this is buttonhole stitch.”
She seemed surprised and asked, can you tell me What Is Buttonhole Stitch? I said, sure, why not? Well,
Buttonhole Stitch
A buttonhole stitch is a looped stitch that reinforces and strengthens the edges of the fabric. It is normally found around a buttonhole.
It seems like the buttonhole stitch is new to you. Let me share more details and give you a clear buttonhole stitch definition.
Main Facts:
- Buttonhole stitch is a loop stitch.
- Buttonhole stitch is used in buttonhole, crewel embroidery, and couching stitch.
- Buttonhole stitch looks like an L or U shape.
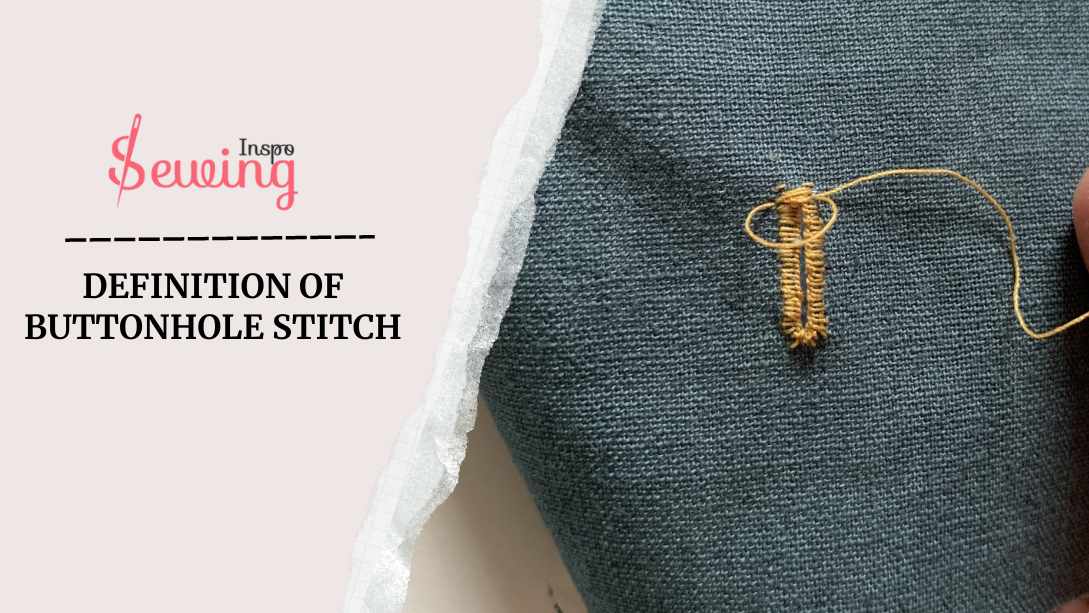
Table of Contents
What Is Buttonhole Stitch/ Definition Of Buttonhole Stitch
A buttonhole stitch is a loop stitch used to create strong, neat edges around holes in fabric, like the ones made for buttons. It is usually 1/8 inch (3 mm) larger than the button. It helps keep the fabric from fraying and gives a clean finish.
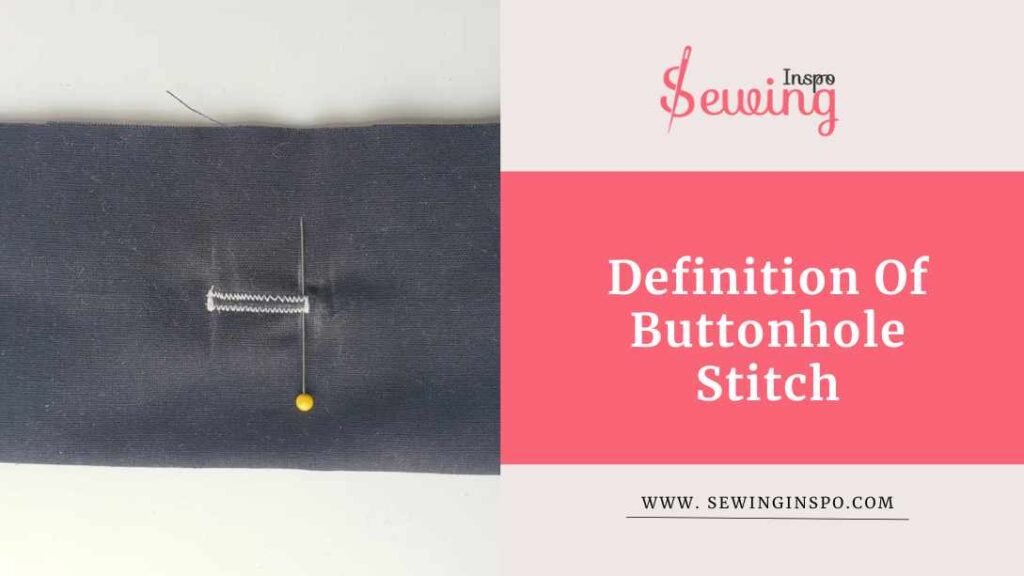
The stitch is made by sewing small loops around the hole’s edge. It is both decorative and functional. So it’s not only for buttonholes; you can also create some amazing buttonhole stitch designs.
What Does A Buttonhole Stitch Look Like?
If you look at the buttonhole stitch from the sides, it looks like an L, and if you look at it from the bottom, it looks like a U. That’s why the buttonhole stitch design looks so interesting.
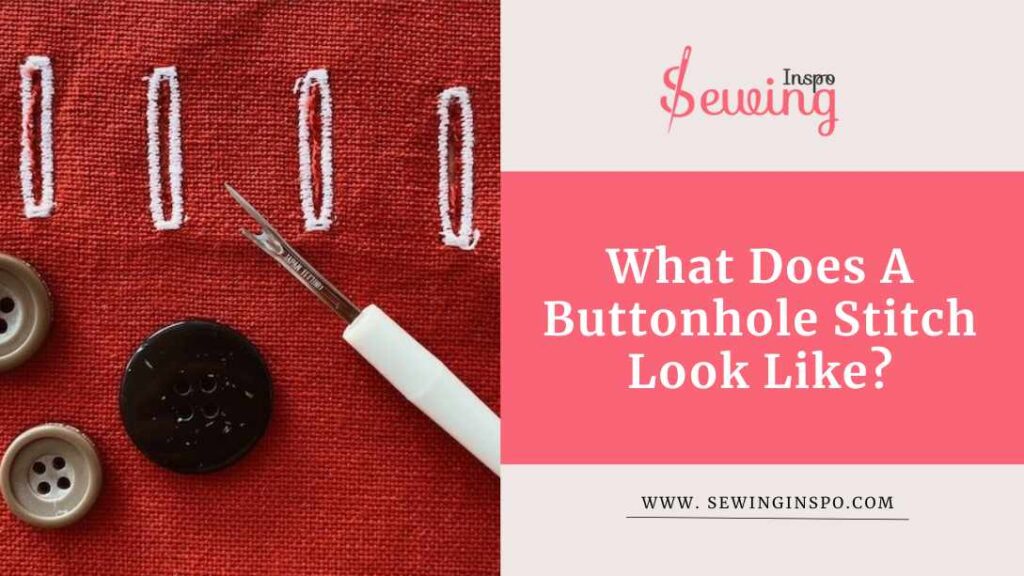
It may look like a blanket stitch at first glance, but it isn’t. There are many differences between buttonhole stitch vs blanket stitch.
When you look closer, you’ll see small, evenly spaced loops forming around the edge of a hole or raw edge. Each loop is securely anchored to the fabric, and there’s often a little knot at the top.
It looked so simple, right? But no, you are wrong! Some buttonholes are decorative and stunning. Here are 2 types of buttonholes which is my favorite to decor:
Buttonhole Stitch Vs Blanket Stitch
Buttonhole Stitch is tighter and denser, made to secure fabric edges — especially for reinforcing buttonholes so they don’t fray. Blanket Stitch is more decorative and looser, commonly used to edge blankets or appliqué with a visible, spaced-out stitch.
Both look similar, but buttonhole stitch = function, blanket stitch = form.

Buttonhole Scallop Stitch
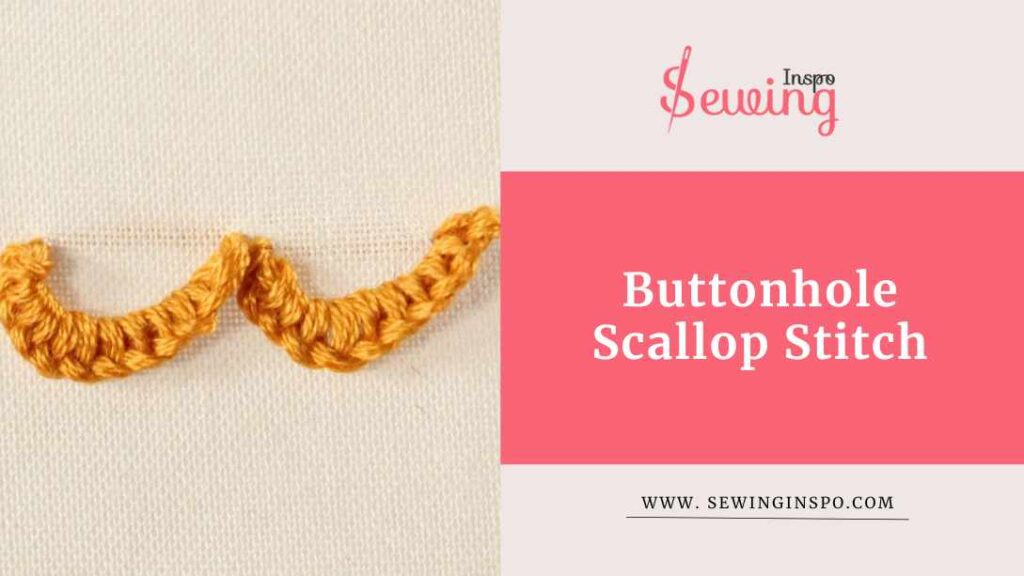
The buttonhole scallop creates a series of scalloped stitches. It is often used to finish hems or add embellishments to fabric. The scallops are created by stitching together detached buttonhole stitches.
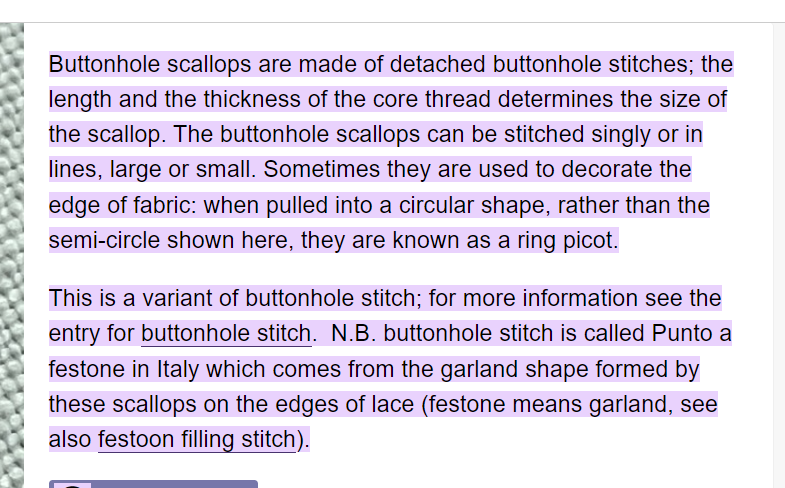
What’s cool is that the size of the scallop depends on the thickness and length of the core thread you use. Depending on your project, you can stitch them singly or in lines, ranging from large to small. You will know if you see a button hole stitch design.
I often use buttonhole scallops to add a decorative touch to a piece of fabric. If you pull them into a circular shape, they turn into a ring picot, which looks super cute! It’s a simple way to add some flair to your sewing projects!
Buttonhole Wheel Stitch
Buttonhole wheel stitch is actually a stitch wheel. It is a charming and decorative stitch that adds a lovely touch to your embroidery and sewing projects.
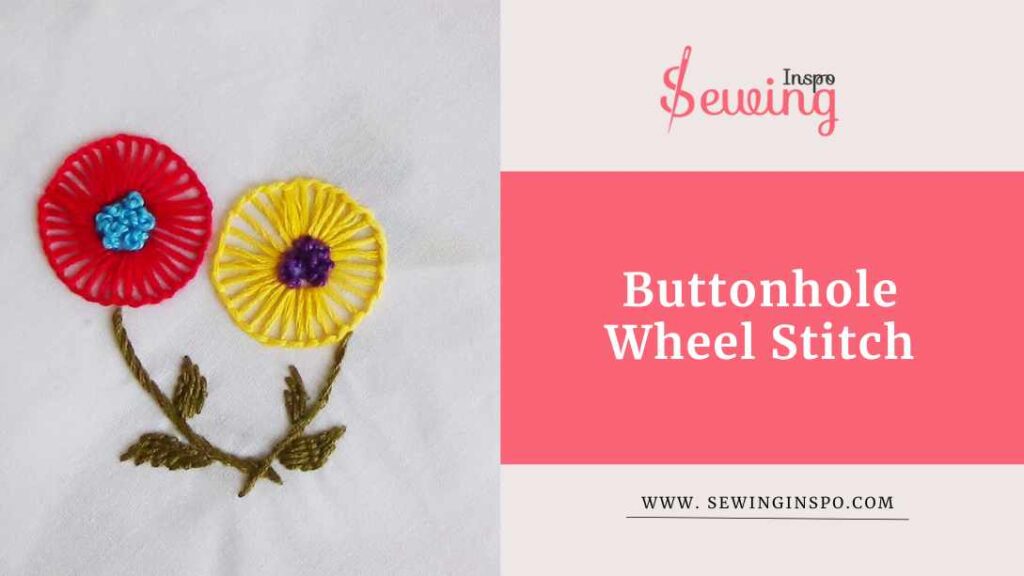
It’s similar to the traditional buttonhole stitch but with a unique twist that creates a circle, wheel-like design. These are the perfect embroidery stitches.
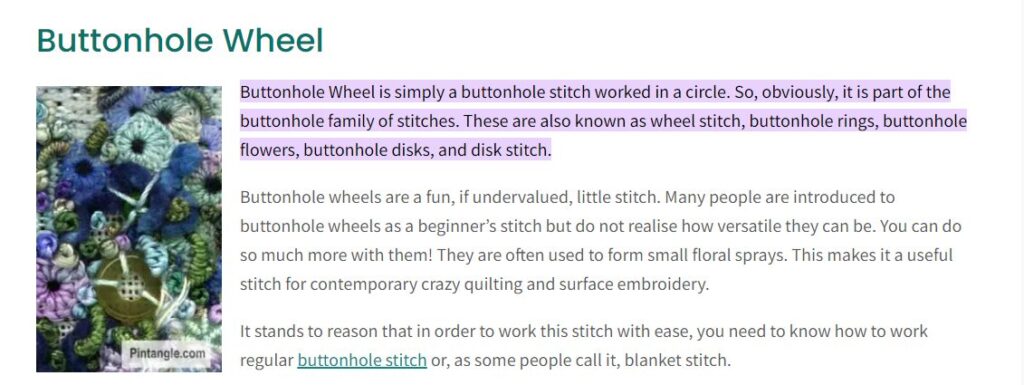
This stitch is great for embellishing items like bags, quilts, or clothing, adding a playful, whimsical element to your designs. You can adjust the wheel size by varying the spacing and number of stitches, making it versatile for different projects.
When To Use A Buttonhole Stitch?
The name may show how to use it around the button. Well, it is true. Buttonhole stitch is mostly used around buttons rather than that it is even used to-
- Securing Buttonholes
- Decorative Embroidery
- Crewel Embroidery
- Sewn Eyelets
- Attaching Appliqué
- Couching Stitches
- Stumpwork
- Filling Shapes
- Depicting Grass
- Finishing Raw Edges
Buttonholes aren’t just for buttons. You can do many Buttonhole stitch embroidery designs with it too.

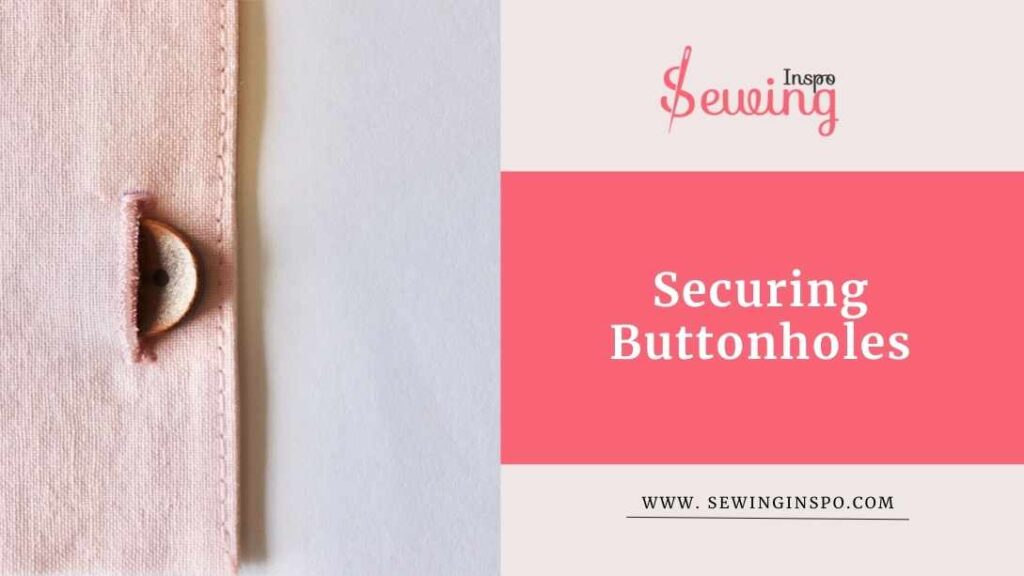
Securing Buttonholes
First off, I love using the buttonhole stitch to secure buttonholes. When I make a buttonhole, I want it to last, right? So, I stitch around the edges to reinforce them. It really prevents the fabric from unravelling, which is especially important for clothes that get a lot of wear. I feel much more confident knowing my buttonholes are sturdy!
Well, that’s the whole definition of a buttonhole stitch. But don’t think this is only for buttonholes. You do a lot more than that. I have tried to use it in different ways, too.
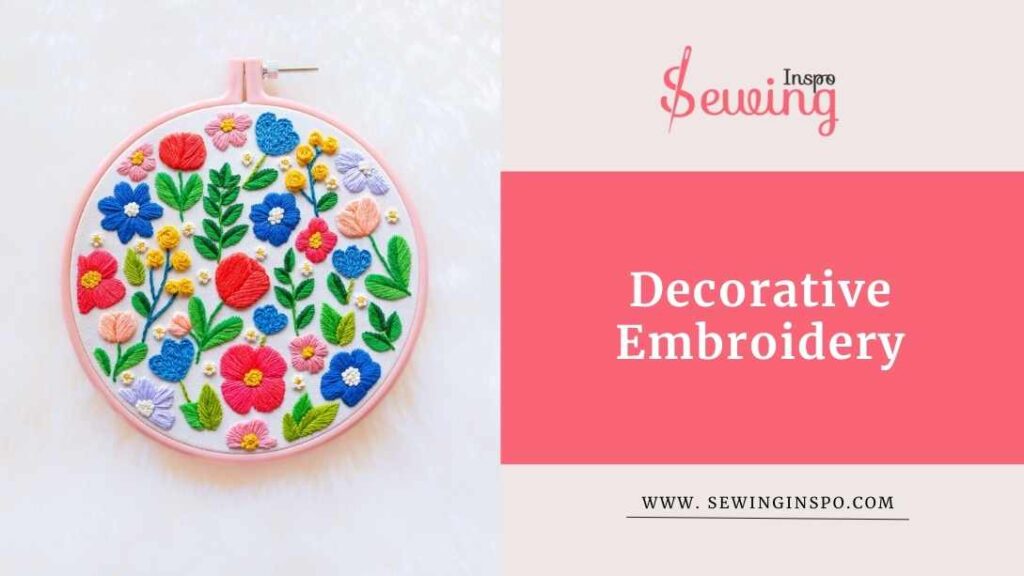
Decorative Embroidery
I’ve also dabbled in decorative embroidery with this stitch. Creating those little “L” shapes with a bump on top is fun! I’ve used it to add flair to borders and outlines in my designs. It gives everything a nice texture and makes my embroidery pop. You can do a double buttonhole stitch for it.
Crewel Embroidery
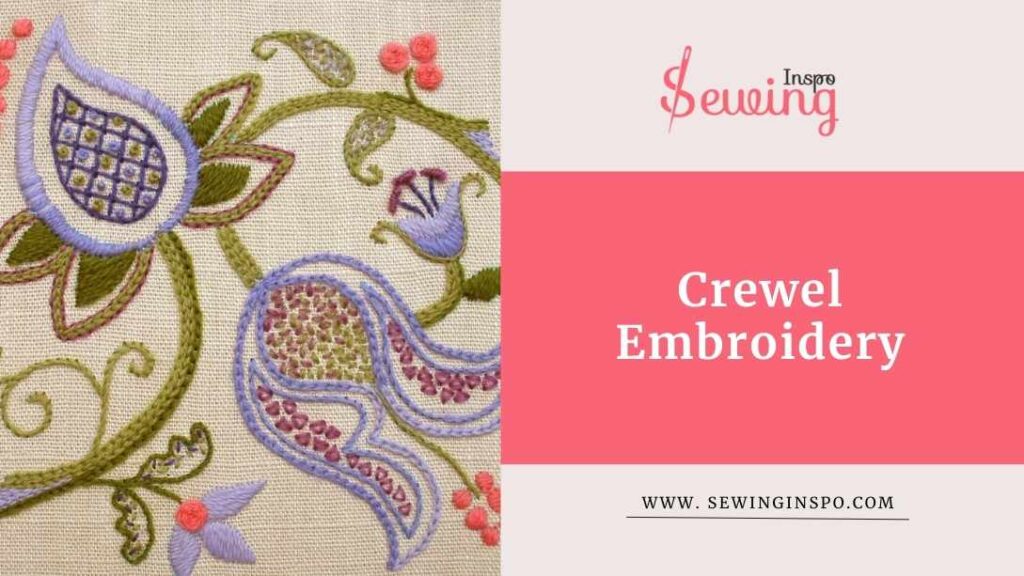
When I got into crewel embroidery, the buttonhole stitch became my go-to for making stems. It really adds a decorative touch while keeping things strong. I’ve used it on floral designs, and it just makes the whole piece look so polished. To do that, you can use Open buttonhole filler stitch embroidery.
Sewn Eyelets
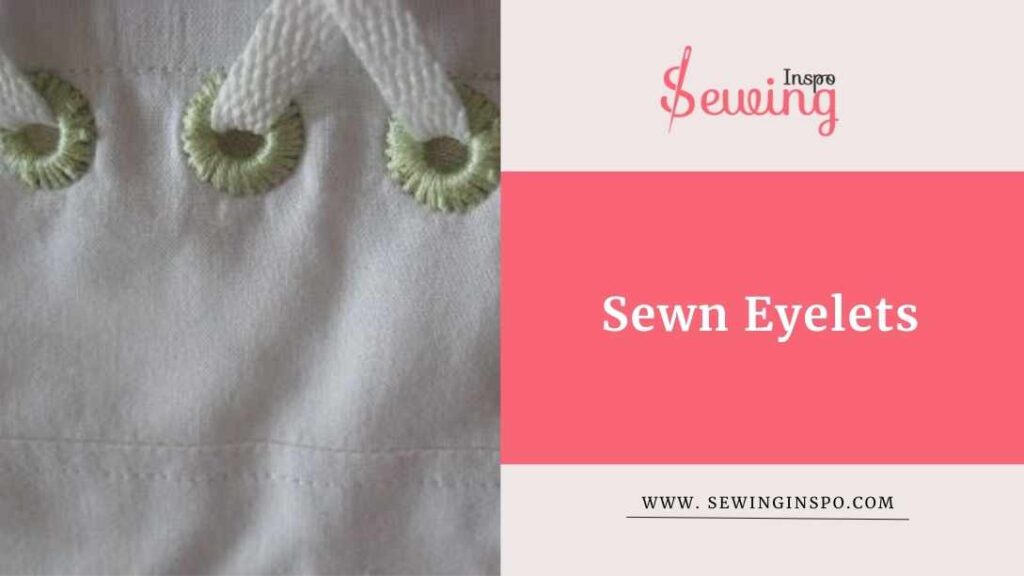
Another fantastic use for the buttonhole stitch is creating sewn eyelets. It’s perfect when I need small holes for laces or decoration. By stitching around the hole, I ensure it looks great and won’t fray. It’s such a neat finishing touch!
Attaching Appliqué
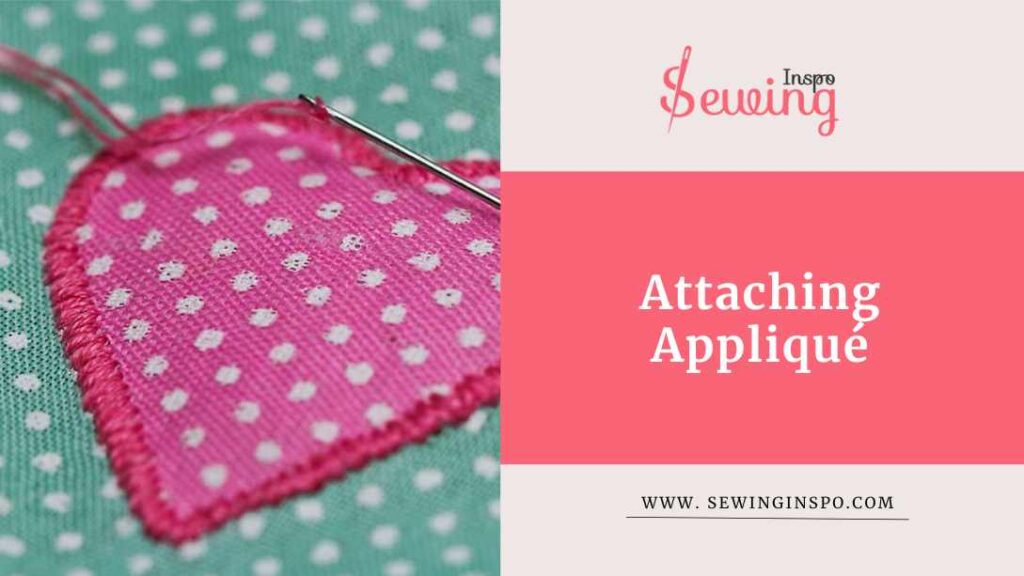
When I work with appliqué, the buttonhole stitch is invaluable for attaching pieces to the base fabric. It holds everything in place while adding a decorative edge. I love how it can make even the simplest appliqué look more intricate and finished. Closed buttonhole stitch works the best here.
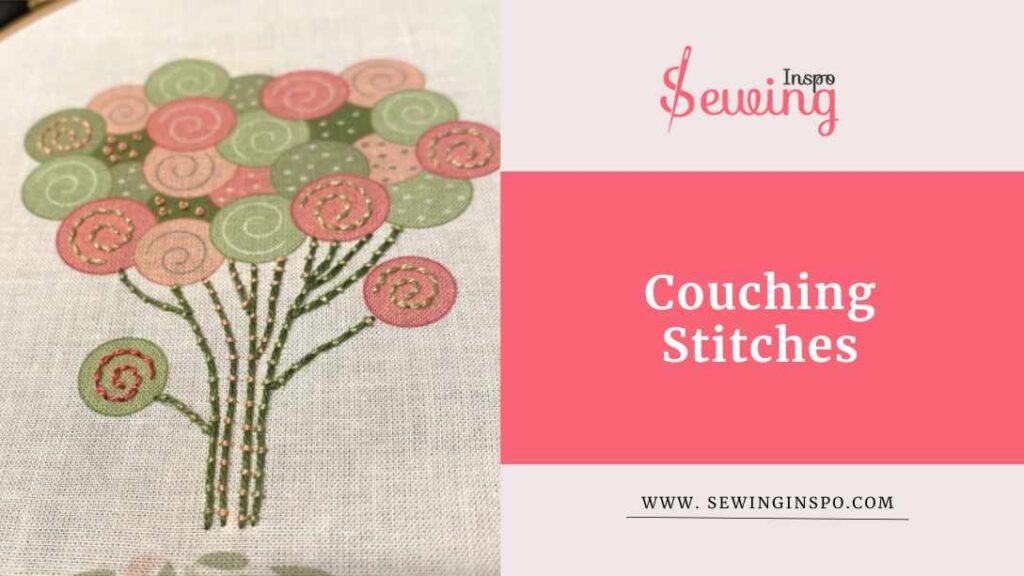
Couching Stitches
I’ve also experimented with couching stitches using the buttonhole stitch. It’s a fun way to secure thicker threads or yarn onto my fabric. I can create some interesting textures by laying the thread down and stitching over it. It’s great for embellishing my projects! In this case, the buttonhole shading stitch works best.
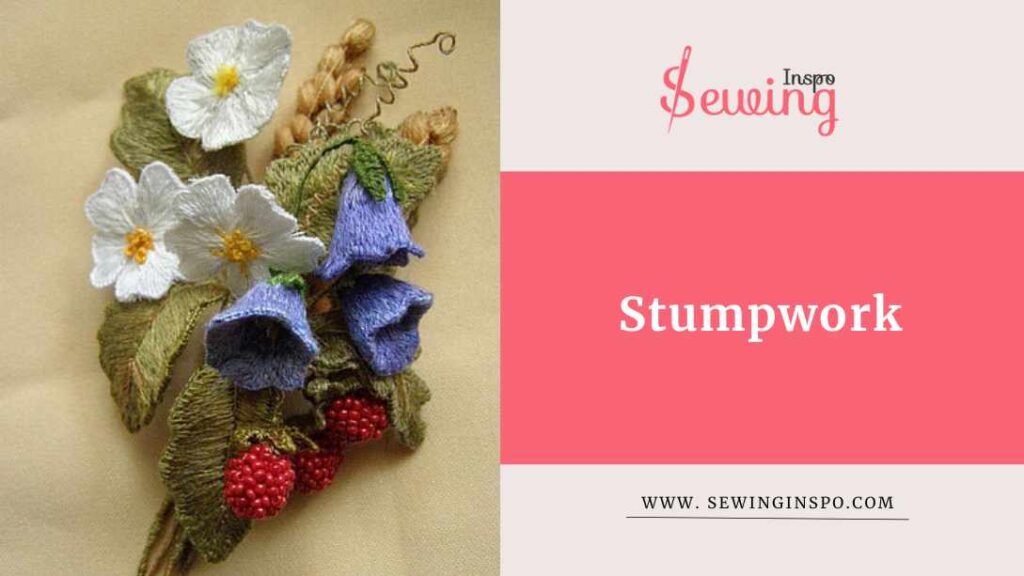
Stump Work
I’ve used the buttonhole stitch to cover and attach wire to the fabric in my stumpwork pieces. It helps create those beautiful three-dimensional elements, like raised flowers. Plus, it gives a neat finish to the edges, making my work look professional.
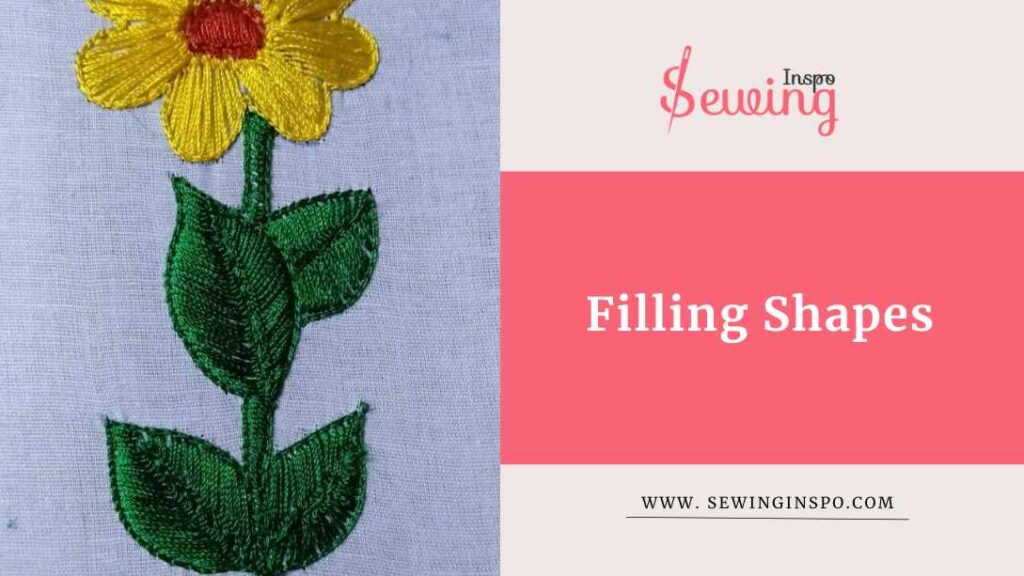
Filling Shapes
Filling in circular or curved shapes has been a breeze with the buttonhole stitch, too. I love how it creates a solid, textured fill that adds depth to my designs. It works beautifully in leaf shape. Whether it’s flower petals or other shapes, this stitch really brings everything to life. If you are confused about which stitch to do here, then use the bar buttonhole stitch.
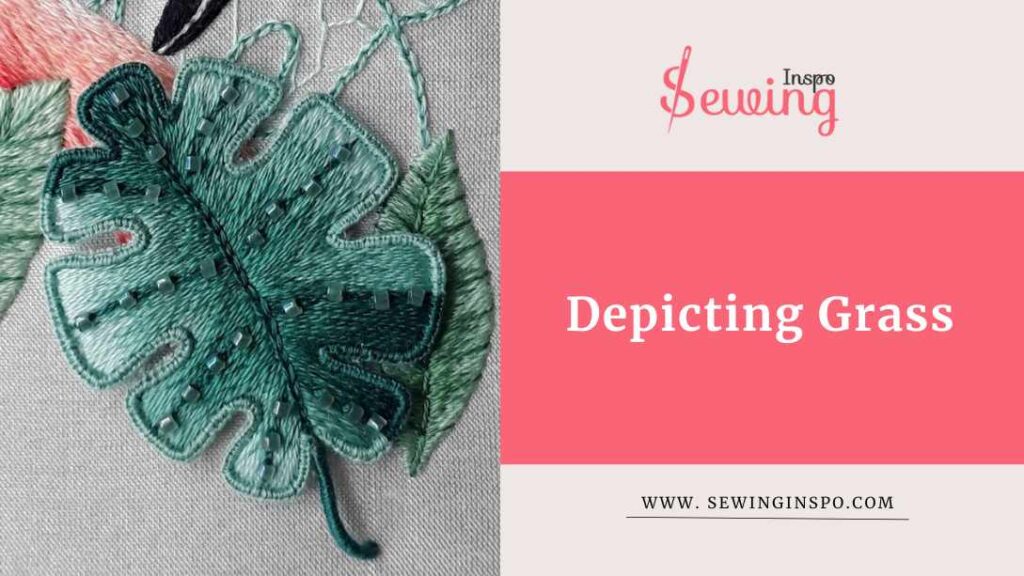
Depicting Grass
Lastly, I’ve had a blast using buttonhole stitches to depict grass on hillocks in my embroidery. By playing around with the length and spacing of the stitches, I can create a natural, textured look that really mimics real grass. It adds such movement and detail to my landscape designs!
Finishing Raw Edges
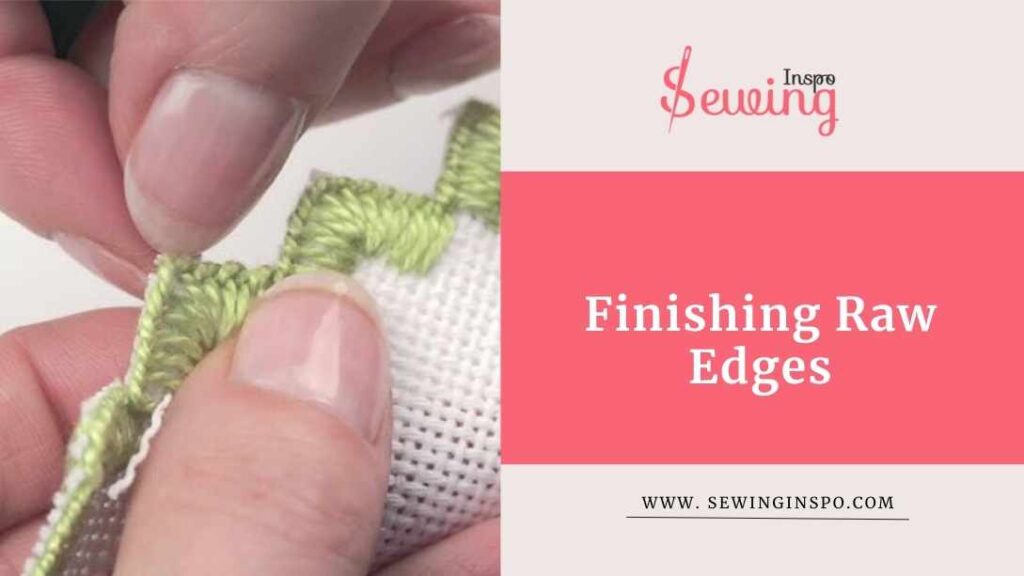
Edges of buttonholes favorite ways to use the buttonhole stitch is for finishing raw edges. Do you know how annoying it can be when the fabric starts to fray? The buttonhole helps them to fray. I love using it to seal the edges of my fabric, especially on thicker materials like denim or canvas. You can try to tailor the buttonhole here for quick work.
So, yeah, the buttonhole stitch may seem simple, but it is also vital. You just need to know when to use it.
So yes, buttonhole stitch has more work to do than being on buttonhole. But where is it mostly used? You must be wondering.
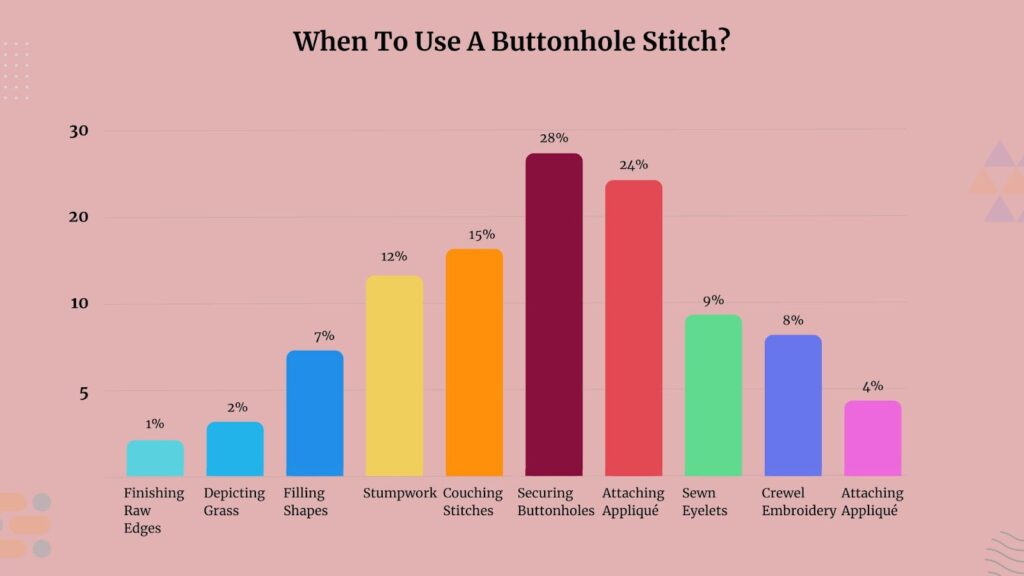
Well, buttonhole stitch is mostly used in securing buttonholes, but it also works well in other things, too.
Another Interesting Use Of A Buttonhole Loop
Do you need to attach a button but don’t want to sew a full buttonhole? Try a buttonhole loop—the lazy (but clever) way to do it! All you need is some thread (like T-24 or T-27), a needle, and a bit of patience.
Here’s how to do it:
- Start on the wrong side of the fabric so your knot stays hidden.
- Secure the knot with 2–3 tiny stitches for a strong base.
- Decide loop size — ½ inch is a versatile pick.

- Make the loop: Push your needle in and out, leaving a ¼-inch tail and looping the thread neatly without pulling too tight.
- Repeat stitches beside your entry point until you form a firm, even loop.
It’s simple, satisfying, and gives a neat, functional finish without the fuss of traditional buttonholes.
Buttonhole Stitch Procedure
After knowing what a buttonhole stitch is, you must wonder how to do it right. Well, the buttonhole stitch procedure is-
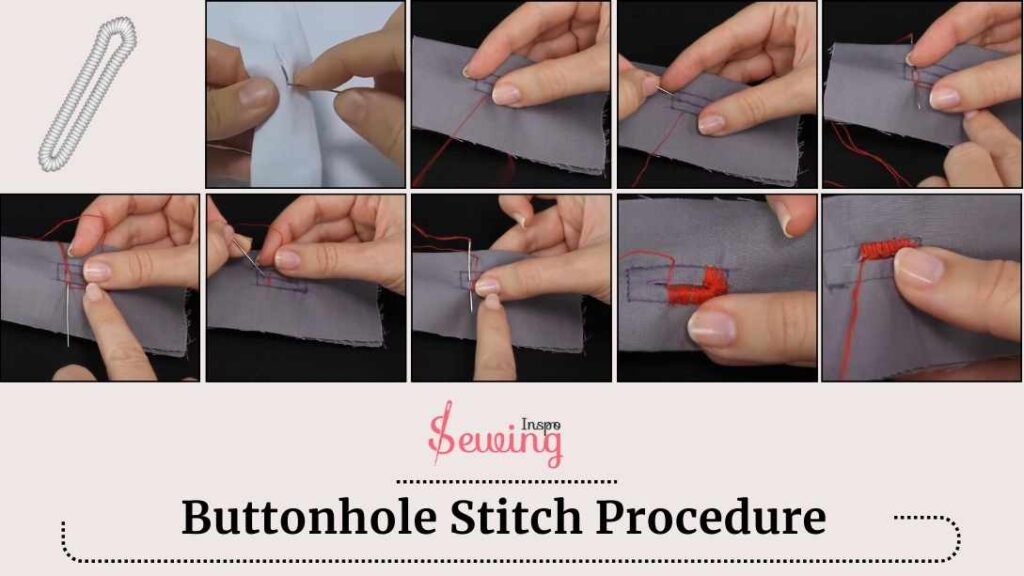
- Use an 8- or 11-size needle at a 45-degree angle from the top corner to the underside. You can use this angle while doing closed buttonhole stitches, too.
- Poke the needle out at the top edge of fabric at your marked point.
- Feed the needle into the hole for each stitch and emerge at the top.
- Loop the thread under the needle’s point before pulling through to create purl stitches along the firm edge.
- Keep the fabric flat, using your index finger to guide the stitching.
- Ensure the thread length lies under both the needle’s eye and point.
- Aim for a buttonhole stitch size of 0.5 inches.
- Stitch around the hole, dropping the needle through and emerging just outside the foundation stitching.
- Sew several 1/8-inch stitches back and forth, creating purl stitches until reaching the other side and ending it.
That’s a a quick overview, but if you want to learn in detail, then read our full article on buttonhole stitch.
If you’d like to see my buttonhole stitch drawing, please feel free to check it out as well.”
Buttonhole Stitch Design
Here is what you can do.

Frequently Asked Questions
How Is A Buttonhole Stitch Different From Other Stitches?
Unlike regular stitches, the buttonhole stitch specifically focuses on creating a durable edge around buttonholes. It typically involves looping the thread around the hole’s edge, while other stitches may not provide the same level of reinforcement.
Can The Buttonhole Stitch Be Used For Decorative Purposes?
Yes! While primarily used for buttonholes, the buttonhole stitch can also be employed in decorative embroidery. Its unique looped design can enhance the visual appeal of projects, such as outlining shapes or adding texture to fabric.
What Types Of Fabrics Are Suitable For Buttonhole Stitching?
Buttonhole stitching can be used on various fabrics, including cotton, denim, wool, and canvas. It’s especially useful on thicker fabrics that require extra durability but can also be adapted for lighter materials.
Do You Understand What A Buttonhole Stitch Is Now?
Yes, the buttonhole stitch looks like a blanket stitch from a distance. But it if far different than it. Now you know, right? So, now use it the right way and in the right place.
And don’t hesitant to reach out to sewinginspo for any confusion.



Leave a Reply