
Stuffed toys are not just for babies, let’s be real, even grown women (and men!) adore them. There’s something timeless about a teddy bear. It’s soft, cuddly, include and always brings a bit of comfort.
If you make them and gift them! Then it became priceless, also. Making a teddy bear might sound complicated, but it’s not.
Teddy Bear Pattern
To sew a teddy bear stitching pattern, cut out the fabric pieces from a template, stitch them together, stuff with filling, and close the seams neatly.
Sounds easy, right? Ok, so let’s do it, and you will also have a teddy bear sewing pattern PDF free that you can download and print.

Table of Contents
How To Sew A Teddy Bear Pattern?
To sew a teddy bear pattern, follow the below steps,
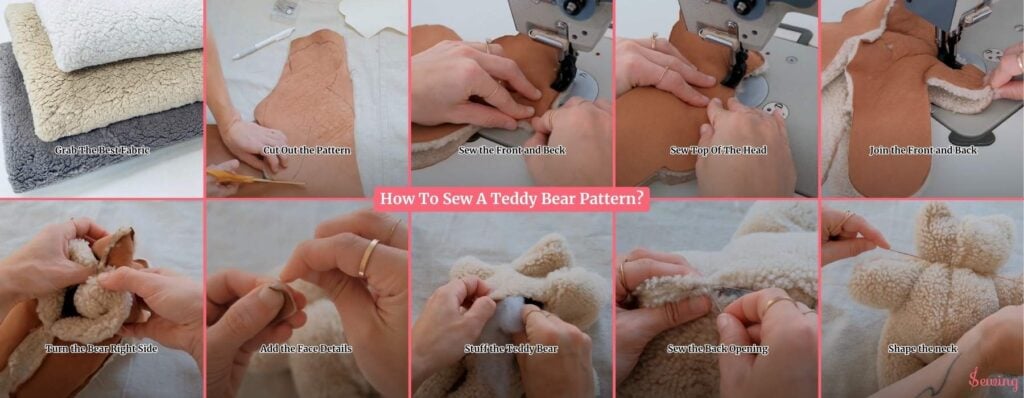
- Grab The Best Fabric
- Cut Out the Pattern
- Sew the Front and Beck
- Sew Top Of The Head
- Join the Front and Back
- Turn the Bear Right Side
- Add the Face Details
- Stuff the Teddy Bear
- Sew the Back Opening
- Shape the neck
Grab The Best Fabric For Stuffed Animals
Before we even pick up scissors, let’s talk about fabric. The beauty of stuffed animals is that you can make them from all sorts of materials, depending on the vibe you want. Common fabrics to make teddy bears include:
- Fleece
- Minky Fabric
- Faux Fur
- Cotton
- Felt
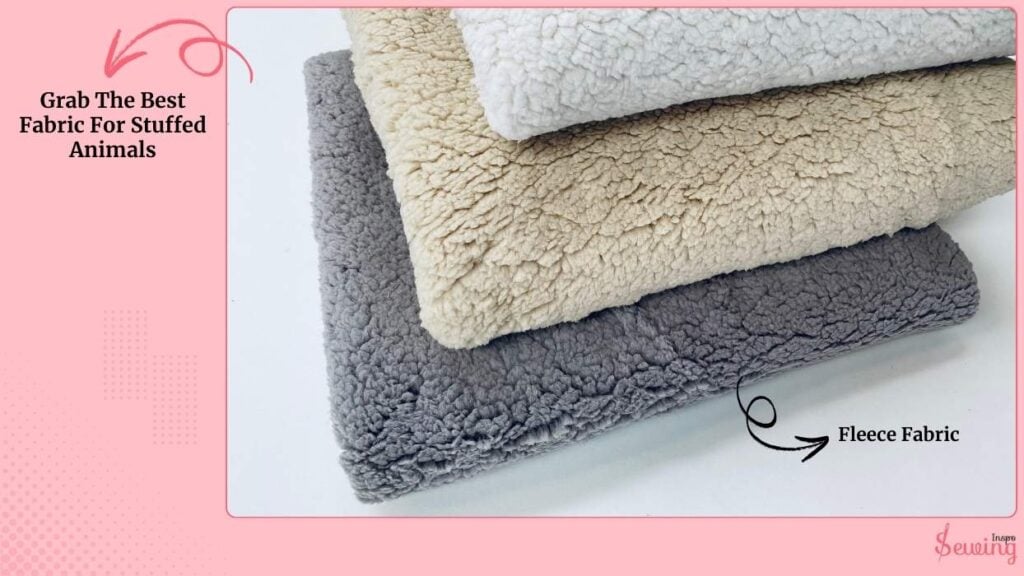
I usually grab fleece or minky when I want something squishy and kid-friendly. But if I’m making a classic teddy bear, faux fur always wins.
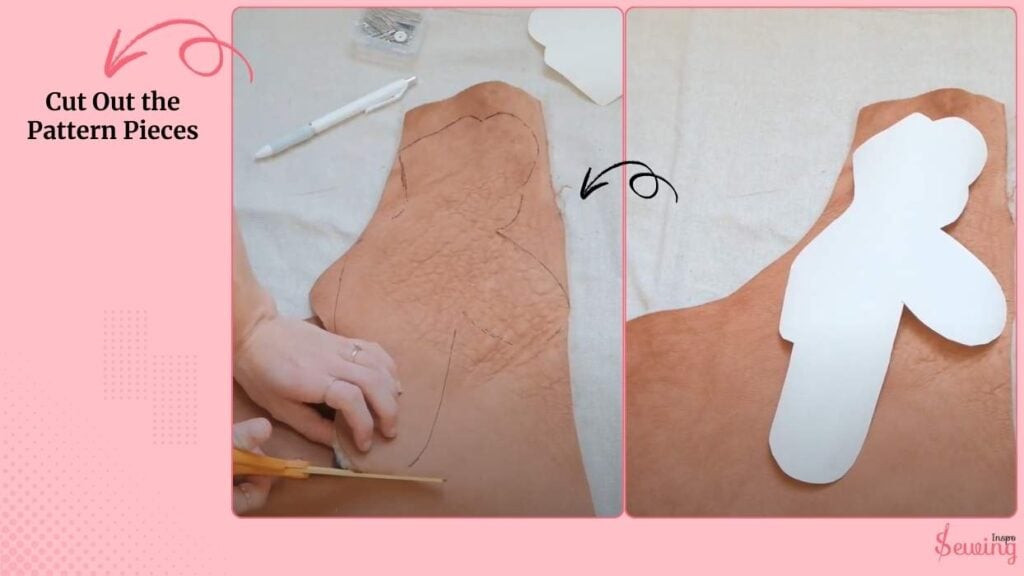
Cut Out the Pattern Pieces
I lay out my Free teddy bear stitching pattern and cut out the shapes like stick and stitch. Since the pieces are mirrored, I trace one side first, then flip it over and trace the other, making sure I’ve got front and back mirrored pieces. Basically, what you would do with a block sewing pattern.
I place the front pieces right sides together, and do the same with the back pieces. That way, I’m ready to stitch them neatly without mismatched edges. These steps are kinda similar to crocodile stitch patterns in sewing.
That’s why teddy bear pattern pdf is so handy.
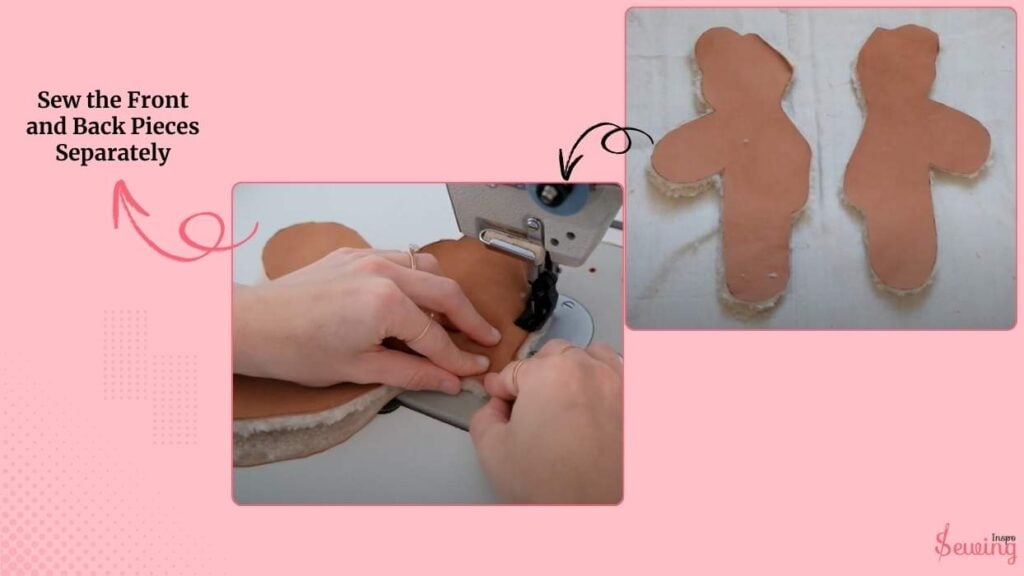
Sew the Front and Back Pieces Separately
Starting with the front pieces, I begin at the top of the bear’s head and sew down toward the legs, stopping right at the top of the leg. I use a ¼-inch seam allowance here.
Since sherpa and leather can get a little bulky. I use this for counted stitch too.
I trim the edges slightly so my seams don’t end up too thick. Even though I’m using leather and sherpa, a regular home sewing machine handles this fine if I take it slow.
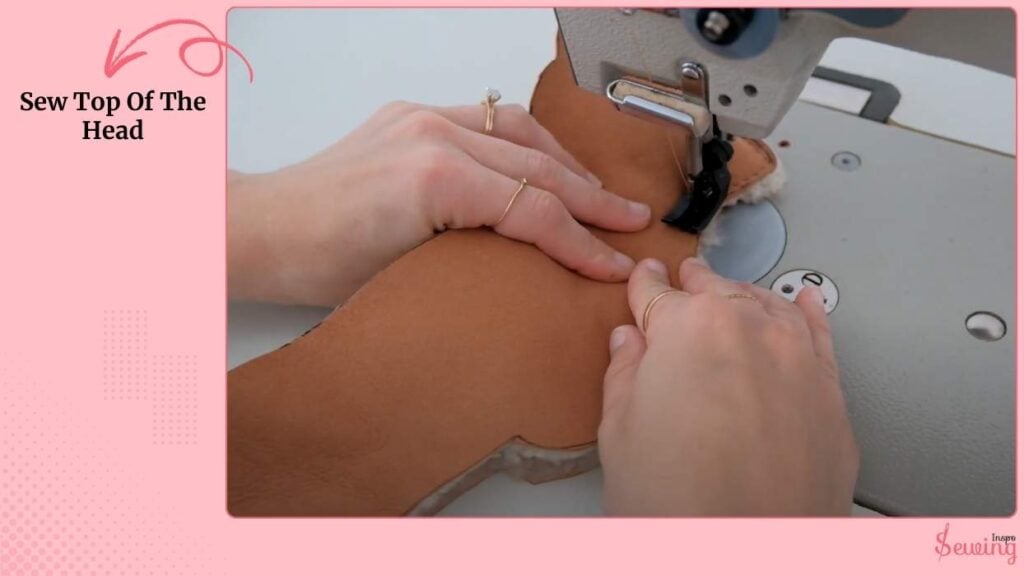
Sew Top Of The Head
For the back pieces, I sew from the top of the head down toward the stomach, but I stop a few inches before the bottom leaving a 3–4 inch opening. I use this for waffle stitch blanket pattern in sewing.
This is important because it’s where I’ll turn the bear right side out and stuff it later. This kinda remaind me of sewing tie.
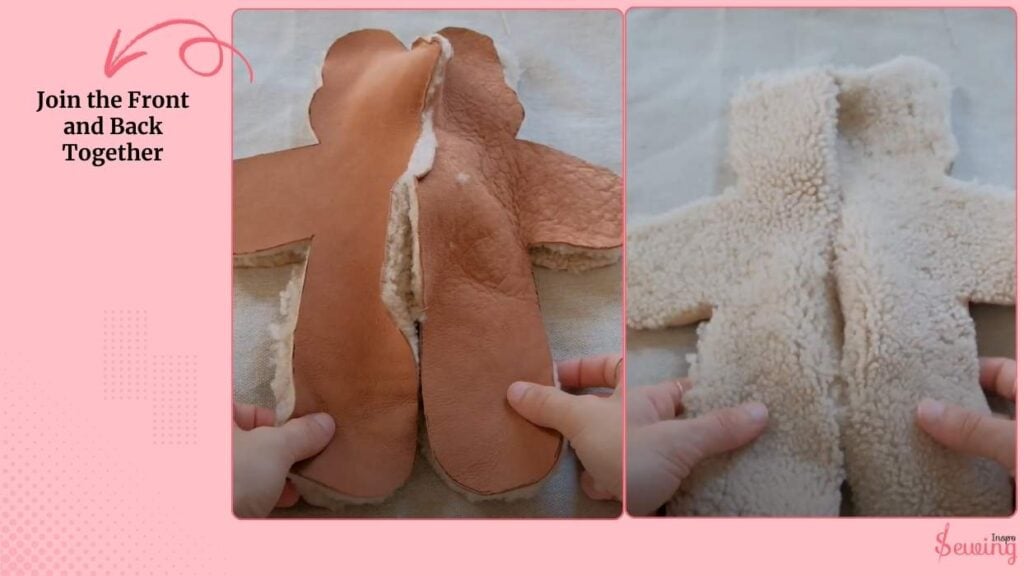
Join the Front and Back Together
Now I place the front and back pieces right sides facing each other. I pin all around so nothing slips out of place.
Then, slowly and carefully, I sew all around the entire perimeter of the bear, keeping my ¼-inch seam allowance consistent. I take extra care at the curves (like the ears, arms, and legs).
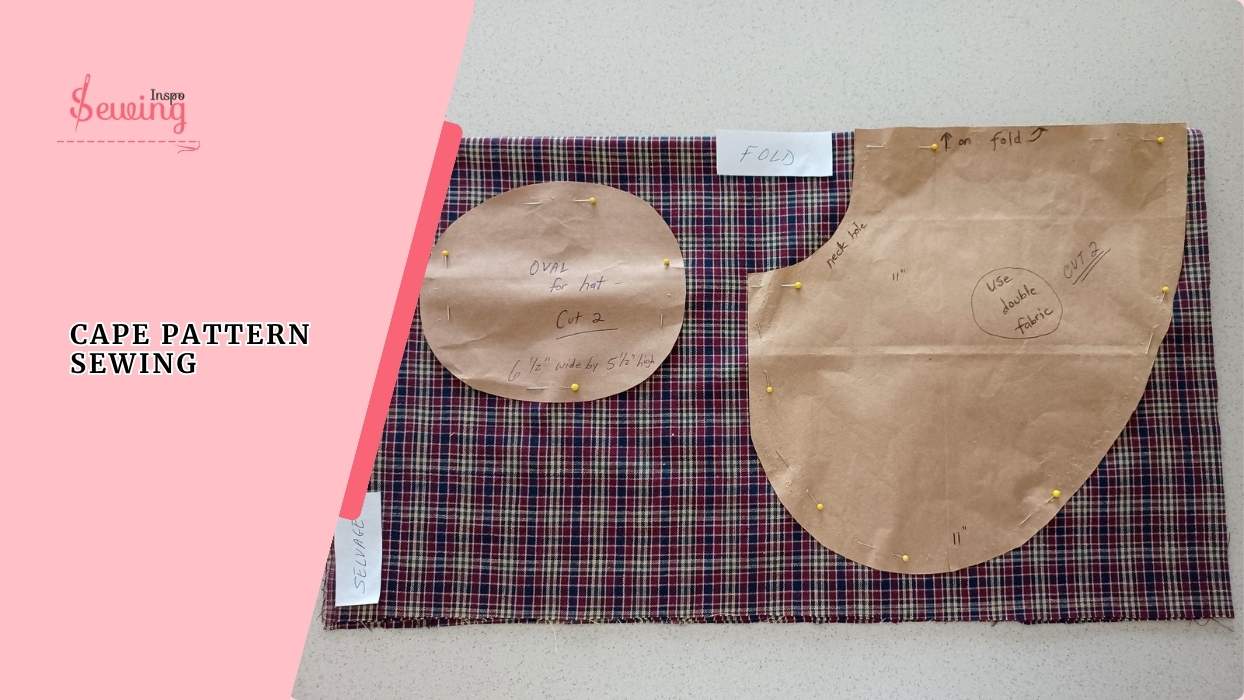
It will stop with the needle down to keep the shape smooth. You can use a trick for a simple cape pattern sewing too.
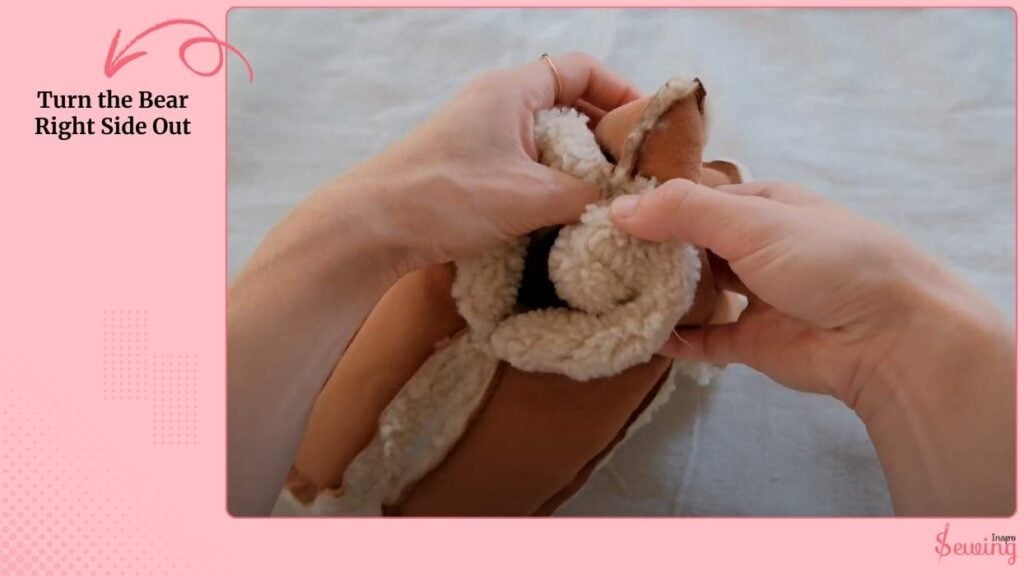
Turn the Bear Right Side Out
Through the opening I left in the back, I gently pull the bear right side out. The ears, arms, and legs start taking shape, and the outline of my bear is finally visible.
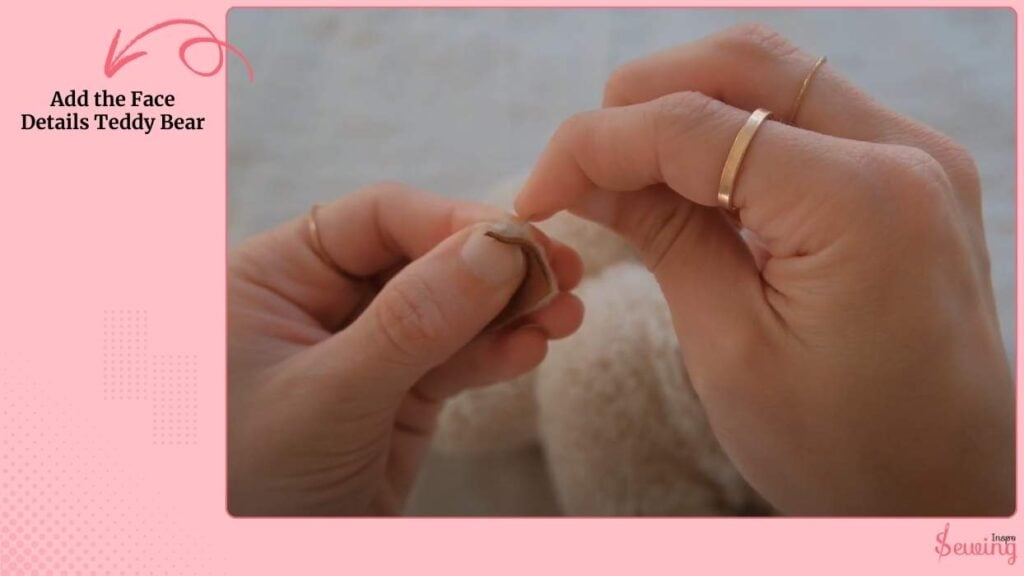
Add the Face Details Teddy Bear
Before stuffing, I work on the bear’s face. I cut a small triangle from the same fabric (using the backside of the leather for contrast) and stitched it on as the nose.
I can also add eyes, a mouth, or any other details at this stage. Doing this now is easier than after the bear is stuffed.
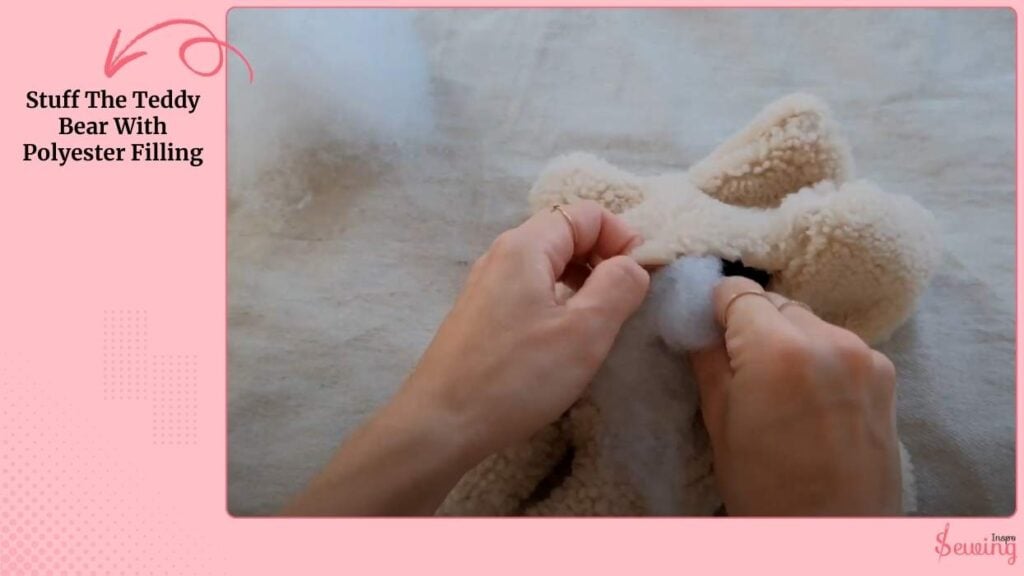
Stuff The Teddy Bear With Polyester Filling
I grab my polyfill and begin stuffing the bear. I like to start with the arms and legs first, pushing the stuffing into the corners so they fill out well.
If I want the limbs to stand out more, I can sew a straight line across the top of the arms and legs after stuffing. This gives them more definition.
Then, I fill the body and head until I’m happy with the shape. How firm or squishy you make it is totally up to you!
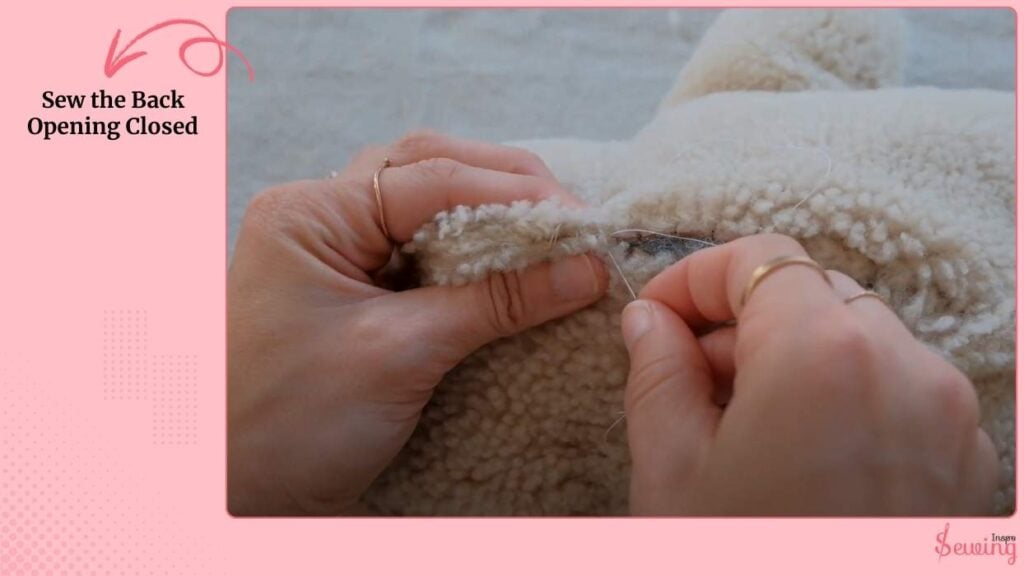
Sew the Back Opening Closed
Once the bear is stuffed, I take a needle and thread and carefully stitch the back opening closed with small, tight stitches. I knot it securely so nothing slips out later.
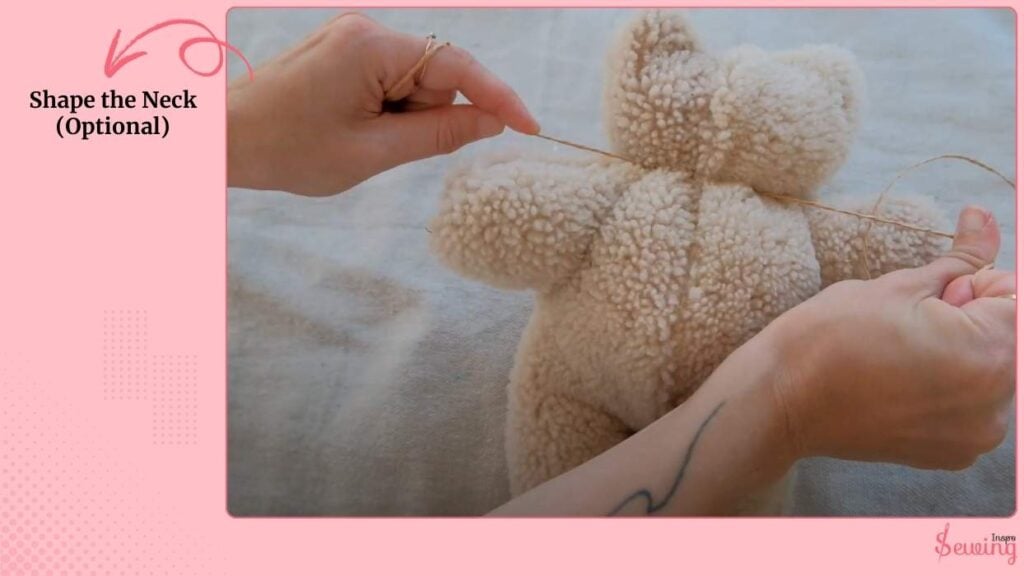
Shape the Neck (Optional)
If I want the head to stand out more, I take a piece of yarn and tie it snugly around the bear’s neck. On fluffy fabrics like faux fur, the yarn blends right in and looks natural, while giving the head a nice, rounded shape.
And that’s it, you’ve made your own handmade teddy bear! Whether you use leather, sherpa, or faux fur, each fabric gives the bear a different personality.
Show it off, gift it, or keep it as a cozy handmade friend kinda like peyote stitch patterns for beginners.
Watch this video for a clearer concept of sewing a Simple teddy bear stitching pattern
How To Sew A Teddy Bear | Pattern + Tutorial for Beginners
Teddy Bear Stitching Pattern Pdf
In case you forgot any steps. Save this pdf so you dont have to be stuck.
Downloadable Printable Free Memory Bear Pattern Pdf
Teddy bear stitching pattern pdf is such a helpfull kit. But finding it free is a hassle. We know the struggle. That’s why we made one just for sewinginsp readers. Cause we don’t want our readers to struggle like others.
FAQ
Can I make this teddy bear without a sewing machine?
Yes! You can hand-sew it using a backstitch or whipstitch. It’ll take a bit longer, but the process is the same. Just keep your stitches small and tight so the seams don’t come apart when stuffing.
Do I need special tools for sewing leather?
If you’re using leather or faux leather, a heavy-duty needle and a walking foot (or Teflon foot) on your sewing machine will help. For hand-sewing, use a leather needle and waxed thread.
How much stuffing do I need?
It depends on the size of your bear, but a small bag of polyfill usually works for a medium-sized teddy. If you want firmer arms or legs, stuff those first and then fill the body.
Show Us Your Work
Have you downloaded the teddy bear stitching pattern pdf and stitched yet?
If yes, then show us your work in the comment section.


Leave a Reply