
One of my sewing inspo students came up to me with a Singer machine. She just bought it and is feeling kind of lost. She didn’t know how a sewing machine stitch works. So ask me how can stitch with this machine? I replied.
Singer Sewing Stitch
To use a Singer sewing machine stitch, guide your fabric under the presser foot while the Singer needle moves up and down, letting the machine feed the fabric automatically to create straight, zigzag, or decorative stitches.
She again asked what is the standard stitch setting for Singer? So I knew little talks won’t do any good. I need to do a whole session. So here I am.
Table of Contents
How To Select A Stitch On Singer Machine?
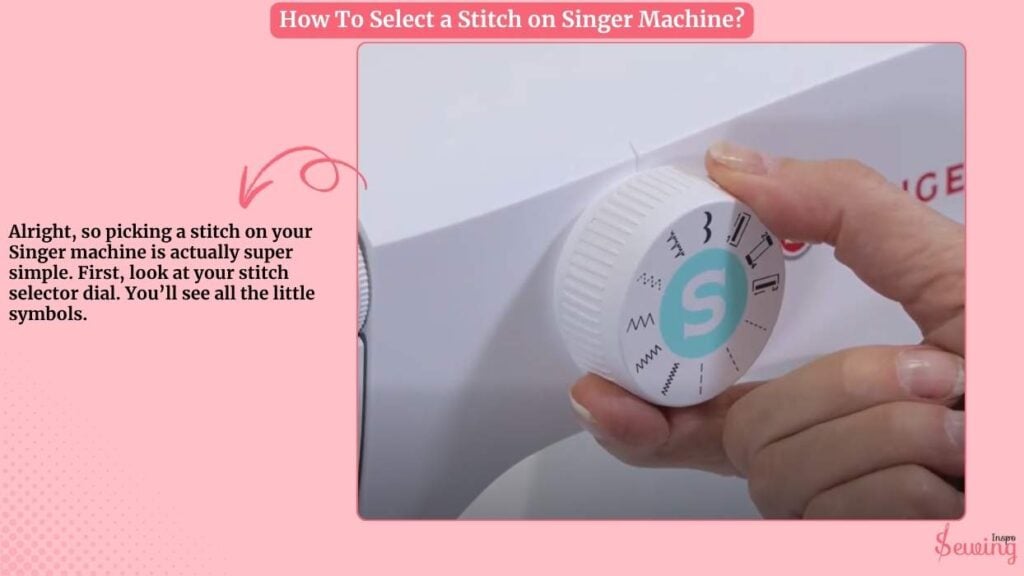
Alright, so picking a stitch on your Singer machine is actually super simple. First, look at your stitch selector dial. You’ll see all the little symbols. Here’s what you do:
- Turn the dial to the symbol of the stitch you want.
- Adjust the stitch length if needed. There’s usually a separate dial or slider for that. Longer stitches for basting or gathering, shorter for secure seams.
- Check the stitch width if you’re doing zigzag or decorative stitches, so it fits your fabric.
And that’s it! You’re ready to start sewing your chosen stitch. Easy, right?
Singer Sewing Machine Stitch Guide
To use the Singer sewing machine stitch, follow the below 6 steps-
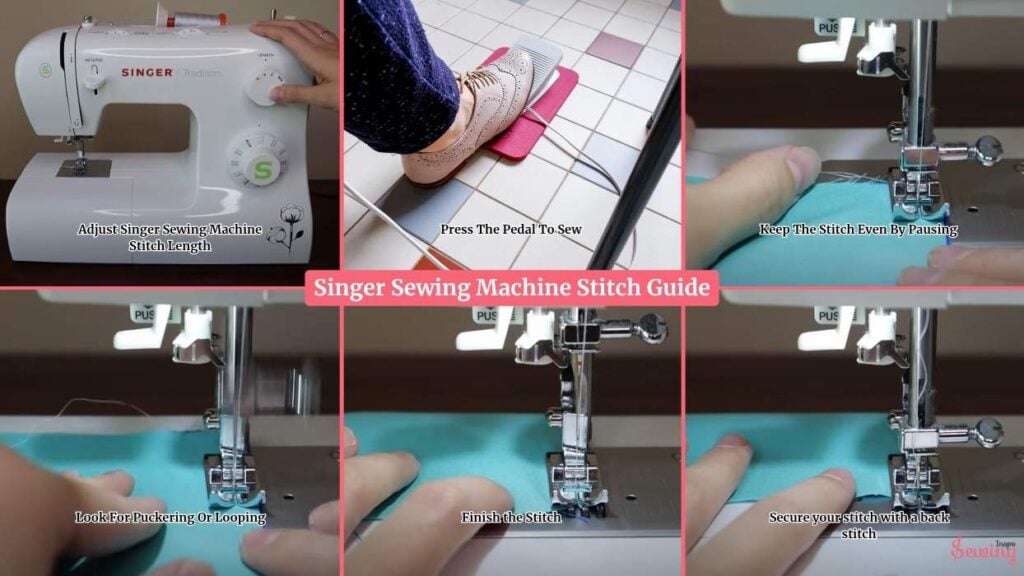
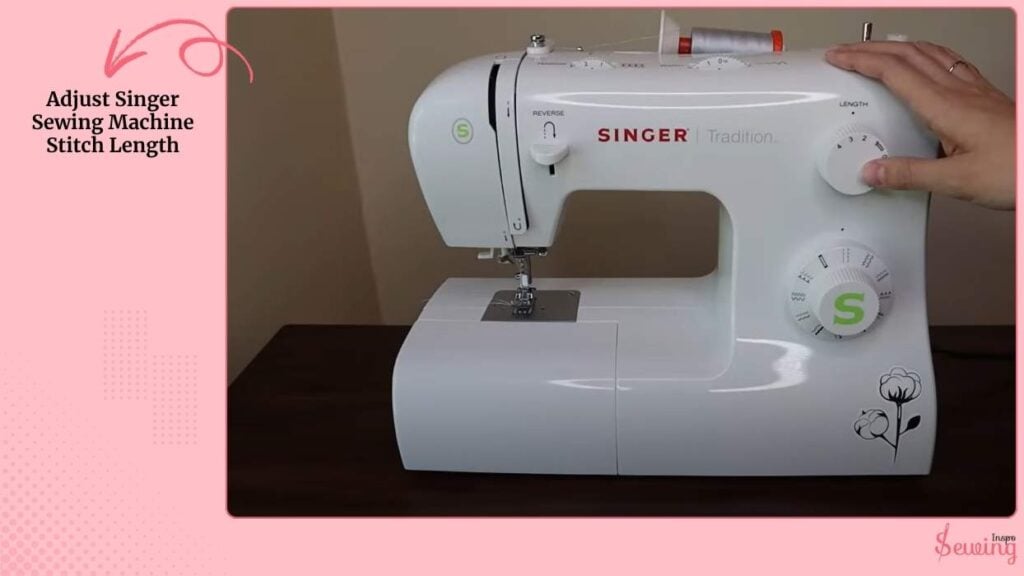
Adjust Singer Sewing Machine Stitch Length
Singer stitch length depends on your machine, but a good starting point for medium-weight fabrics is usually around 2.5 mm.
For lighter fabrics, use a shorter stitch length, around 2 mm, to avoid puckering. For heavier fabrics, increase the stitch length to 3–4 mm for smooth, even stitches.
To adjust, simply turn the stitch length dial while the needle is at its highest position, out of the fabric.
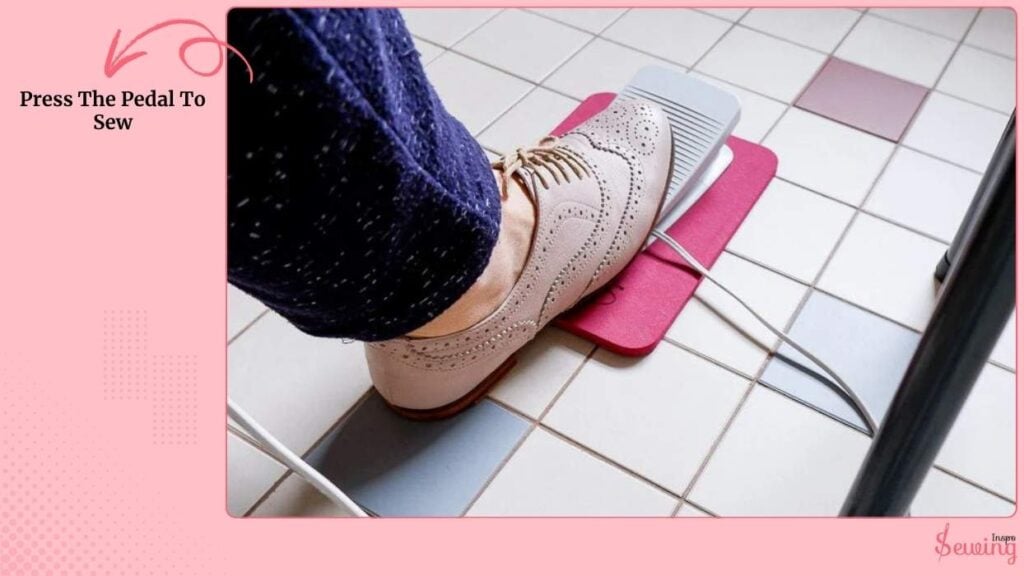
Press The Pedal To Sew
Gently press the foot pedal. Don’t go full speed immediately; start slow so you can get a feel for how the machine moves. This can also do machine embroidery fill stitches.
Watch the fabric as the needle pierces it. You’ll see your stitch forming right in front of your eyes. It’s like magic, honestly.
Use your hands to guide the fabric lightly.
Important: don’t push or pull. It can distort the stitch. The feed dogs underneath the needle do all the moving, so your job is just to keep the fabric straight and smooth.
Keep an eye on your thread tail at the start. Hold it lightly so it doesn’t get caught or tangled. A tiny tug at the wrong time can ruin your first few stitches.
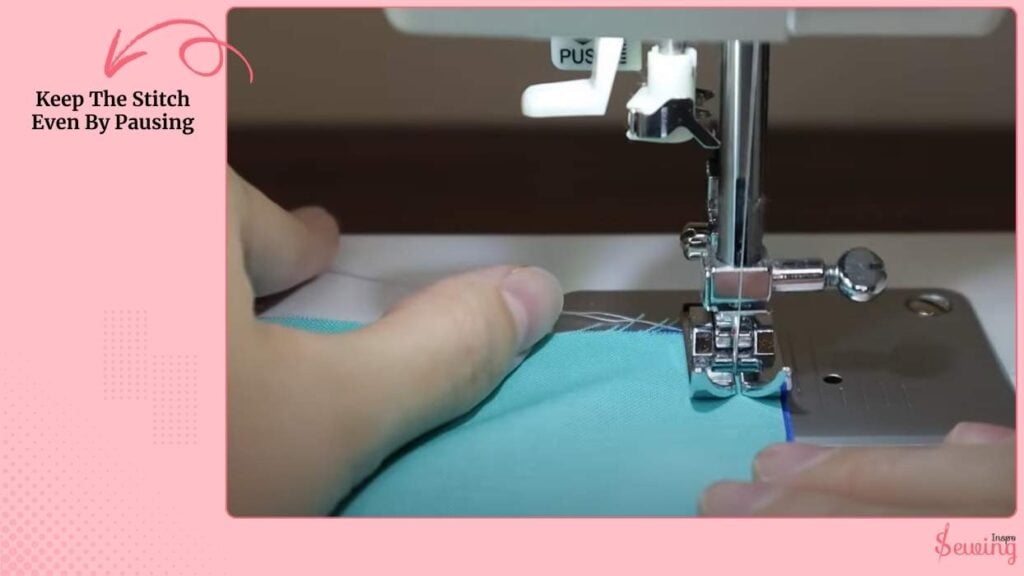
Keep The Stitch Even By Pausing
As you sew, it’s good to pause occasionally and take a look at your work & adjust bobbin winding spindle. You can do basting stitch on singer sewing machine easily like this too.
Make sure the stitches look even. Both on top and underneath the fabric. Uneven stitches may indicate that your tension disks require a slight adjustment.
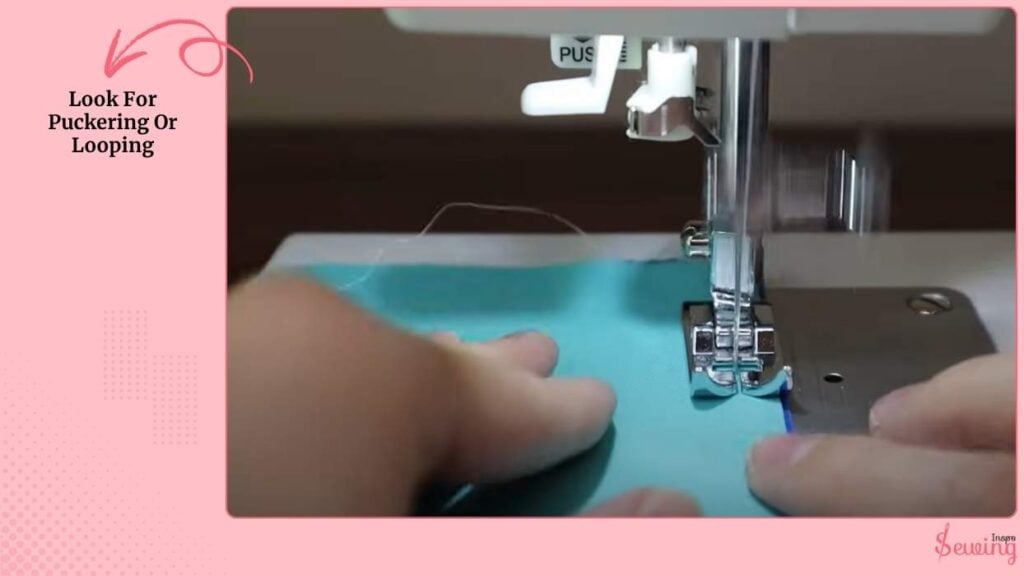
Look For Puckering Or Looping
Look for puckering or looping. If your thread is looping on the bottom, slightly tighten the upper tension; if it’s pulling the fabric, loosen it a bit.
If your stitches start going off track, don’t panic! Just stop, lift the presser foot, straighten the fabric, and start again.
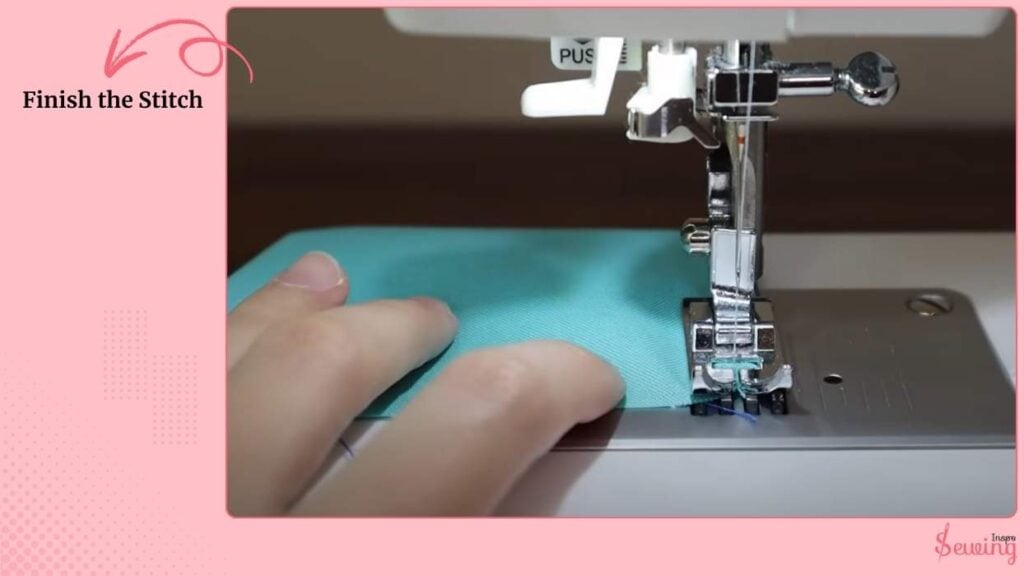
Finish The Singer Sewing Machine Stitch
When you reach the end of your seam or design:
- Lift the needle to its highest position and raise the presser foot. This prevents the fabric from shifting.
- Gently pull the fabric back to see the thread tail clearly.
- Cut the thread, leaving about 2–3 inches of tail. This gives you room to secure the stitch. You can do whip stitch sewing machine to secure the edge too.
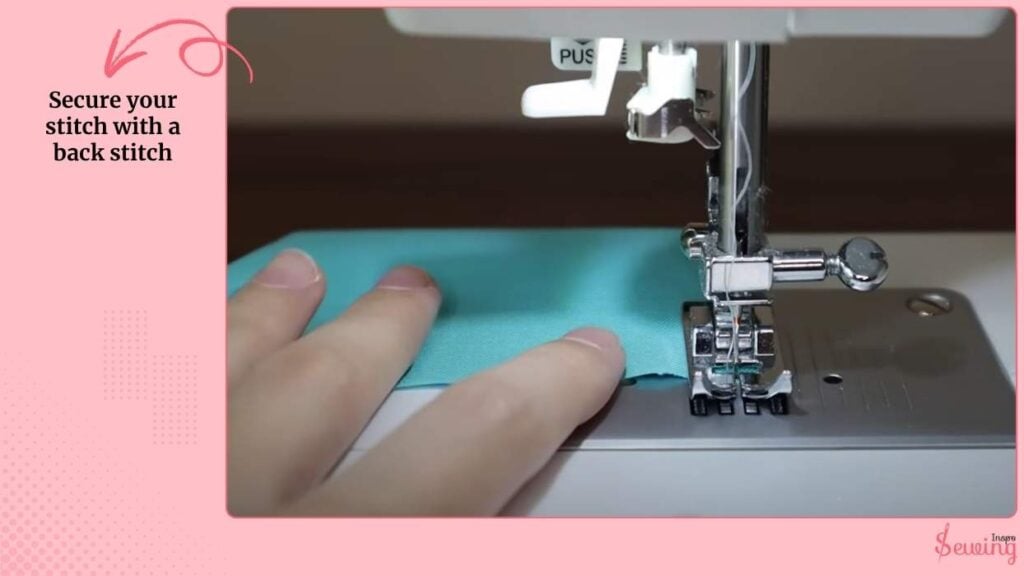
Secure your stitch with a back stitch
For straight stitches, do a few backstitches at the end or tie a small knot with the thread tail.
For decorative stitches, carefully trim the thread and, if needed, loop the last stitch through itself to lock it in place.
If you wanna read more demonstrations like this, then read the brother sewing machine stitches article too.
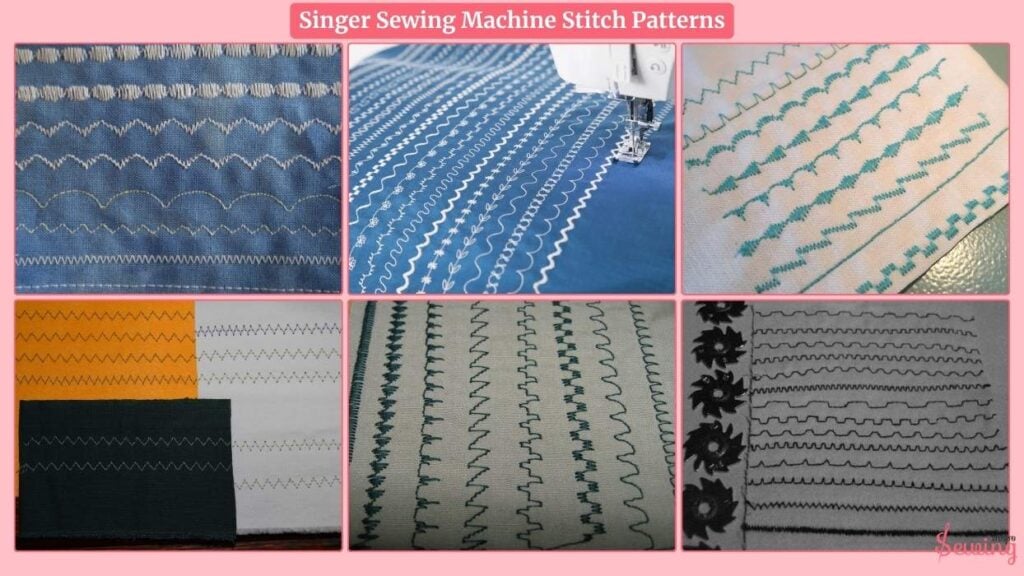
Singer Sewing Machine Stitch Patterns
If you were wondering how a pattern from singer machine looks like then look at this.
What Are The Stitch Options For The Singer Tradition?
The Singer Tradition sewing machine comes with a range of built-in stitches, which vary by model. For example, the Singer Tradition 2277 offers 23 stitches, including basic, decorative, and stretch options, while the Singer Tradition 2250 has 10 built-in stitches.
You choose your stitch using the pattern selector dial, and you can adjust both the length and width to suit different fabrics and project requirements. But the most common ones are-
- Straight Stitch
- Zigzag Stitch
- Buttonhole Stitch
- Blind Hem Stitch
- Stretch Stitch / Triple Stretch

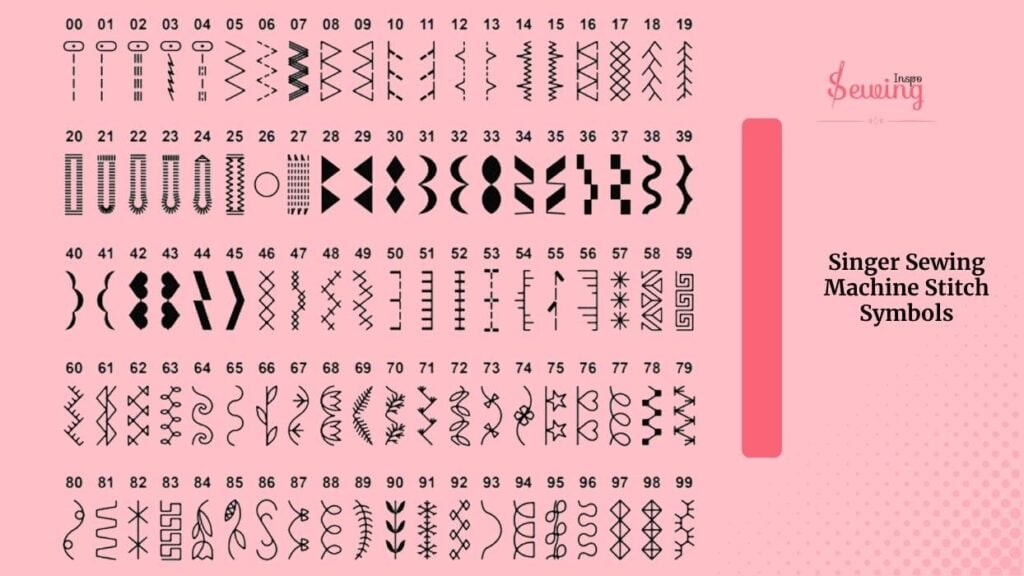
Singer Sewing Machine Stitch Symbols
On a Singer sewing machine, the stitch symbols are located on the stitch selector dial. The black symbols or numbers represent straight stitches. The colored symbols like blue or red, indicate stretch or decorative stitches.
The black numbers usually let you adjust stitch length for straight stitches, whereas the colored symbols (like blue S1 or red S2) show specialized stretch or decorative patterns, which often work best with a shorter stitch length.
Stitch Symbol Categories
If you are new then you might feel lost with the symbols. So let’s make it easy for you,
Black Symbols/Numbers represent standard straight stitches. It shows the default needle position or a centered left straight stitch.

Blue or Red Symbols (S1, S2) indicate stretch or decorative stitches. And the blue (S1) and red (S2) typically showing different levels of stretch or specialized stitch patterns.
Decorative Symbols include unique patterns like zigzag, scallop, or applique stitches, each marked with its own distinct symbol.
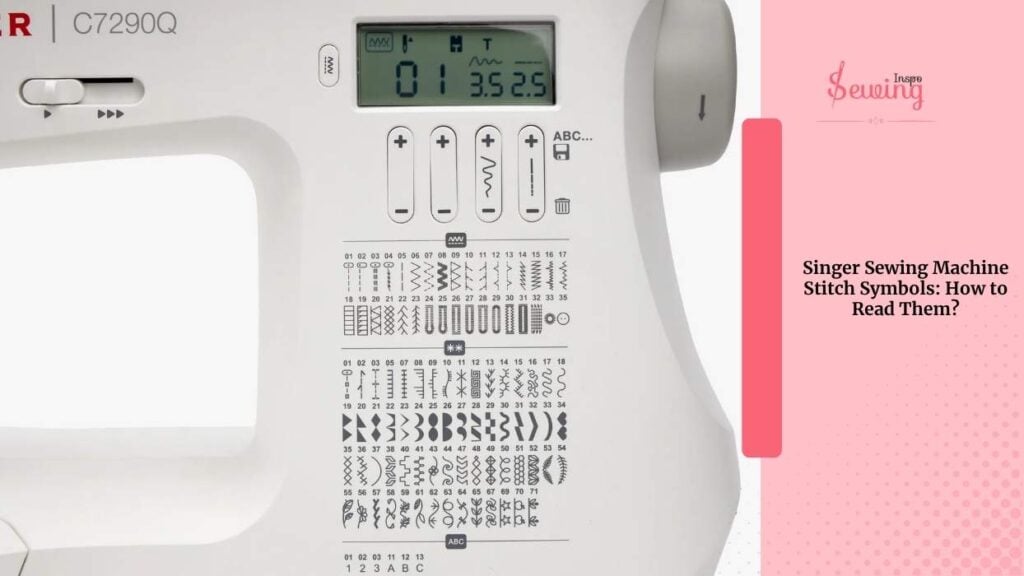
Singer Sewing Machine Stitch Symbols: How To Read Them
Seeing the symbols isn’t enough. You need to understand them too. At 1st it may feel lost.
But, singer stitch symbols are just visual shortcuts for different stitch types. Once you know what each one means, switching settings becomes super easy.
- Straight line (—) → Basic straight stitch for seams and topstitching.
- Zigzag (^^^^) → For finishing edges or sewing stretchy fabric.
- Triple zigzag (≈≈≈) → Stretch stitch that moves with knits.
- Rectangle or “U” shape → Buttonhole stitch.
- Wavy or scalloped line → Decorative stitch.
- Angled dotted line → Blind hem for invisible edges.
Each stitch has a number or letter next to it. Just match it using the selector dial or touchscreen. You can also adjust stitch length and width to get the look you want.
Singer Sewing Machine Stitch Settings
The Singer sewing machine setting can be changed the setting according to the stitch type. But if you want a general setting that works for you, then use-
- This dial lets you choose the type of stitch
- Adjust using the stitch length lever or dial, usually labelled from 0–5 or 0–4 depending on the model.
- Adjust with the stitch width dial, often numbered 0–5 or 0–7.
- Adjusts the tightness of the upper thread.
- Use this to reinforce the beginning and end of a seam.
- Lighter pressure for thin fabrics, heavier pressure for thick or slippery fabrics.
With these settings, you can handle everything from a basic straight seam to fancy embroidery stitches, all on the same machine.
Singer Stitch Guide Pdf Free Download
Frequently Asked Questions
What are the Singer sewing machine settings for straight stitch?
For a standard straight stitch, set the stitch selector to the straight stitch symbol (usually a black line) and adjust the stitch length dial according to your fabric—2–2.5 mm for light to medium fabrics, and up to 4 mm for heavier fabrics.
What is the Singer Heavy Duty stitches chart?
The Singer Heavy Duty stitches chart shows all the built-in stitch options on heavy-duty models, including straight, zigzag, stretch, decorative, and buttonhole stitches. It also indicates recommended stitch length, width, and fabric type for each stitch to ensure strong, durable sewing results.
Now It’s Your Turn
Now that I teach you the process now it’s your turn to make the stitch.
If you have already done then comment down your favorite sewing project.


Leave a Reply