
People tend to think portable sewing machine stitches and handheld machine stitches are the same. But the reality is different.
Most handheld sewing machines don’t sew like portable or full-size machines. Instead of the strong lockstitch you’d get from a regular machine, they create a single-thread chain stitch that’s weaker and can easily unravel.
Because of this, handheld machines are best suited for quick, temporary fixes and portable ones are for long-lasting repairs or detailed projects.
So, how to use it? Well,
Portable Stitches
To use portable sewing machine stitches, simply thread the machine, place your fabric under the presser foot, select your stitch type, and guide the fabric while the machine sews.
But I got so many questions about this machine. So I decided to note it down.
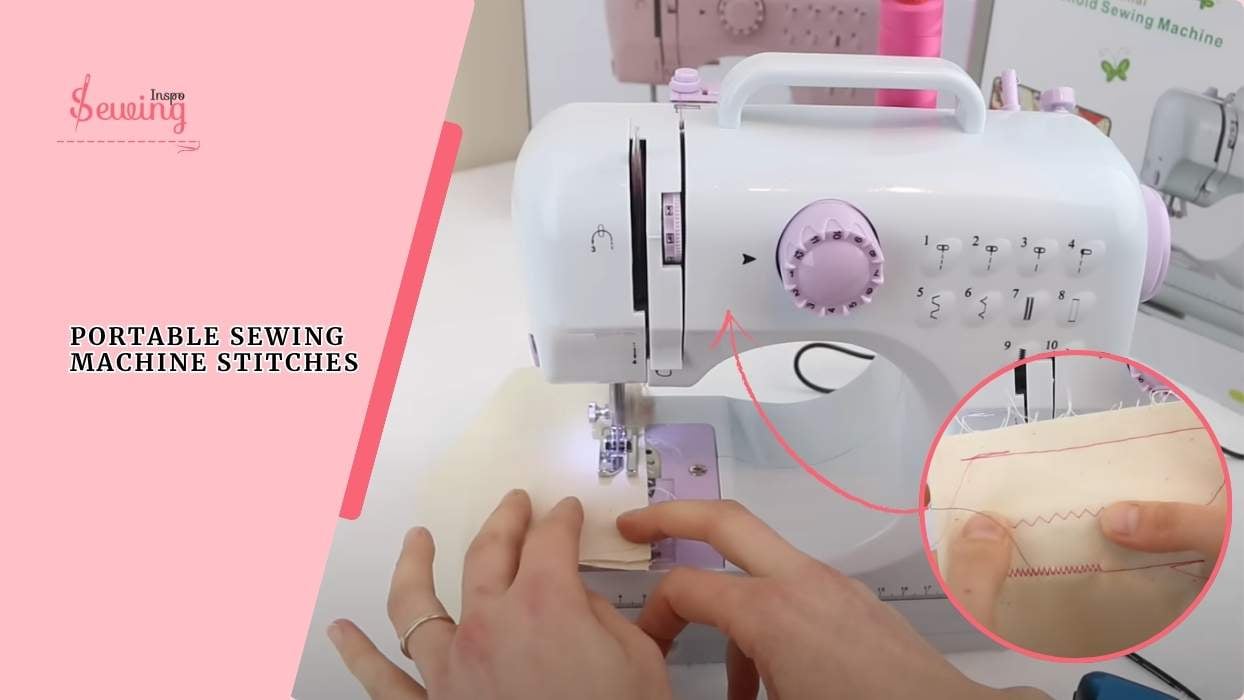
Table of Contents
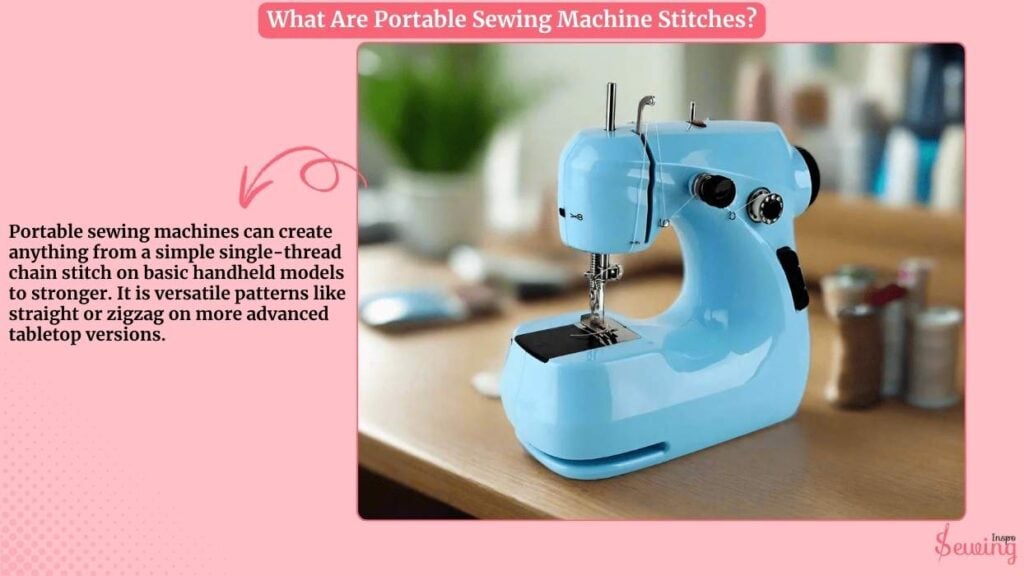
What Are Portable Sewing Machine Stitches?
Portable sewing machines can create anything from a simple single-thread chain stitch on basic handheld models to stronger. It is versatile patterns like straight or zigzag on more advanced tabletop versions.
Handheld “stapler-style” machines usually only produce a temporary chain stitch. And the mini tabletop machines use a two-thread system to make durable lockstitches that hold up much better. If you buy the right one, then you can even do a zigzag stitch on sewing machine on it.
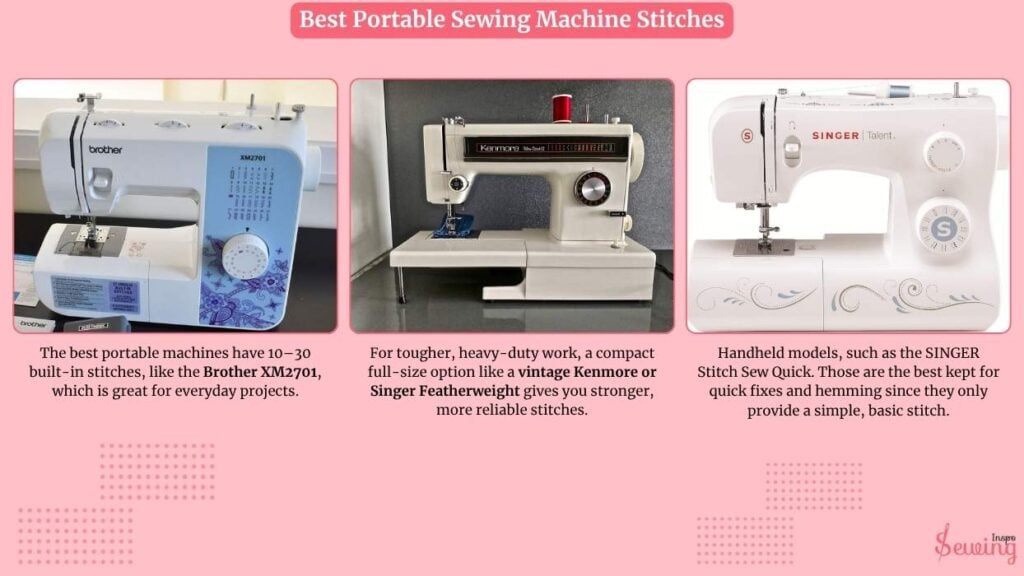
Best Portable Sewing Machine Stitches
The best portable machines have 10–30 built-in stitches, like the Brother XM2701, which is great for everyday projects unlike single needle lock stitch machine.
For tougher, heavy-duty work, a compact full-size option like a vintage Kenmore or Singer Featherweight gives you stronger, more reliable stitches.
Handheld models, such as the SINGER Stitch Sew Quick. Those are the best kept for quick fixes and hemming since they only provide a simple, basic stitch.
How To Use Portable Sewing Machine Stitches For Beginners?
To do portable sewing machine stitches follow the bellow steps,

Portable Sewing Machine Setting
So, I just got this little portable sewing machine. I can’t even remember if it was from eBay or Amazon 😅. Anyway, before I dive into stitching, I need to get it set up.
First thing: power and pedal.
- I turned the machine around and spotted the power input on the back.
- Plugged the DC adapter into that slot.
Right next to it, that’s where the foot pedal goes. I connected that too and slid the pedal onto the floor where it’s easy to reach. Now, here’s something cool: this machine actually works in a few different ways.
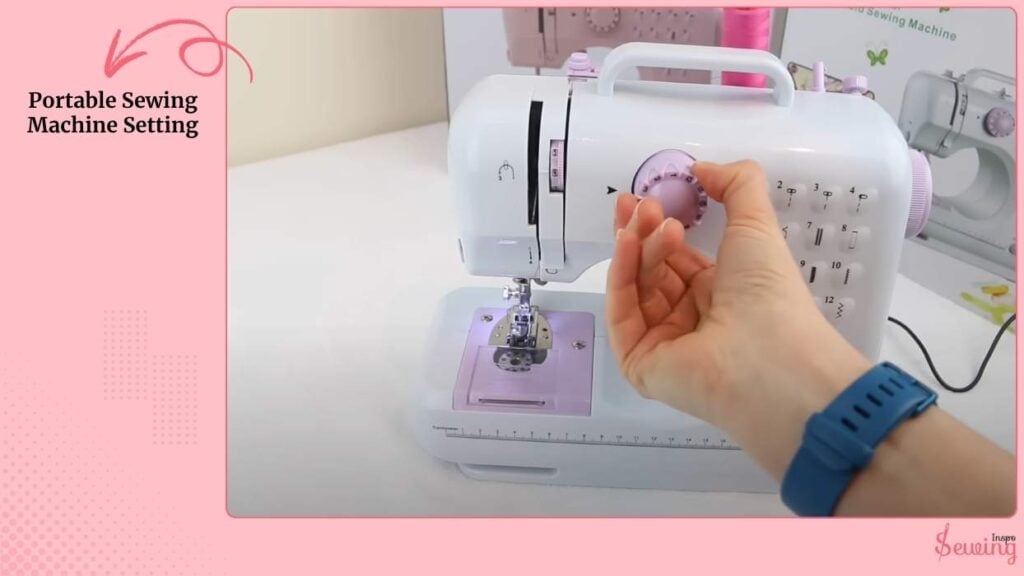
- You can use it with the power adapter (like I’m doing now).
- Or, if you don’t want cables everywhere, it also runs on batteries.
- And if you’re not into using the foot pedal, you can simply switch it on manually with the off/low/high button.
Once everything was plugged in, I checked the switch. Right now it’s in the OFF position.
That’s where I keep it until I’m ready to start stitching. If I want to go without the pedal, I just flip it to LOW for a slow speed or HIGH for a faster run.
Basically, setup takes just a minute. And then it’s ready for threading and actual sewing.
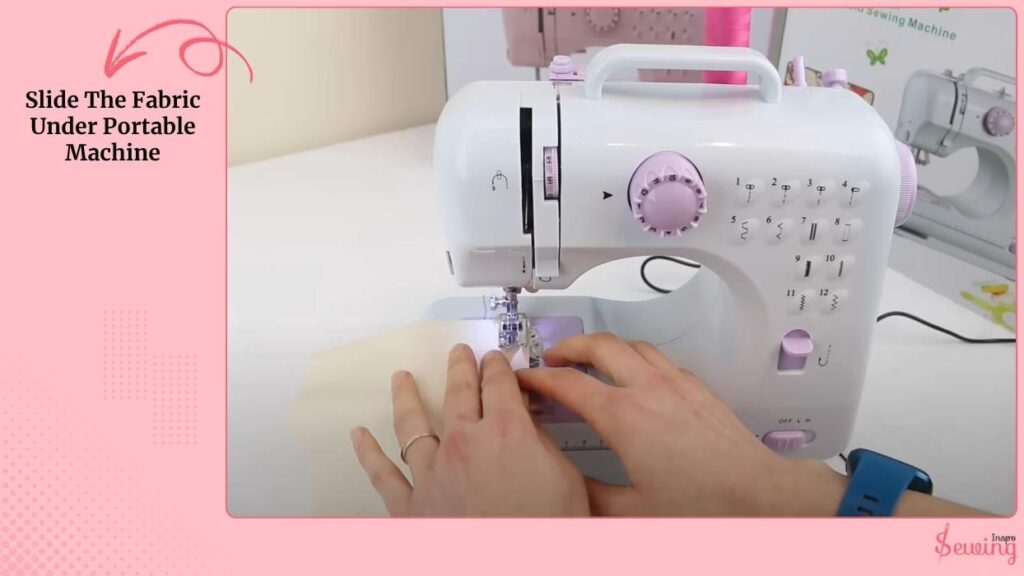
Slide The Fabric Under Portable Machine
I slide my fabric under the presser foot, aligning the edge with the seam guide (or my chalk line). I lower the presser foot.
This step is tiny but important, because it engages the tension system.
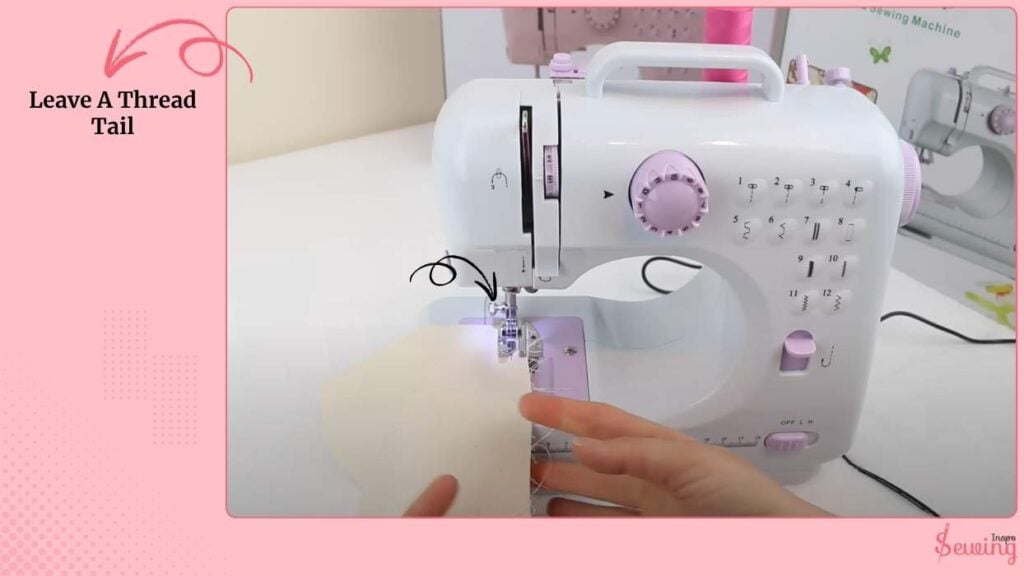
Leave A Thread Tail
I leave a thread tail of about 2–3 inches at the back. This keeps the first stitch from tangling or pulling out like flatbak machine.
With my foot on the pedal (or button on smaller portables), I start slowly. The first few stitches are like “warm-up” strokes. I want to see the thread catch and the machine form proper stitches.
Guide The Fabric By Hand
This is where beginners often go wrong. The feed dogs are designed to move the fabric forward automatically.
- I rest my hands lightly on both sides of the seam. I use this trick for my brother’s sewing machine stitches, too.
- Instead of pulling, I just steer the fabric. I guide it straight along my drawn line or the seam guide.
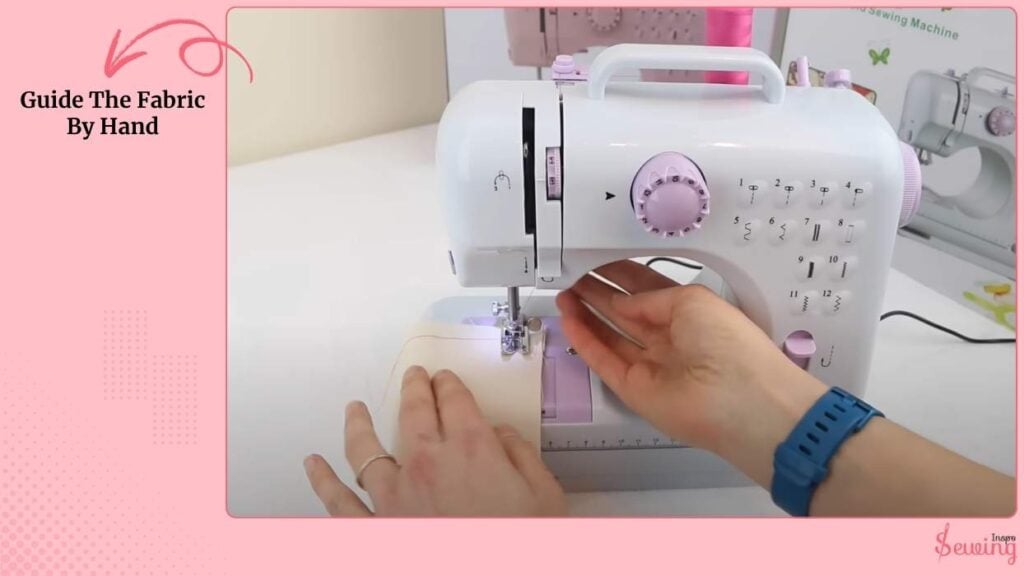
If I pull too hard, the stitches stretch, the fabric distorts, and the seam looks sloppy. If I push, the machine jams. Gentle guiding is the secret.
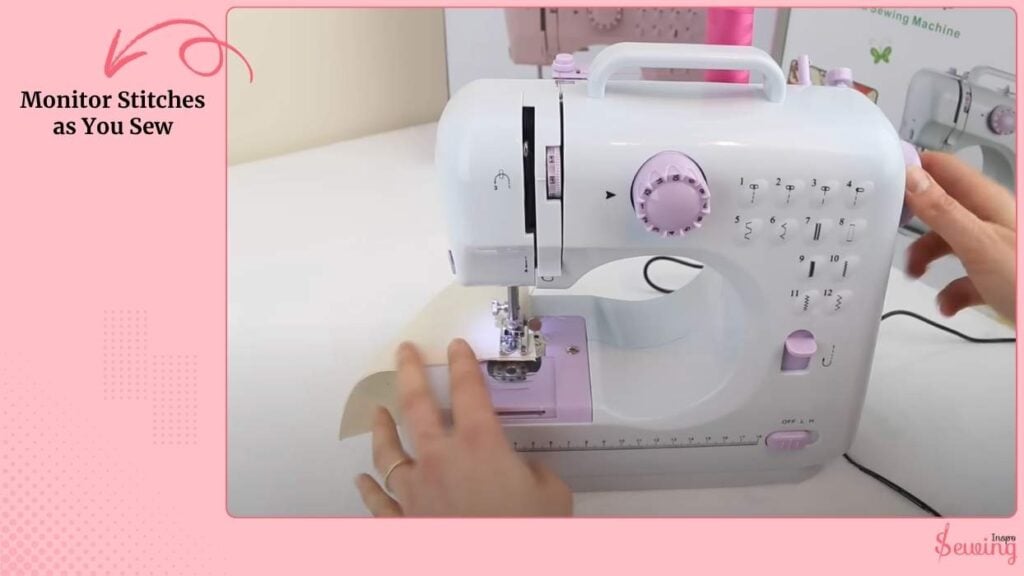
Monitor Stitches as You Sew
I keep my eyes not on the needle itself, but on the line I’m following like falak machine.
If stitches look too tight or puckered, I pause and lengthen the stitch or reduce upper tension slightly. If stitches look loose or gappy, I shorten the stitch length or tighten tension.
I never try to fix stitches while the machine is still moving. I stop, adjust, test, and then keep going.
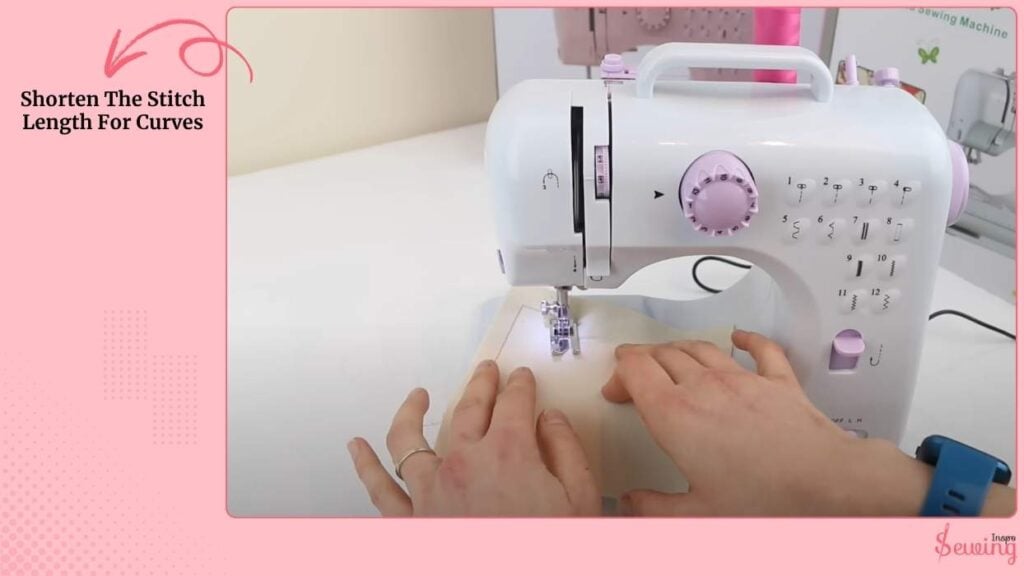
Shorten The Stitch Length For Curves
I shorten stitch length a little (≈2.0 mm) so the curve looks smooth. I slow down and pivot the fabric gradually as it feeds. It’s like steering a car on a bend. Small adjustments, not sharp jerks.
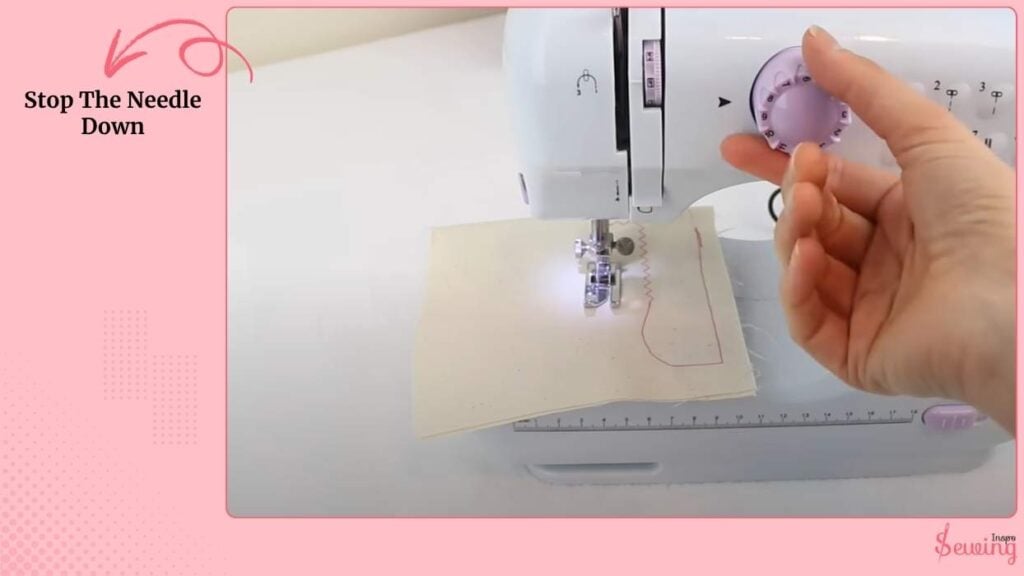
Stop The Needle Down
I stop with the needle down in the fabric, lift the presser foot, rotate the fabric 90°, lower the foot, and continue sewing. This locks the corner neatly and avoids gaps.
Secure the End of Your Seam
Finishing properly is what makes stitches last. If my machine has reverse/backstitch, I sew 2–3 stitches backward at the start and end to lock them. If it’s a chain-stitch-only portable, I leave a 3-inch tail and either:
- Pull the last loop through itself to “knot” it, or
- Tie the tail by hand on the underside.
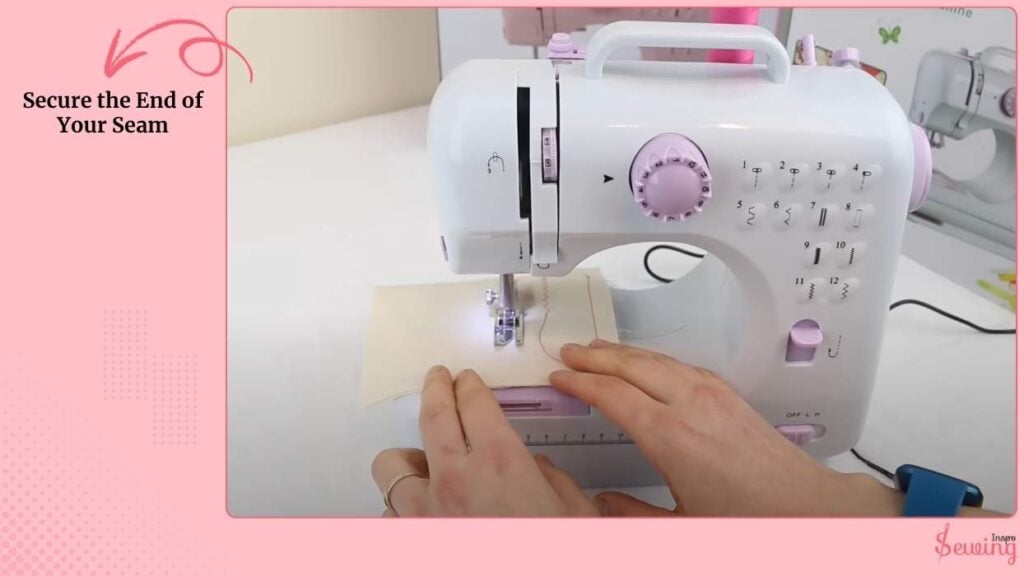
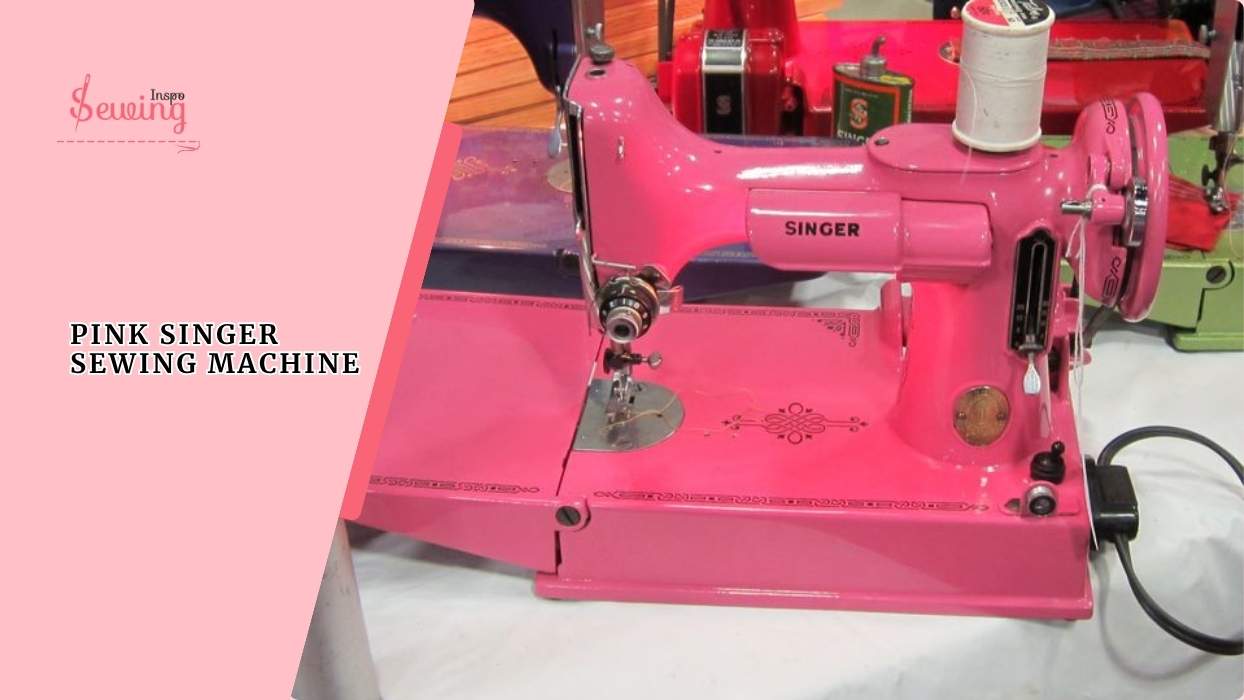
Without this, chain stitches can unravel if tugged. That’s it! You can use the portable sewing machine. It is easy to do like a pink singer sewing machine.
Common Troubleshooting Mid-Stitch of portable machine
Even while sewing, I watch for common issues:
- Skipped stitches → slow down, replace the needle, or re-thread.
- Loops on top → tension too loose.
- Loops on bottom → tension too tight or fabric not feeding evenly.
- Thread breakage → check thread quality, needle size, and speed.
I keep a scrap fabric nearby to test adjustments before returning to my project.
How To Use Portable Sewing Machine Stitches Pdf
FAQ
Can I use my portable sewing machine without the foot pedal?
Yes! Just flip the switch to LOW or HIGH and it’ll sew automatically. The pedal just gives you more control.
Do I always need the power adapter?
Nope. Most portable machines can run on batteries, which makes them handy for travel or quick fixes away from a power outlet.
Why does my machine only make a chain stitch sometimes?
That usually happens with handheld models they use a single-thread chain stitch. If you want a stronger, lockstitch style, go for a tabletop portable instead.
Conclusion
At the end of the day, a portable sewing machine is all about convenience. Whether you’re plugging it in, running it on batteries, or switching between foot pedal and auto mode, it’s designed to make stitching easy. It may not replace a full-size workhorse, but for quick hems, small projects, and on-the-go fixes, it’s a real lifesaver.

Leave a Reply