
Alright, most complex stitch, zigzag sewing machine, it’s time to get into one of the easiest stitches you can do on a sewing machine, the running stitch.
It’s the “straight line” stitch everyone thinks of when they picture sewing. Super simple, super helpful, and can be done in under a minute. This is the most basic stitch types sewing machine.
Here is what you gotta do,
To do a machine running stitch, just set your machine to a straight stitch, lower the presser foot, and sew forward with an even speed.
Pretty simple, right? Ok, let’s get into it.

Table of Contents
Can You Do A Running Stitch On A Sewing Machine?
Yep, absolutely and honestly, that’s what a sewing machine is built to do best. You can use a running stitch for almost everything, including sewing seams, attaching two pieces of fabric, hemming, piecing quilt blocks, and topstitching. Sometimes it can also be used for gathering stitches.
You name it. It’s your go-to basic for both functional and decorative sewing. You can also use it as a basting stitch.
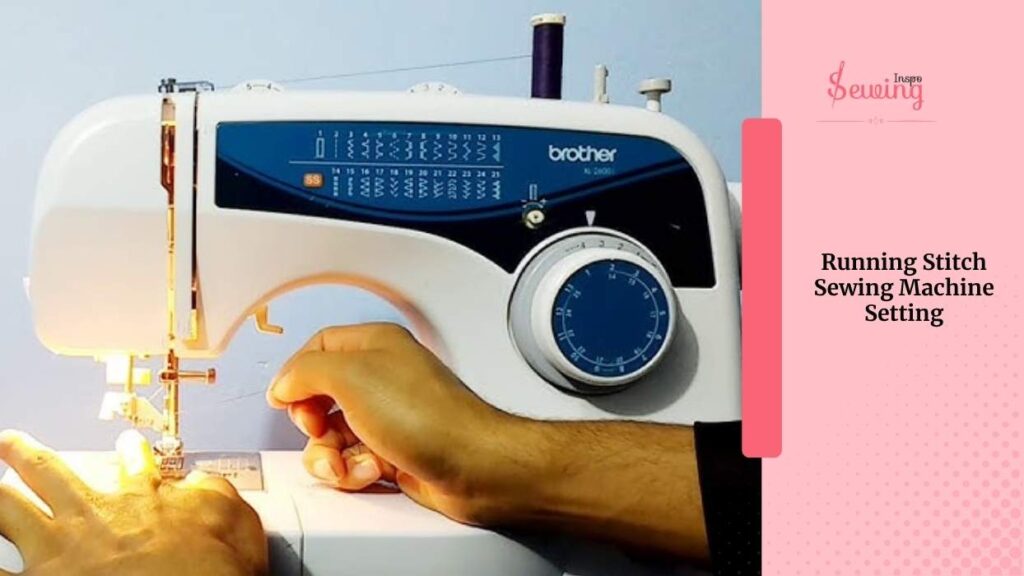
Running Stitch Sewing Machine Setting
The running stitch setting on a sewing machine is basically the straight stitch. The most common and beginner-friendly setting.
I usually keep the stitch length around 2.5 to 3 mm and the tension at a medium level (around 4–5).
Using the regular presser foot works perfectly. It’s simple, clean, and ideal for joining fabric pieces or doing basic seams.
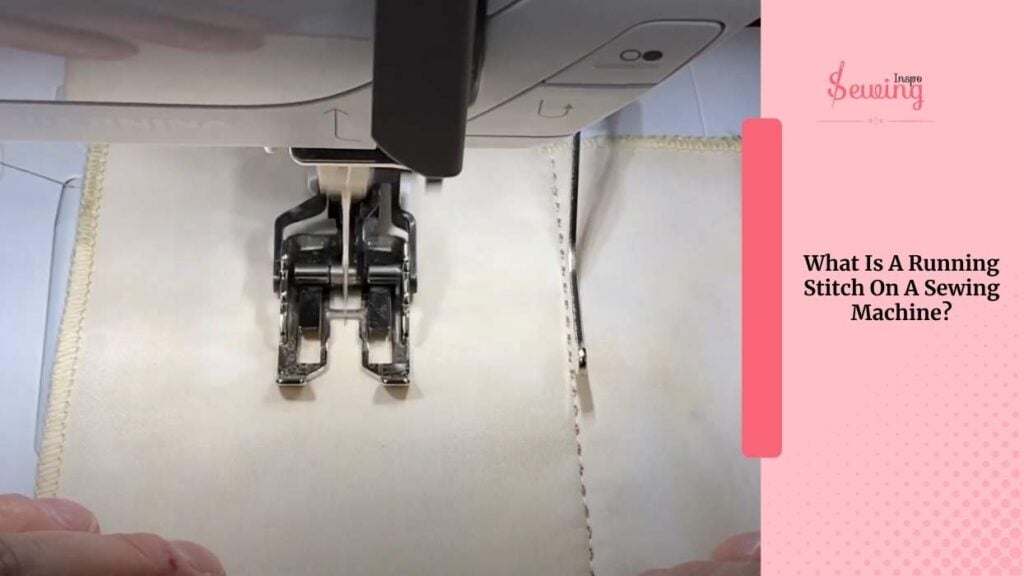
What Is A Running Stitch On A Sewing Machine?
A running stitch on a sewing machine is just a basic straight stitch; the machine moves the needle up and down in a straight line while those little teeth under the fabric. Pull the fabric along. This is like the visible version of machine blind stitch.
It’s the simplest and most common stitch you’ll use. Think of it as your sewing “default mode.” You’ll use a running stitch for seams, topstitching, quilting, and basting. Sometimes i even use it as double stitch sewing machine.
Pretty much everything. If you can sew a straight running stitch, you’re already winning at machine sewing. You can even use this as top stitch sewing machine.
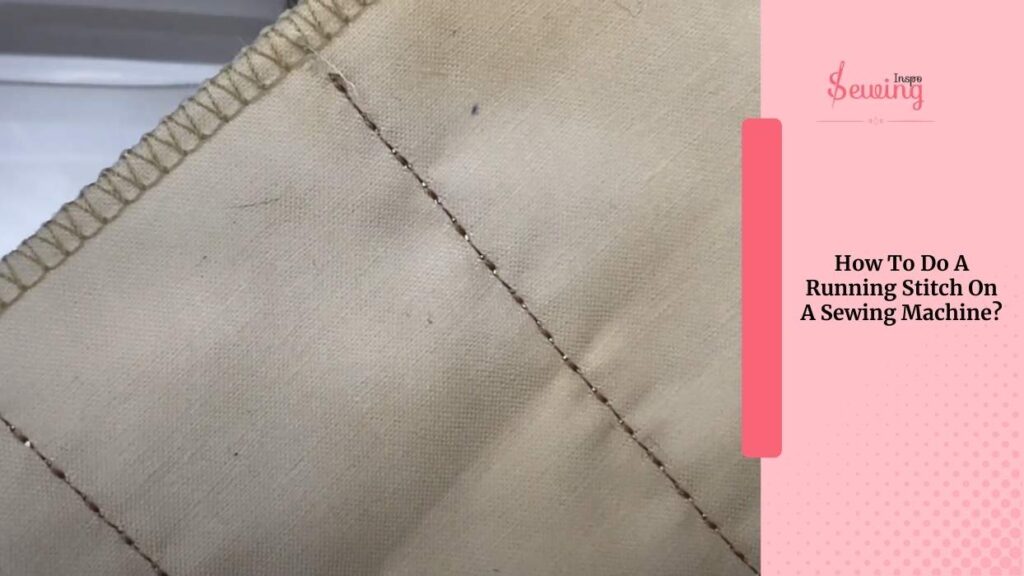
How To Do A Running Stitch On A Sewing Machine?
The running stitch is the easiest one. I use it the most. Here is how the stitch should be done
First, I Set Up My Machine for Running Stitch Sewing Machine
Okay, so for a basic running stitch, I knew I had to set my machine to the straight stitch. It’s usually the first option or a stitch that looks like just a straight line.
I double-checked my settings just to be safe:
- Stitch type: Straight stitch
- Width: 0 (because I didn’t want any side-to-side movement)
- Length: Around 2.5mm (standard, not too tiny, not too huge)
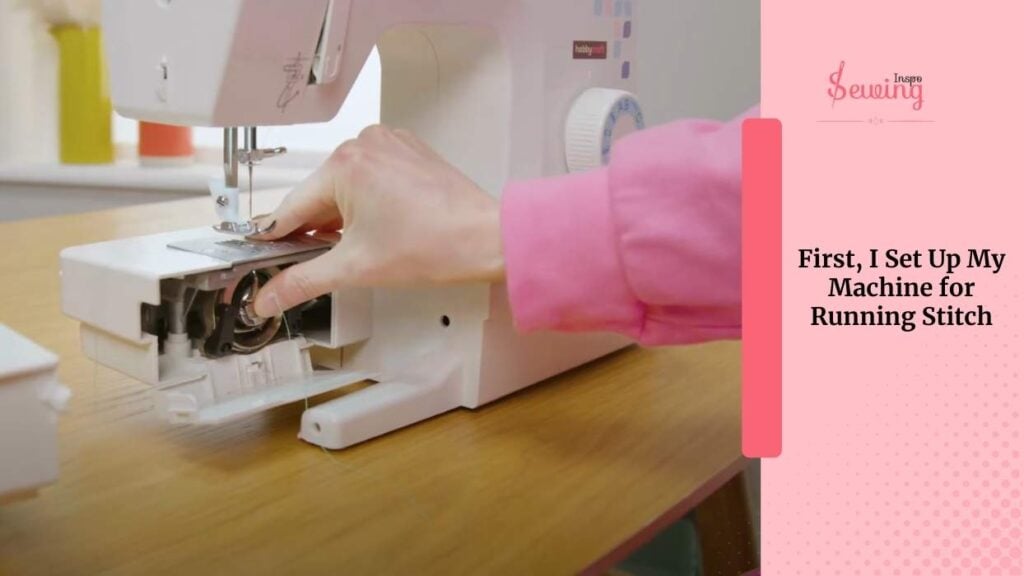
Some machines default to this when you select straight stitch, but if yours doesn’t, you can adjust the settings manually.
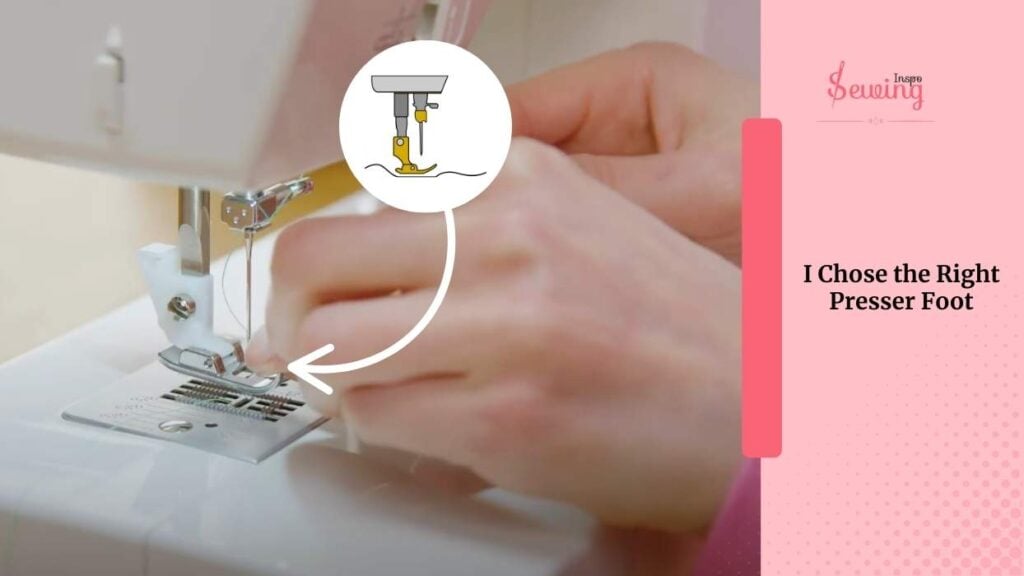
I Chose the Right Presser Foot For Running Stitch On Sewing Machine
Next, I made sure I had the standard presser foot, the regular one that came with my machine. Nothing fancy needed here, just something with a single hole for the needle to go through.
If I had accidentally left the zigzag foot on, it still would’ve worked, but I wanted everything to be just right for the cleanest line.
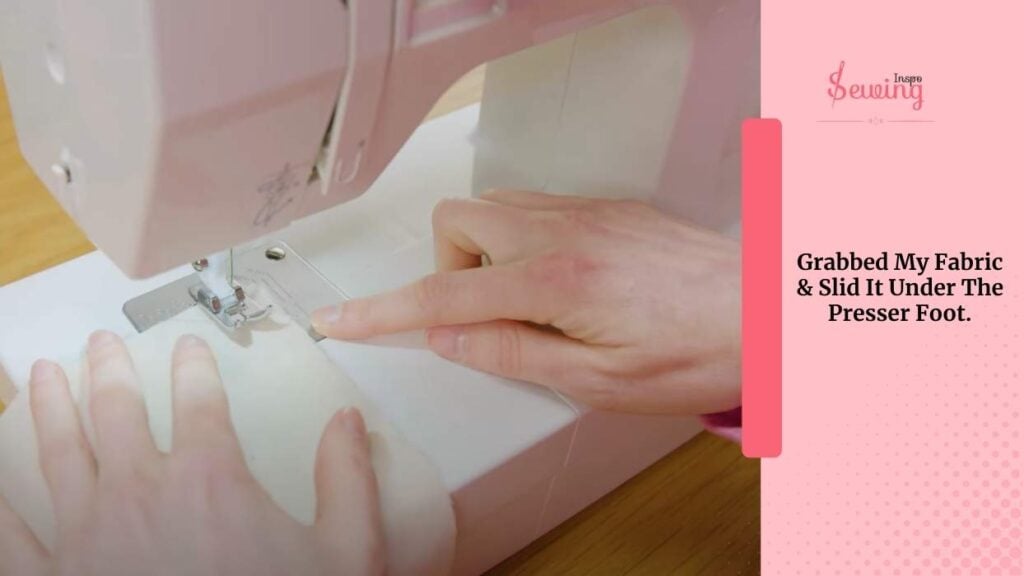
Grabbed My Fabric & Slid It Under The Presser Foot.
I grabbed my fabric (nothing stretchy — just plain cotton to keep it easy) and slid it under the presser foot. I lined it up with one of the seam allowance markings on the stitch plate, depending on how wide I wanted my seam.
Then I:
- Lowered my presser foot,
- Held the thread tails in my fingers lightly (so they wouldn’t get yanked under when I started).
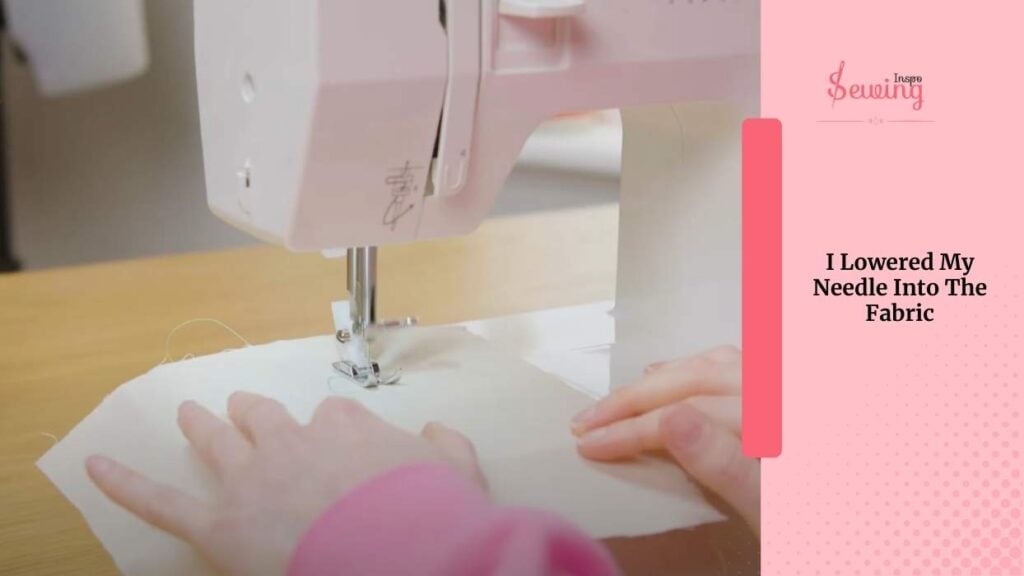
I Lowered My Needle Into The Fabric To The Running Stitch Machine
I lowered my needle into the fabric. Then I slowly pressed the pedal and started sewing forward. It felt super smooth. Just a straight line of tiny, even stitches, precisely like a hand-sewn running stitch, but way faster like lock stitch.
I made sure not to pull or push the fabric. I just let the feed dogs (those little grippy teeth under the fabric) move it along for me.
And if you are worried about the running stitch length, then you can use,
- For regular seams, a stitch length of 2.5 mm is perfect.
- For basting (temporary stitching you’ll rip out later), I bumped the stitch length up to 4mm or longer — made it super easy to pull out.
- For delicate fabrics, I made the stitch length smaller (like 2mm) to avoid puckering.
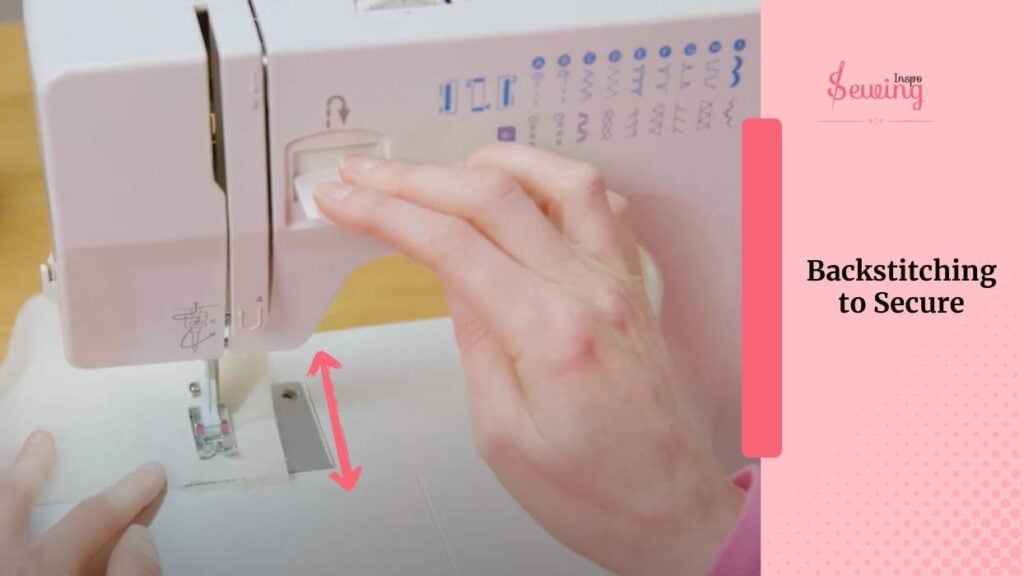
Backstitching to Secure
Once I got about 1/2 inch in, I quickly pressed the reverse stitch button and sewed a few stitches backwards.
Then I continued sewing forward again.
This “backstitch” trick locks the thread so the stitches won’t unravel later.
At the end of the line, I did the same thing: backstitched a few stitches before lifting the presser foot and trimming the thread.
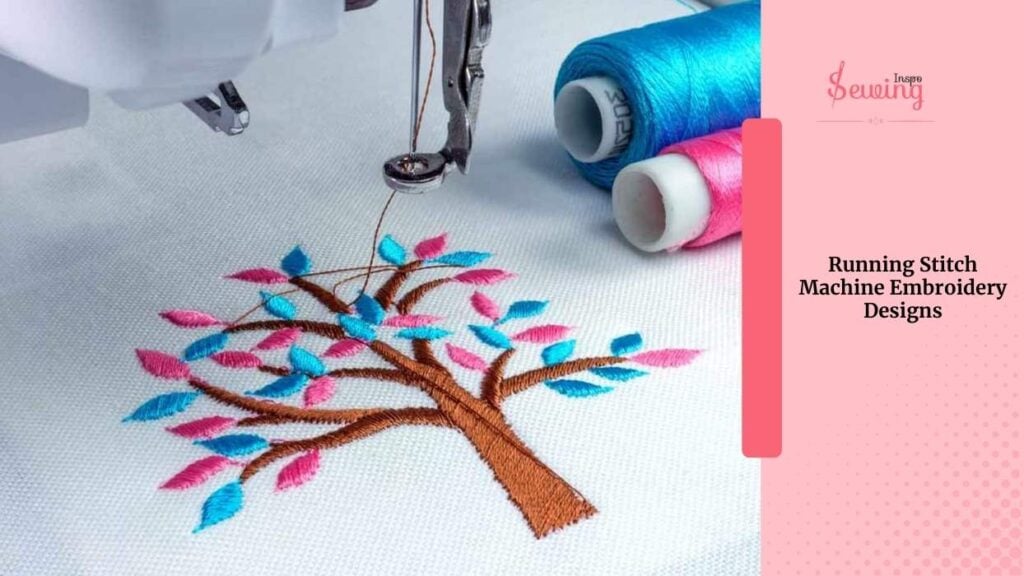
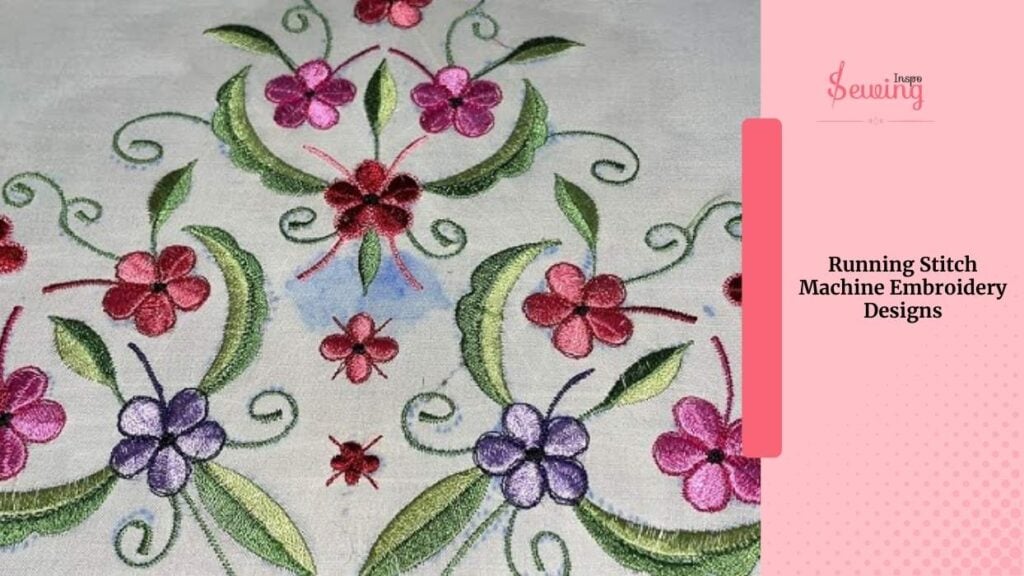
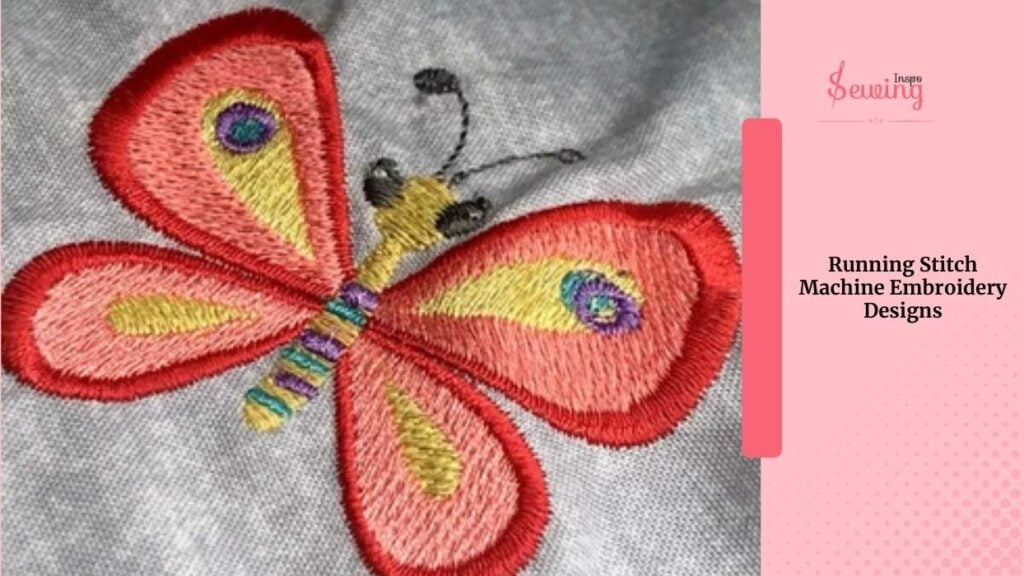
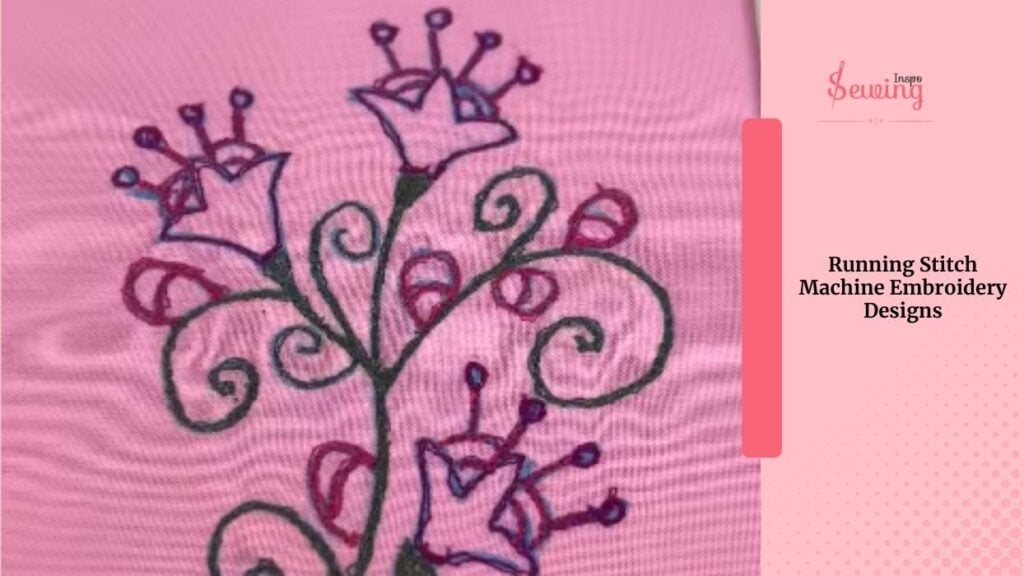
Running Stitch Machine Embroidery Designs
A running stitch sounds so simple, but you can create many stunning designs with it. What? Hard to believe? Ok then, see a few of my works,
Machine Running Stitch Free Embroidery Design
Embroidery pattern sounds so easy but when you went to do it it may feel compiled. If you are one of them then use download this pdf and practice on it,
Frequently Asked Questions
What stitch setting do I use for a running stitch?
I used the straight stitch setting (it’s usually the default one that looks like a straight line). No zigzags, no fancy stuff — just plain and simple.
What stitch length is best for a running stitch?
For regular seams, I kept the stitch length around 2.5mm. If I needed a basting stitch (one I planned to pull out later), I cranked it up to about 4mm.
Do I need to backstitch with a running stitch?
Yup! I always did a little backstitch at the beginning and end to lock the stitches in place.
Otherwise, the stitches could just unravel (which would seriously ruin my day).
Outro
So yes, that’s how the machine running stitch works. Honestly, it’s my favourite machine stitch. Cause it’s simple yet delicate and makes everyone stop and admire.


Leave a Reply