
If you’ve ever worked with stretchy fabrics or wanted a seam that has a little “give” without snapping, that’s where the Juki chain stitch machine helps.
It’s not like your regular lockstitch machine that uses a bobbin; the Juki chain stitch relies on a single thread that loops underneath.
It gives you strong, flexible stitches perfect for waistbands, hems, and even decorative work.
The best part?
It can run through long lengths of fabric without constant re-threading. That is why factories love it. Hearing so many good things about it. I decided to try it out like i did with Mauzer chain stitch machine.
Here is how it went.
Table of Contents
How To Use Juki Chain Stitch Machine?
To use a Juki chain stitch machine, follow the steps-
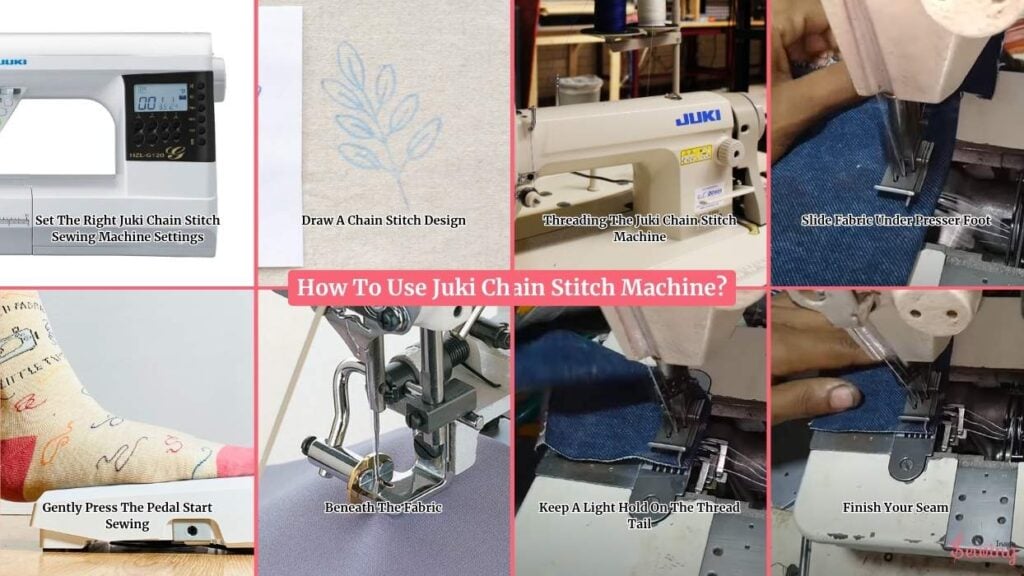
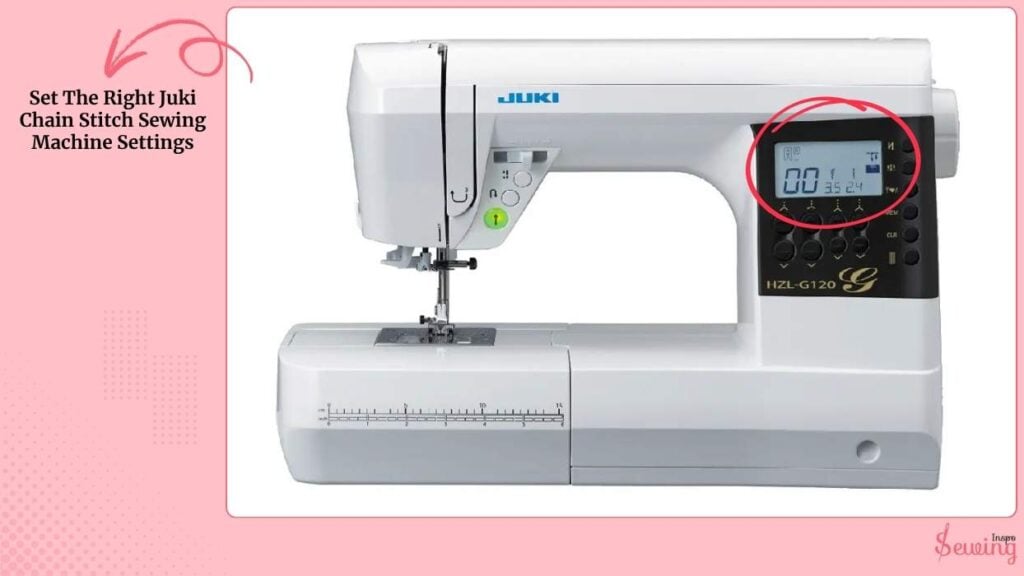
Set The Right Juki Chain Stitch Sewing Machine Settings
For Juki chain stitch machines, a good starting setup is stitch length at 3–5 mm, needle tension between 3–5, looper tension set to medium (M), and differential feed on neutral (N) for standard fabrics.
If you messed up here, you won’t get a perfect chain stitch. So be mindful here.
If you’re working with stretch fabrics, raise the differential feed slightly. Always run a test stitch on scrap fabric first, then fine-tune by turning the tension dials.
Clockwise to tighten, counter-clockwise to loosen.
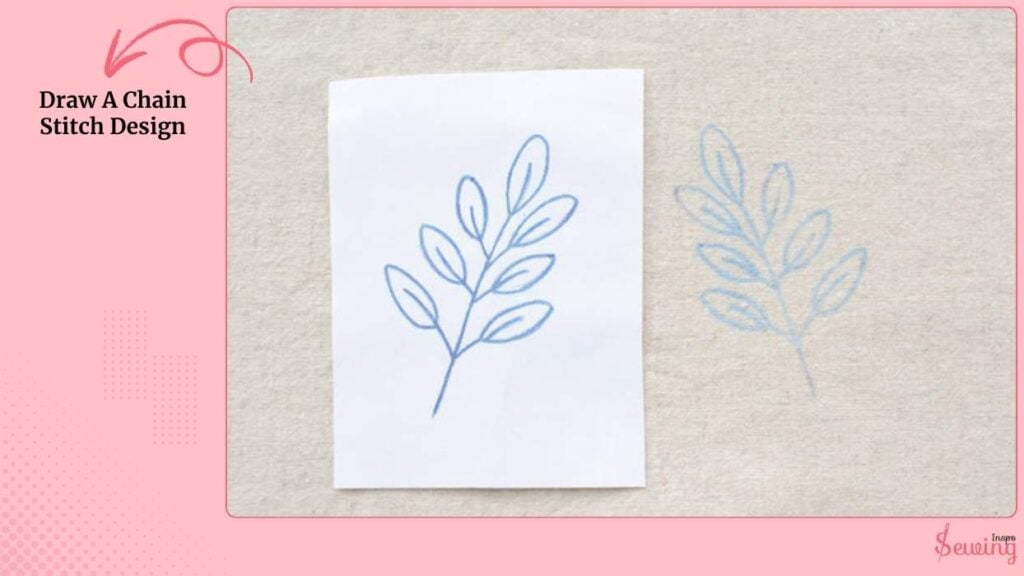
Draw A Chain Stitch Design
For a chain stitch, I like to keep a clear roadmap because the stitch naturally forms loops and curves, so planning saves a lot of “oops” moments later. I do this for worlden chain stitch machine too.
I start by picking my fabric and marking the area where I want the design. Then, using a pencil or water-soluble fabric marker, I sketch the outline lightly.
For chain stitch, I focus on smooth curves and flowing lines. It’s perfect for outlines, lettering, floral vines, or borders because the loops naturally add texture and dimension.
Threading The Juki Chain Stitch Machine
Juki chain stitchers only use one thread. It means you can’t do dauble chain stitch. Take the thread off the cone stand.
Run it through the guides on top. Slip it between the tension discs (keep your presser foot up while you do this).
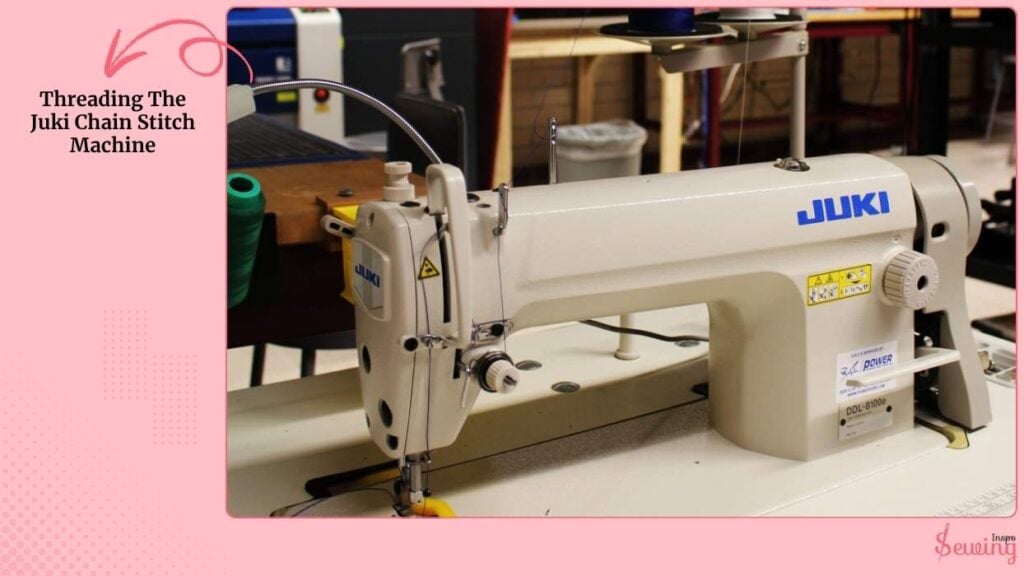
Thread it through the take-up lever, the guides on the front, and finally through the needle from front to back.
It’s a smoother process than threading a lockstitch, trust me.
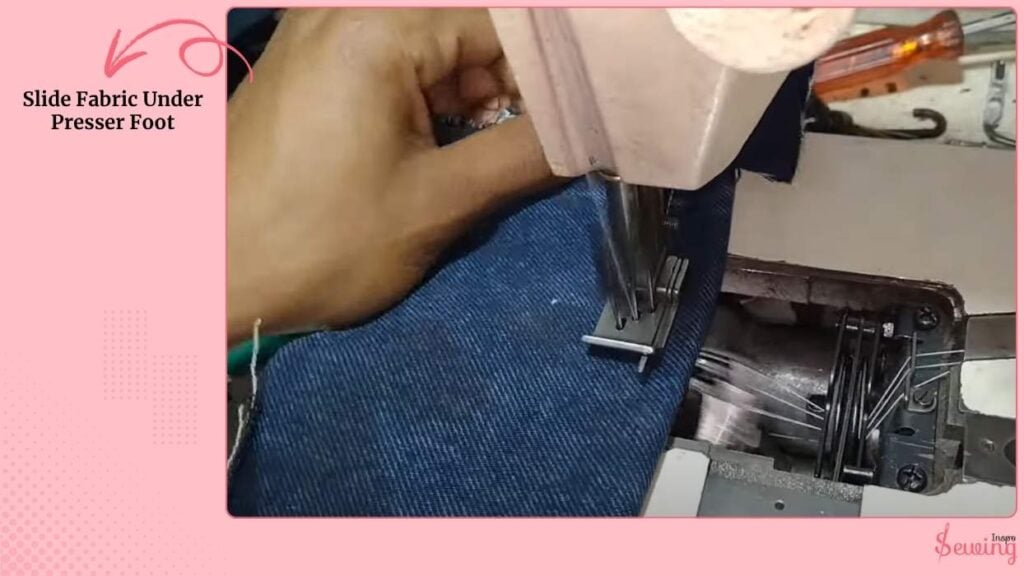
Slide Fabric Under Presser Foot
Lift the presser foot, slide your fabric under, then lower it. Leave about 3–4 inches of thread tail behind. You’ll thank yourself later when the stitch catches smoothly.
Trick: I keep a brightly colored scrap of fabric next to my machine just for test stitches. Saves me from messing up my actual project when checking tension.
Gently Press The Pedal Start Sewing
Hold onto that thread tail gently and press the pedal. The looper should immediately start making that pretty little chain on the back. Let the fabric feed naturally like a portable sewing machine.
You just need to ensure that you maintain it throughout the design.
Don’t tug. Just guide it through the sewing machine.
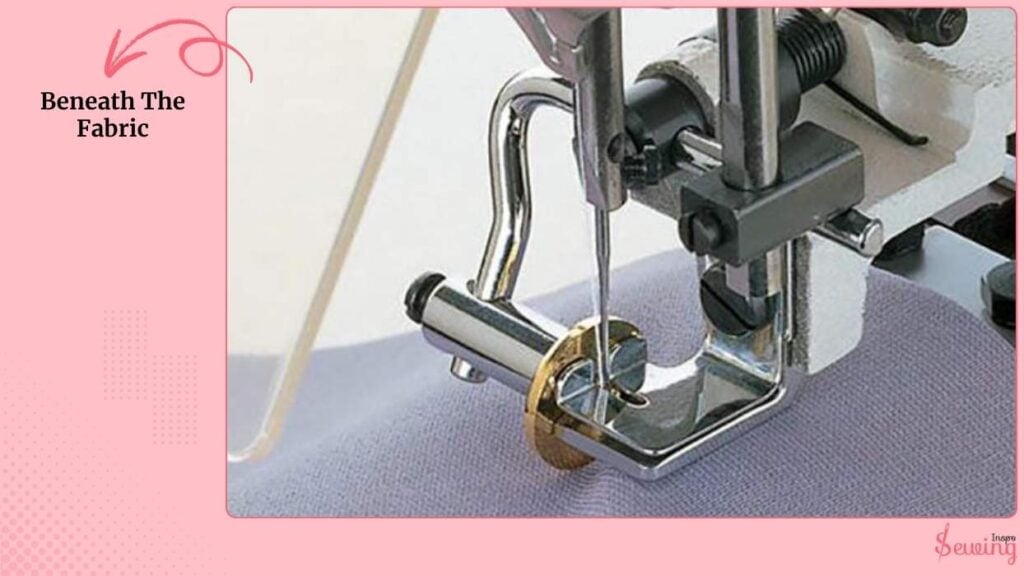
Beneath The Fabri
Beneath the fabric, the looper grabs the thread and pulls it through the loop created by the previous stitch.
This action forms the characteristic looped chain pattern on the fabric. Each new loop links into the last, creating a continuous chain that gives the stitch its unique texture.
Use your hands to lightly guide the fabric. Don’t push or pull it.
Let the feed dogs move the fabric forward evenly. Smooth, consistent motion ensures each chain loop is uniform.
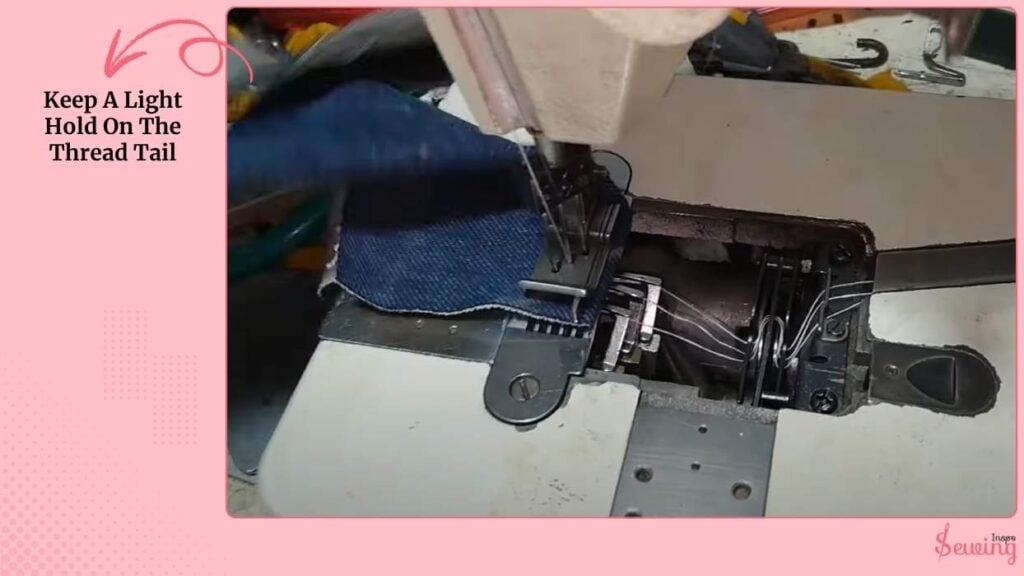
Keep A Light Hold On The Thread Tail
At the very start, keep a light hold on the thread tail. This prevents tangling or slipping out of the looper.
Once the chain is done, you can relax your grip slightly, but always maintain enough tension so the loops form neatly.
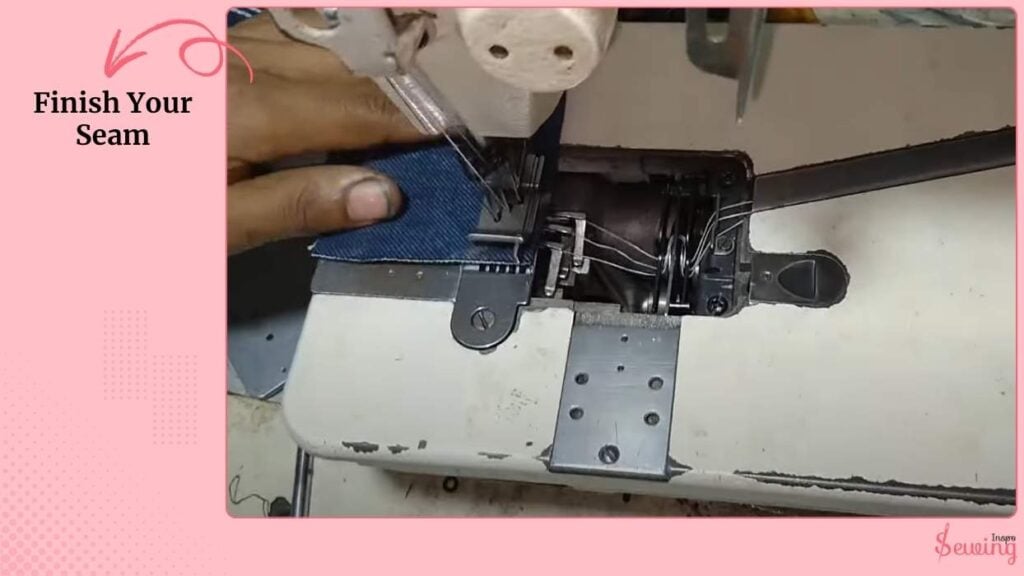
Finish Your Seam
Chain stitches don’t lock by themselves. If you just cut the thread, it’ll unravel, unlike triple chainstitch.
So, either overlap your stitches a little at the end or pull the last loop out long and tie it off.
Simple fix.
Frequently Asked Questions
Why does my chain stitch keep unraveling?
That’s normal if you don’t lock the ends. Always tie off or backstitch at the end of your seam to secure it.
How do I stop skipped stitches?
Check the needle first. It’s usually the culprit. A bent or dull needle won’t catch the looper properly. Replace it and make sure it’s inserted facing the right way.
Can I adjust the stitch length?
Yep! Turn the stitch length dial. I usually set mine shorter (around 2–3 mm) for decorative stitches and longer (4–5 mm) for basting.
Now It’s Your Turn
I demonstrate the juki chain stitch machine.
So now try it and share your experience with us.

Leave a Reply