
When I hear Interlocking stitch on sewing machine, I go like, isn’t it the same as locking stitch? After all, they both sound like they “lock” the thread in place.
But, they’re not the same at all.
A locking stitch is simply a short set of stitches sewn in reverse or over the same spot to stop the seam from unraveling. An interlocking stitch is more about how the threads themselves are looped together.
And how can you do an interlocking stitch on a sewing machine? Well,
To do an interlocking stitch on a sewing machine, use an overlock or serger setting that loops multiple threads around the fabric edge to bind and secure it.
Still confusing? I know I get it. Let me talk about it clearly.
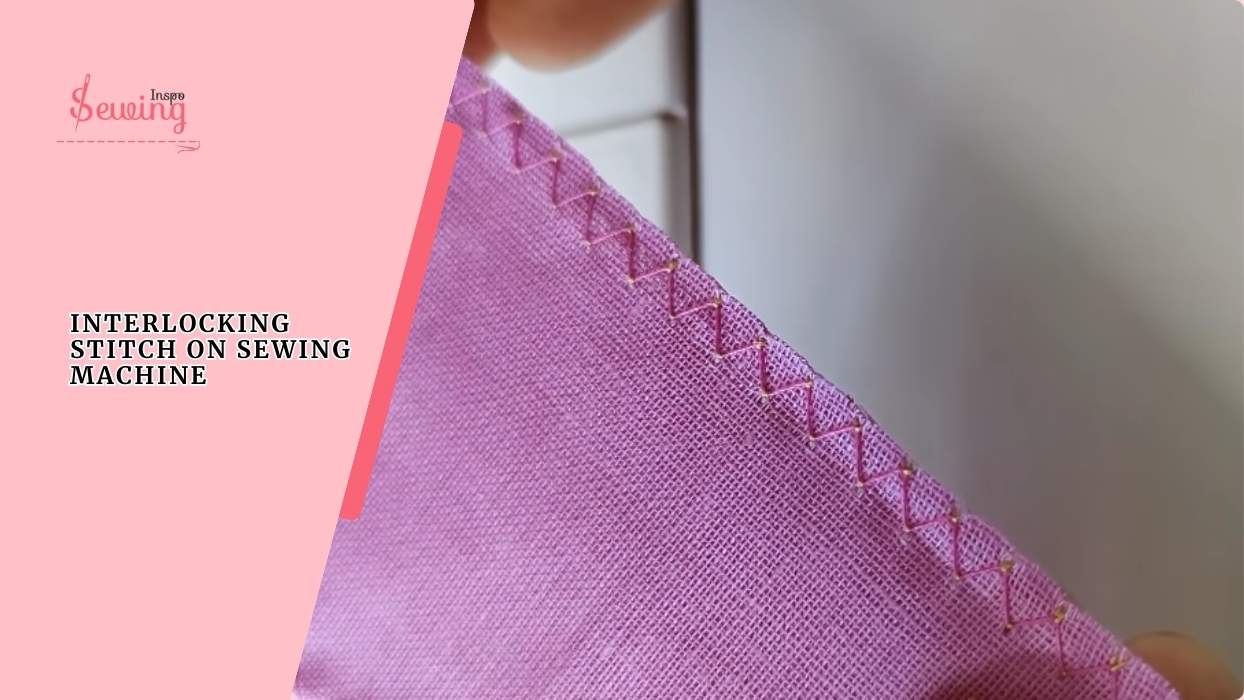
Table of Contents
What Is An Interlock Stitch?
An interlock stitch on a sewing machine is a type of stitch where two or more threads loop together between layers of fabric, creating a secure, stretchy seam.
It’s most commonly made on an overlocker or a coverstitch/interlock machine, and is popular for sewing knits and activewear because:

- The loops secure the fabric edges together, preventing fraying.
- The stitch stretches with the fabric, so it won’t snap when the fabric moves.
- It gives a neat, professional finish on both sides.
It is like a “team player” of stitches. Your fabric edges are not just sewn, they’re hooked together in a way that’s strong and flexible.
Interlock Stitch Vs Overlock
After the lock stitch, I saw people are also mixing this stitch with overlock. And if you search on Google, most pages will say they are the same. But DON’T BELIEVE THEM! Cause that’s not true.
Well then, what is the difference between interlock and overlock stitch? Well mostly,
An overlock stitch trims and sews the fabric edge at the same time to stop fraying, while an interlock stitch is made on a special machine that creates a highly stretchy, secure seam.

Also, they differ in,
| Interlock Stitch | Overlock Stitch |
| Joins and finishes seams in one go, especially for knits | Primarily finishes raw edges to prevent fraying |
| Neat and identical on both sides | One side is neat, the other side shows loops |
| No built-in knife | Often has a knife to trim edges |
How To Use Interlocking Stitch On Sewing Machine?
To do an interlocking stitch on a sewing machine, follow the steps,
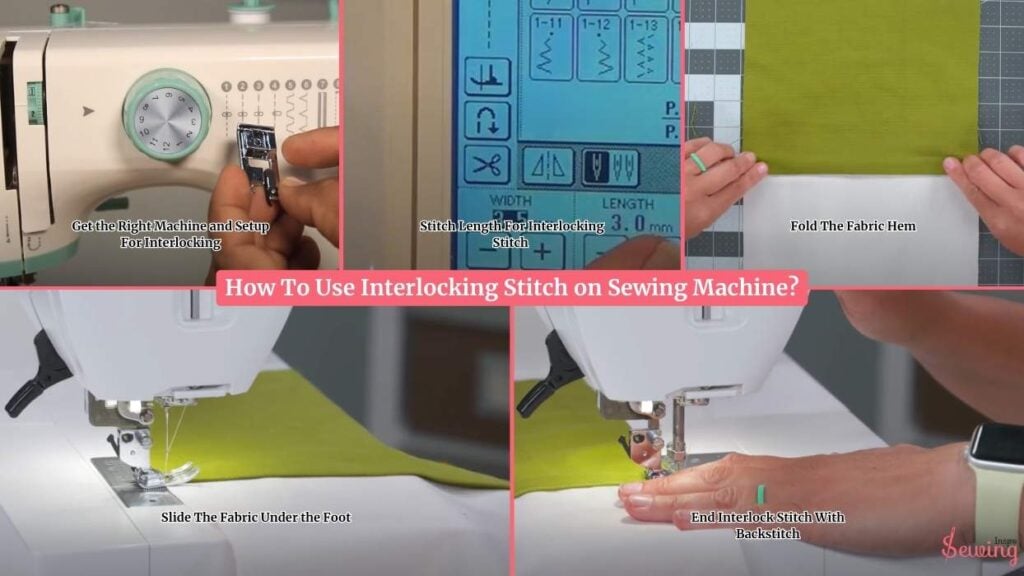
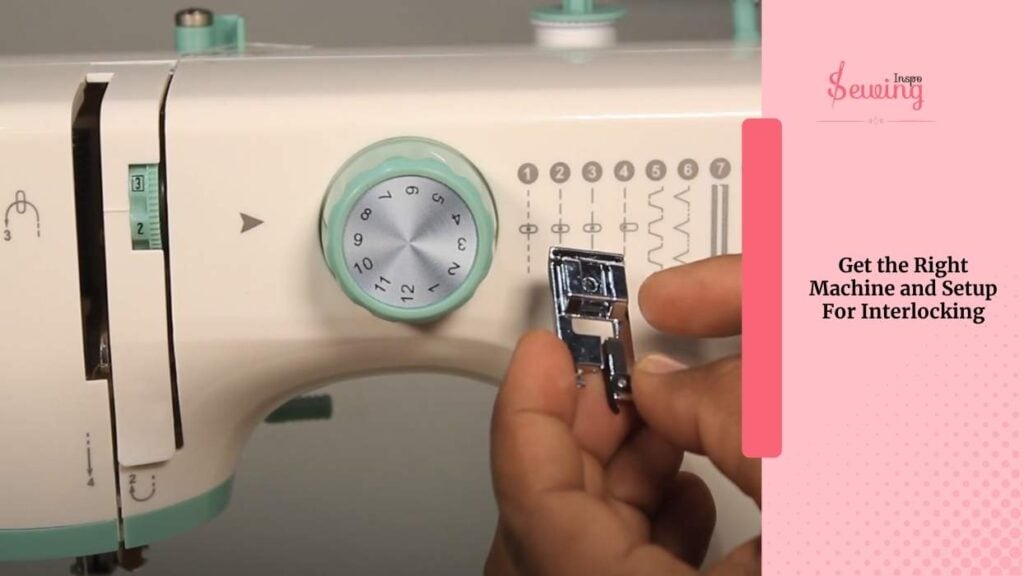
Get the Right Machine and Setup For Interlocking
First, you need a machine that can do an interlock stitch. This usually means a coverstitch machine or a specialized interlock sewing machine. It’s a regular domestic sewing machine, can’t truly replicate it.
I set mine up with two or three needles and loopers threaded underneath. Use polyester thread because it’s strong and stretchy.
Stitch Length For Interlocking Stitch
For most everyday sewing projects, I usually set my interlock stitch length between 2.0 mm and 3.0 mm. This also works on a loop stitch sewing machine.
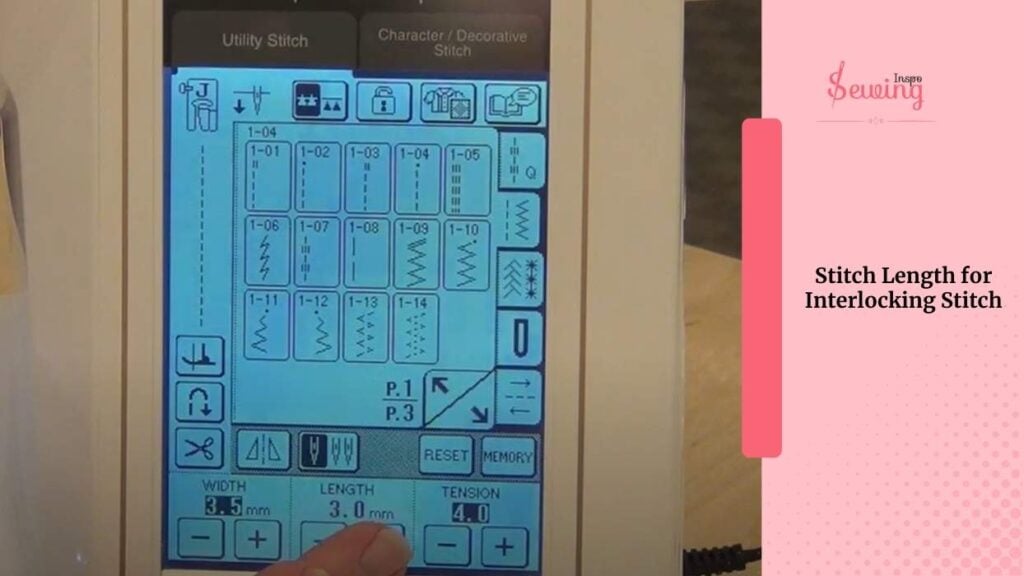
This gives seams that are both strong and durable. If I’m working with lightweight or delicate fabrics, I shorten the stitch to avoid jump stitches.
On the other hand, when I need a temporary seam like basting, I go longer around 4.0 to 6.0 mm. So, it’s quick to sew and easy to remove later.
Fold The Fabric Hem
The “right side” is the pretty side that will face outward when you’re done. Ensure that they are touching each other inside the fold. Decide on your seam allowance (fold size). This is essentially the distance from the fabric edge at which your stitch will sit.
For most interlock stitching, I stick to a ¼ inch (6 mm) or ⅜ inch (10 mm) seam allowance.
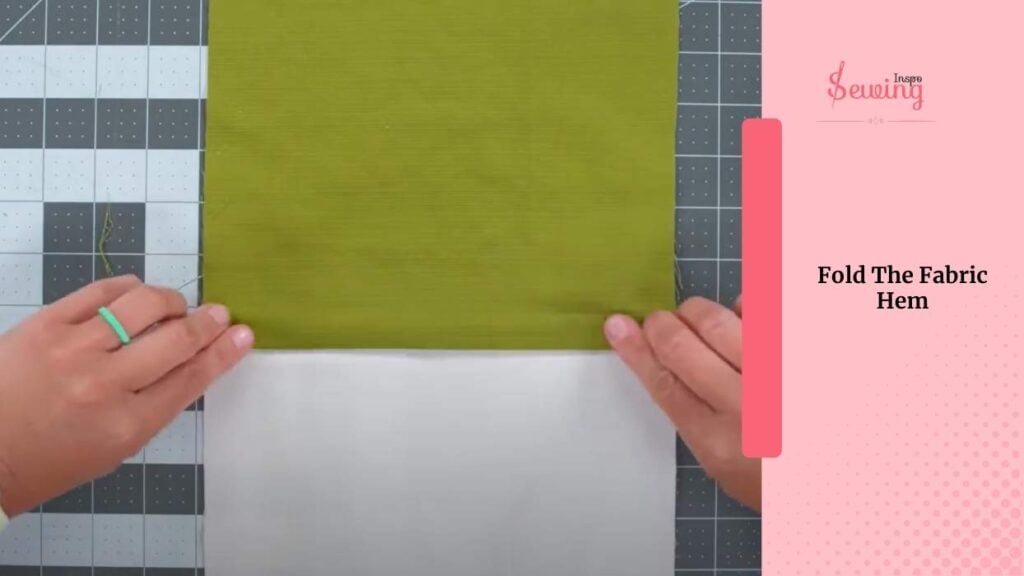
If you’re hemming instead of seaming, you might fold up ½ inch (12 mm) to 1 inch (25 mm) depending on how deep you want the hem to be.
I actually run my finger along the fold before sewing to smooth out bumps. If you have a hem gauge or seam guide, this is the time to use it.
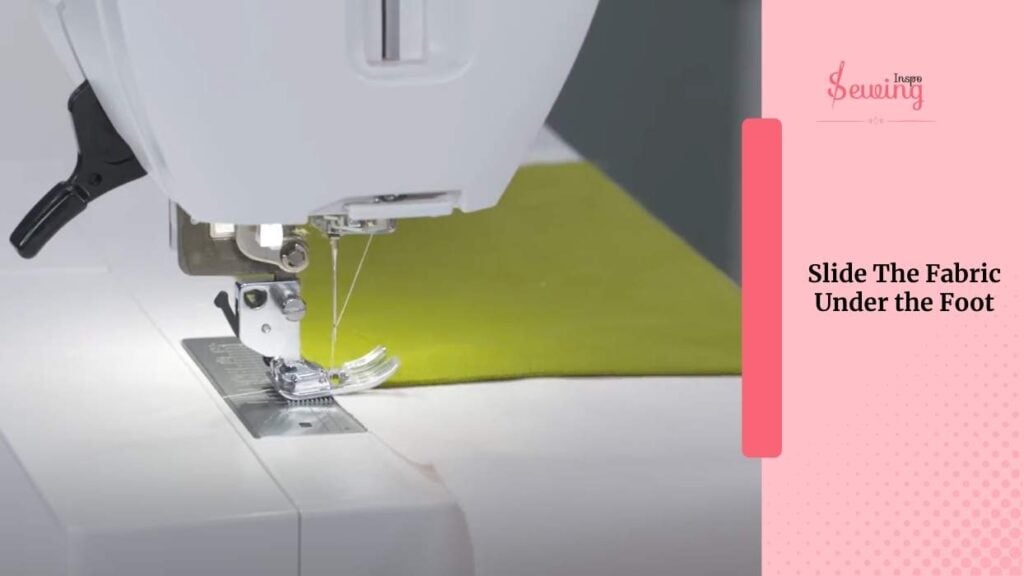
Slide The Fabric Under the Foot
I slide my fabric under the presser foot so the raw edge sits right at the cutting blade (if your machine trims while sewing). Lower the presser foot.
As I press the pedal, the needles go in and the loopers start doing their magic underneath. It will loop threads back and forth so both the inside and outside edges are completely enclosed.
End Interlock Stitch With Backstitch
When I reach the end, I keep sewing off the fabric a little. Then, I either tie the loose threads together with a backstitch or use a needle to tuck them back into the stitches for a clean finish.
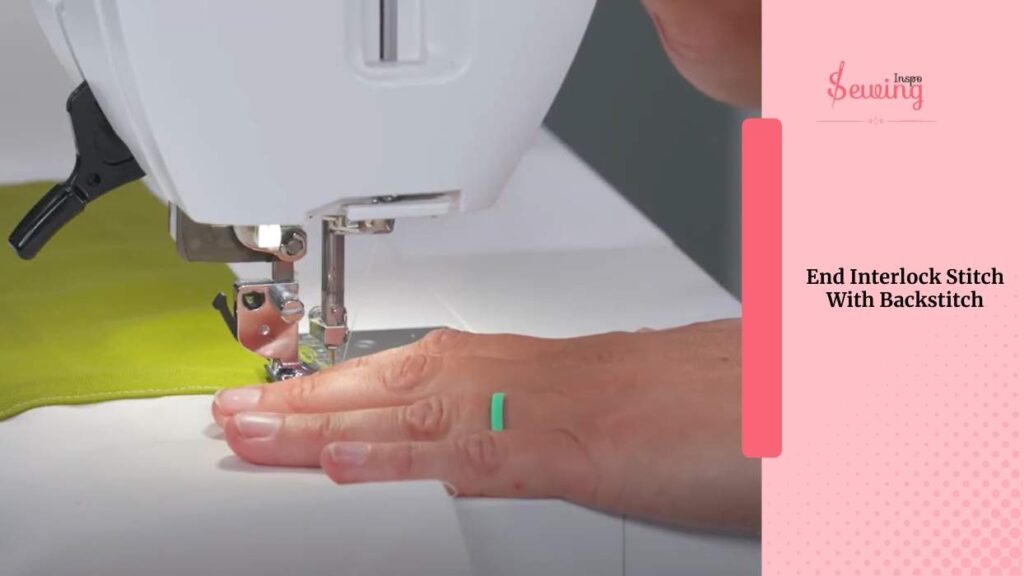
That’s it! That’s an interlocking stitch on sewing machine. It’s stronger than other types of machine stitches.
Frequently Asked Questions
What fabrics work best with interlock stitches?
Stretchy fabrics like knits, jerseys, and spandex are ideal since interlock stitches are strong and flexible.
Can I use a regular straight stitch instead of interlock?
You can, but straight stitches may break on stretch fabrics. Interlock stitches give durability and elasticity.
What stitch length should I use for interlock seams?
A stitch length of 2.0–3.0 mm works well for most fabrics, shorter for delicate fabrics and longer for temporary seams.
Conclusion
Have you tried the interlocking stitch on sewing machine?
If yes, then feel free to share it with me. I would love to see your work.


Leave a Reply