
I did an overlock stitch on a ribbed neckline the other day. But I wasn’t satisfied with the durability. Since the fabric is somewhat thick, one overlock stitch isn’t enough to hold it.
Seeing my struggle, grandma said, ‘Why stress over it? Just do a double overlock stitch sewing machine. It’s so easy, too.
Double Overlock
To do a double overlock stitch, select the double overlock icon on your sewing machine, use a ballpoint needle and polyester thread, and stitch along the fabric edge for a neat, stretchy finish.
I always listen to her suggestions. So I did too and gave it a try.

Table of Contents
What Is a Double Overlock Stitch?
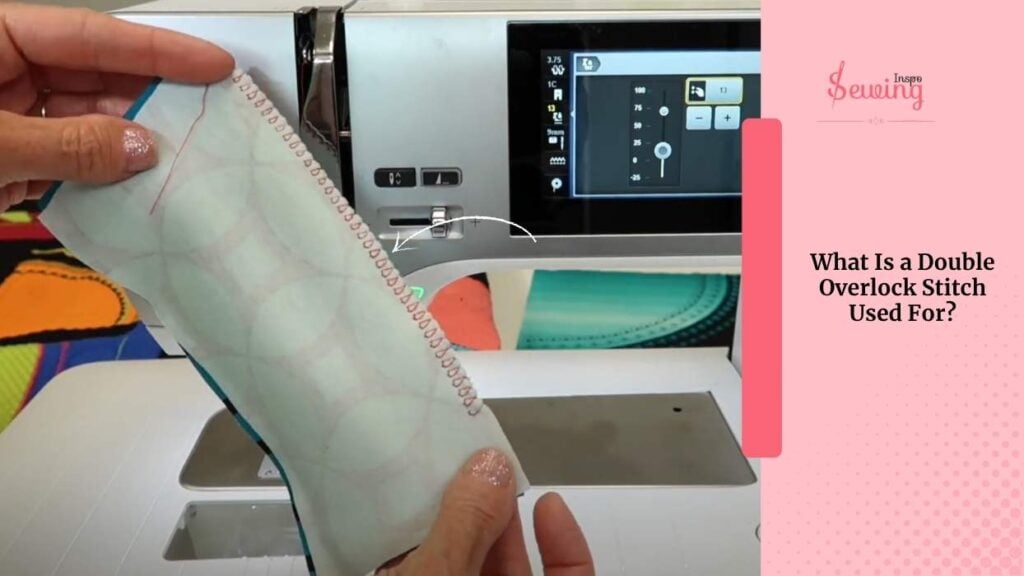
A double overlock stitch is a sewing machine stitch designed to finish fabric edges, prevent fraying, and give a professional seam. However, it offers extra strength compared to a standard overlock stitch.

Instead of a single set of loops, it uses two rows of overlocking threads (or a wider looping path).This is kinda like an interlocking stitch on a sewing machine.
What Is A Double Overlock Stitch Used For?
A double overlock stitch is mainly used to finish the edge and stitches the seam at the same time. So you get a neat, strong finish that won’t fray. Sometimes I use it as an alternative to a flat lock machine stitch.
I usually use it when I’m hemming or finishing stretchy fabrics, such as t-shirts or leggings. It’s basically a mini serger built into your machine, and honestly, a total lifesaver when you want your seams to look clean and hold up well. You can try this while doing an overlock stitch on a Brother sewing machine, too.
Best Double Overlock Stitch Sewing Machine
Not all machines can do an overlock stitch like a chain stitch. So if you’re like me and love working with stretchy or knit fabrics, then a sewing machine with a solid double overlock stitch is a must-have.
After trying a few, serger vs overlock stitch,
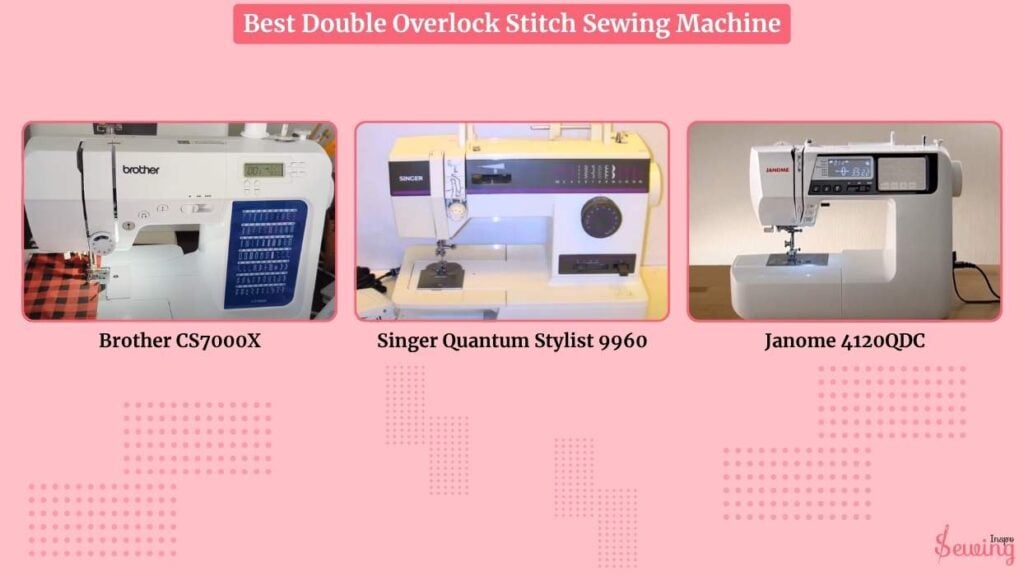
I found that machines like the Brother CS7000X, Singer Quantum Stylist 9960, and Janome 4120QDC really stand out. If you don’t wanna buy the machine, then do a mock overlock.
Double Overlock Stitch Symbol Sewing Machine
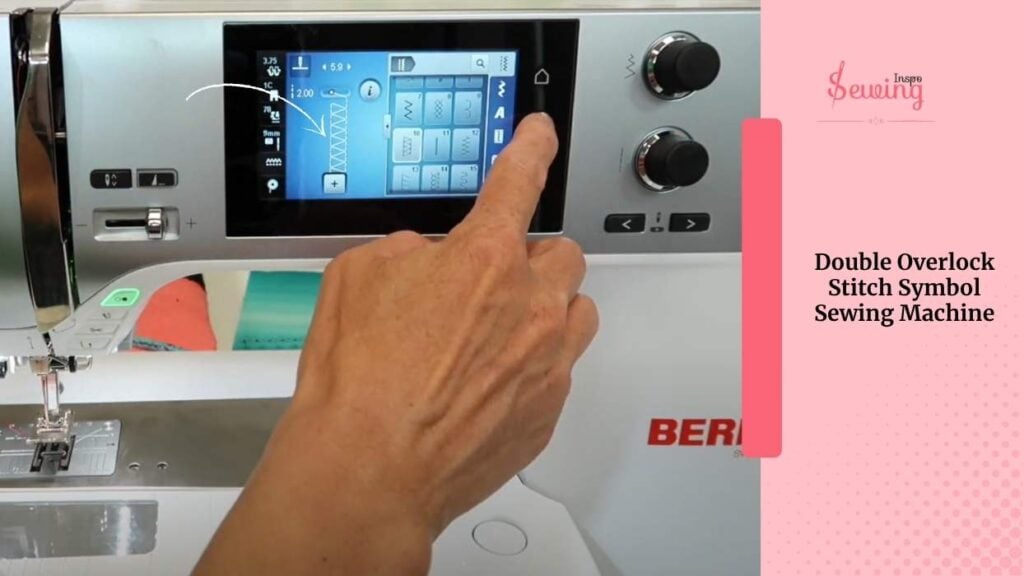
On most sewing machines, the double overlock stitch symbol looks like a zigzag line with two straight lines running parallel beside it. It sort of mimics how the stitch works, binding the fabric edge while securing the seam.
If not, then,
It might be labelled as stitch #06, #07, or #08 on Brother, Singer, or Janome machines (depending on your model). Don’t confuse this with coverstitch vs. serger stitch.
How To Do A Double Overlock Stitch Sewing Machine?
To do a double overlock stitch on a sewing machine, follow the steps,
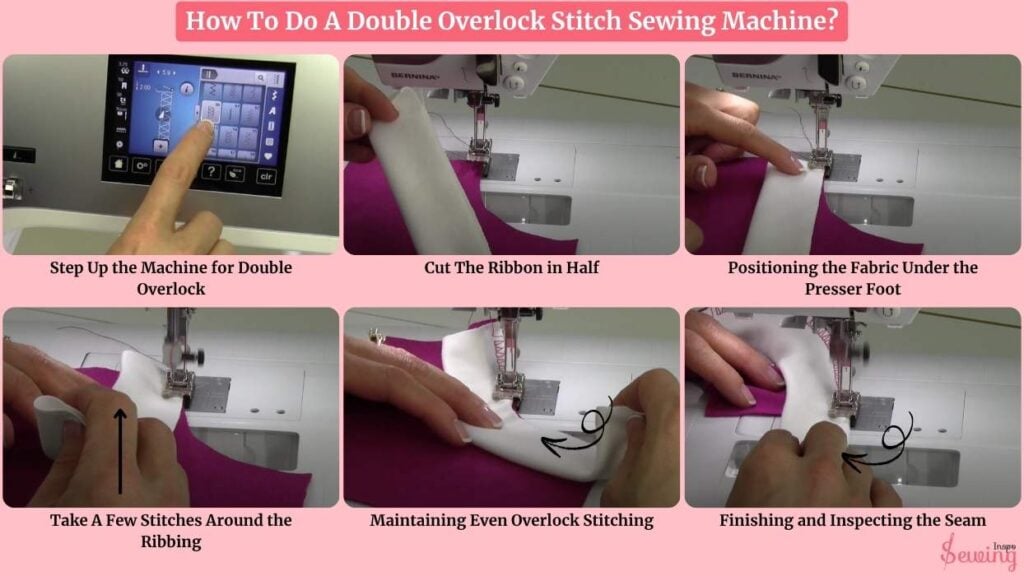
Step Up The Machine For Double Overlock Stitch
My machine recommends using foot 1D for this stitch. It helps keep the fabric from getting wavy or distorted. If your fabric starts to wave, you can adjust the pressure on the dual feed by lowering the pressure number to smooth it out. Just like flatlock stitch and overlock.
I set my stitch length to about 2.0 mm for balanced coverage and stretch, and the stitch width to 4.0–5.0 mm to get the full effect of the overlock. This is even perfect for coverstitch and serger.

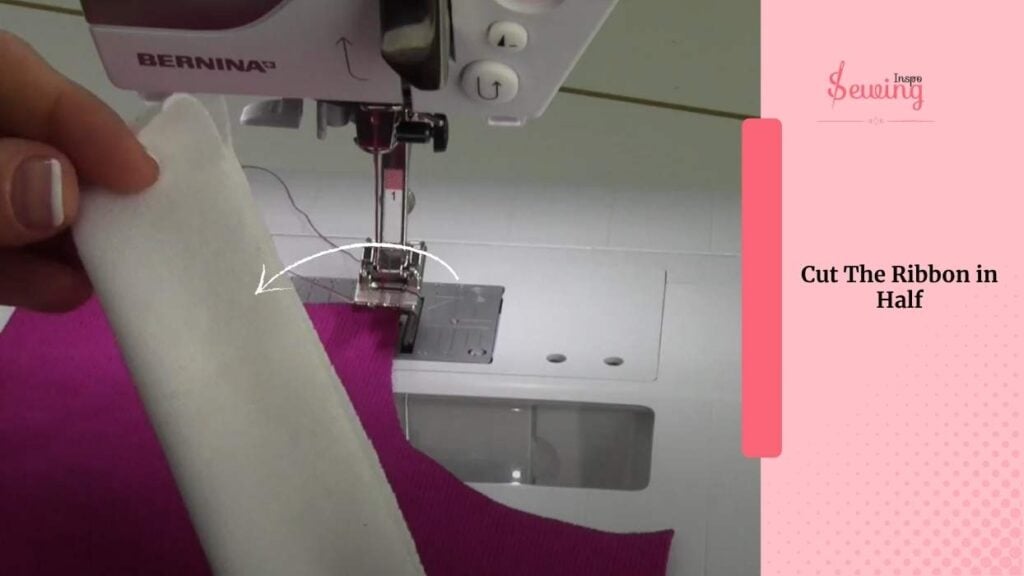
Cut The Ribbon In Half
I start by folding the ribbing strip in half lengthwise. Because it matches the raw edges of the neckline opening to the raw edges.
I ensure the ribbing strip is slightly smaller than the circumference of the neckline, allowing it to stretch and fit perfectly. This folded ribbing will create a clean, stretchy binding for the neck.
Positioning the Fabric Under the Presser Foot
I place the fabric under the presser foot, positioning the ribbing so its raw edge is just inside the right toe of the foot.
This way, when the needle sews, it goes just off the fabric edge to the right, creating that clean overlocked edge. The seam stitches happen just left of the needle, catching both ribbing and neckline fabric. This kinda of reminds me of picot stitch.

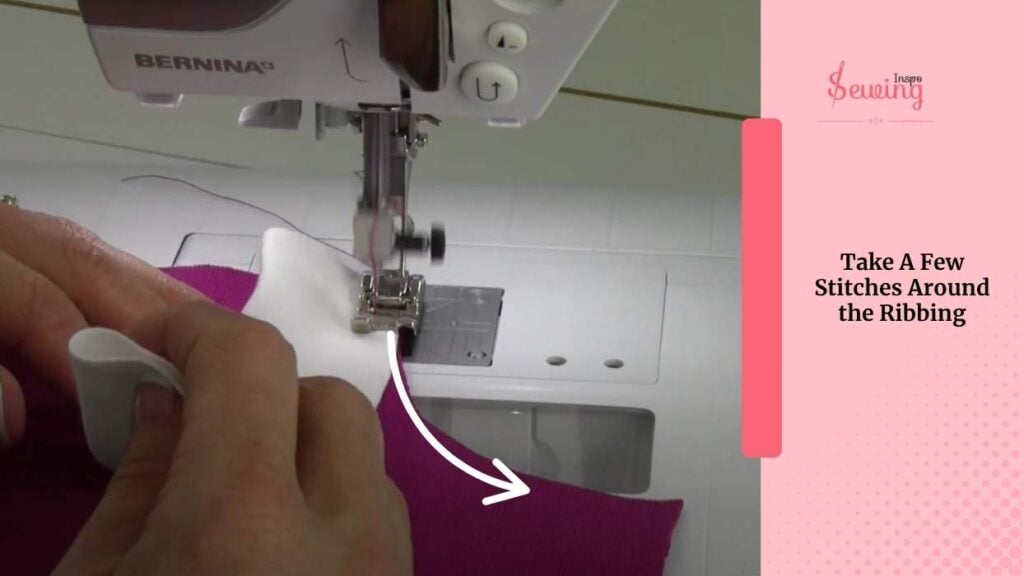
Take A Few Stitches Around the Ribbing
I start sewing slowly, taking a few stitches to anchor the ribbing. Because the ribbing is smaller than the neckline, I gently stretch it as I sew,
I’m guiding it with one hand while holding the neckline fabric steady with the other. The ribbing stretches to match the neckline curve without puckering. I keep my machine speed moderate (around 300-400 stitches per minute) to maintain control. Just follow the sewing machine stitch guide correctly, and it will come out right.
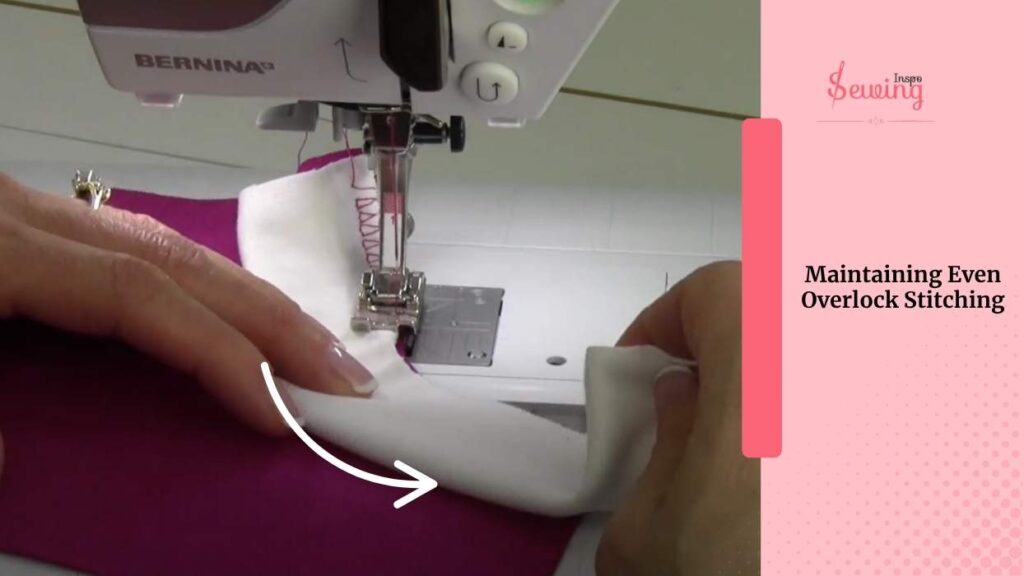
Maintaining Even Overlock Stitching
As I sew, I turn the fabric gently when I reach curves or corners to avoid bunching. I keep the ribbing lined up so the stitch runs just inside the right toe. This keeps the decorative look.
I am ensuring the edge finishes neatly. The double overlock stitch locks the raw edges, preventing any unraveling or fraying. like a double stitch sewing machine.
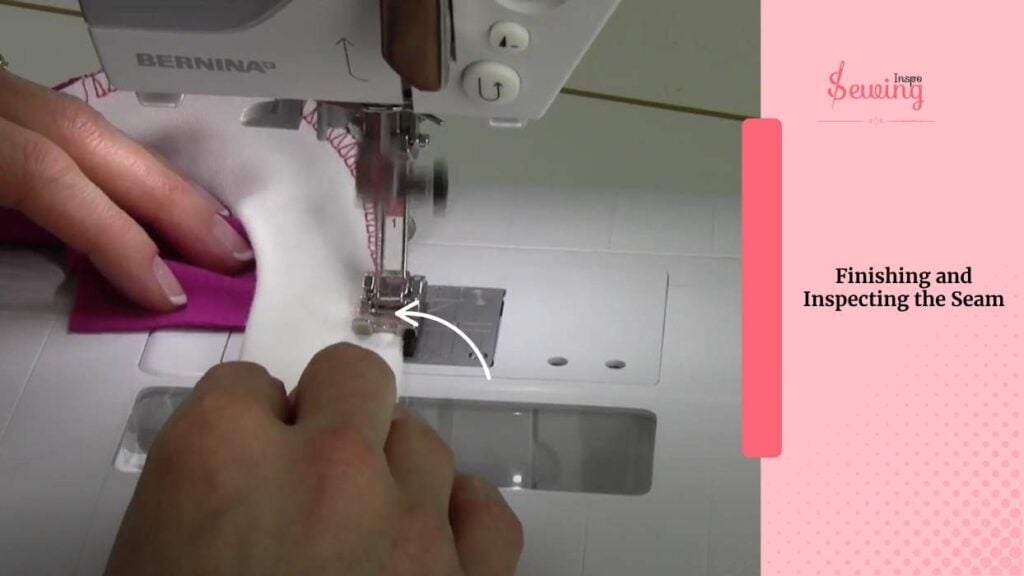
Finishing and Inspecting the Seam
After sewing all around the neckline, I backstitch a few stitches to secure the seam. I trim any loose threads and then stretch the neckline gently to check the seam’s elasticity. It also works as a whipstitch.
The stitch length and width give me a durable seam that stretches with the fabric. It is perfect for knit garments.
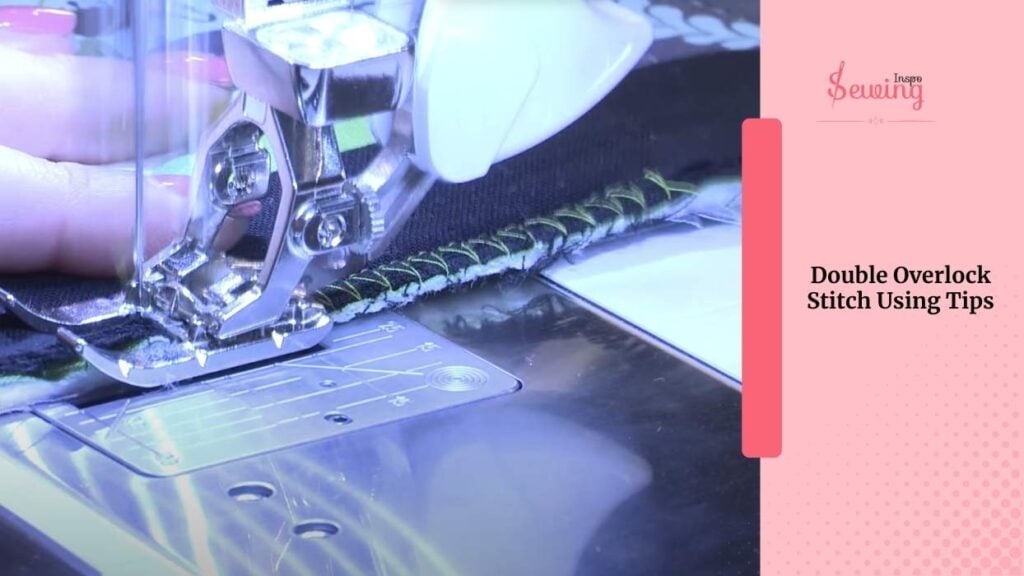
Double Overlock Stitch Using Tips
This stitch may seem strong, but doing it 1st time may feel overwhelming. So here are a few tips to overcome and do the stitch perfectly,
- Place the fabric edges together, with the wrong sides facing.
- Thread needle with doubled floss or thread for strength.
- Bring needle up from the back, insert diagonally over both edges.
- Repeat stitches closely, covering raw edges with slanted lines.
- Work a second row slightly above the first for extra durability.
- Keep the tension even so that the stitches are flat, not puckered.
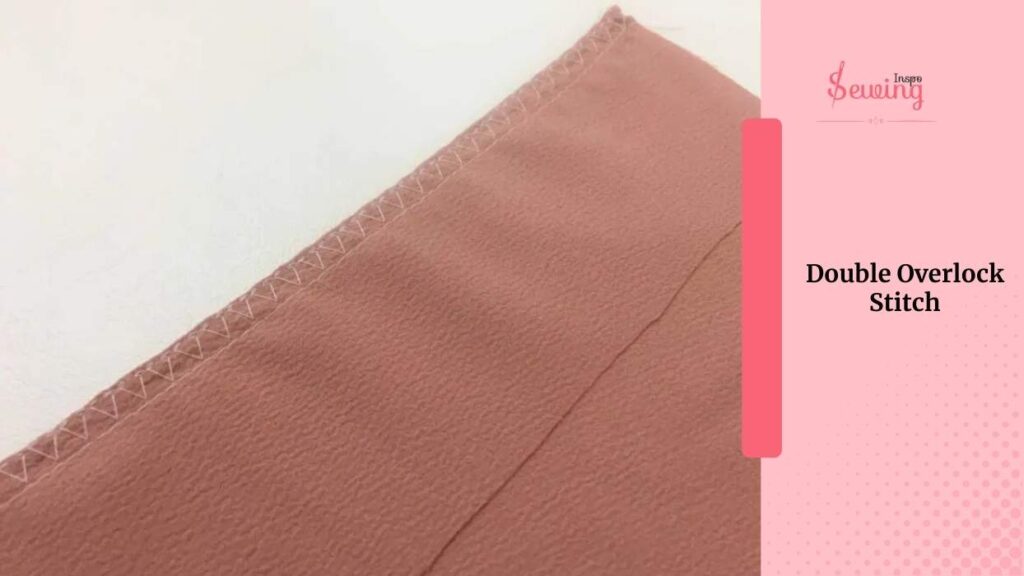
Double Overlock Stitch Sample
Here’s my Clean & Strong Double Overlock Stitch Sample!
Frequently asked questions
Can I use this stitch on woven fabrics?
You can, but it’s most effective on knit fabrics. On wovens, it can still finish edges nicely, but it won’t stretch with the fabric like it does on knits.
What needle and thread should I use?
Use a stretch or universal needle (size 80/12) and polyester thread for durability and flexibility. Avoid cotton thread on stretchy fabrics as it may snap over time.
Should I still finish the edges with a serger after using this stitch?
Nope! That’s the beauty of it. this stitch is both a seam and an edge finish in one. It’s perfect when you don’t have a serger or don’t want to rethread one.
Conclusion
The double overlock stitch is a lifesaver when you want the look and function of a serger but only have a regular sewing machine. If you need a stronger stitch, then do a double overlock on it.


Leave a Reply