I know how to tack stitch now. But what does tacking stitch uses?
How can I know where is the perfect place to tack stitch?
Grandma says-
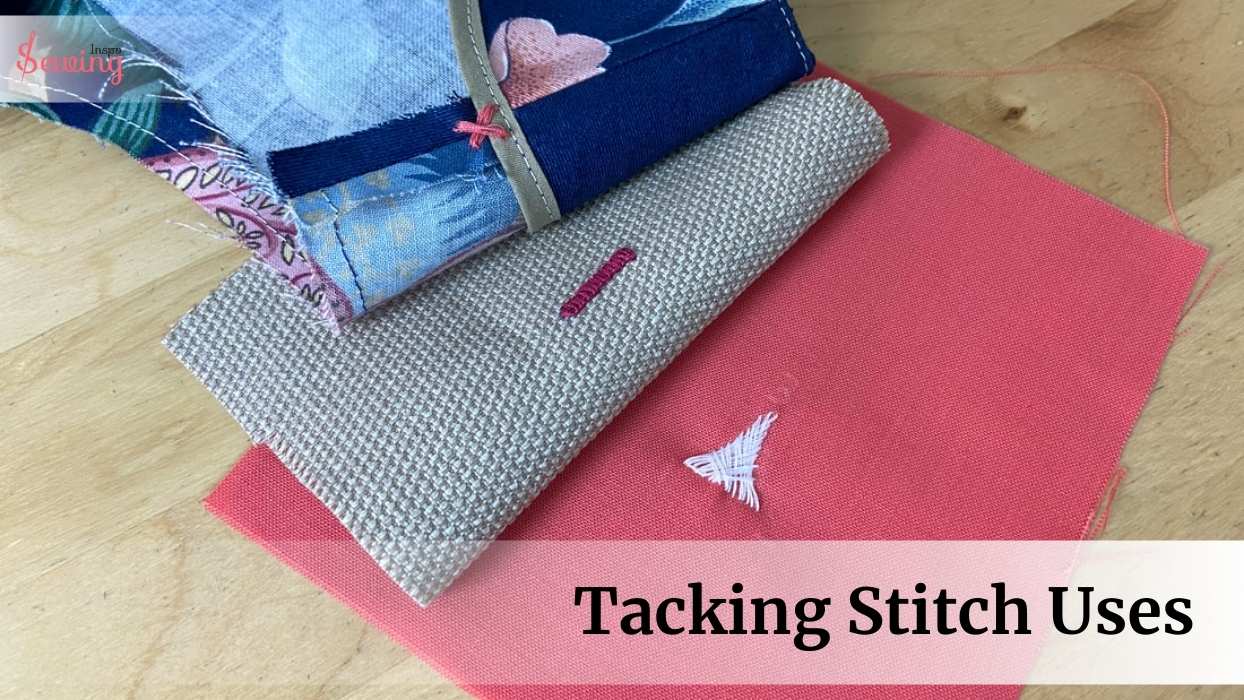
Uses Of Tacking Stitch
Tacking stitches are used to hold fabric pieces together during sewing temporarily.
I know that doesn’t clear your confusion, so let’s explore the details.
At a glance the uses of tacking stitches::
- use of tacking stitch. Among the five uses of stitches are holding seams, easing fabric, reinforcing, creating gathering.
- Tacking stitches mark buttonhole positions, fly front topstitching.
- Tacking stitches temporarily hold 2 fabric pieces together.
- Tacking stitches temporarily attach trims like lace collars or ruffles to clothing.
Table of Contents
What Is A Tacking Stitch In Sewing?
A tacking stitch, also known as a basting stitch, is a temporary stitch used in sewing to hold pieces together before final stitching. It is typically done with a large, easily removable stitch, either by hand or machine. This stitch is the easiest of all types of sewing stitches by hand.
When you tack by hand, you use a special soft cotton thread that’s easy to remove without damaging the delicate fabrics. If you’re using a sewing machine, you’d go for a polyester thread and set it to make long straight stitches. Just make sure the match pattern matches.
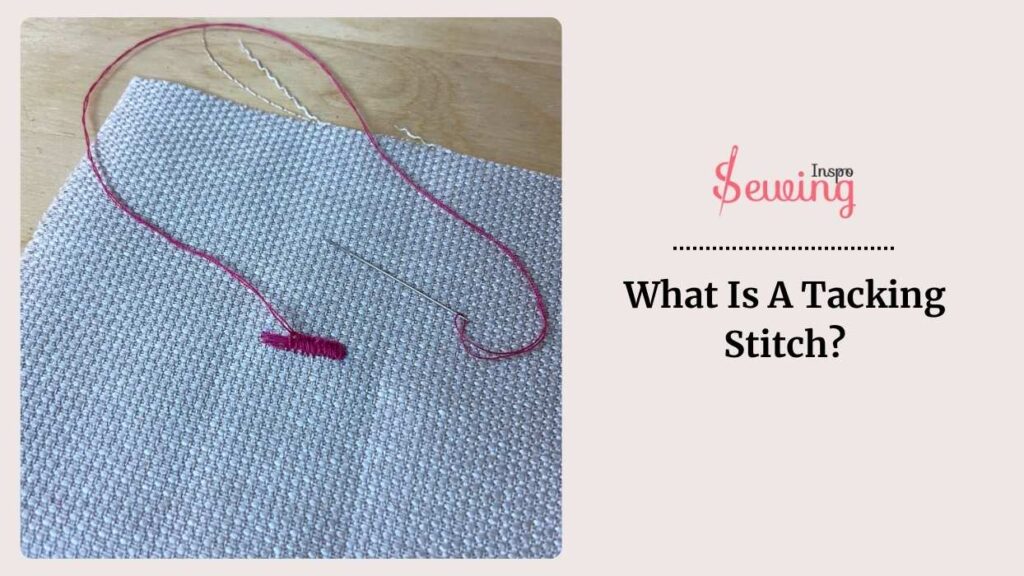
But tacking isn’t just for temporary holds. It can also be used as a permanent vertical stitches to reinforce stress points on clothing and accessories. That’s why it is also called a diagonal basting stitch.
Tacking Stitch Images
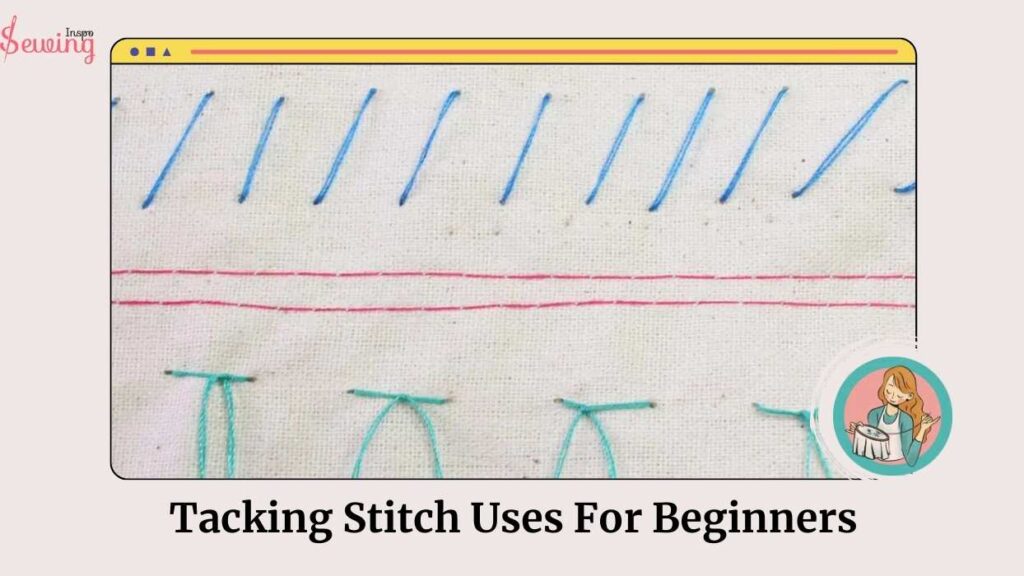
Have a look at the stitch-through image. It will clear out the confusion more clearly with the examples of tacking stitches.
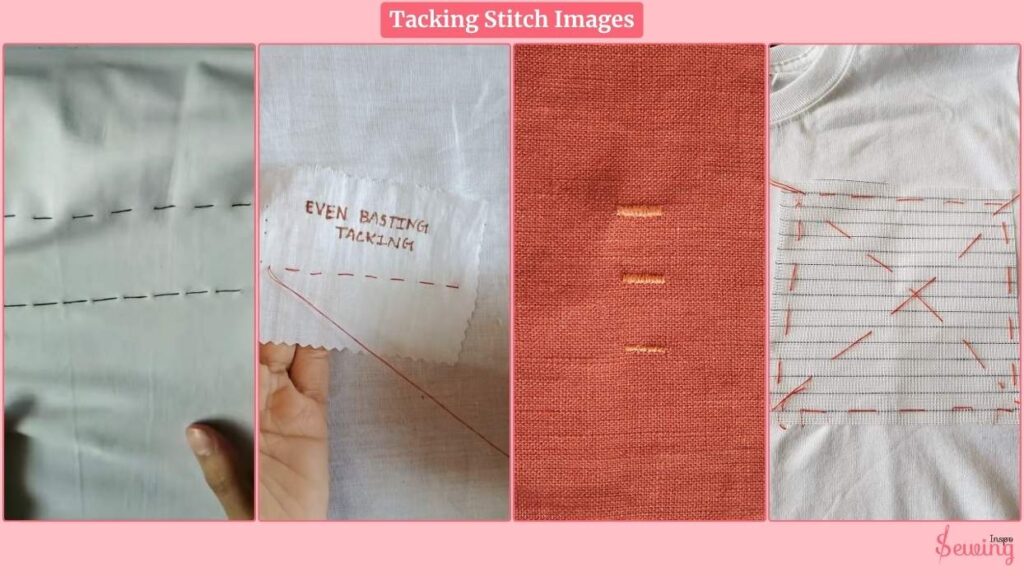
If you are still unsure about tacking stitch, then check out my tacking stitch images.
Tacking Stitch Uses (Uses Of Stitches)
There are 7 tacking stitch uses. Such as:
- Holding Seams In Place
- Transferring Pattern Markings
- Reinforcing Stress Points
- Helping With Accuracy
- Easing The Fabric edge
- Securing Elements
- Creating Gathers
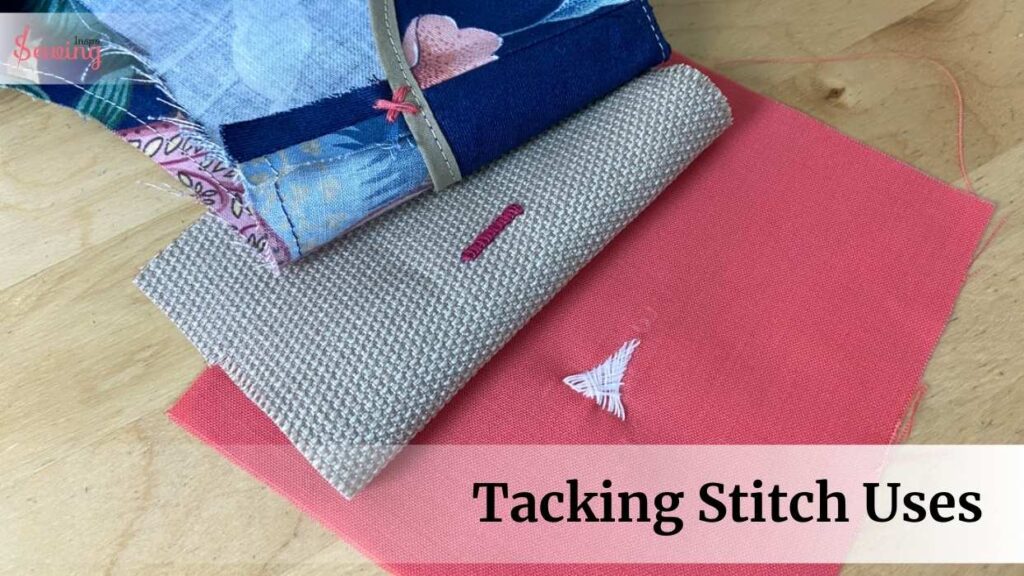
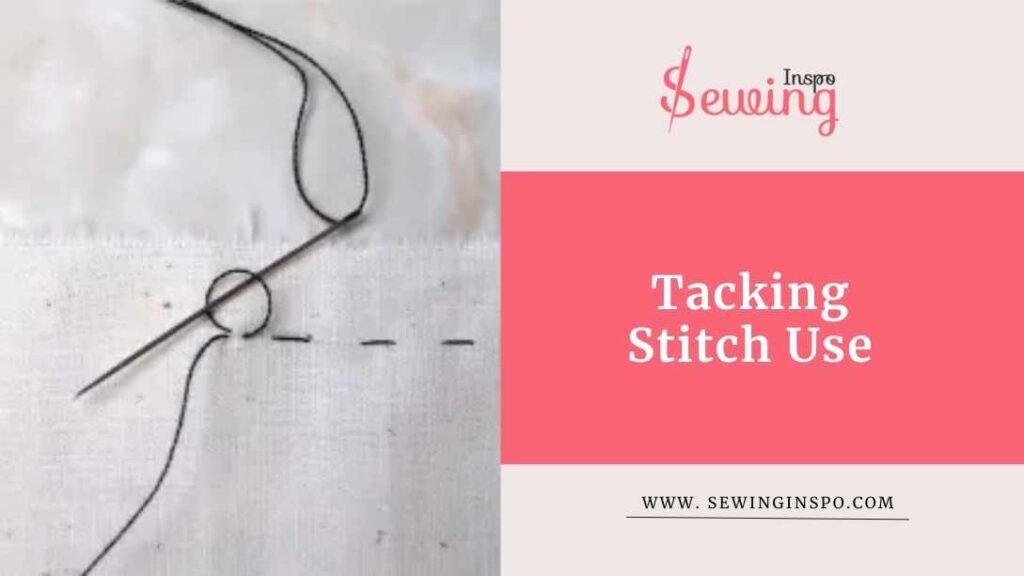
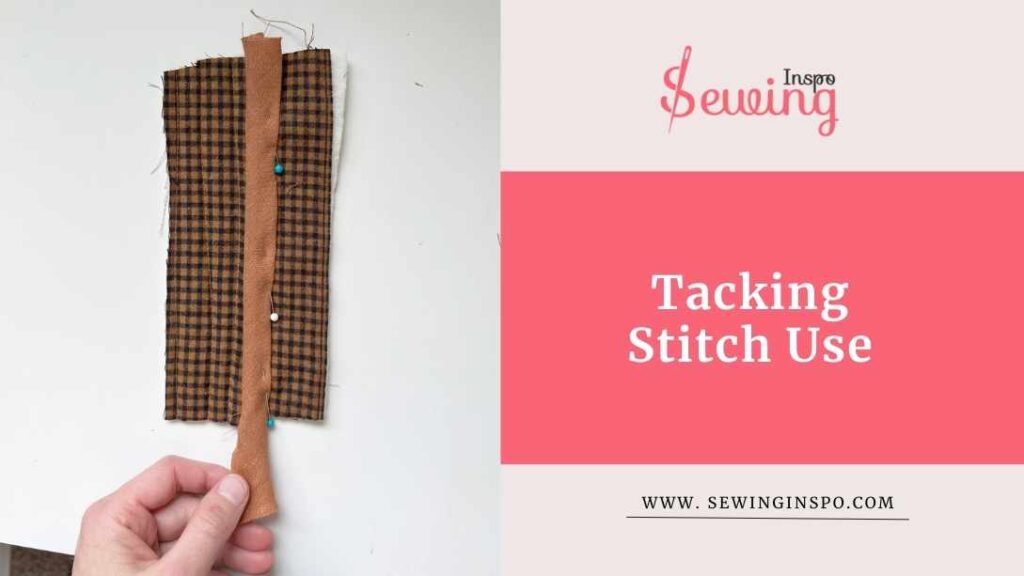
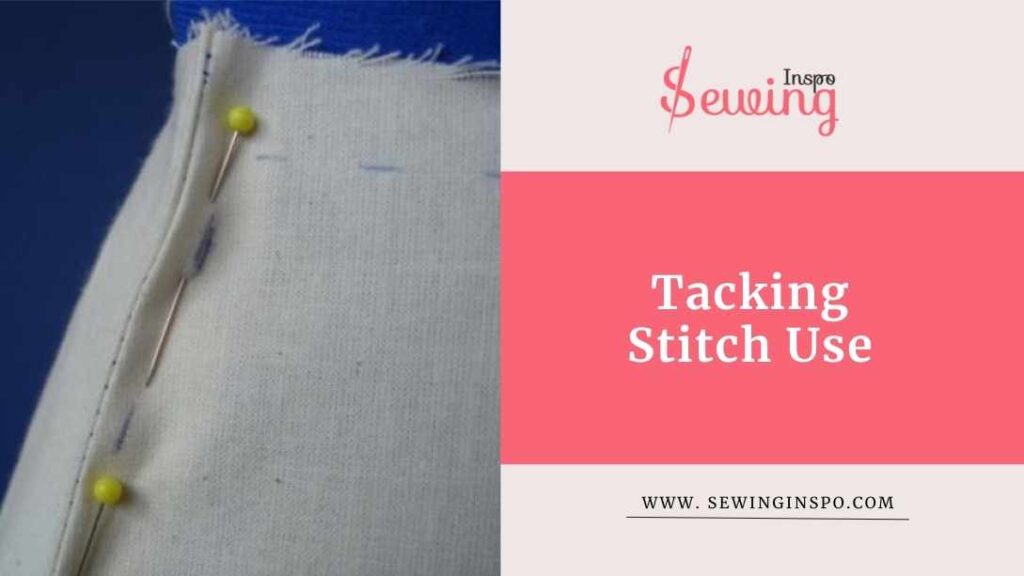
Well, What does tacking do? Let’s see the detailed explanation of the uses of stitches.
Holding Seams In Place
Tacking stitches are super handy for temporarily holding seams in place until you sew them properly. . Just like overcast stitch by hand do. They’re especially useful when you’re working on something complicated or delicate and need everything to line up just right.
If you ever do saddle stitch you can remember it pretty well, right? Tacking stitch also serves the purpose like that. This is kinda like catch stitch by hand pattern.
That’s the first tacking stitch use.

You can keep the slippery fabric pieces in position and prevent them from shifting around while you do the final stitching. This way, you avoid any bunching or misalignments that could mess up your seams. It’s perfect for tricky seams, adding intricate details, or working with slippery fabrics. You can even do pin tack stitch here.
Transferring Pattern Markings
Tacking stitches are great for transferring pattern markings onto your fabric. In that case, arrowhead stitch can help you a lot. When you’re working on a sewing project, you often need to mark various points on your fabric, like where to place darts, pockets, or buttonhole placements. That’s when the tacking stitch comes up to help you do the buttonhole stitch by hand.
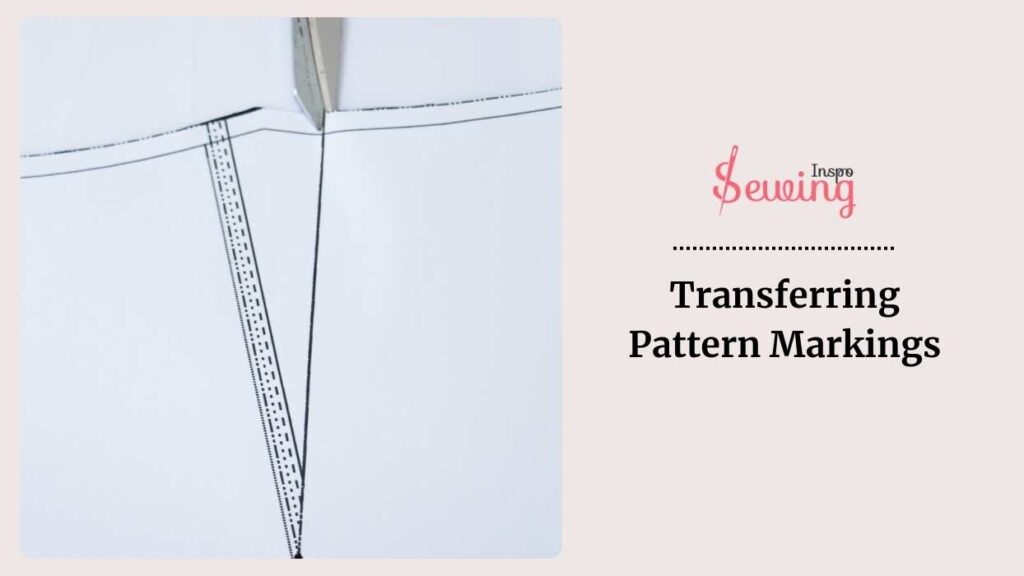
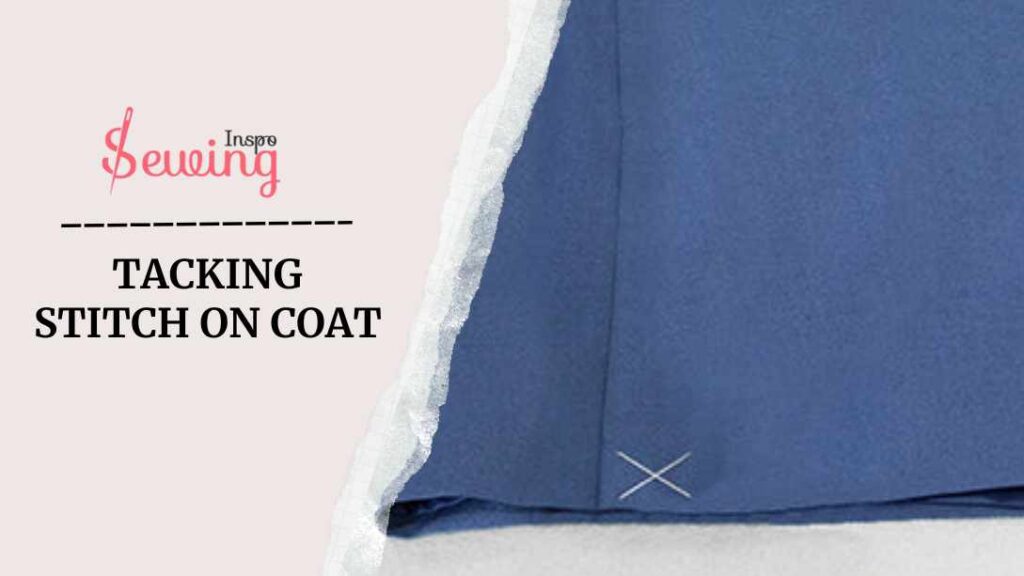
This is the most common stitches. Instead of using chalk or markers, which can sometimes rub off or be hard to see, you can use a box X-shaped stitch to mark these spots. This is the most common use of tack in clothes.
-How can I transfer pattern markings with tack stitch grandma?
-To transfer pattern markings, you make small, temporary stitches like slip stitches through the pattern and the fabric at the key points.
This way, when you remove the pattern, you still have clear, visible marks on your fabric to guide you. Just like pick stitch. It’s a precise and reliable method, especially for fabrics where other marking tools might not work well.unlike box x stitch.
Plus, zag stitches are easy to remove once you’ve finished sewing, leaving no permanent marks on your layer of fabric. It’s a simple trick that can make a big difference in the accuracy and ease of your sewing projects.
Reinforcing Stress Points
Tacking stitches also reinforce stress points on your clothes and accessories. Think about those areas that get a lot of wear and tear, like the corners of pockets, the base of zippers, or the edges of handbag straps.
In this case, you can use a bar tacking stitch. It works best here.
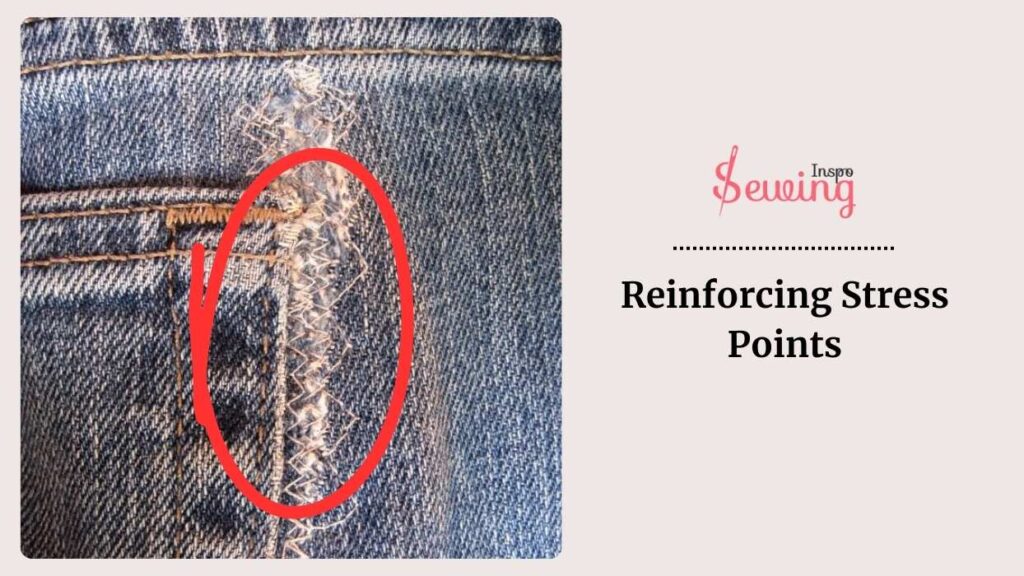
Using tacking stitches in these spots adds extra strength, making sure they don’t rip or wear out too quickly. This works like a running stitch. This is especially useful for things like pet harnesses, pants pockets, zipper flies, and the vents on skirts and jackets. A few sturdy tacking stitches extend the life of these items and keep them looking good and functioning well for longer.
Helping With Accuracy
Tacking stitches are like little helpers when it comes to sewing accuracy. They’re perfect for keeping everything in line and where it should be.
-How Grandma?
Well, picture this-
You’re working on a project with many pieces that need to fit together just right with a bridge stitch. Tacking stitches come to the rescue by temporarily holding those pieces until you’re ready to sew them together. Just like ladder stitch does. They make sure everything stays put, preventing any fabric from slipping or shifting out of place.
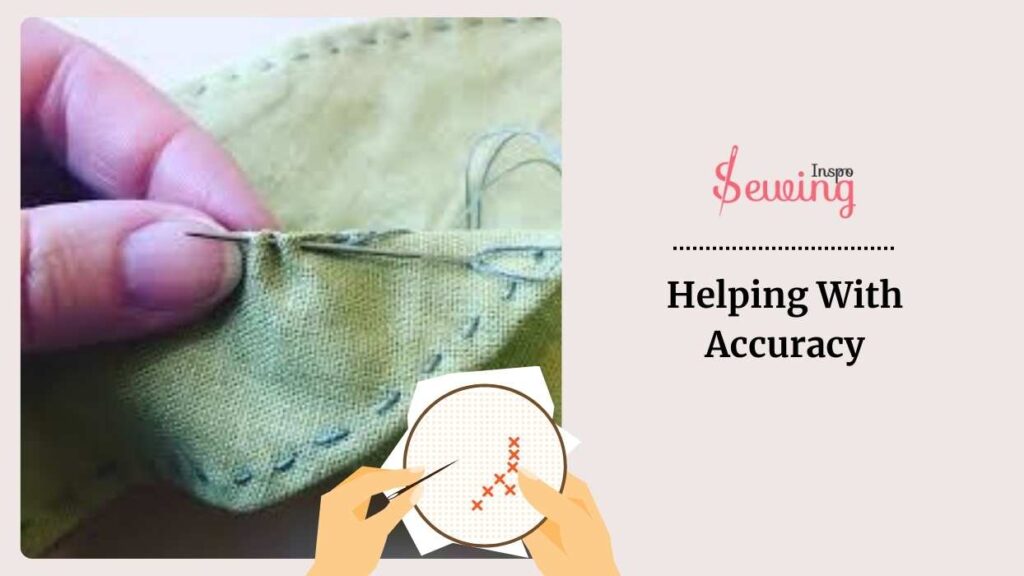
Whether you’re sewing a tricky curve or attaching a fiddly detail, tacking stitches gives you the confidence to nail that precision without any fuss.
Plus, once you’re done with them, they’re easy to remove, leaving behind nothing but perfectly aligned seam allowances and a job well done. It’s like doing blanket stitch step by step.
Easing The Fabric
Tacking stitches plays a big role here by helping distribute that fabric smoothly and evenly. Let’s say you’re fitting a sleeve into an armhole—not the easiest task, right?
French tack stitch steps in and holds the fabric in place, making it easier to manipulate and easing out any excess without any wrinkles or bunching. They’re like little guides, ensuring that your fabric behaves and conforms to the shape you want it to. You can think of it as an alternative to tent stitch. In that case, the bar tack stitch is the most used one. This is the most helpful while doing embroidery stitch.

Once you’ve got everything looking just right, you can sew it all up knowing that those tacking stitches helped you achieve that perfect, smooth finish. This is kinda strong like ladder stitch.
Securing Elements
Tacking stitches to secure elements in place. Whether you’re adding zippers, trims, or other decorative bits, these diagonal stitches are your go-to for keeping everything exactly where you want it. For that, I used a Tacking uneven stitch design. Because it is easy to do and remove.
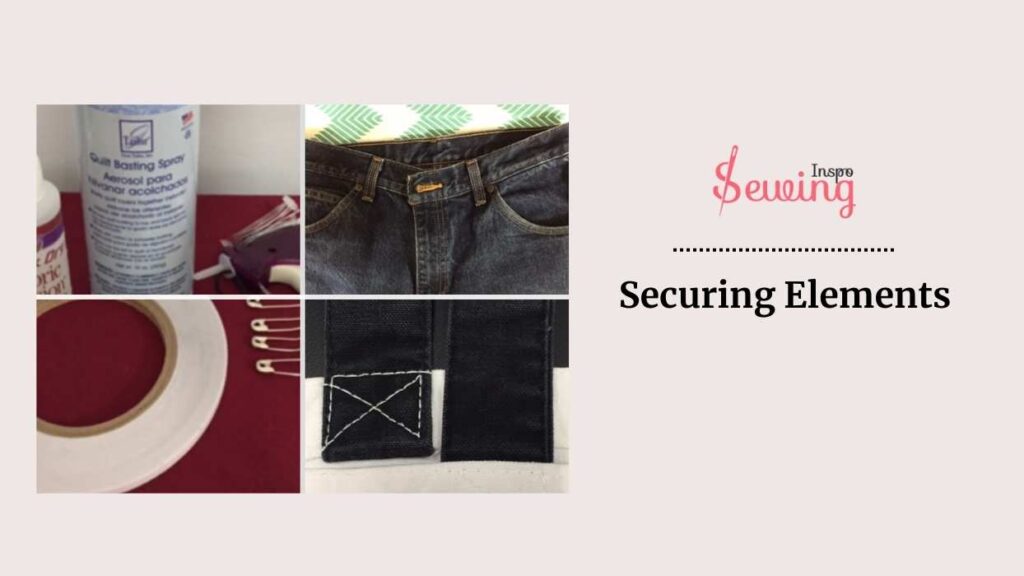
They act as temporary anchors, making sure your elements stay put while you work your sewing magic. Imagine attaching a zipper to a dress or securing delicate lace trim to a blouse—tacking stitches hold everything in place, preventing any slipping or misalignment.
Creating Gathers
Tacking stitches are also very useful for creating gathers on paper pattern. Whether you’re creating a ruffled sleeve or adding some subtle gathering to a skirt, these stitches are essential for getting that perfect look. That is why you need a tack in sewing.

Here’s how it works-
You start by running a line of tacking stitches along the edge of the fabric where you want the gathers to be. Then, gently pull on the bobbin thread to gather the fabric to your desired fullness. Once you’ve got it just right, you can secure the gathers in place with more stitches or by attaching them to another piece of fabric.
Are you curious about tacking stitch? Then read out our how to do tacking stitch step by step article. You will get the full process.
Tacking Stitch Uses For Beginners
For beginners in sewing, tacking stitches are like your training guide—they’re simple yet incredibly useful for getting the hang of things. Here is how-
- Marking: Tacking helps mark important points on fabric, like where to sew buttonholes or darts. It’s like leaving little breadcrumbs to guide you along the way.
- Joining: It holds them in place until you’re ready to make the final stitches, kind of like using sticky notes in sewing. That’s why tacking in sewing.
- Attaching: You can use tacking to attach cool stuff like lace collars or ruffles to your clothes. It’s like putting stickers on but for fabric!
- Reinforcing: Tacking strengthens stress points in your clothes and gear, so they last longer. It’s like adding extra quilt layers of armor to your sewing projects.
- Focusing: Tacking helps beginners concentrate on machine stitching, making it easier to get those nice, neat lines. It’s like training wheels for your sewing machine adventures.
Tacking Stitch Uses For Clothes
Tacking stitches are super handy in sewing. They temporarily hold fabric pieces together before you make permanent stitches. Along with that tacking stitch used in cloths to:
- Position fabric
- Baste seams
- Set zippers
- Gather fabric
- Mark hems
- Secure trims
- Fitting adjustments

They help keep everything in place, making it easier to sew accurately and achieve a neat, professional finish.
Tacking Stitch On Coat
A tacking stitch is also great for holding collars, cuffs, or pockets in the right spot before you sew them on permanently. If you’re adjusting the fit, tacking stitches lets you temporarily hold the fabric and check everything before finalizing your stitching. They’re like a safety net for sewing, making the process smoother and more precise. That’s why tacking stitch coat.


Tacking Stitch Uses Example
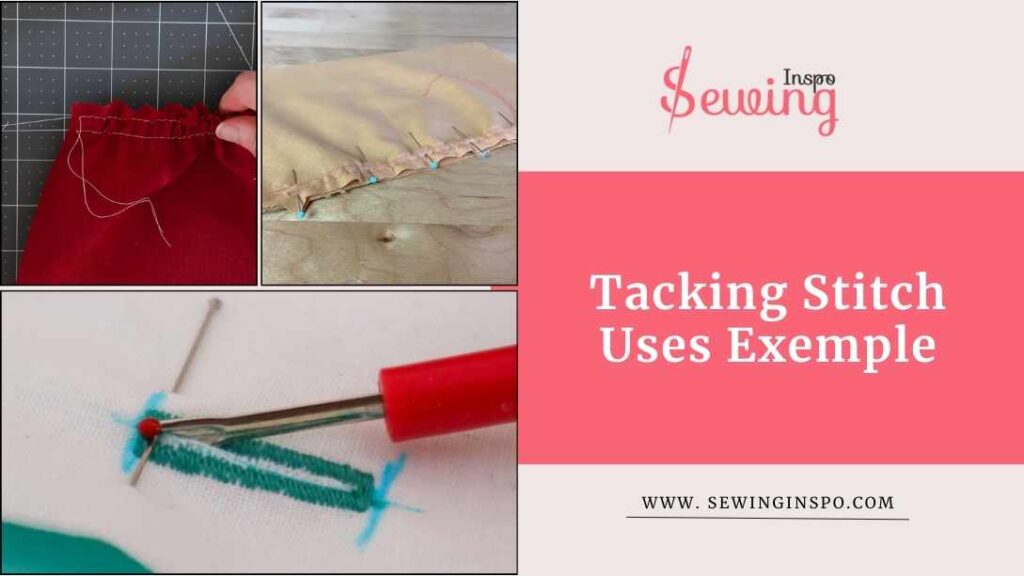
Tack stitch isn’t a strong stitch, so it won’t work right everywhere. It will be right if you use it in the right place & the right way. I did, and it turned out to be pretty good. Here are few of my examples:
Frequently Asked Questions(FAQ’s)
What Does Tacking Do?
Tacking serves multiple purposes in sewing. It temporarily holds fabric pieces together, ensuring accurate alignment before permanent stitching. It’s also used for marking important points on fabric, such as buttonhole positions or dart placements.
Are Tacking Stitches Permanent?
No. Tacking stitches are temporary—they’re meant to hold fabric in place temporarily until final stitches are made. They’re easily removable without damaging the fabric, making them perfect for marking, joining, attaching trims, or reinforcing stress points in sewing projects.
Final Thought
So, that’s the tacking stitch uses. Do you understand now?
Well, then what do you think about which use of tacking stitch?
Tell us in the comment sections on sewing inspo.


Leave a Reply