
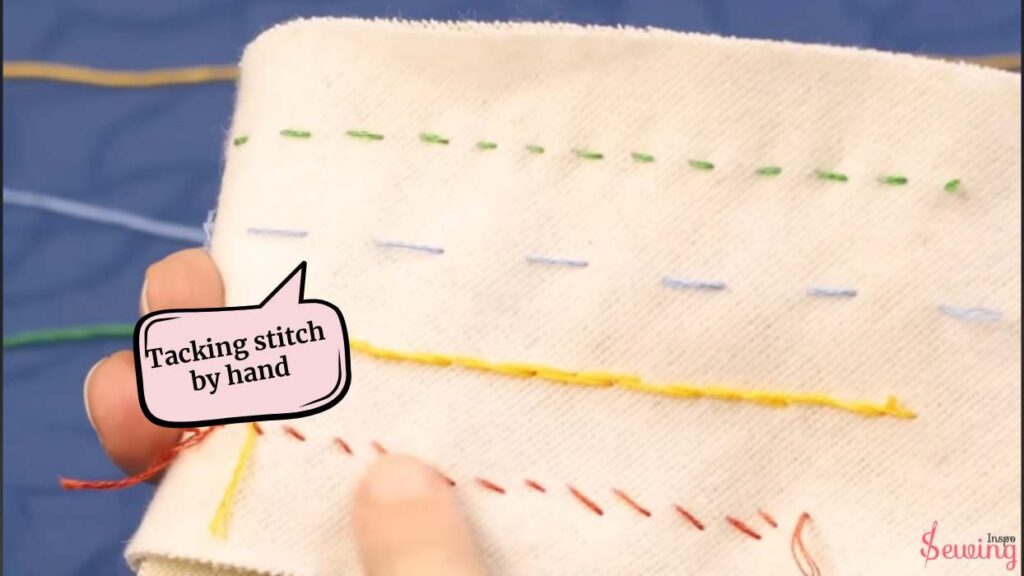
Tacking Stitch By Hand
To do a tacking stitch by hand, weave the needle in and out of the fabric in a straight line, creating long, temporary stitches to hold pieces in place.
Grandma was explaining it but I interpreted and said,
But grandma, there a many types of tacking stitches, right? So, how can I do those?
Yes, I’ll show you a tacking stitch by hand and tell you about others briefly. So, let’s go and learn how to make tacking stitches. But first of all, let’s start with define stitches.
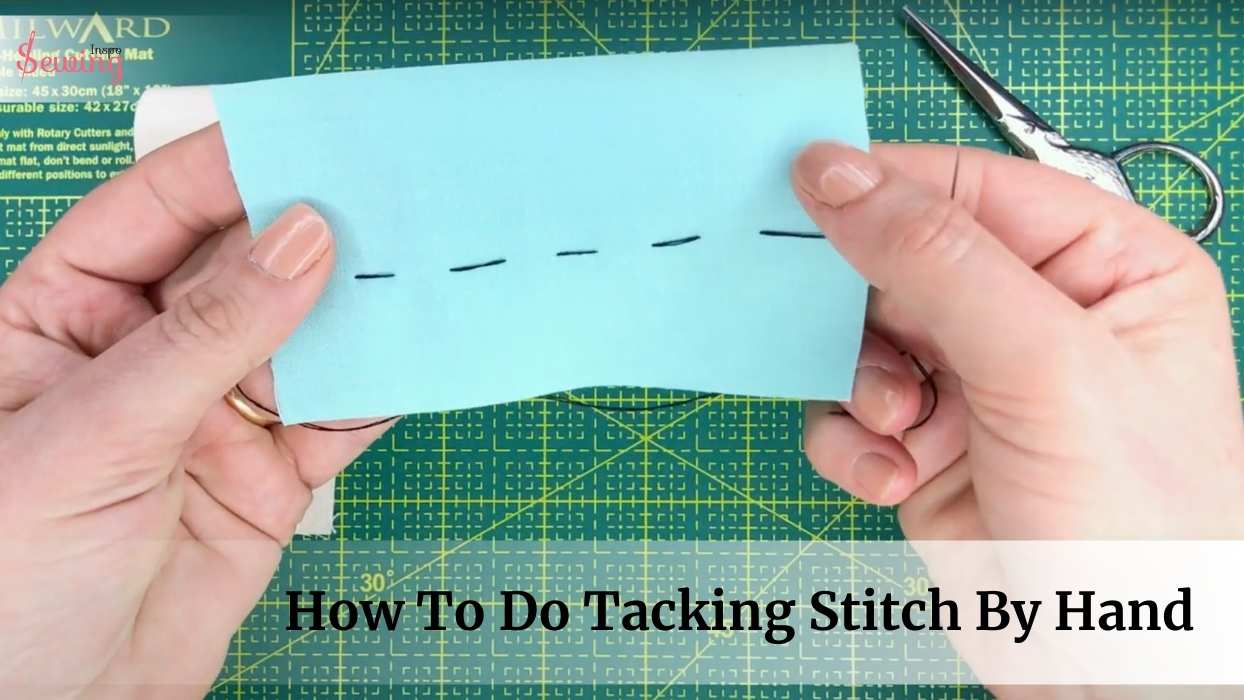
Table of Contents
What Is A Tacking Stitch?
A tacking stitch is a temporary stitch used in sewing to hold layers of fabric together before the final stitching is done. It helps ensure that the pieces stay aligned during the construction process. Tacking stitches are typically larger and looser than regular stitches, making them easy to remove after the final stitching is completed.
It would be better if you could see this practically right?
Well, then check out my sewing book. 😉 It will give you chance to learn sewing through image.
Types Of Tacking Stitches
Fun fact is that there are many kinds of tack stitches. But among the most famous one are,
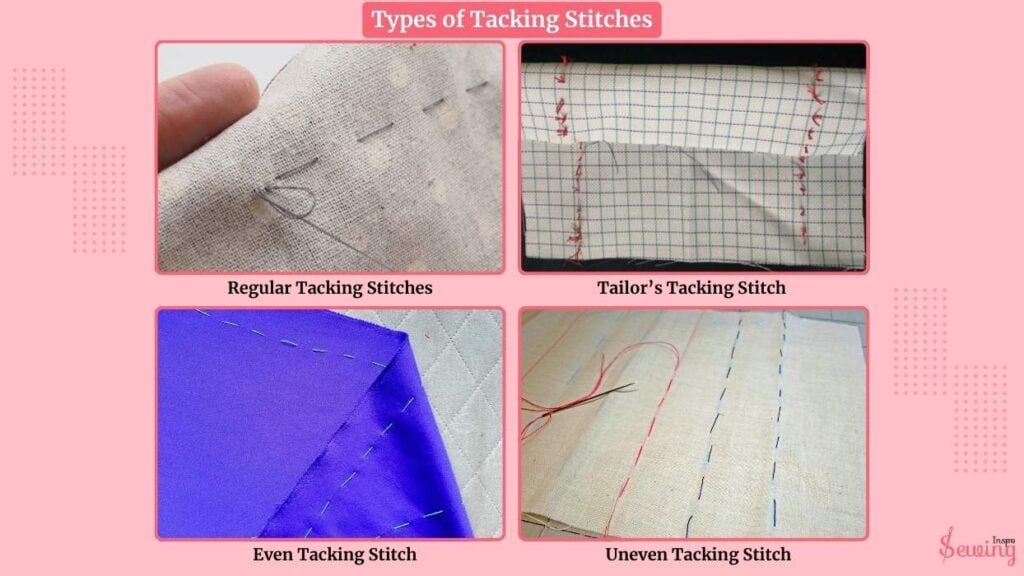
- Regular Tacking Stitches
- Tailor’s Tacking Stitch
- Even Tacking Stitch
- Uneven Tacking Stitch
- French Tack
Before getting into the how to tack stitch decide!
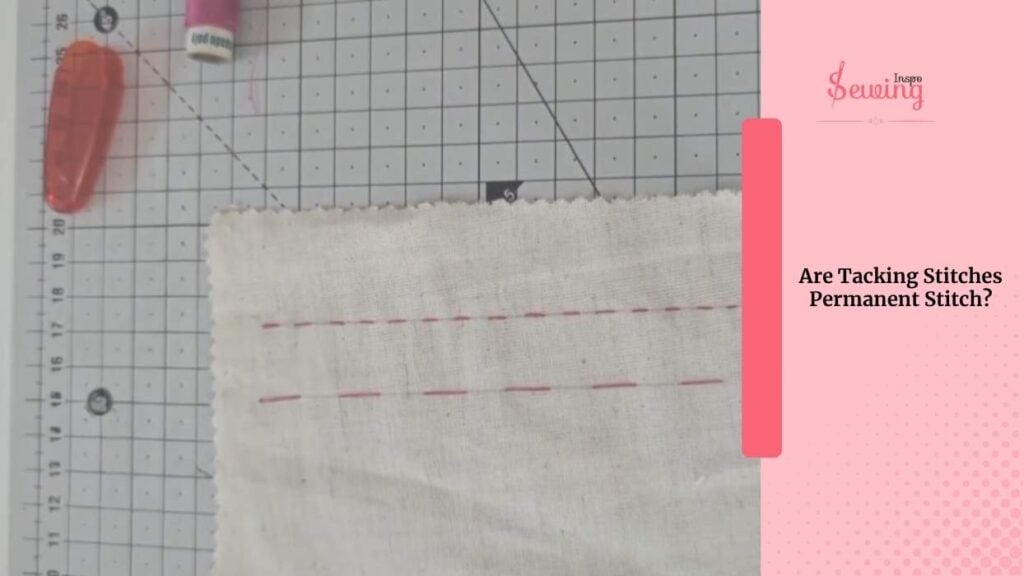
Are Tacking Stitches Permanent Stitch?
No, tacking stitches are not permanent. This is to mark permanent stitching. These stitches are meant to be temporary.
They’re used to hold fabric pieces together while you sew the final, permanent stitches.
Are Tacking Stitches Strong Stitch?
Tacking stitches aren’t really made to be strong. They’re mostly temporary.
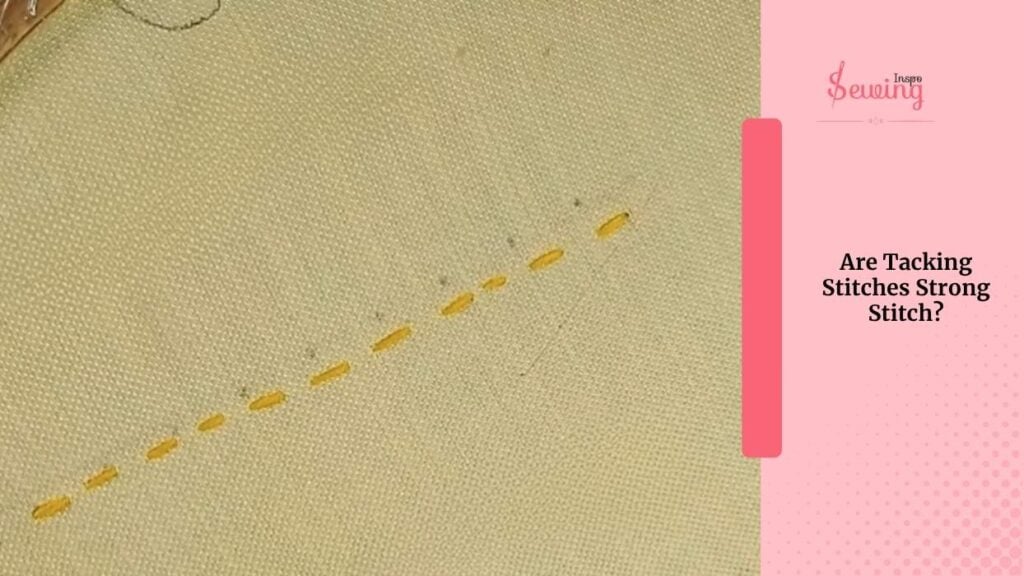
Because they’re usually done with long, loose stitches, they don’t have the tightness or durability of permanent stitches.
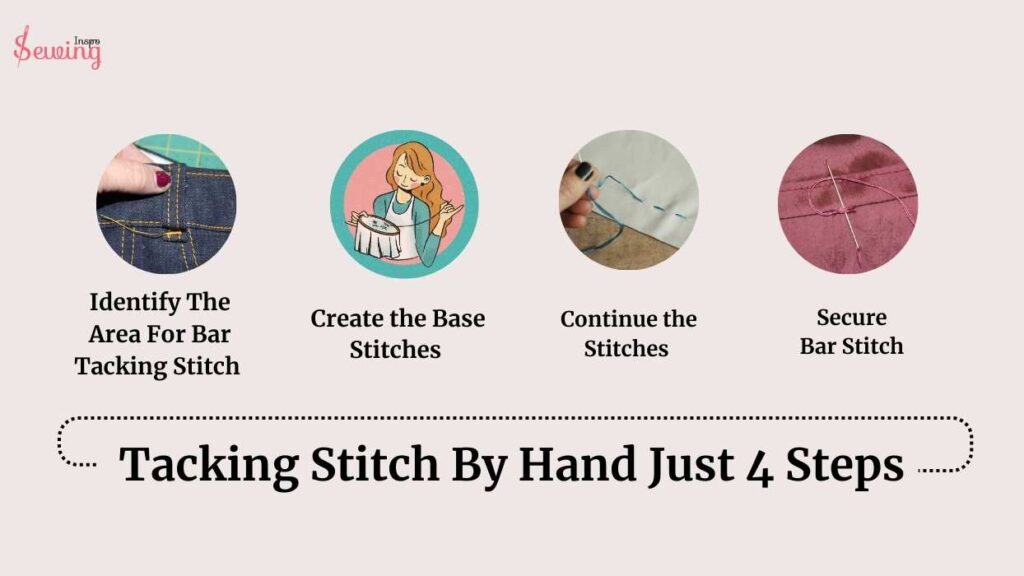
Tacking Stitch By Hand
Do tacking stitch by hand in just 4 steps.
- Identify The Area For Bar Tacking Stitch
- Create the Base Stitches
- Continue the Stitches
- Secure Bar Stitch
As you have said there are many types of tacking stitch. So, today I’ll just demonstrate you bar tacking stitch.
Let me teach you how to do tacking stitch step by step. If you follow the steps thoughtfully, you can do tacking stitch by hand.
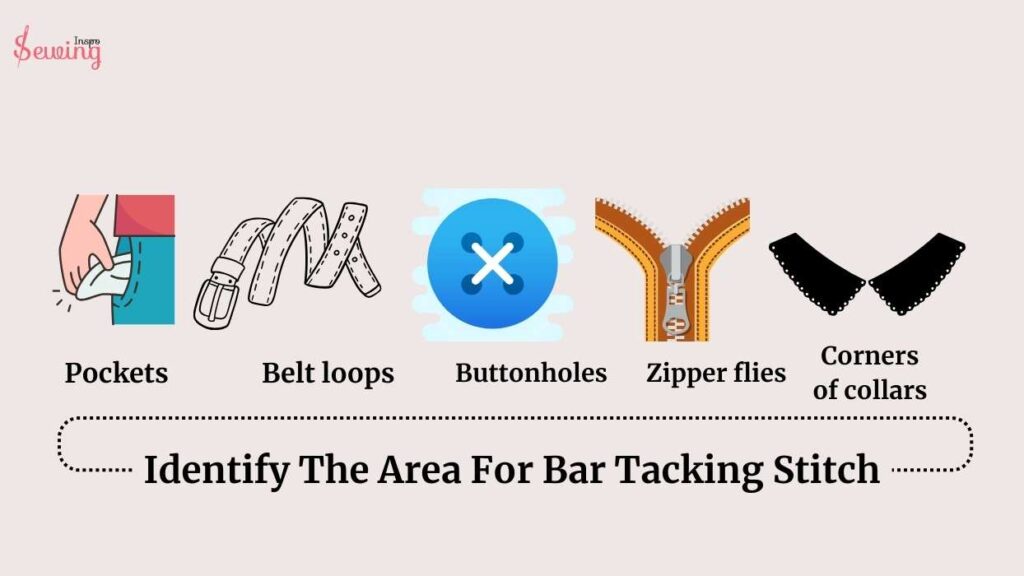
Identify The Area For Bar Tacking Stitch
To identify the area for bar tacking stitch, find reinforcement or high-stress areas of clothes, like spots that might tear or come apart easily to make a simple tacking stitch. Just what you would do for a hand stitch buttonhole pattern.
-Which area are they?
You’ll find them on pockets, belt loops, buttonholes, zipper flies, and even the corners of collars. They’re super handy for keeping things together.
Or you can draw a bar on random on the fabric. This will help you easily do a straight stitch.
Create The Base Stitches
Start by poking the needle through the back of the fabric (the wrong side) and pulling it out to the front (the right side). Then to start stitching bring the knot up to the surface, right where you need the reinforcement. Or this stitch is perfect helping for embroidery stitch.
-Ok but what type of thread do I need?
– Thick thread or embroidery floss is best for bar stitch.
For the first stitch, push the needle back into the fabric about 1/8 inch (3mm) away from where the thread came out. Pull it through to the back again. This is the perfect tacking stitches on clothes.
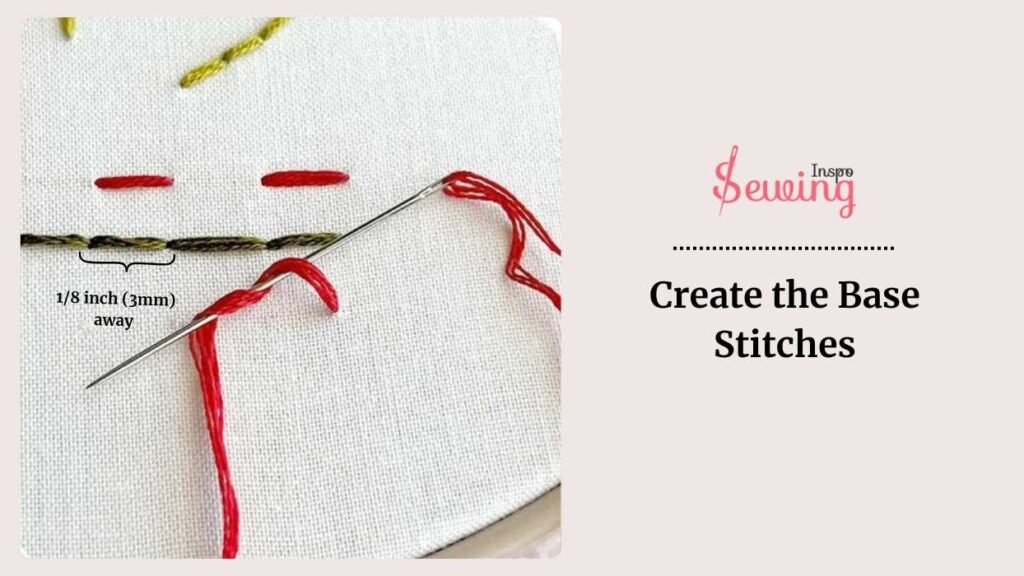
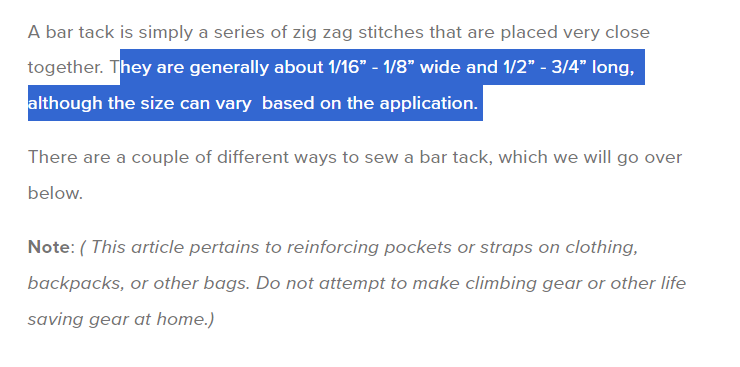
However, the distance depends on your bar tacking stitch type. Bar tacking stitch is usually 1/16 or ⅛ inch long.
Now, bring the needle up through the fabric again, close to where you first started, but not in exactly the same spot. This helps make sure the stitch is secure with a loose loop stitch.
Continue The Stitches
Move the needle back and forth like this, keeping the stitches close and even just like all types of stitches. Make sure each basting stitches sits next to the last one without overlapping too much. When you get to the end of your line (the length you want), bring the needle up through the fabric from fraying one last time at the end of your stitched line.
Next, start making horizontal(90-degree) stitches across the top of your parallel stitches. Just like you need while doing a hand sew buttonhole stitch. Push the needle into the fabric just beyond the edge of your stitched line and pull it through to the opposite edge, covering the parallel stitches.
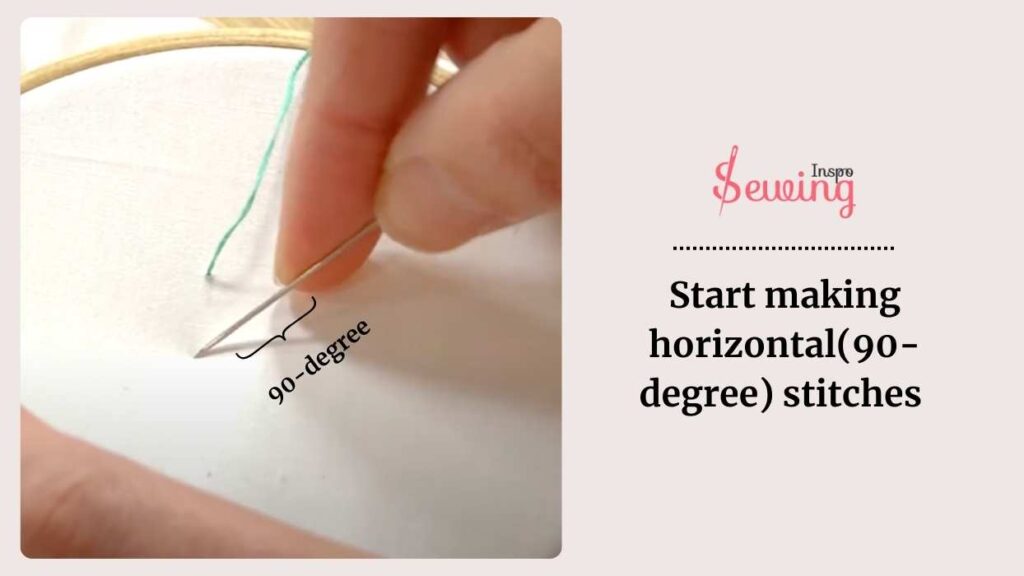
Keep doing these horizontal stitches, working back and forth. Make sure each new stitch lies right next to the previous one, so you’re covering the whole line of parallel stitches underneath.
Make sure these horizontal stitches are tight with extra stitch and secure since they will form the reinforcing bar tack stitch that holds everything together. But don’t make it extra strong like overcast stitch by hand. Keep it gentle.
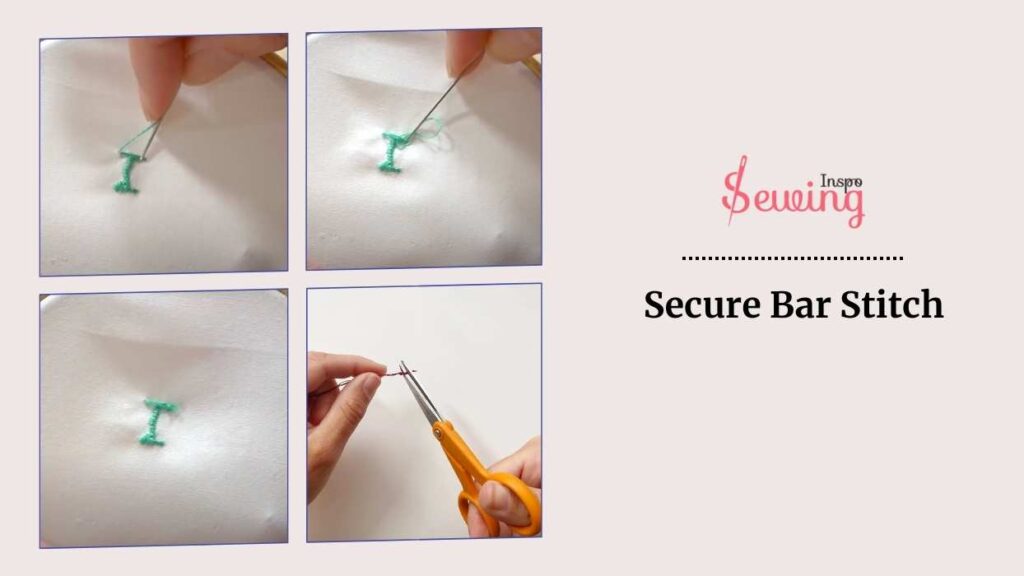
Secure Bar Stitch
Once the horizontal stitches fully cover the parallel stitches, secure the thread on the backside with a couple of back stitches. Insert the needle through to the backside and create a small knot. Trim any excess thread close to the knot to finish.
That’s how to do tacking stitch. It is so easy, isn’t it?
Wanna have a closer look? Then watch this video this stitch technique-
Watch The Tutorial
How to do a Bar Tack – Sewing Quarter Stitching Tutorials
Now let’s talk about another kind of tacking stitch.
How To Remove Tack Stitching?
If you have finished the tack stitch, it’s time to remove it. There are so many ways to remove a tack stitch. But I normally,
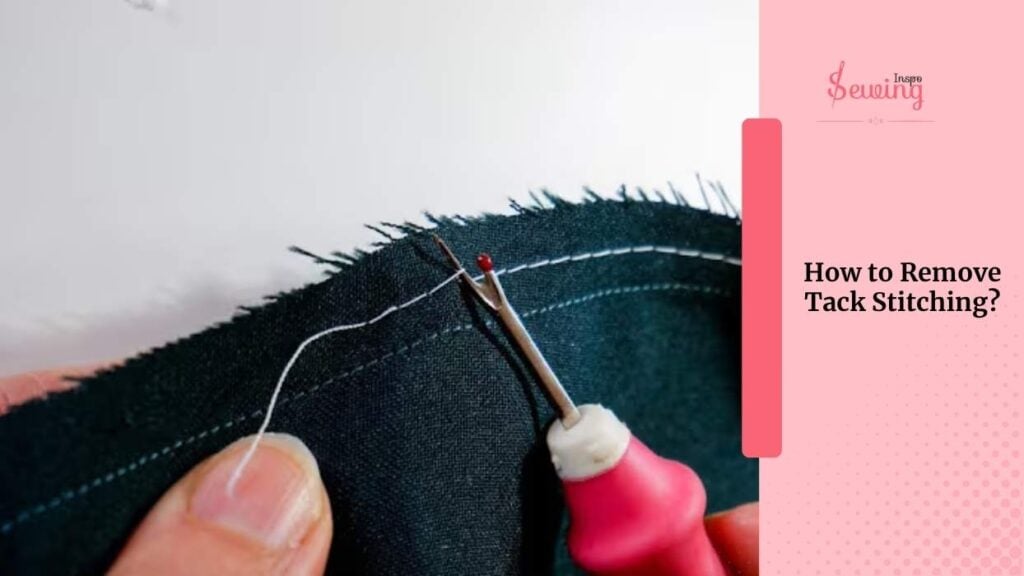
- Look for a knot or thicker spot in the stitch.
- This is usually where the stitching starts or ends.
- Slide your seam ripper or tool under the thread to cut
- For longer stitches, cut every 2–3 stitches
- Be gentle to avoid damaging or stretching the fabric
- For small or uneven stitches, pick them out one by one
- Grab one loose end and gently pull it out
- Use fingers or a seam ripper for tighter spots
- Continue section by section for longer stitches
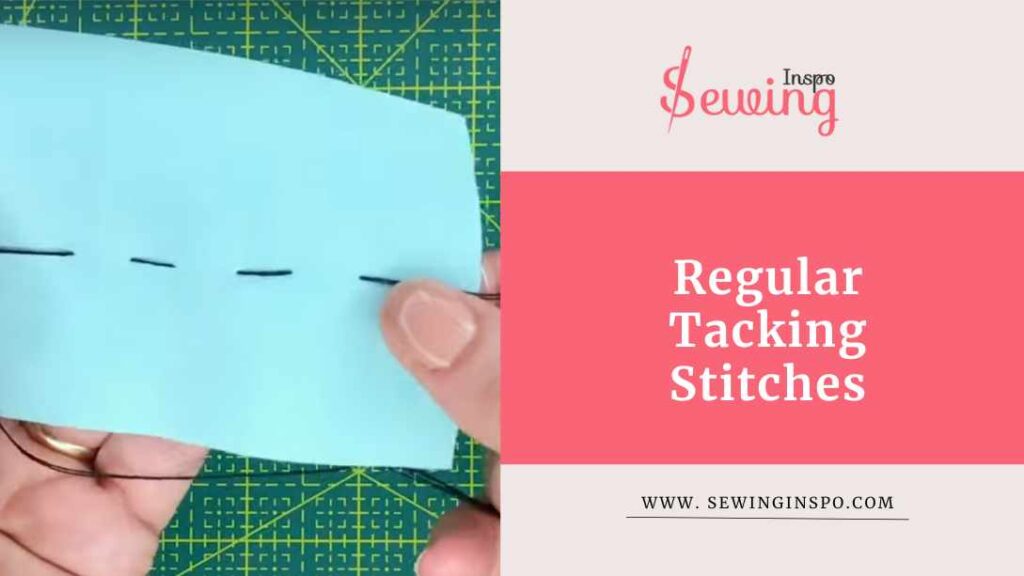
Regular Tacking Stitches
To do regular tacking stitch use to hold fabric pieces together before the final stitching. To do them, use a needle and thread, making long, loose stitches (about 1/4 to 1/2 inch apart) along the seam line just like most common stitches. These stitches are easy to remove after the final sewing is complete. That is why it is often used as a back tack stitch.
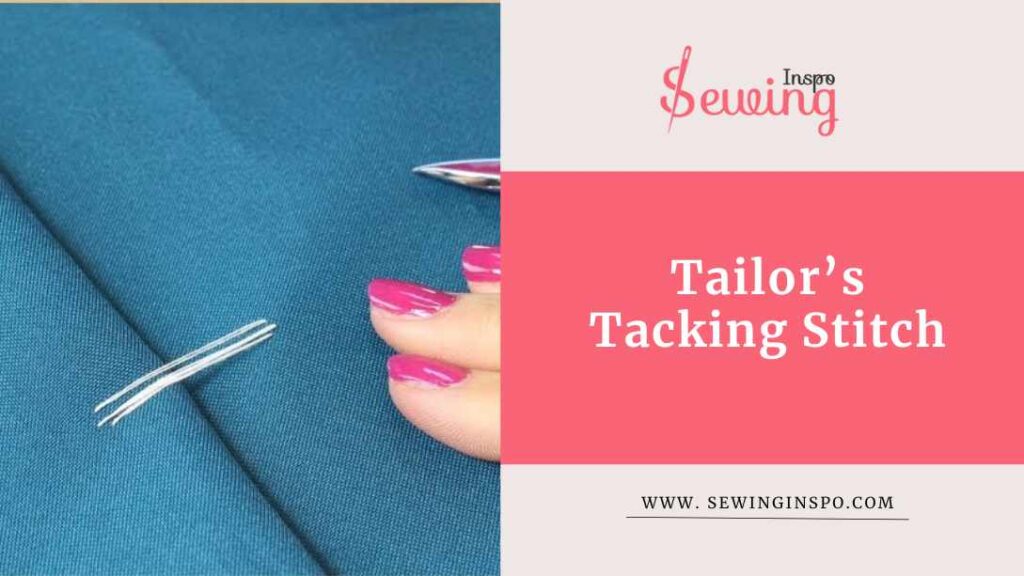
Tailor’s Tacking Stitch
To do tailor’s tacking start stitching through 2 layers of fabric with long, loose stitches, leaving long thread loops. To do it, insert the needle through both layers, leaving a loop, then make another 3-5 stitches nearby, creating a series of loops that can be cut later to separate the layers without losing the markings with tailors chalk.
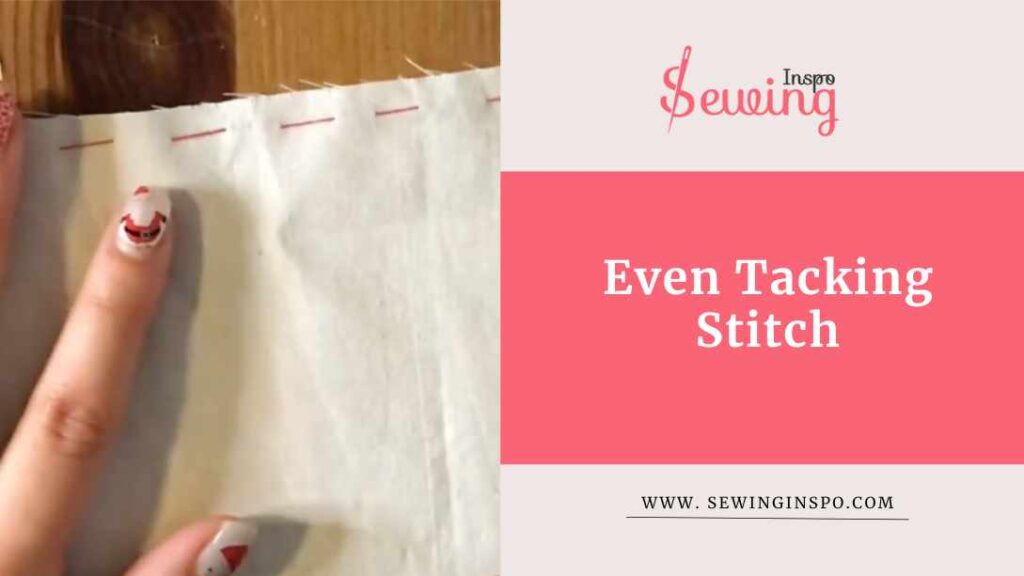
Even Tacking Stitch
To do an even tacking stitch, insert the needle through the fabric, creating stitches of equal length (about 1/4 inch) on both sides of the fabric. This technique is used for precise temporary holding, ensuring even alignment.
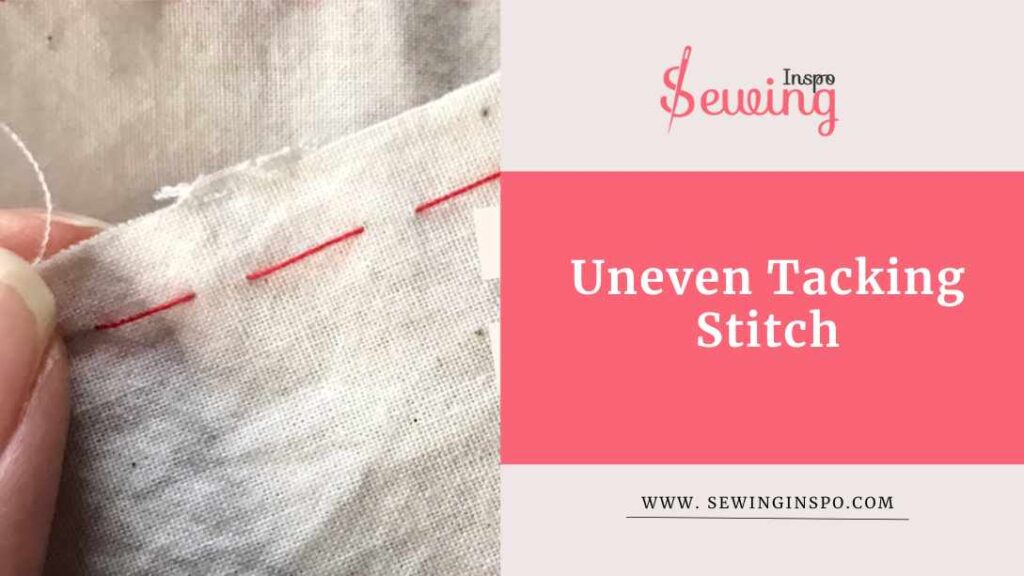
Uneven Tacking Stitch
To do Uneven tacking, make a longer stitch (about 1/2 inch) followed by a shorter one (about 1/4 inch). This is useful for temporary seams that need to be easily removed, as the longer stitches are easier to cut and pull out.
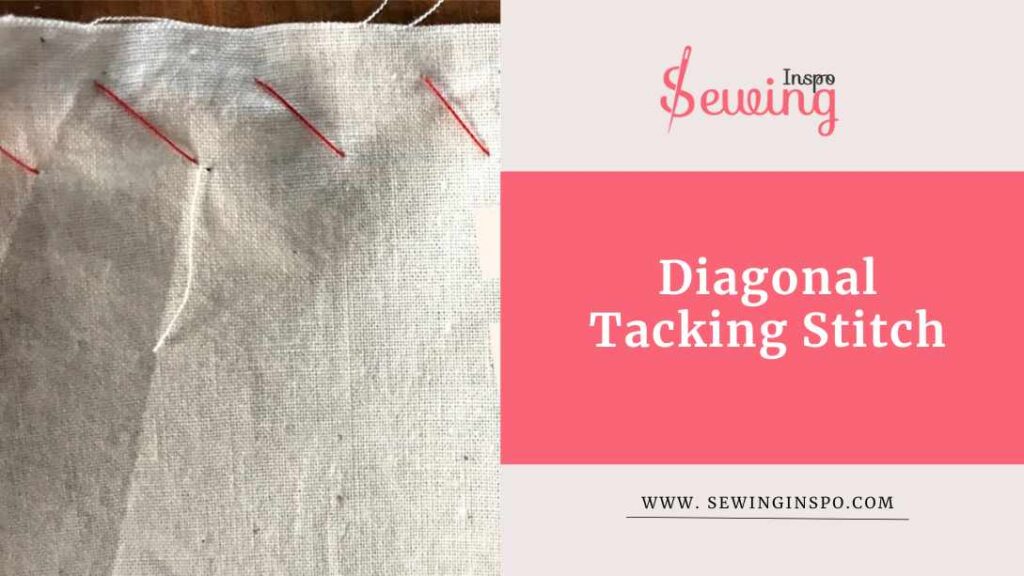
Diagonal Tacking Stitch
To create this diagonal tacking stitch, insert the needle at one point and bring it out at an angle, forming diagonal lines across the fabric. This stitch is often used to temporarily hold multiple layers of fabric together. You can even try it while doing a blanket stitch by hand.
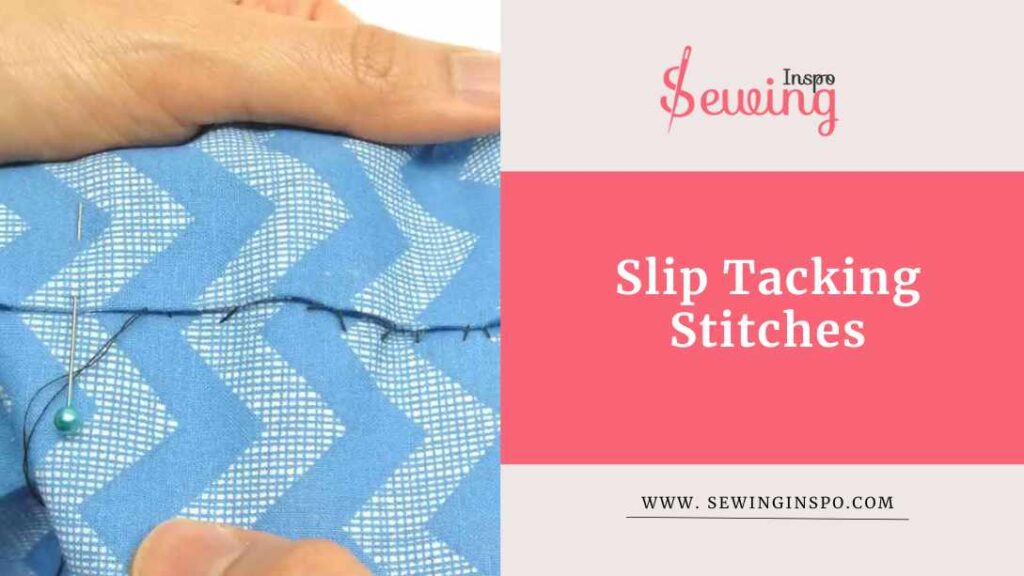
Slip Tacking Stitches
To do slip tacking stitches, insert the needle inside the fold of one excess fabric piece, then catch a few threads of the other fabric, alternating between them. This creates an invisible seam that can be easily removed. This will remind you of the slip stitch picture.
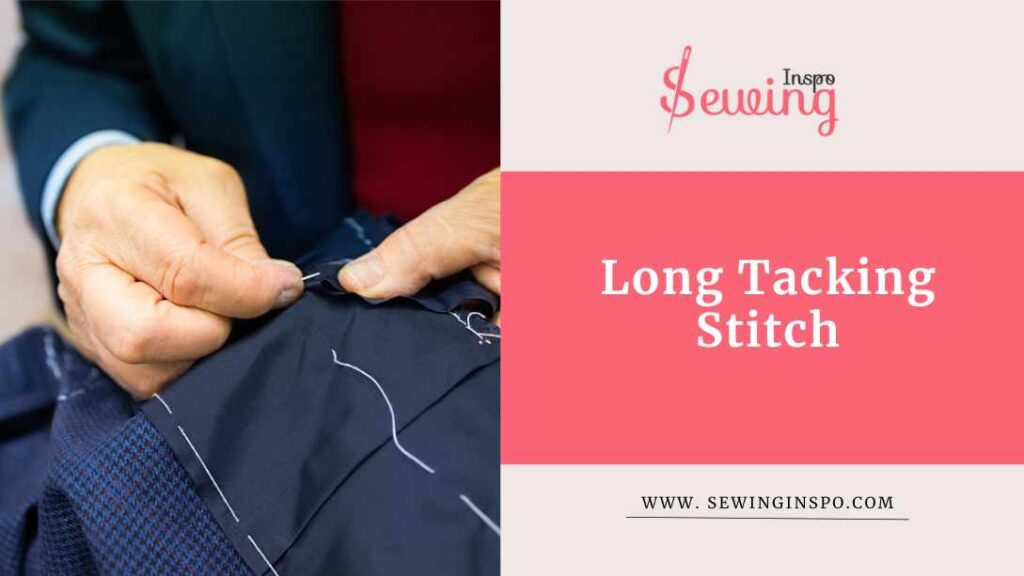
Long Tacking Stitch
To do long tacking stitches, stitches about 1 inch apart. It’s used for loosely holding large pieces of fabric together or for fitting adjustments during garment construction.
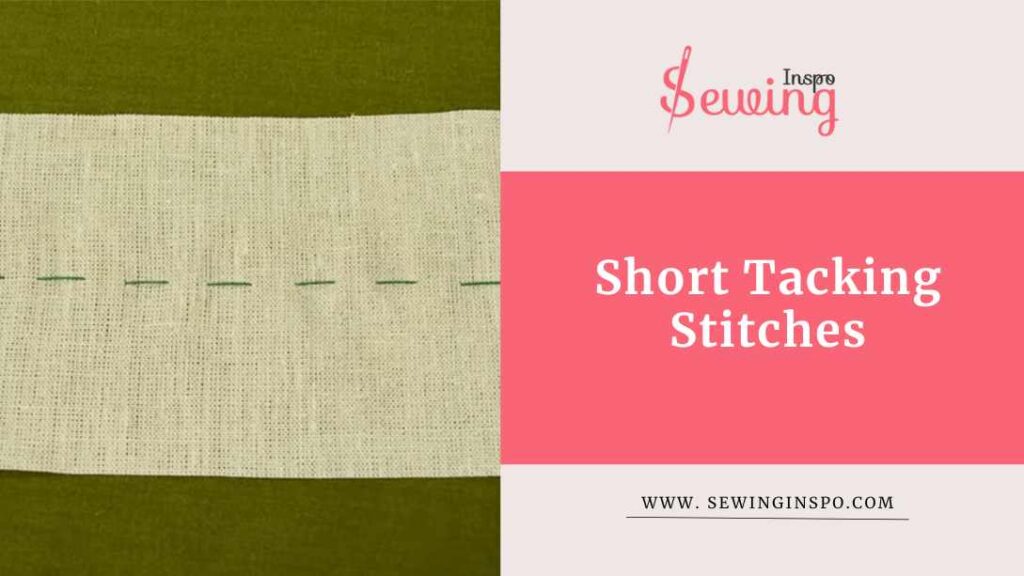
Short Tacking Stitches
To do short tacking stitches, make small, even stitches along the seam line. These are often used in areas that need precise alignment.
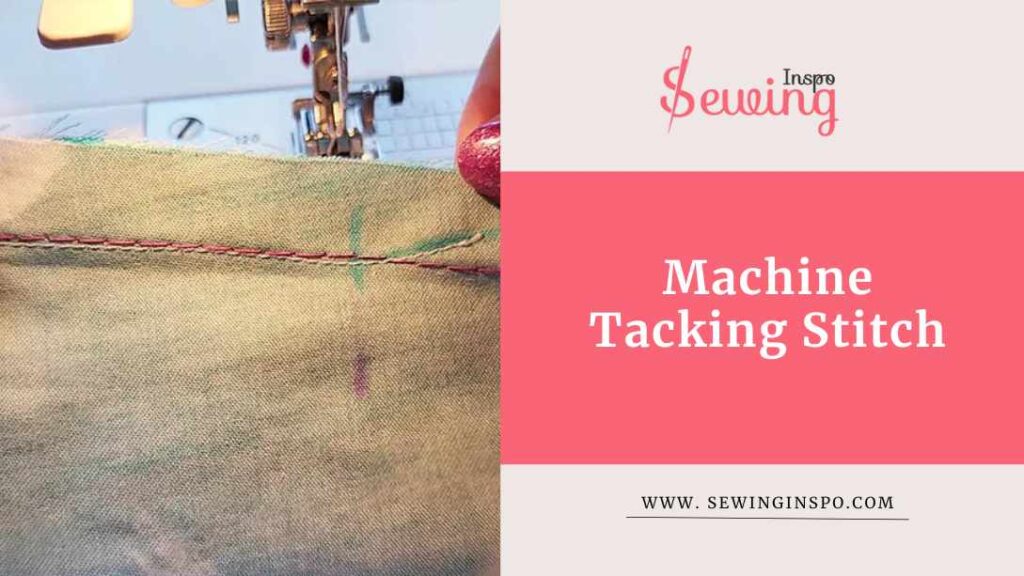
Machine Tacking Stitch
To do the machine tacking stitch, set the machine to a long stitch length and sew along the seam line. These stitches are quick to do and easy to remove, making them ideal for fitting and adjustments.
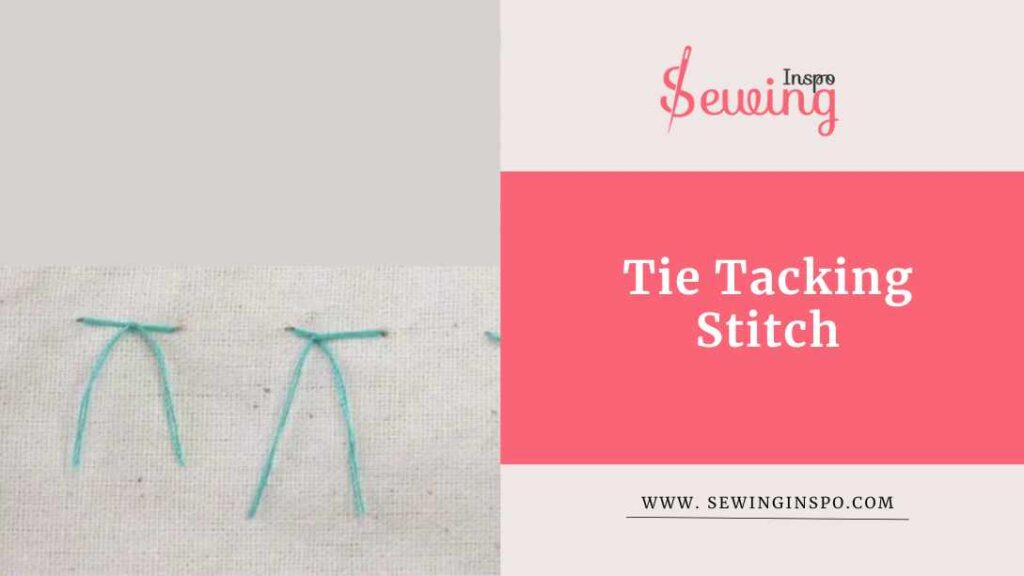
Tie Tacking Stitch
To create a tie tacking stitch, bring the needle up through the fabric layers and make a small stitch. Instead of pulling the thread tight, leave a loop. Pass the needle through the loop and pull gently to secure the stitch. Repeat this process at regular intervals along the fabric edge or seam.
Cross Tacking Stitch
To create cross tacking stitch begin by bringing the needle up through the fabric layers and making a small vertical stitch. Leave a loop, then pass the needle through the loop and pull gently to secure the stitch.
Next, make a horizontal stitch crossing over the vertical one, leaving another loop. Pass the needle through this loop and pull gently to secure. Repeat this process, alternating between vertical and horizontal stitches, to create a crisscross pattern of tacking stitches.

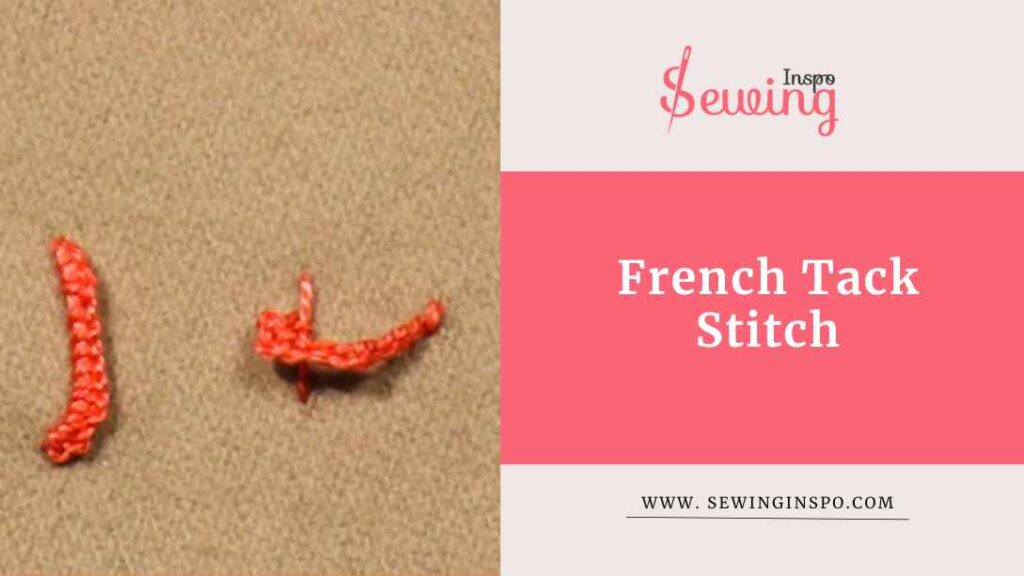
French Tack Stitch
To create a French tack stitch, bring the needle up through the fabric layers and make a small stitch. Instead of pulling the thread tight, leave a loop. Pass the needle through the loop and pull gently to create a chain-like stitch. Continue making small stitches and loops, linking them together to form a thread chain. Finish by securing the last loop with a small knot or backstitch.
Arrowhead Tacking Stitch
To create an arrowhead tack stitch, begin by bringing the needle up through the fabric layers and making a small vertical stitch. Leave a loop and pass the needle through the loop, pulling gently to secure the stitch. Next, make a diagonal stitch from the bottom of the vertical stitch to form one side of the arrowhead shape.
Bring the needle back up through the fabric layers and make another diagonal stitch, crossing over the first one to complete the arrowhead shape. Repeat this process at regular intervals to create a row of arrowhead tacking stitches.
Those will give you more perspective on how to do tacking stitch.

So, what do you think? Which one is seams more interesting to you?
- Regular Tacking Stitches
- Tailor’s Tacking Stitch
- Even Tacking Stitch
- Uneven Tacking Stitch
- Diagonal Tacking Stitch

- Slip Tacking Stitches
- Long Tacking Stitch
- Short Tacking Stitches
- Machine Tacking Stitch
- Tie Tacking Stitch
- Cross Tacking Stitch
- French TackStitch
- Arrow Head Tacking Stitch
- Bar Tacking Stitch
In this article, I share various types of tacking stitches and explain their uses. To help you determine which tacking stitch is best suited for your needs, I have provided detailed insights in my video.
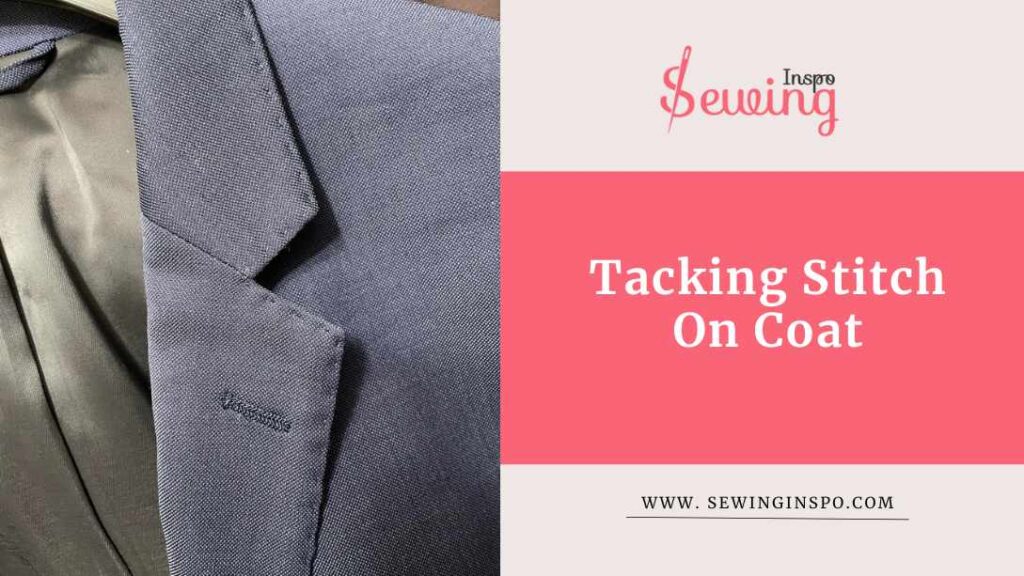
Tacking Stitch On Coat, How To DO!
Tailor tacking stitch is mostly used to tack on the coat. It is easy to use and quick. To do a tacking stitch on the coat, you need to follow 4 steps.
- Start by cutting out your pattern pieces and pinning them onto your fabric. This keeps everything in place while you work.
- Use a double thread, preferably in a contrasting color, so it’s easy to see. Make a stitch right through the marked point on your pattern, leaving a nice long tail above the fabric.
- Pull your thread through to form a loop, then make another stitch to create a second loop. Cut the thread, leaving tails on both sides.
- After you’ve made your tacks, gently pull the fabric layers apart and snip the threads between them. This will leave clear marks on both sides of your fabric.
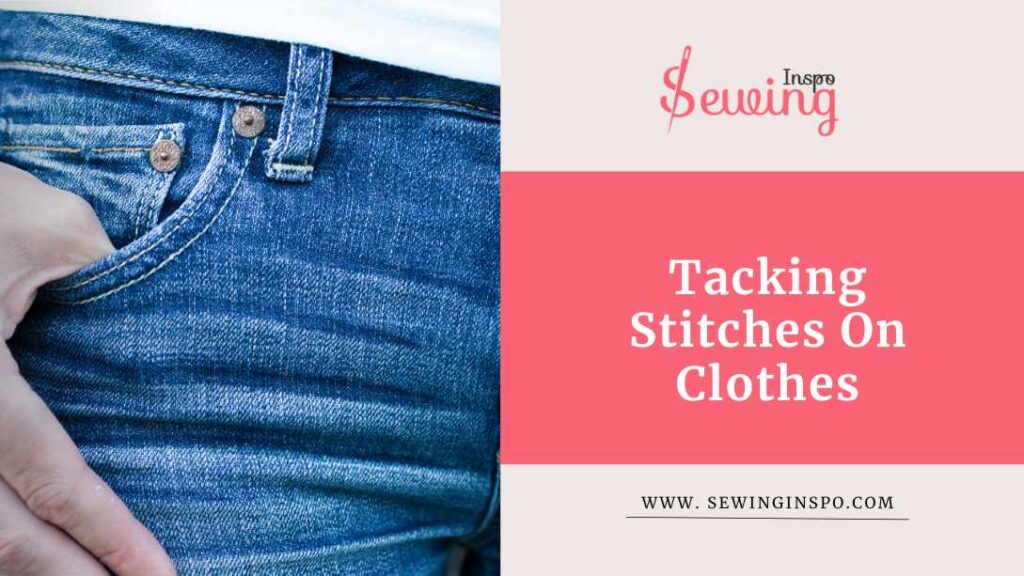
Tacking Stitches On Clothes
If you ever need to hold your clothes with temporary fabric, then tacking stitch is your catch. Here is how to do tacking stitches on clothes:
- Cut about 18 inches of thread (it doesn’t have to be exact, just a nice length). Thread the needle and tie a little knot at the end.
- Place the fabric pieces together how you want them. Make sure everything looks good!
- Push the needle through from the bottom side of the fabric. Pull it through until your knot is snug against the fabric. Go for long, even stitches—about 1 to 2 inches apart is perfect. A simple running stitch works great here.
- Just continue along the seam, keeping those stitches nice and straight.
- When you reach the end, tie a small knot to secure everything. If you think you might need to make adjustments, you can leave the thread uncut for now. Once you’re happy with the fit, carefully pull out those tacking stitches before you sew the final seams.
How To Tack A Dress?
When tacking a dress, use long, loose running stitches with a contrasting thread so it’s easy to remove later. This helps ensure the garment holds its shape and positioning, allowing you to adjust or fine-tune before committing to permanent stitches.
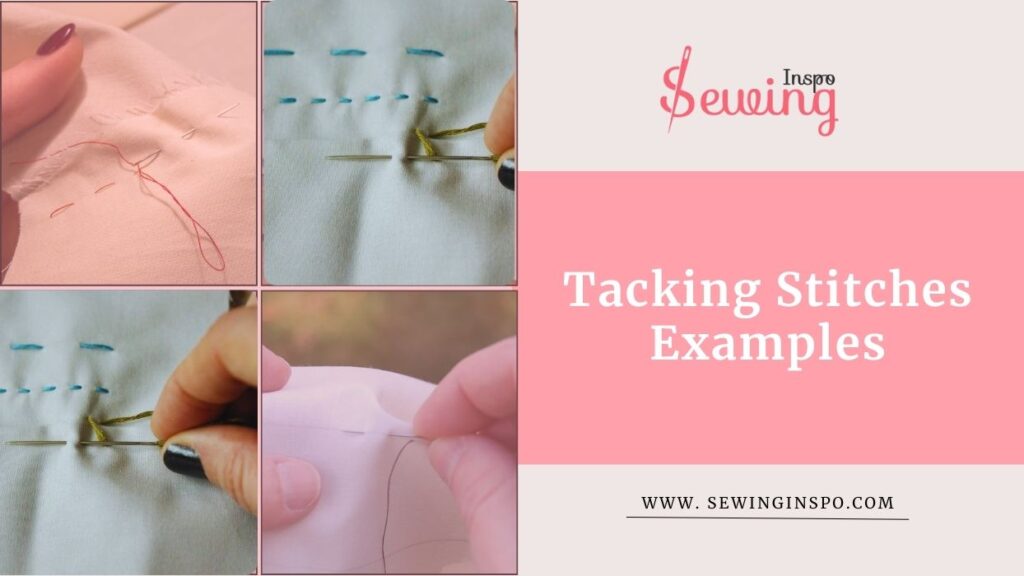
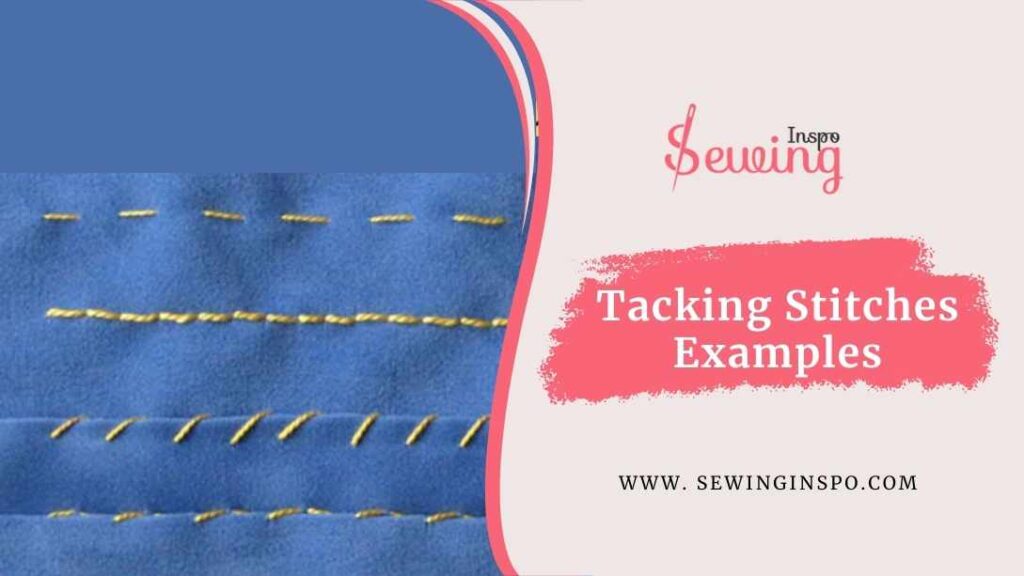
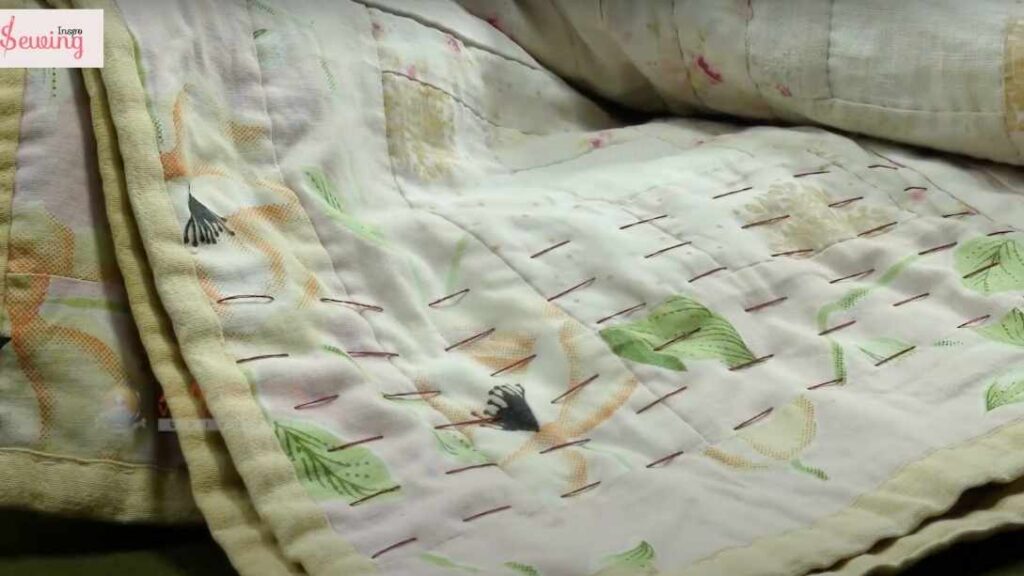
Tacking Stitches Examples
A Tacking stitch is such fun! Once I learned it, I couldn’t stop doing it. Have a look few of my tack stitch works;
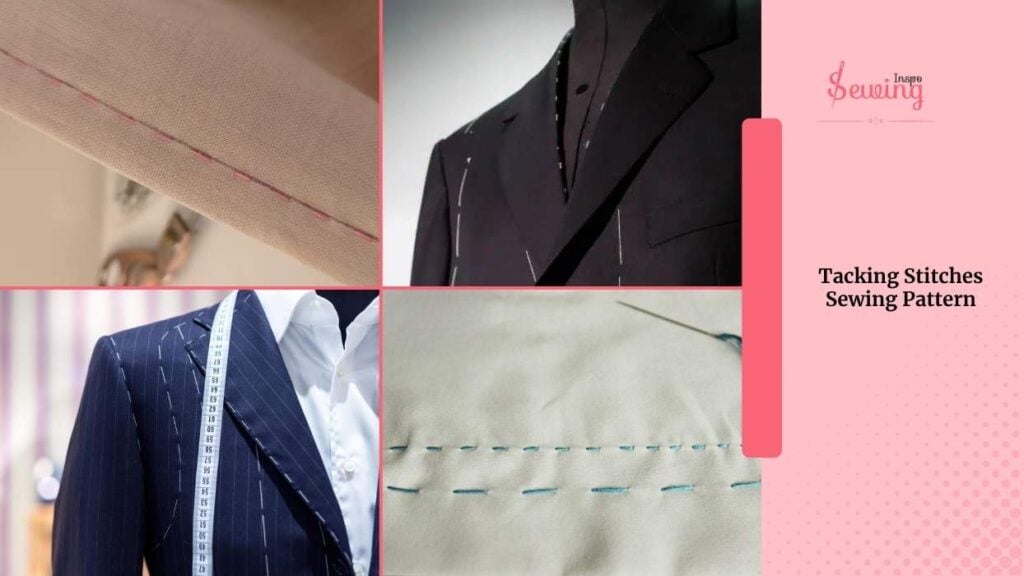
Tacking Stitches Sewing Pattern
Basic tack stitches aren’t meant to be kept, but some type of tack stitch can be used in some patterns. It can turn out to be so eye-catching, too.
Here are a few ideas for you.
Frequently Asked Questions(FAQ’s)
What Type Of Thread Should I Use For Hand Tacking Stitches?
For hand tacking stitches, it’s best to use a strong and durable thread that matches the fabric you’re working with. Polyester or cotton threads are commonly used for most sewing projects. Choose a thread that complements the weight and color of your fabric for optimal results.
How Do I Remove Hand Tacking Stitches After Sewing?
To remove hand tacking stitches, carefully cut the thread with scissors or use a seam ripper to gently cut the stitches. Take care not to cut the fabric or any permanent stitches while removing the tacking stitches.
Can Hand Tacking Stitches Be Used For Decorative Purposes?
Yes, hand tacking stitches can be used for decorative purposes in addition to their practical function. Various tacking stitches, such as cross tacking or arrowhead tacking stitches, can add a decorative touch to garments or fabric projects. Experiment with different stitch patterns and thread colors to create unique and visually appealing designs.
Warp up
So, that’s how to do tacking stitch by hand! After Grandma’s explanation, I did it. 😍 and trust me it is easy as pie. You just gotta be mindful and take each step with an edge. Got more questions? Then stay with sewing inspo.

Leave a Reply