
If you’re learning all types of hand stitches, you’ve probably run into two terms that sound almost the same: pick stitch and prick stitch. No wonder so many beginners (and even experienced stitchers) get confused.
At first glance, they look alike. But if you look up close, you’ll see that they are different. But the difference lies in how visible the stitches appear on the fabric’s right side and what purpose they serve.
Prick Stitch
The pick stitch is slightly more decorative, leaving tiny, evenly spaced “picks” that show on the outside of the garment, while the prick stitch by hand is almost invisible. It is designed for strength and subtlety in couture work.
How does a prick stitch work? Let’s stitch it together and find out.
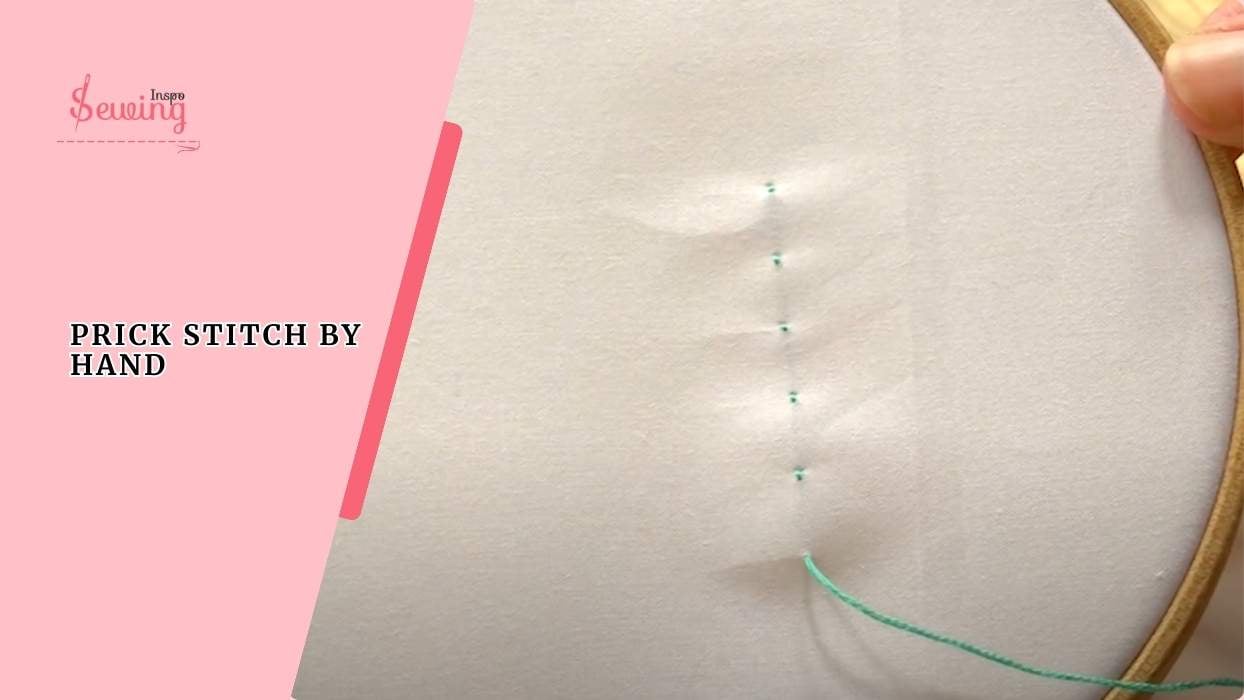
Table of Contents
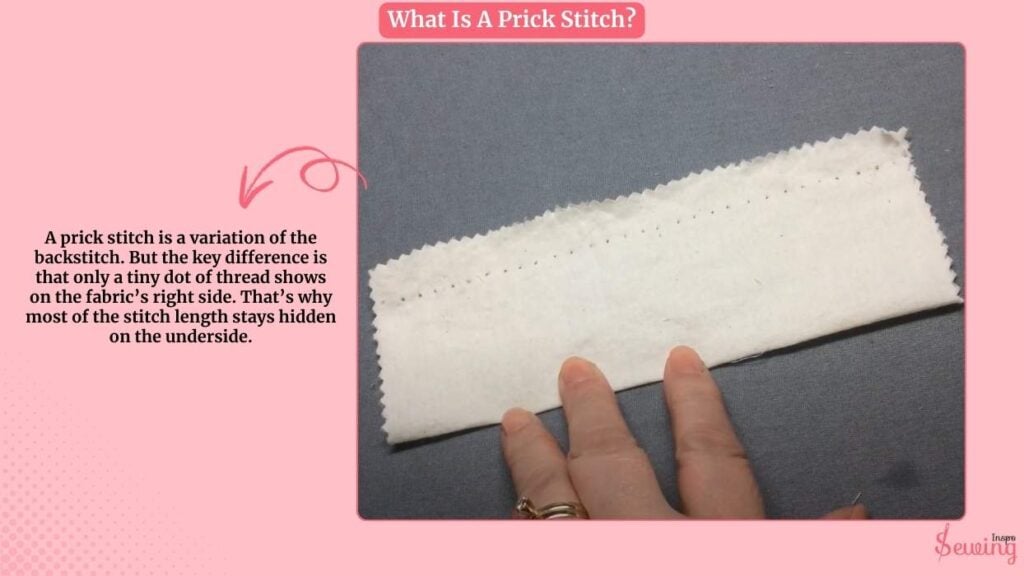
What Is A Prick Stitch?
A prick stitch is a variation of the backstitch. But the key difference is that only a tiny dot of thread shows on the fabric’s right side. That’s why most of the stitch length stays hidden on the underside.
This makes the prick stitch strong, durable, and nearly invisible. This is why it’s often used for:
- Securing hems without bulky stitches showing.
- Attaching facings or linings neatly.
- Giving garments a professional, hand-finished look.
I called it “secret strength,” subtle stitch, for fun.
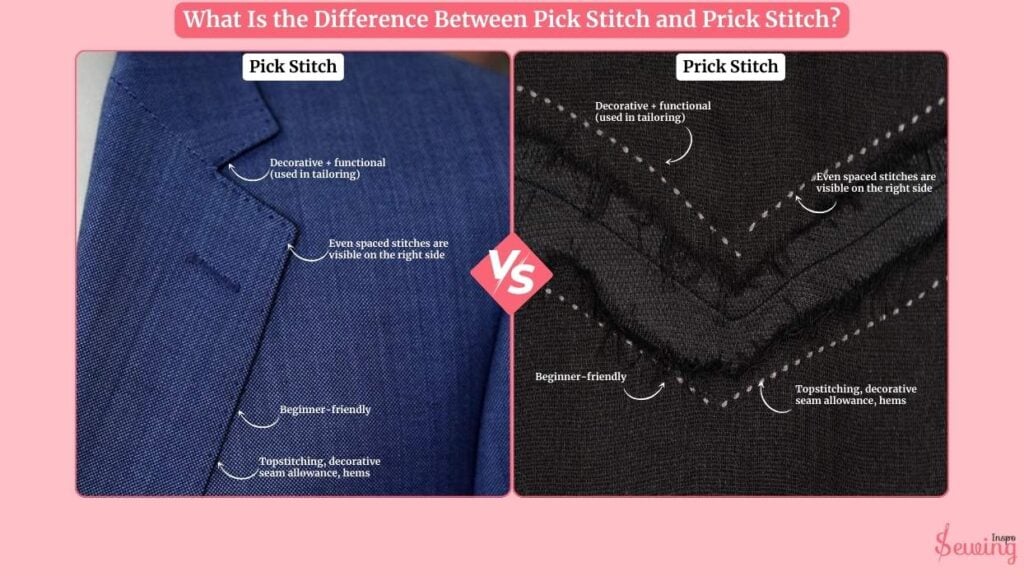
What Is The Difference Between Pick Stitch And Prick Stitch?
The main difference between the two stitches is that A pick stitch is slightly visible and decorative, while a prick stitch is almost invisible and mainly used for strength.
But that’s not the only difference. There are more differences. Such as-
| Pick Stitch | Prick Stitch |
| Decorative + functional (used in tailoring) | Strength + subtle finish (used in couture) |
| Even spaced stitches are visible on the right side | Barely noticeable on the right side |
| Topstitching, decorative seam allowance, hems | Hems, facings, linings, couture details |
| Beginner-friendly | Slightly more advanced for neatness |
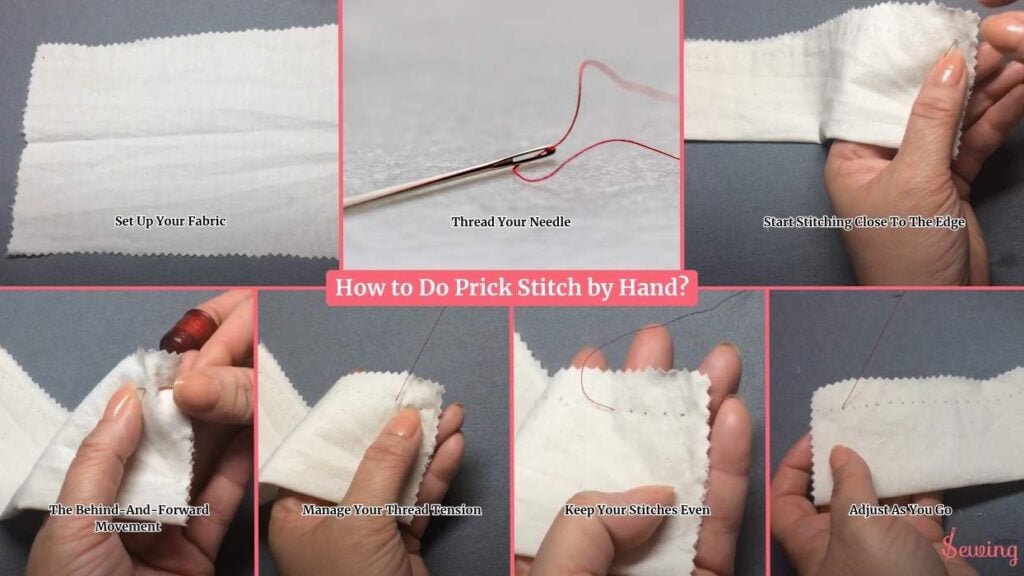
How to Do Prick Stitch by Hand?
The main point of this stitch is that the stitches don’t go all the way through the fabric. They stay on the top layer, leaving a tiny “prick” of thread showing on the surface.
Here’s how you can do it:
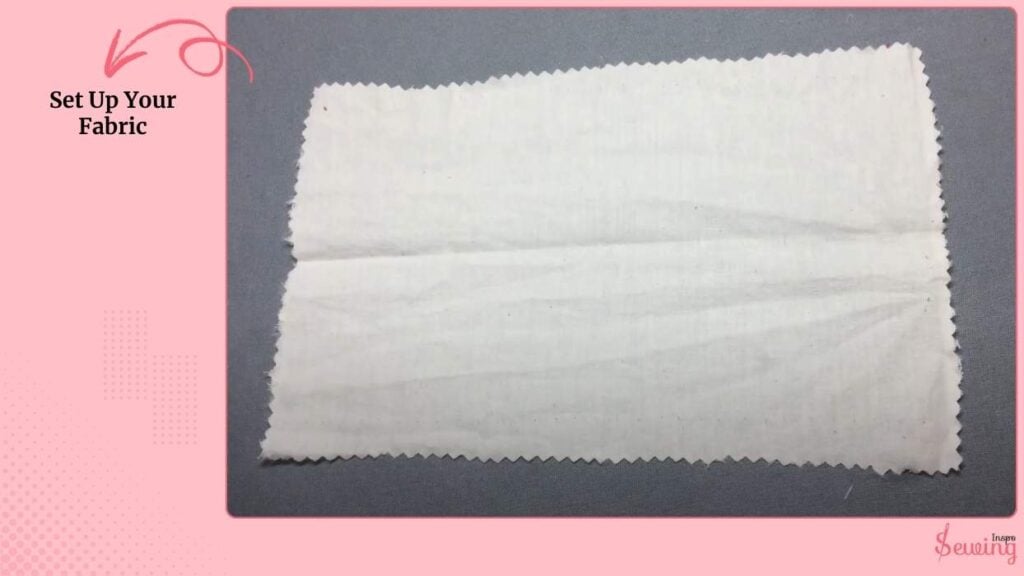
Set Up Your Fabric
Place your fabric so you’re working with two layers (like when hemming). Make sure the folded edge is even and smooth. Just like you would do for sewing frayed edge.
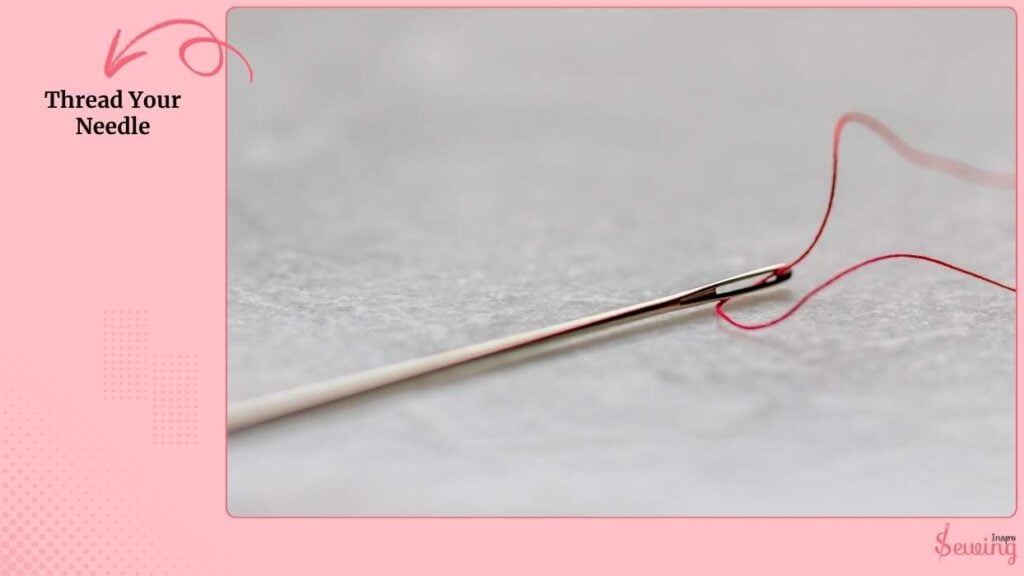
Thread Your Needle
Use a double thread with a knot at the end. A double thread is best here because the prick stitch is meant to show as a decorative stitch or stretchy stitch.
Why double thread?
Because the prick stitch is meant to show. It gives a bold, decorative effect and also adds strength for hand sewing stitches.
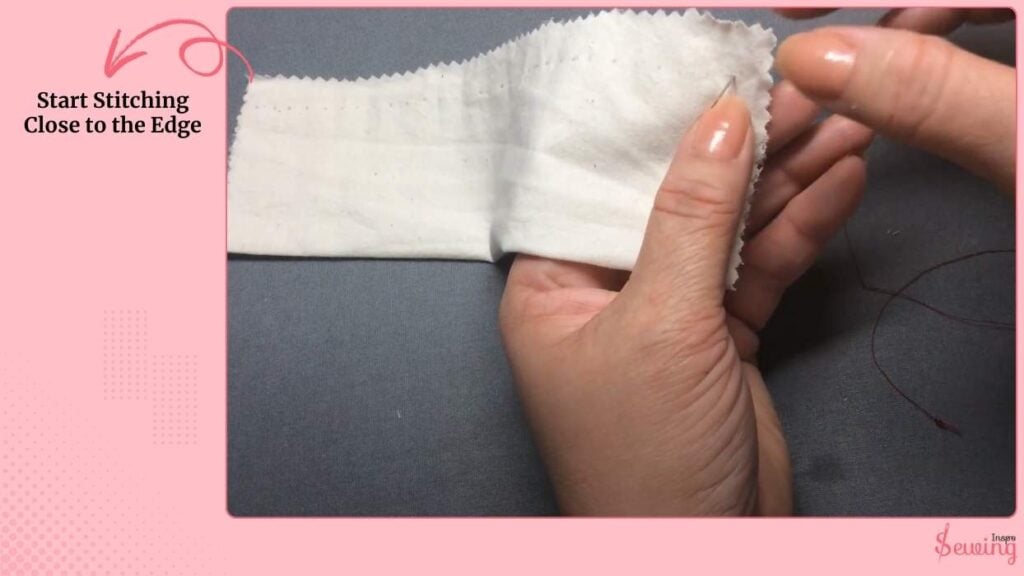
Start Stitching Close To The Edge
Bring your needle up through the top layer only. Don’t pierce all the way through the back. That’s what makes prick stitch different from a basic backstitch & satin stitch.
Start about 1/4 inch away from the folded edge. Place the first stitch so it’s neat and close to the edge of the fold. This will act as your guide.
The Behind-And-Forward Movement
Insert the needle slightly behind where you came up (about 1/16 inch). Then push it forward under the fabric about 1/4 inch. Bring the needle out again on the top layer only.
This creates a tiny bead of thread showing on the surface. The “prick” that gives the stitch its name.
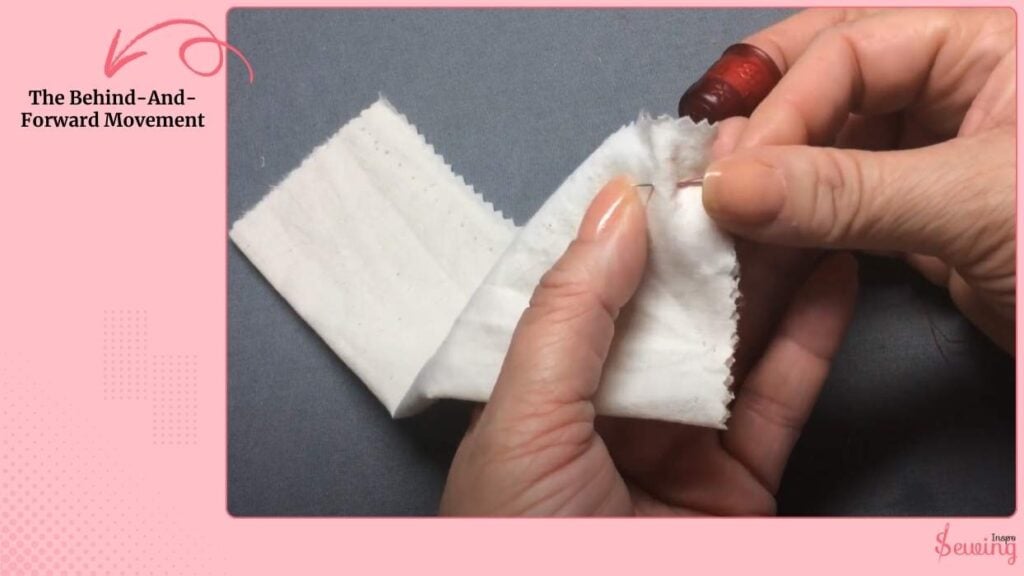
Always remember: back a little, then forward a little more. That rhythm keeps the stitch neat and even.
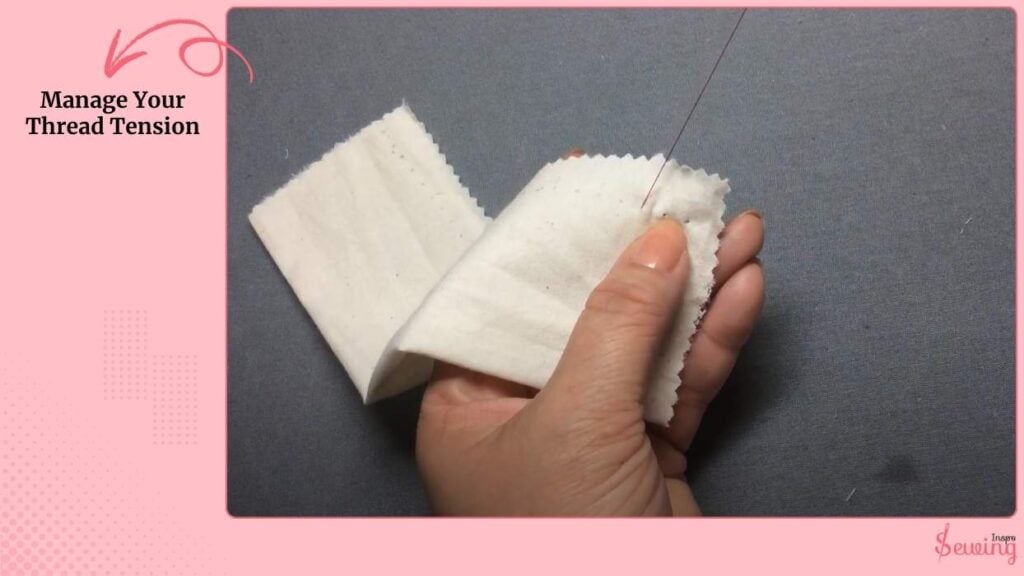
Manage Your Thread Tension
Because you’re using a double thread, it can twist or tangle. Pause every so often to let your needle dangle and untwist. Don’t pull too tight.
if you do, the fabric will pucker and lose its flat, smooth look. The thread should lie flat, with just a tiny raised “bead” visible on the surface.
Gentle tension is what makes prick stitch neat instead of messy.
Keep Your Stitches Even
The challenge with the prick stitch is consistency:
- Equal distance between each stitch.
- Equal stitch length.
- Equal distance from the fold.
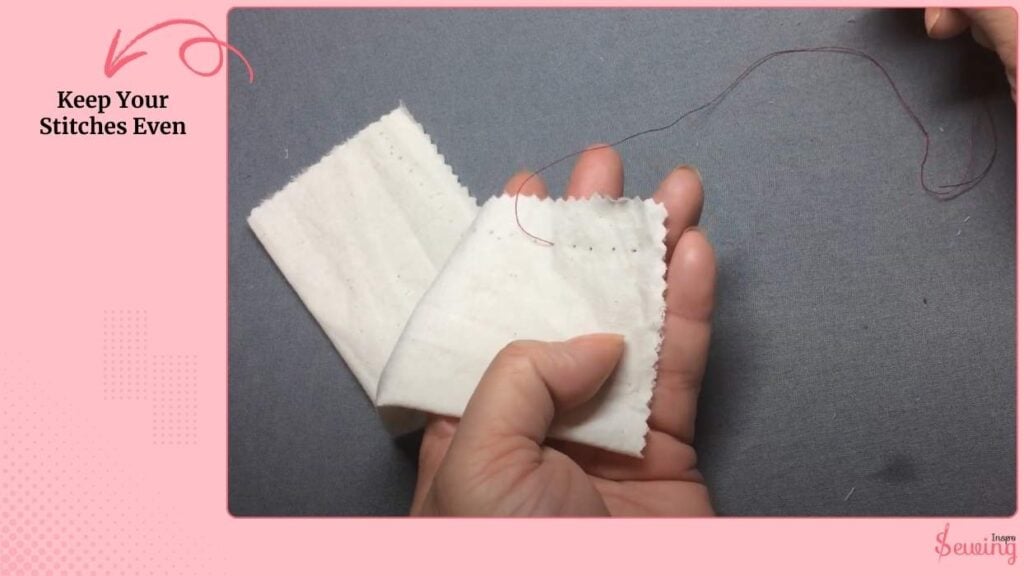
Always account for the fact that the needle goes “behind” slightly before moving forward. This keeps the rhythm balanced.
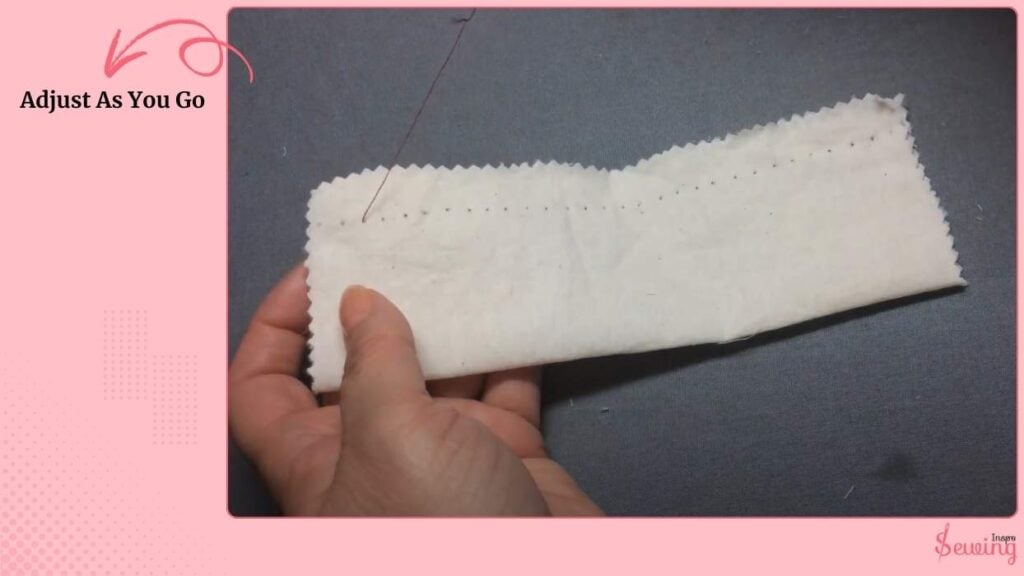
Adjust As You Go
Because you’re working with a double thread, you may need to pause and adjust the thread so both strands stay even. Don’t pull too tight.
The stitch should lie flat but not pucker the fabric.
Frequently Asked Questions
How is prick stitch different from backstitch?
In prick stitch, you only go through the top layer and leave tiny visible “pricks” of thread, while backstitch usually goes through both layers and shows more on the back.
What kind of thread should I use?
A slightly thicker or doubled thread works best, especially if you want the stitch to show as a decorative detail.
How do I keep my stitches even?
Practice! Use a guide (like measuring 1/4 inch forward and 1/16 inch back) and keep the distance from the folded edge consistent.
Conclusion
The prick stitch may look delicate, but it’s actually a strong and stylish hand stitch. Once you get the rhythm back a little, forward a little more. It becomes second nature & favorite of your sewing project.

Leave a Reply