
A few months ago, I was helping a friend fix her favorite cotton top. She handed me the fabric and said, “Just stitch it like you always do.”
I started sewing with a lock stitch, and it turned out neat. But when she tried it on, the seam felt stiff, almost like it didn’t move with the fabric.
That’s when I realized I had been confusing the lock stitch with the interlock stitch.
At first glance, both stitches can fool you. They both create neat, strong seams. But the difference is in how they “work behind the scenes.”
So basically, an interlock stitch is created by looping threads together, forming a seam that has built-in stretch and flexibility. And A lock stitch is formed by two threads crossing and “locking” together.
Understood? Ok, now how does the interlock stitch by hand work? Well, it’s easy too.
interlock stitch
To do an interlock stitch by hand, loop the thread through the fabric in a series of connected loops that lock into each other, creating a stretchy seam.
It’s amazing how a small difference in technique can completely change how a piece of fabric behaves. Right?
Table of Contents
What Is An Interlock Stitch By Hand?
An interlock stitch is a type of hand stitch where the threads loop and “interlock” with each other. It creates a seam that is both strong and slightly flexible.
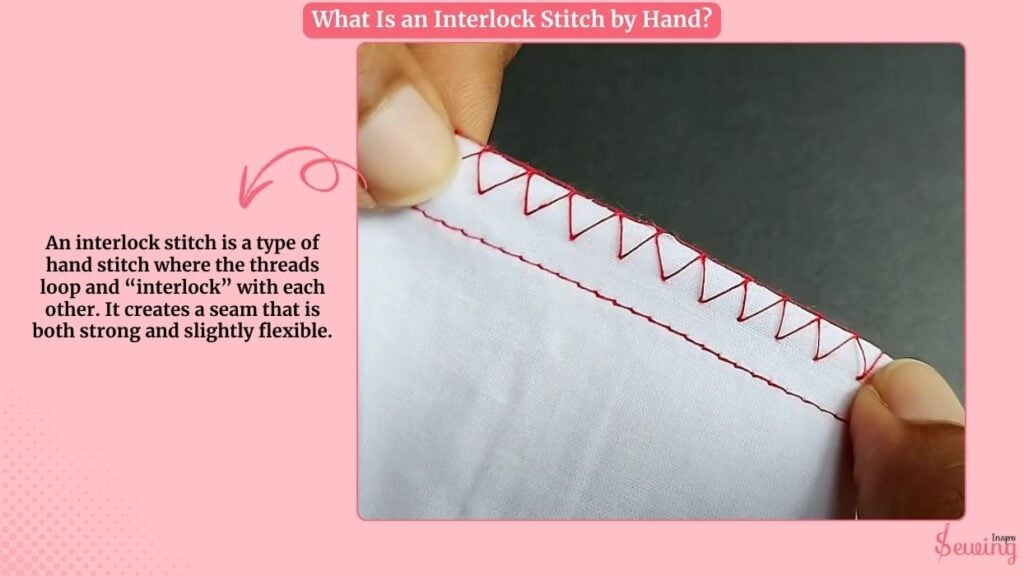
Unlike a simple straight stitch, which just goes in and out of the fabric. The interlock stitch weaves the threads together in a way that holds the fabric firmly.
But still allows a little stretch. It is perfect for fabrics that need movement, like knits or soft cotton. That’s how to stitch something back together.
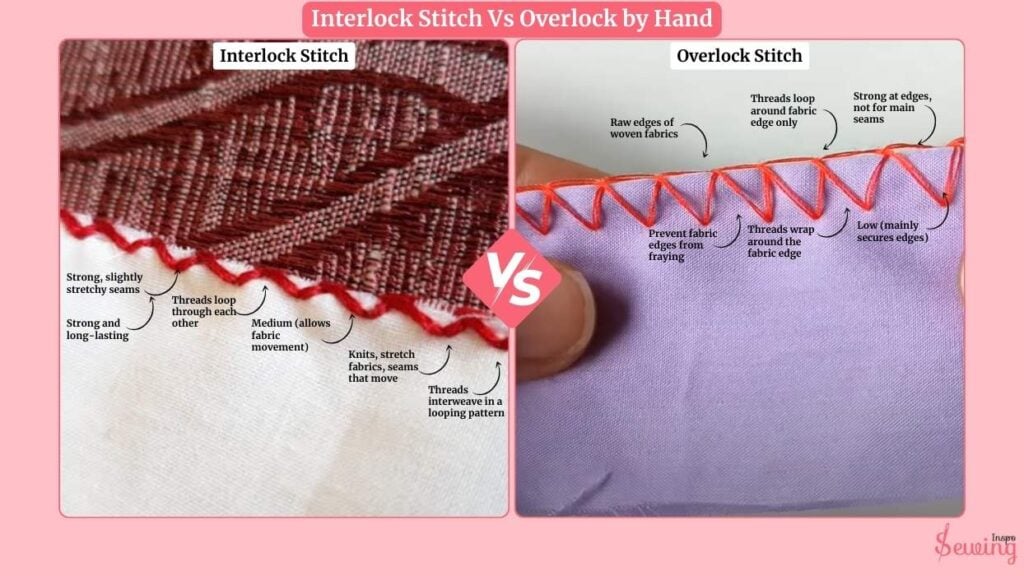
Interlock Stitch Vs Overlock By Hand
After the locking stitch, people often confuse this stitch with the overlock. But both are different, too.
The main difference between Interlock Stitch vs Overlock,
The interlock stitch loops threads for strength with flexibility, while the overlock stitch wraps threads around the fabric edge to prevent fraying.
But rather than those other different areas of those are-
| Interlock Stitch | Overlock Stitch |
| Strong, slightly stretchy seams | Prevent fabric edges from fraying |
| Threads loop through each other | Threads wrap around the fabric edge |
| Medium (allows fabric movement) | Low (mainly secures edges) |
| Knits, stretch fabrics, seams that move | Raw edges of woven fabrics |
| Threads interweave in a looping pattern | Threads loop around fabric edge only |
| Strong and long-lasting | Strong at edges, not for main seams |
How To Do Interlocking Stitch By Hand?
To do an interlocking stitch by hand, follow the steps below,

Materials & Preparations For Interlocking Stitch
- Fabric layers ready: face fabric + interlining (and lining, if using).
- Fine but strong thread (polyester or good quality cotton). Use a contrasting thread for practice.
- Sharp hand needle (crewel/milliner or sharps, length to suit fabric thickness).
- Pins or clips to hold layers and pleats.
- Scissors, thimble if needed.
- Measure/tape to mark stitch line and pleat lines.
Quick tips before you begin,
Mark your stitch line and pleat locations; work left → right; keep stitches about 7–8 cm (≈3 in) apart for interlock stitch. This is what I usually do. Stitches on the face should be tiny and not tight. Let the layers retain a little movement.
Anchor Your Thread To Secure Interlock Stitch
For hand-sewn interlocking stitches, use a thread about 18–24 inches (45–60 cm) long. It should be long enough to work comfortably but short enough to avoid tangling.
Thread your needle and knot the end (or leave a short tail to catch and bury). I use this trick to sew circle hole too.
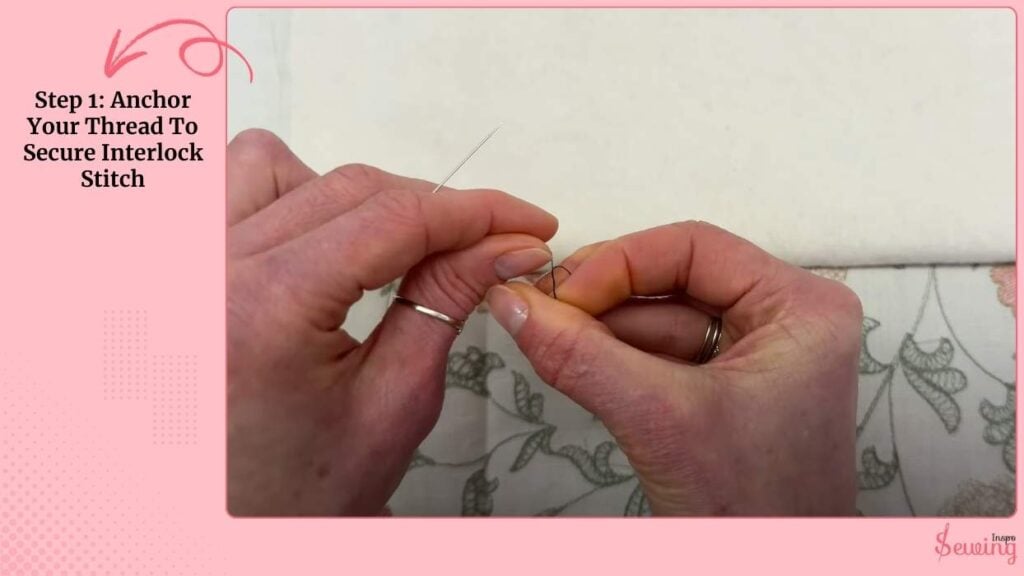
From the wrong side, pierce the interlining only and make a couple of small tacking stitches to anchor the thread.
This keeps the tail secure while you begin the interlocking sequence.
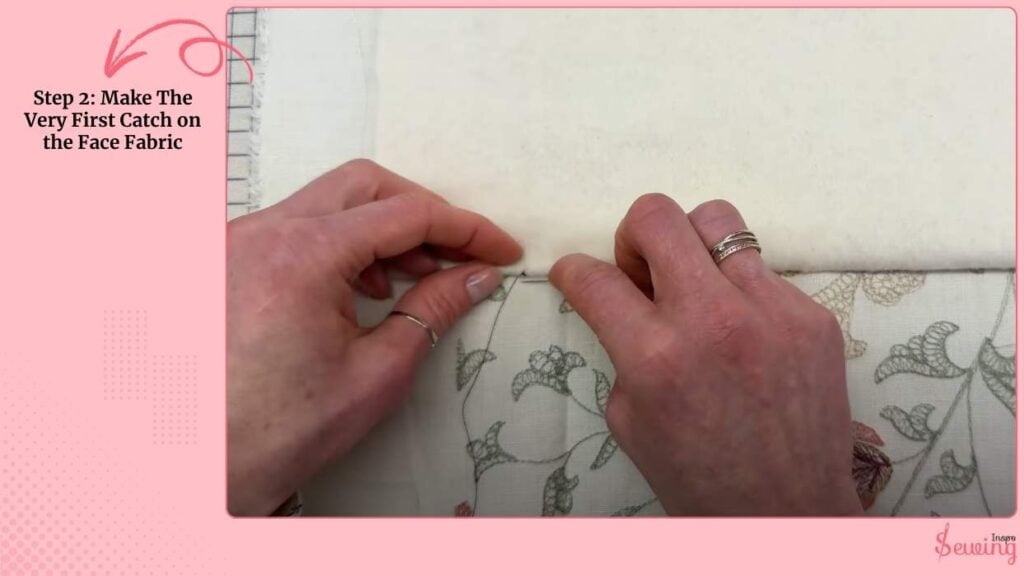
Make The Very First Catch On The Face Fabric
Bring the needle up so the point goes through the interlining and just barely catches the face fabric surface.
The goal is a tiny, almost invisible stitch on the face side. Pull the thread through until there’s a small loop or a neat sit-down between the layers. Don’t pull tight.
Insert The Needle Back Down & Lock The Interlining
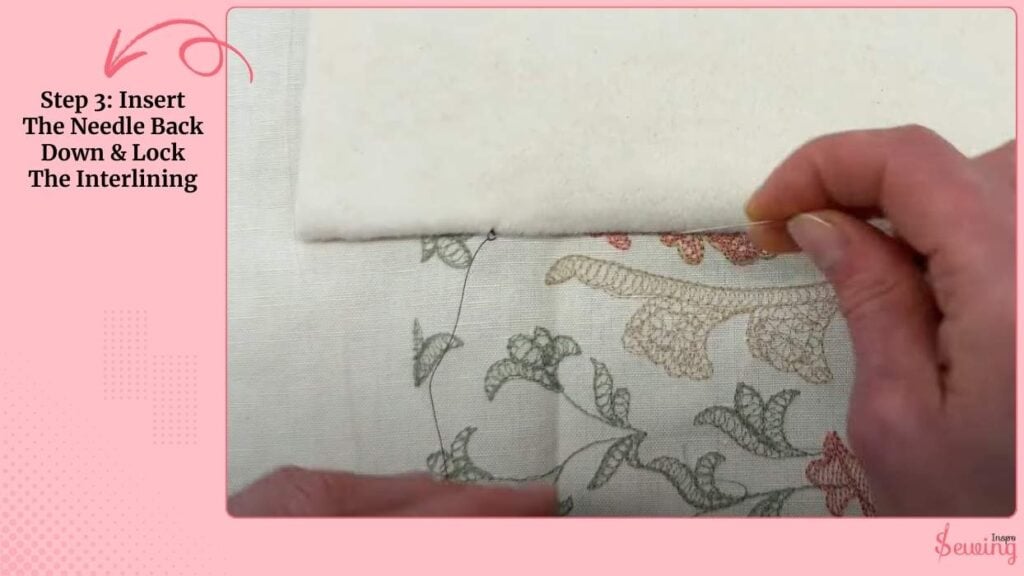
Insert the needle back down through the interlining close to where you emerged. You’ll now have a small catch on the face and the working thread sitting between the face and the interlining.
Pull through gently.
You’ve made the basic unit of the interlock: a tiny face catch + a secure interlining bite.
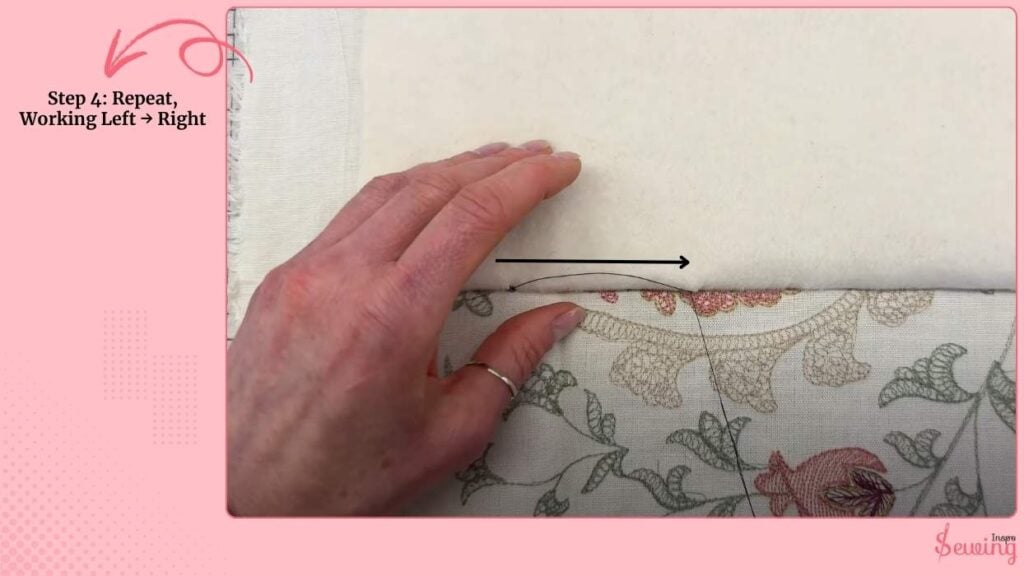
Repeat, Working Left → Right
Move the needle a short distance to the right.
I keep spacing consistent. I use 7–8 cm / 3 inch for a perfect interlocking stitch.
Again: a tiny stitch on the face (barely visible), catch the interlining, pull, then insert down through the interlining. This is kinda like doing running loop stitch.
Continue this rhythm,
Face-catch → interlining bite → repeat. Keep tension low so the layers can move slightly (this is what lets the pleats sit neatly without puckering).
Check Spacing & Visibility As You Go

Every few stitches, flip to the front (face side). The stitches should be nearly invisible.
You should only see the fabric, not thread lines. If you see a thread showing, make the next face stitch even smaller.
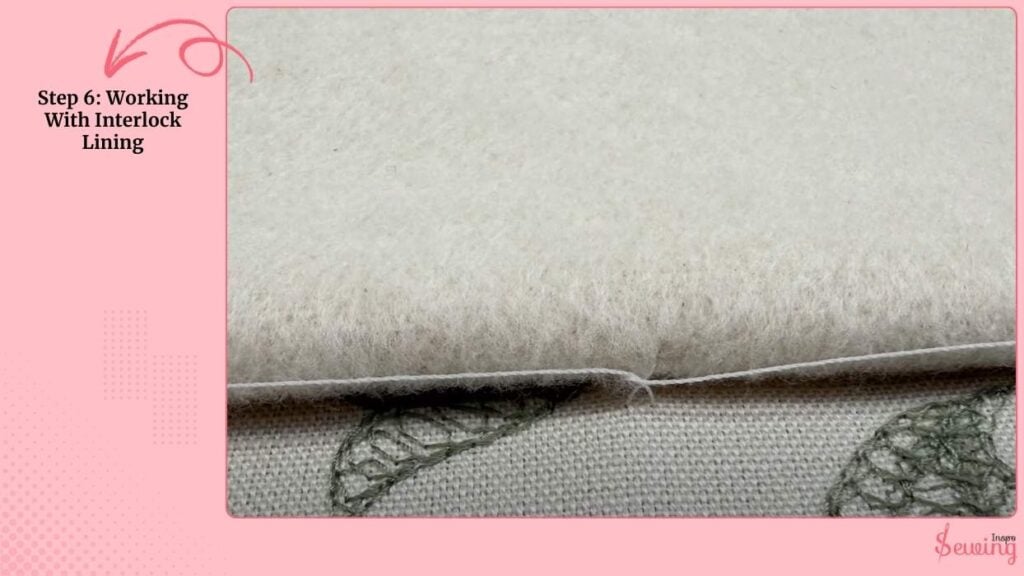
Working With Interlock Lining
Do the same interlocking stitch between lining and interlining where needed (for example, under pocket areas).
The technique is identical, tiny face catches on the lining side, interlining bites on the other side. So both stacks stay aligned but can move slightly.
Finish And Secure Interlocking Stitch
When you reach the end of the row, secure the thread on the interlining (back) side.
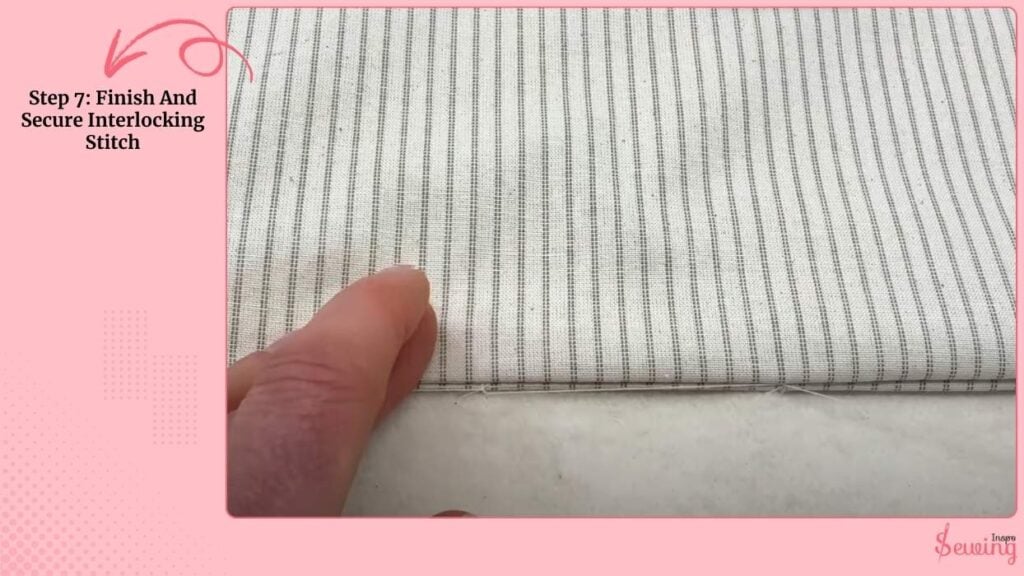
Make a few small backstitches inside the interlining, form a flat knot or two, then bury the tail by threading the needle through the interlining layers a few times before trimming. This keeps the face clean and knot-free.
That’s it, you got your interlock stitch by hand. It secures your fabric hem without causing it to sweat excessively.
Quick Checklist Before You Start Interlocking Stitch
- Face, interlining (and lining) aligned and pinned
- Thread & needle chosen (contrasting for practice)
- Stitch spacing marked or measured (7–8 cm typical)
- Anchored at the edge and ready to work left → right
Interlock Stitch Common Mistakes & Fixes
If you are new to this, then the process won’t be a smooth ride. You may make some mistakes. Here are a few I faced, and here is how I fixed those-
- Stitches show on face: Make the face catch smaller; reduce tension; use matching thread for the final pass.
- Too-tight seam (pleats won’t move): Loosen tension and make the interlining bites a touch fuller, not taut.
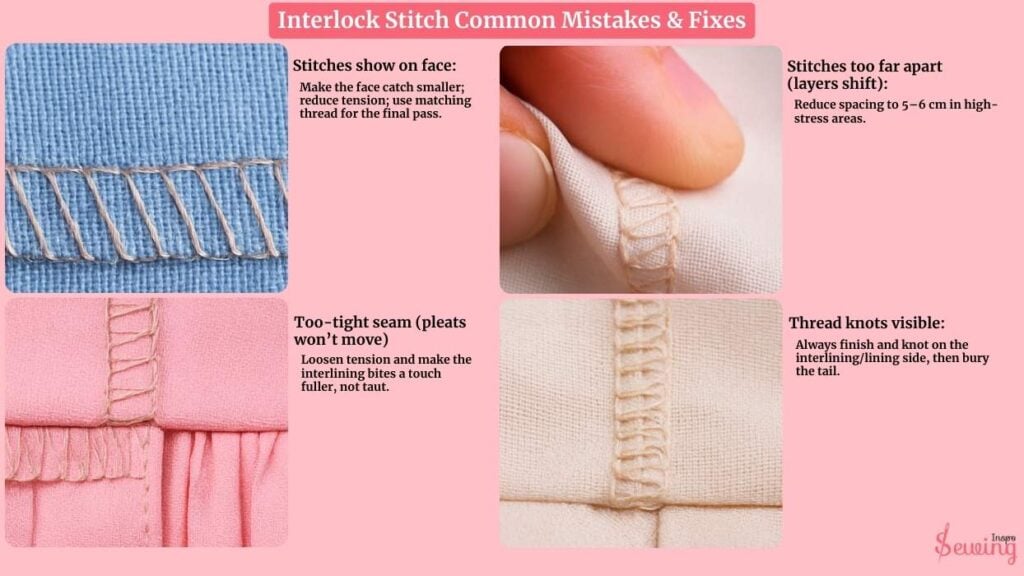
- Stitches too far apart (layers shift): Reduce spacing to 5–6 cm in high-stress areas.
- Thread knots visible: Always finish and knot on the interlining/lining side, then bury the tail.
FAQ
What fabrics work best for interlocking stitches?
Light to medium fabrics like cotton, linen, or knits work best. The stitch allows slight movement, so it’s perfect for pleated projects like Roman blinds.
Should I pull the thread tight?
No. Keep tension light—too tight will pucker the fabric; too loose and the pleats won’t hold.
Can I use matching thread instead of contrasting?
Yes. Use contrasting thread for practice, then switch to a matching thread for a clean, invisible finish.
Conclusion
The interlocking stitch by hand is a simple yet essential hand stitch for creating strong, flexible seams that stay invisible on the face side.
With consistent practice and the right tension, you can master it to make perfect pleats and professional-looking Roman blinds.


Leave a Reply