I was visiting a friend’s house and saw a stitch that looked like an overcast stitch, and at the same time, a lock stitch. If you’ve been confused by this before, you’re not alone.
The Hand overlock stitching is the perfect solution for finishing raw edges. It mimics the look of a machine serger by wrapping thread around the edge of the fabric, locking the fibres in place so they can’t unravel. In this tutorial, I will show you how to master this essential stitch in minutes. It’s a very important tool to prevent material from fraying, and you can do it by hand.
Quick Reference
To hand sew an overlock stitch, fold the fabric edge, sew diagonal stitches over the edge, and repeat, ensuring each stitch loops over the fabric’s raw edge to prevent it from wearing out.
I know it’s not all. So, let’s teach you the process in detail. Let’s get into how to do an overlock stitch by hand.

Table of Contents
Why Use the Overlock Stitch? (Preventing Fraying)
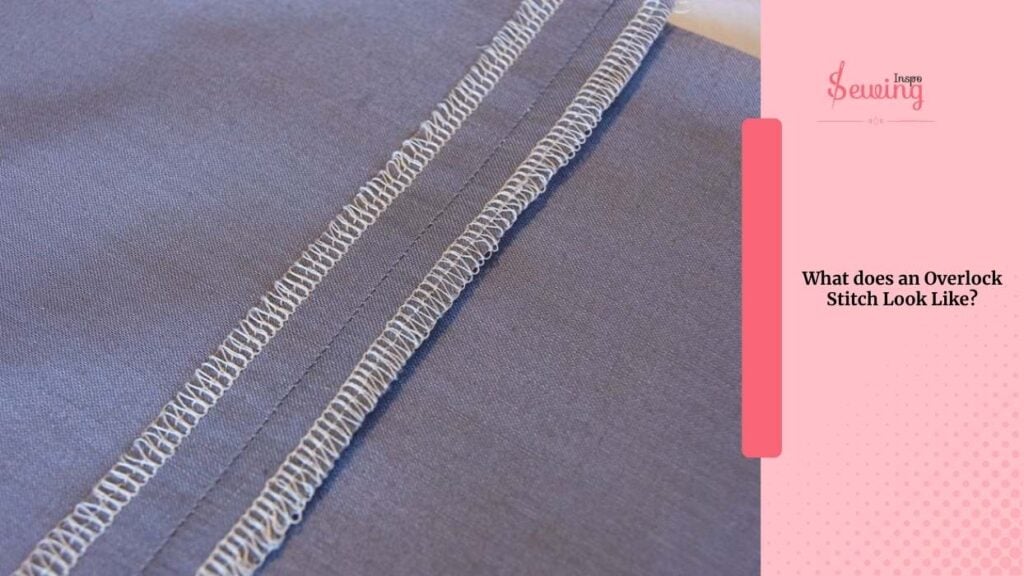
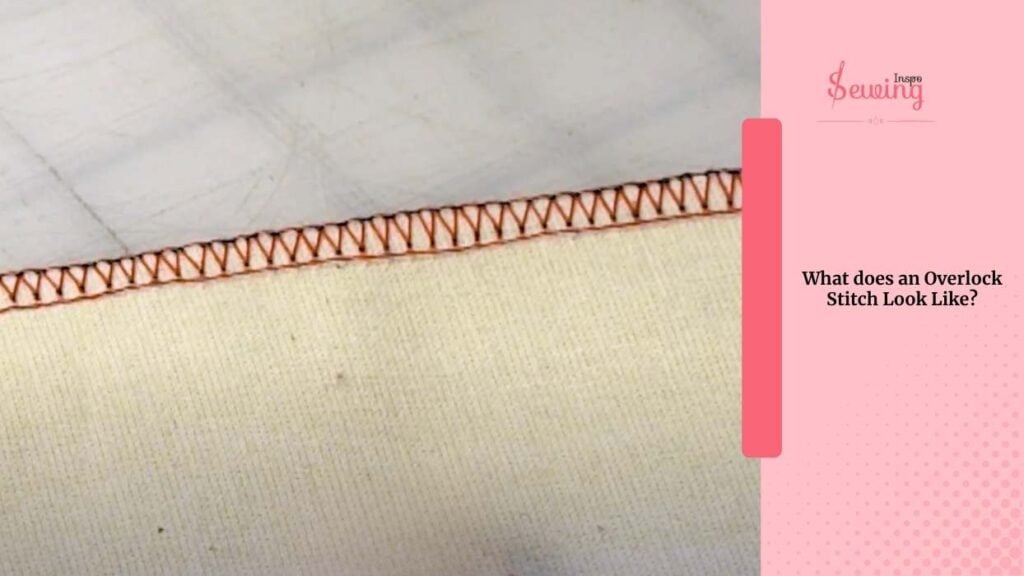
An overlock stitch is a type of stitch that sews over the edge of 1 or 2 pieces of fabric for edging, hemming, or seaming. If you need to prevent the fabric edge from fraying, the overlock stitch is your saviour, just like the interlock stitch by hand.
You mostly see the Overlock stitch in a blanket. It is a variation of the blanket stitch. It’s not just that the overlock stitch is also used in serge. That’s why the overlock stitch is also called the serging stitch. Of course, if you’re in a hurry and don’t want to sew, you can use a liquid sealant like Dritz Fray Check. It dries clear and glues the edges so they can’t unravel—perfect for quick repairs.
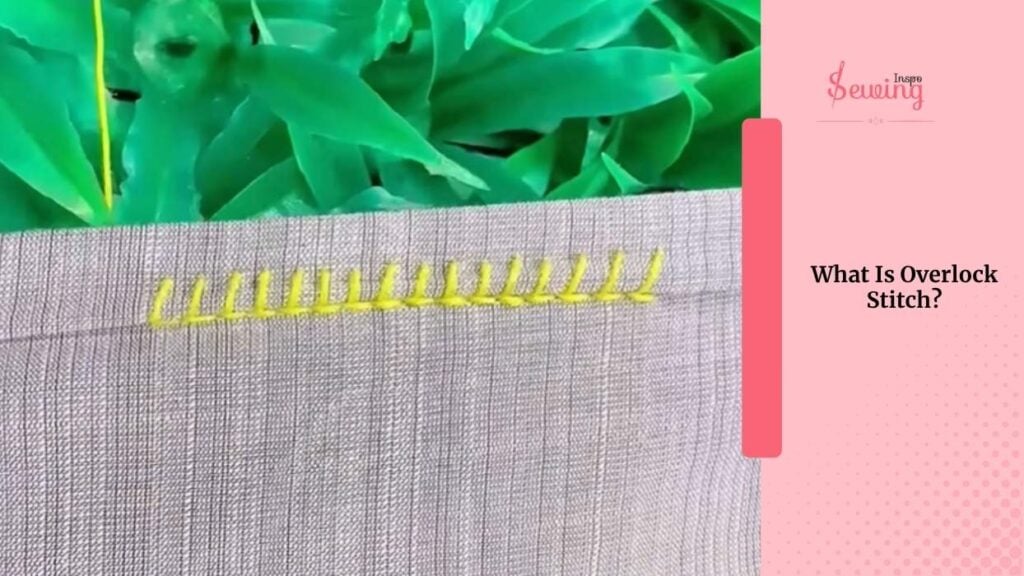
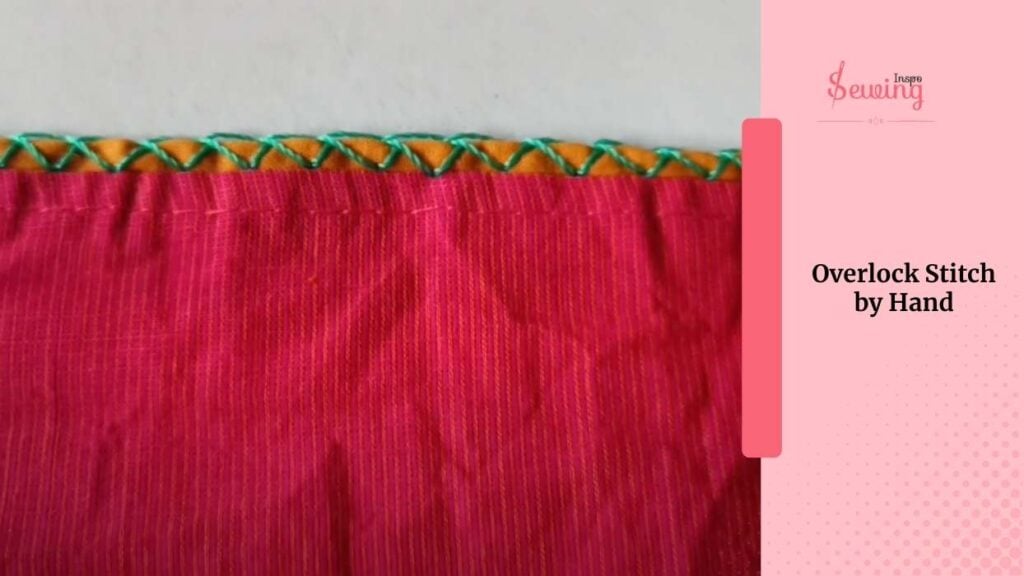
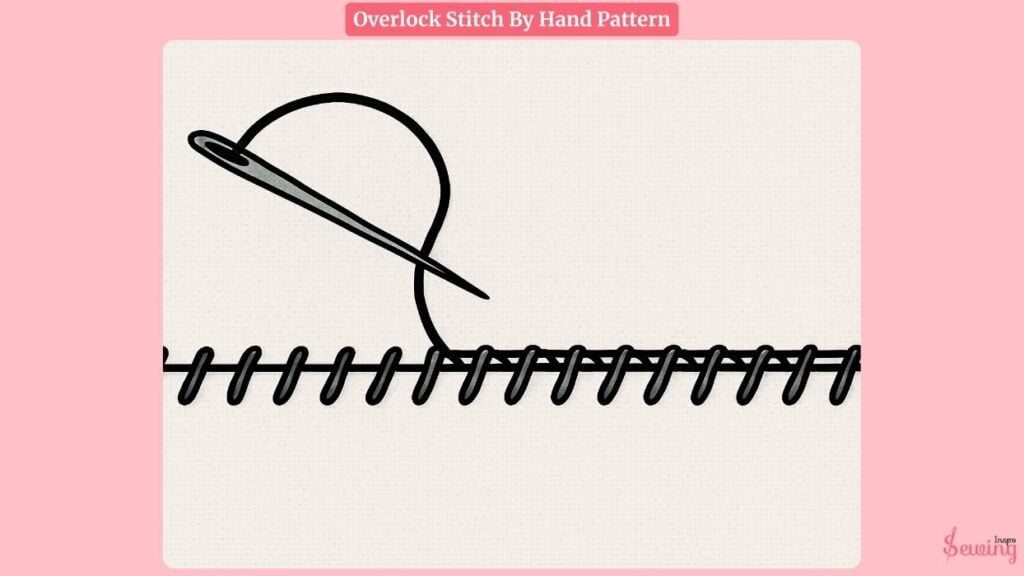
Overlock Stitch By Hand Pattern
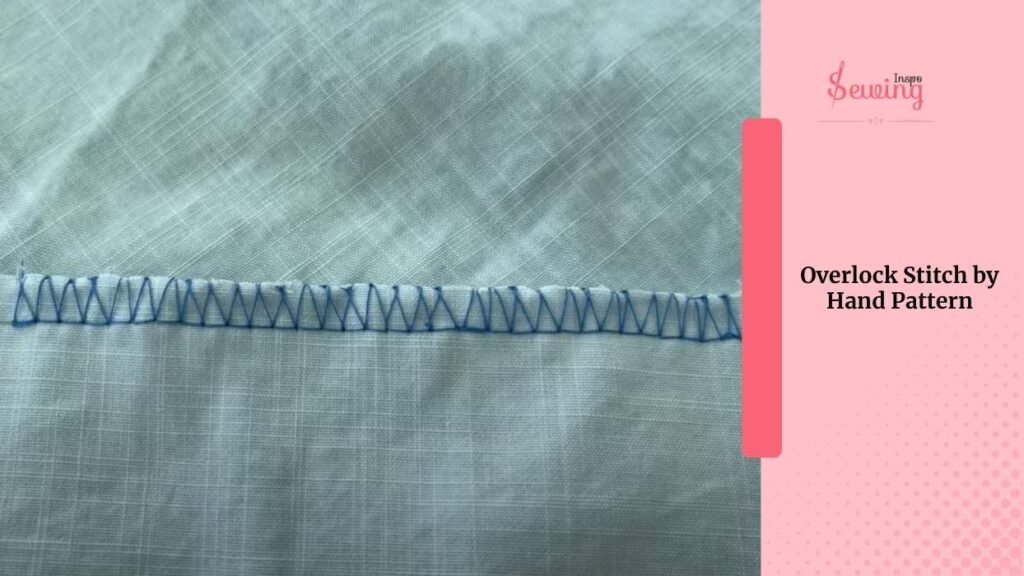
This stitch is not only stronger around the fabric edge. It can also create beautiful patterns. Here are a few examples,
what does an overlock stitch look like
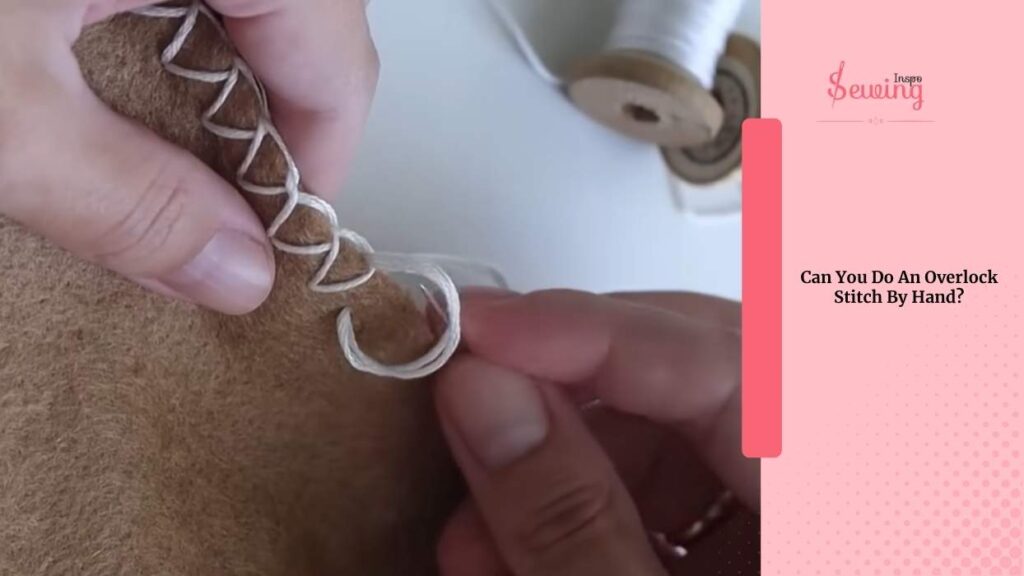
Can You Do An Overlock Stitch By Hand?
Yes, you can do an overlock stitch by hand. It’s a variation of the blanket stitch. You can also use it for decorative outlines or border designs in hand embroidery.
How To Hand Sew Overlock Stitch?
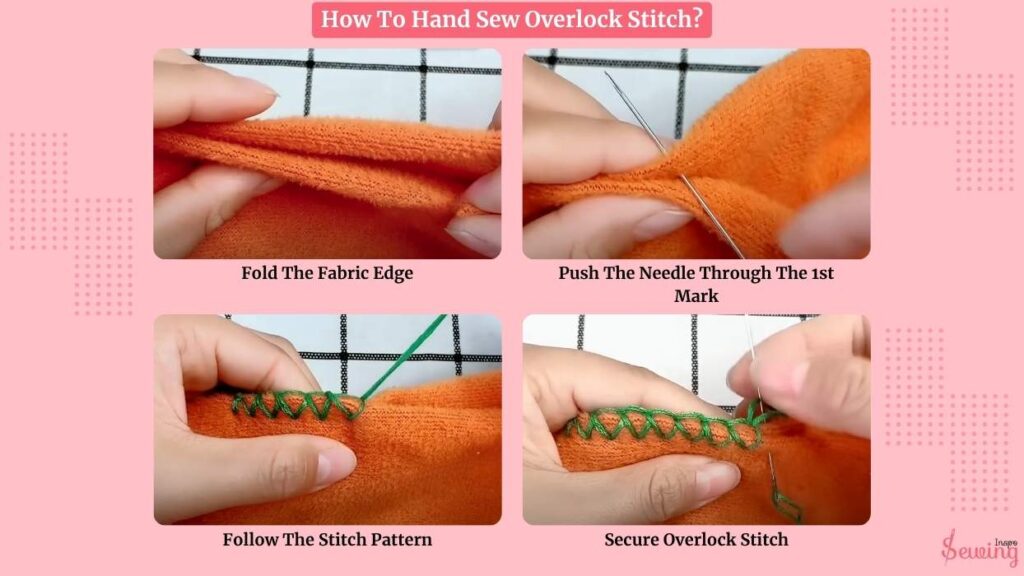
To hand sew an overlock stitch, you need to follow 4 steps.
- Fold the fabric edge
- Push the needle through the 1st mark
- Follow the stitch pattern
- Secure overlock stitch
1. Fold The Fabric Edge
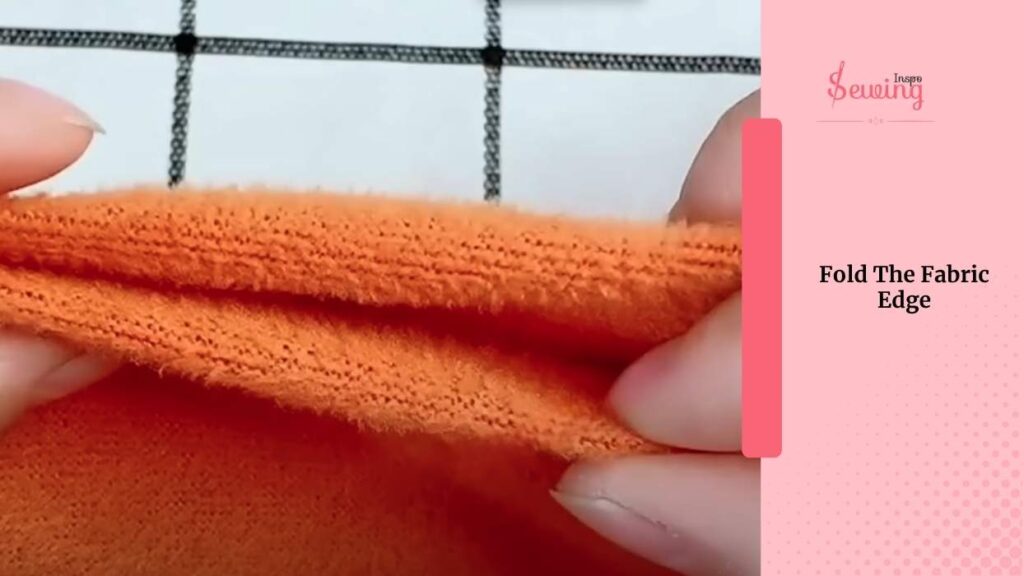
To fold fabric edges, lay your fabric flat on a surface and align the edges you want to hand-stitch overlock. Fold the fabric edges inward about 1/4 inch and ensure they are even.
You can press it or use a 1/2 pic to keep the fold in place. You can use this for a hemming stitch, too.
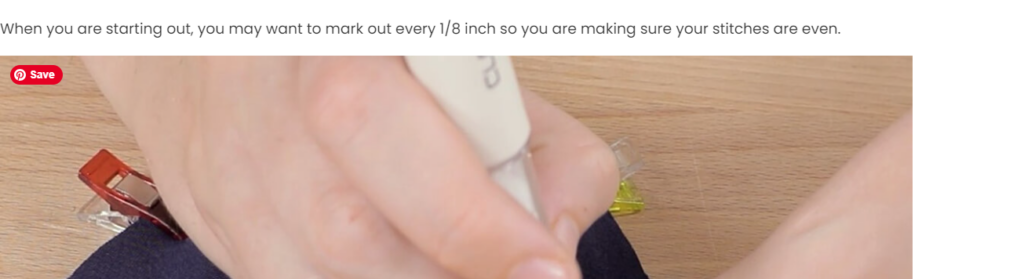
Then mark every 1/8 inch apart, or to your desired length. I do this for half loop top stitch, too.
2. Push The Needle Through The 1st Mark.
Start by sinking the 11 or 12-size needle in at the first mark and bringing it through to the other piece of fabric. Pull it up through the loop you just tied, then push the needle through the second mark. That’s how to sew frayed edges by hand, too.
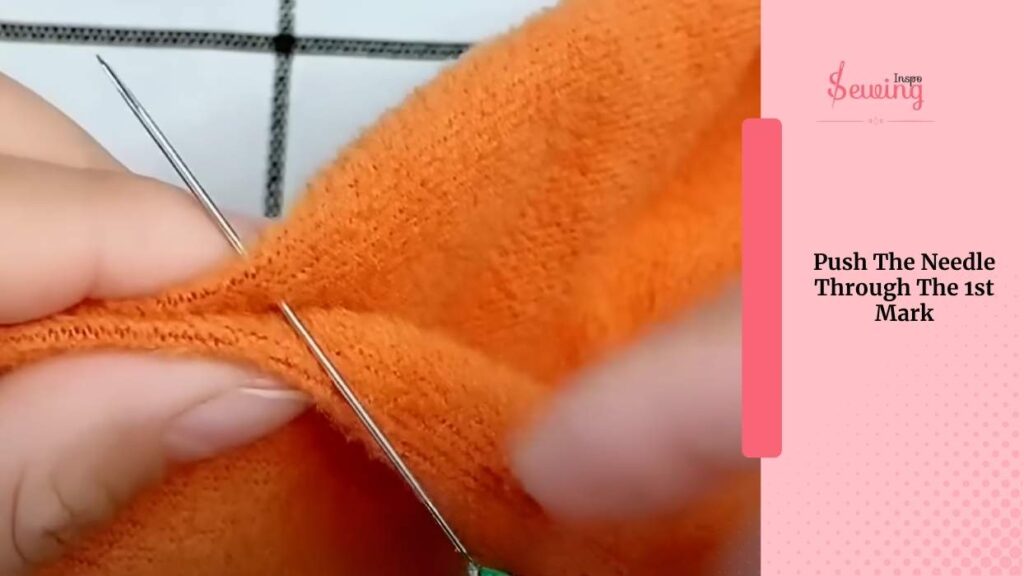
Don’t pull the thread too tightly because you’ll need to bring the needle back again.
3. Follow The Stitch Pattern
Continue stitching until you reach the end of your fabric. With each stitch, make sure to bring the needle through the loop created by the previous stitch.
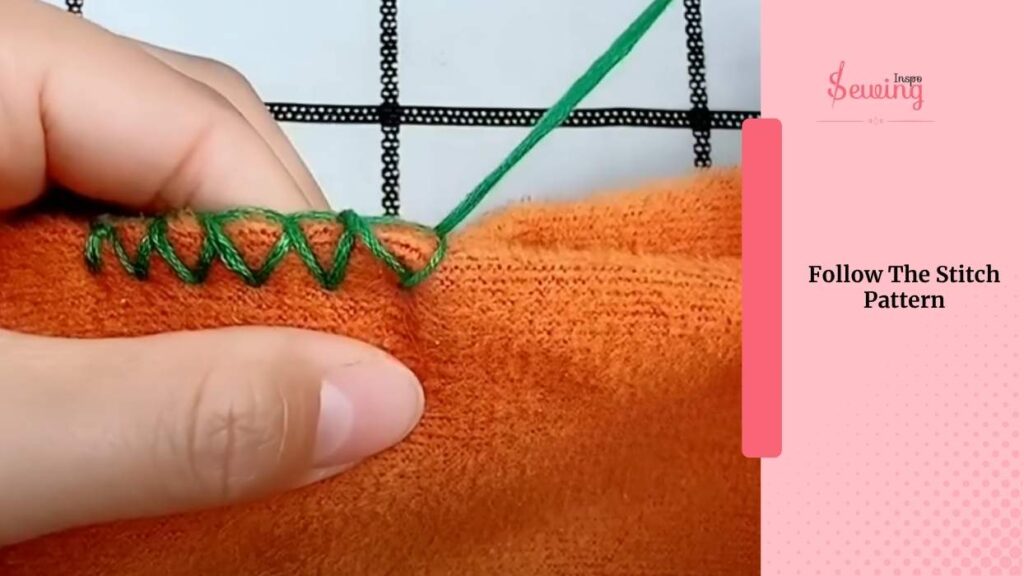
Space the stitches about 3mm to 4mm apart—they should be close enough to keep everything solid and neat.
This helps secure the thread and creates a neat pattern as you go along. Just keep threading the needle through that loop, and repeat this pattern until you finish hand-sewing the entire edge of your fabric. It’s a methodical process that ensures each stitch reinforces the one before it, giving your fabric a strong and tidy finish.
4. Secure Overlock Stitch
To secure the overlock stitch, thread the needle through the loop twice at the end to finish. Then, carefully trim any excess thread, ensuring it’s neat and doesn’t leave loose ends.
Finally, inspect the seam to ensure it’s securely stitched along the edge of your fabric, giving it a clean, professional finish. This method prevents fraying and adds durability to your sewing project.
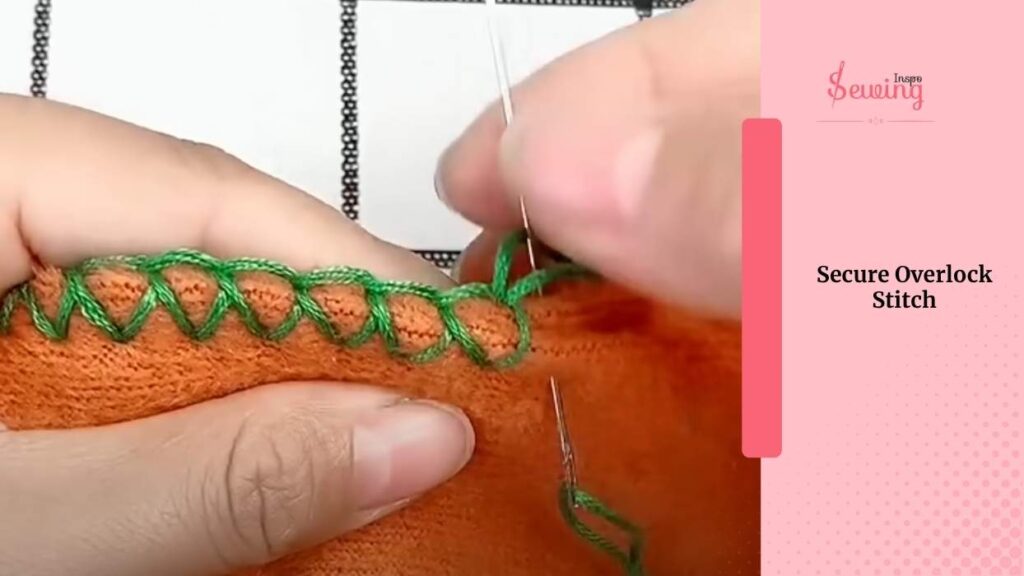
That’s how to hand sew an overlock stitch.
Level Up: The Double Overlock Stitch
To sew a double overlock stitch by hand, start by threading your needle and knotting the end of the thread. Begin stitching by inserting the needle into the fabric and creating a small stitch.
Next, insert the needle a short distance ahead and pull through, leaving a loop.
Before fully pulling the thread, pass the needle through the loop to create an interconnected stitch. Repeat this process along the edge of the fabric, creating a zigzag pattern of loops that secure the edge.
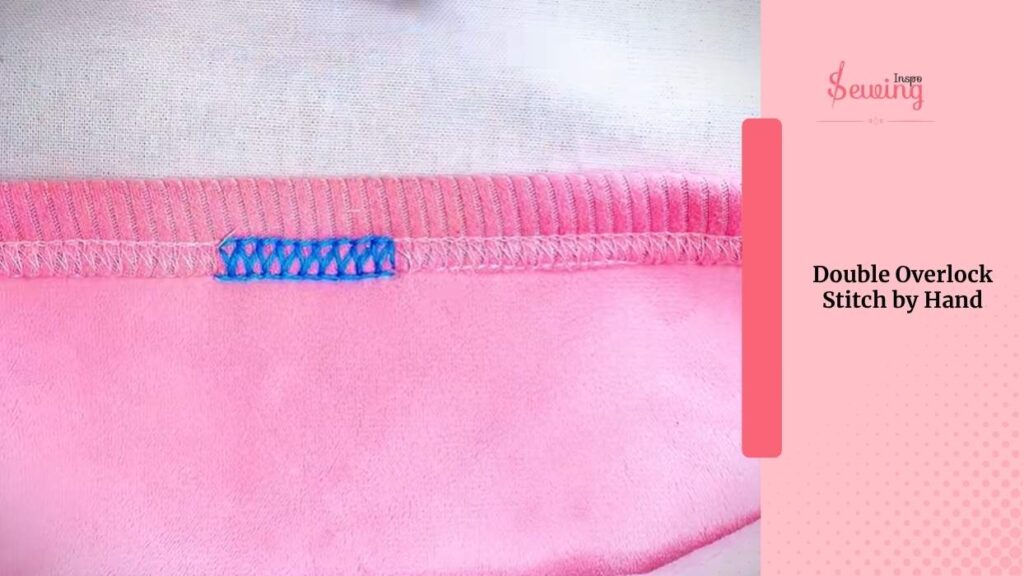
Finish by knotting the thread on the underside of the fabric to secure it in place. This stitch reinforces edges and is great on heavy material like denim. It can also add a decorative finish to your sewing projects.
Thread Needle Size For Hand Overlock Stitch
When choosing a needle size for hand-overlock stitches, consider a few things depending on your work. For different fabrics, sharp needles are good for medium- to heavy-weight fabrics, while sizes 5 to 10 work well for lighter to medium-weight fabrics. If you use fine fabrics or need small, delicate stitches, sizes 11 and 12 are a good bet.
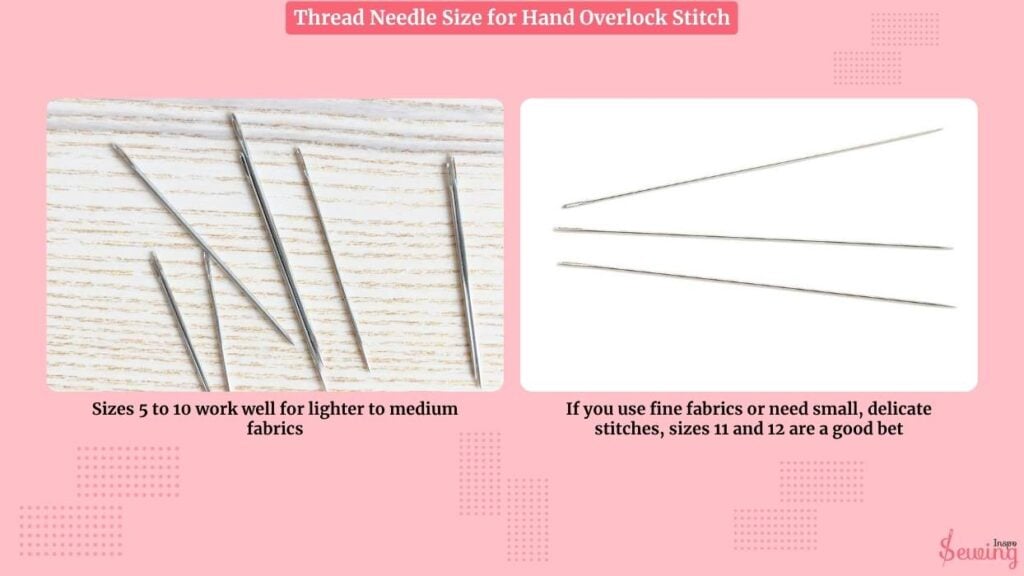
I prefer the size 11 needle when doing an overlock stitch. You need a sharp needle with an eye large enough to fit your thread. I recommend using an assorted pack of embroidery needles, either the Dritz Embroidery needle or the pro choice Clover Gold Eye Embroidery needles.
I think an 11-size needle is perfect for the overlock stitch.
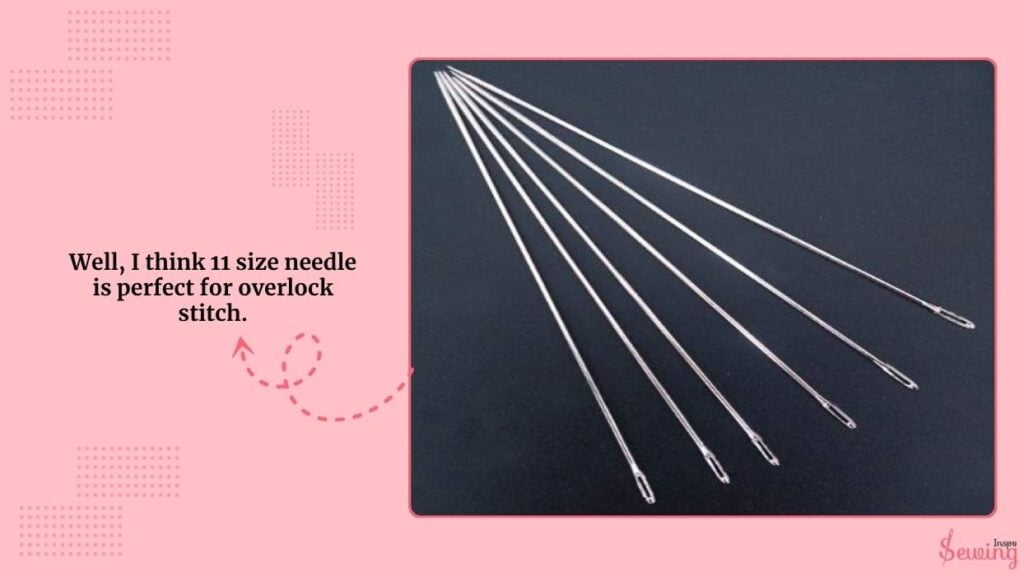
As for thread thickness, thicker threads might need a larger needle. For instance, fire-retardant embroidery thread around Tex 35 to 40 might do well with an 80/12 to 90/14 needle, and Tex 45 to 50 might need a 90/14 to 100/16 needle. Those needles are also usable for tent stitch.
If you’re new to needle selection, try a variety pack with sizes ranging from 3 to 9, like the Clover Gold Eye Embroidery needles. Avoid standard sharps needles; embroidery needles have a larger eye, making threading them much easier.
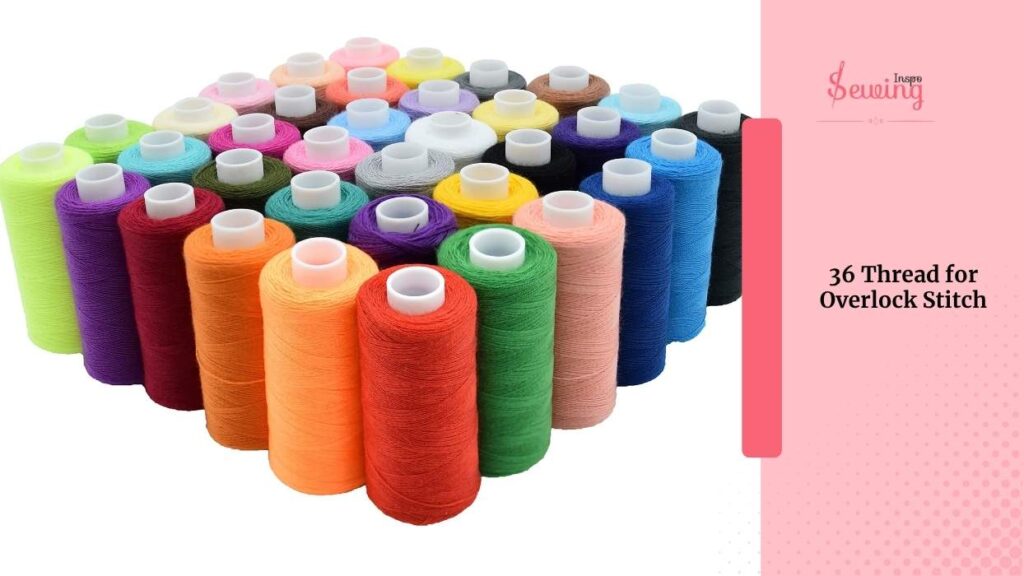
The thread choice is up to you. I like to use a Coats and Clarke mixed thread for the overlock stitch. It’s high quality and won’t shred easily.
Alternative: The Hand Zigzag Stitch
If you want a finish that looks exactly like a sewing machine’s zigzag, use this method. It is often flatter than the standard overlock stitch, making it a great choice for bulky fabrics.
How to do it:
- Anchor your thread at the fabric edge.
- Stitch diagonally forward (creating a
/shape). - Stitch diagonally backward (creating a
\shape). - Repeat this pattern to create a continuous triangular wave (
/\/\/\) over the raw edge.
This ‘zig-zag’ motion binds the loose threads of the fabric edge without creating a hard ridge, keeping your seam allowance soft and flexible.
Continue this pattern along the entire edge of the fabric. Secure the thread at the end with a knot or back stitch, and trim any excess thread.
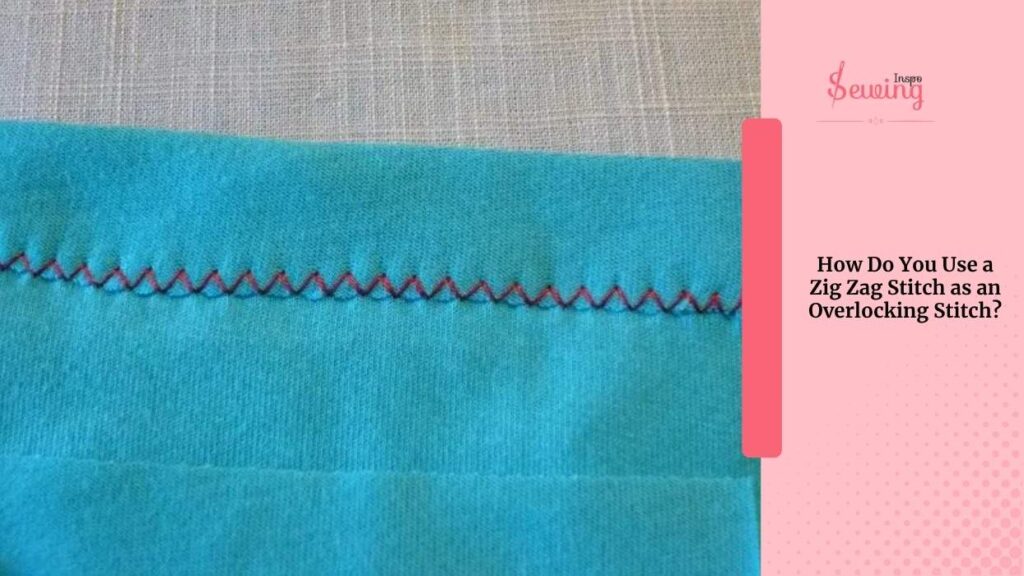
This method mimics the zigzag stitch on a sewing machine, providing a sturdy edge that helps prevent fraying. Practice will help refine your technique for a neat and effective finish.
Frequently Asked Questions
Can you do an overlock stitch without a machine
Yes! You can easily sew an overlock stitch by hand. It is often called a “faux serger” stitch because it mimics the look and function of a serger machine by wrapping thread around the raw edge of the fabric to lock the fibres in place. Another way to stop fraying without a machine is with pinking shears; these zigzag scissors cut a pattern that prevents the threads from coming loose.
What is the best hand stitch to prevent fraying?
The hand-overlock stitch (also known as the overcast stitch) is widely considered the best hand stitch for preventing fraying. For extra protection on loose-weave fabrics like linen or denim, you can use the double-overlock stitch, which crosses the edge twice for maximum durability. For denim or canvas, standard thread might snap. I recommend using Gutermann Extra Strong Upholstery Thread, or coating your thread with Bee’s Wax to prevent tangling.
Is the overlock stitch the same as a blanket stitch
They are very similar, but they serve different purposes. The blanket stitch is decorative and usually visible on the outside of a project (like a felt toy). The overlock stitch is a functional utility stitch used inside seams to stop unravelling.
What thread should I use for hand overlocking?
For most garments, standard all-purpose polyester thread is perfect. If you are sewing heavy fabrics like denim or canvas, use a stronger upholstery thread or double your strand of all-purpose thread to prevent it from snapping against the rough edges.
Now it’s your turn to do an overlock stitch
You don’t need a $500 serger to get professional-looking edges. With just a needle and thread, you have mastered the hand-overlock stitch—the perfect way to stop your fabric from fraying without a machine.
Whether you chose the standard method or the double overlock for extra strength, your seams are now secure and ready to wear.
I’d love to hear from you! Are you using this stitch to repair an old favorite or to finish a brand-new garment? Leave a comment below and let me know what project you are working on today—I love seeing what you create!
Master Every Hand Stitch in Minutes
The ultimate visual library. No confusing jargon—just crystal clear photos.
⭐⭐⭐⭐⭐Rated 5/5 by beginners.

Instant Digital Download Only $14.99


Leave a Reply