
One of my clothes got torn down.🥹 It was one of my favorite dresses so I didn’t want to throw it. So I started to search for how to sew something back together.
I learned that there many kinds of stitches that can be used. But mostly the backstitch is the common stitch to sew something back together.
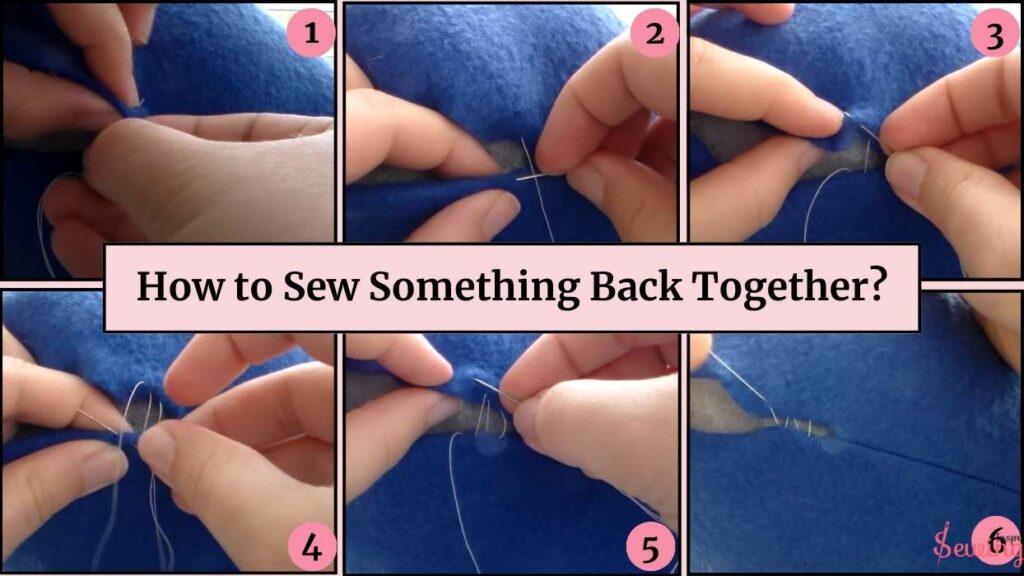
The sewing process is kinda like,

Sew Something Back Together
To sew something back together, align the edges, pin them in place, and use a needle and cotton thread to stitch along the seam, securing with a knot at the end.
Still not clear? I know! No worries I won’t keep you hanging. Let’s get into a detailed process and learn to sew something together.
Main Facts:
- You can use Backstitch to sew something back together.
- Align the fabric edges and secure them with pins or clips.
- Make small, even stitches, ensuring they overlap slightly for strength.
- Secure the thread with a knot and hide.
Table of Contents
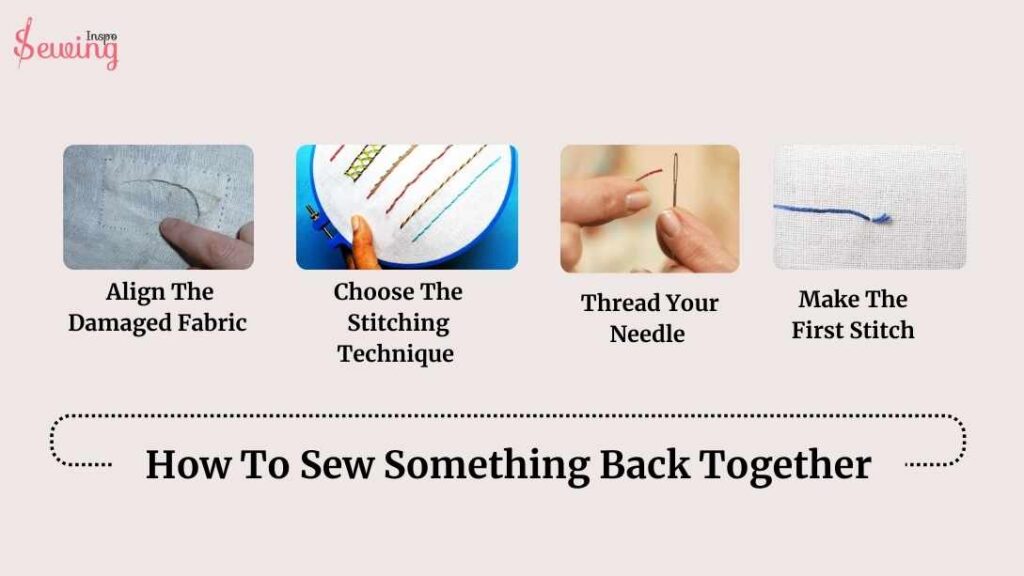
How To Sew Something Back Together?
To sew something back together, you need to follow 4 steps.
- Align The Damaged Fabric
- Choose The Stitching Technique
- Thread Your Needle
- Make The First Stitch
Now let’s sew something together.
Align The Damaged Fabric
To align the damaged piece of clothing, lay the fabric flat on a smooth surface. Make sure to smooth out any wrinkles or folds. Next, bring the edges of the tear together, carefully matching any patterns or seams as closely as you can. This will help ensure the seam ripper is less noticeable. This will make how to sew something back together process easy.
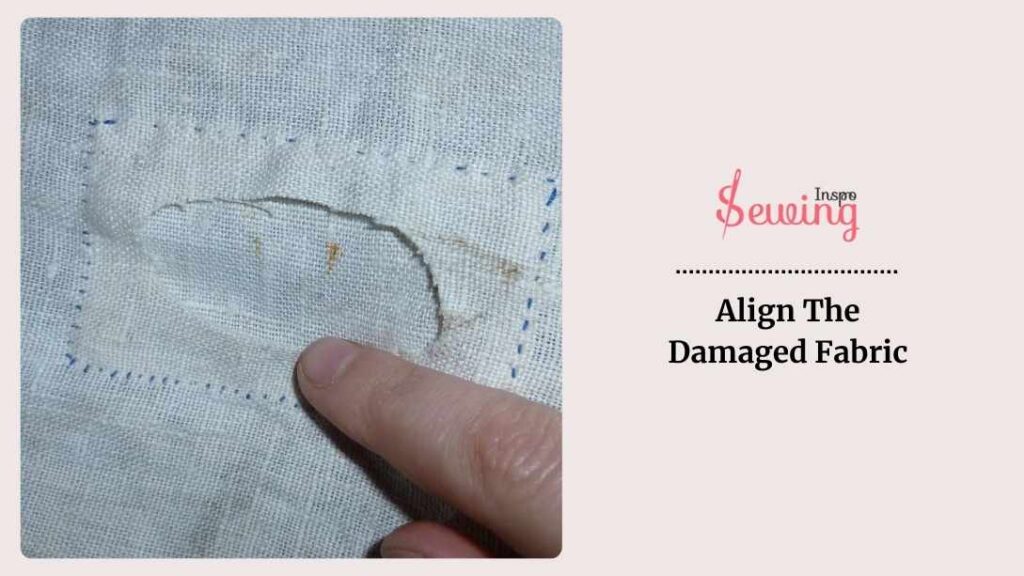
To keep the fabric in place while you sew, use 3\4 sewing pins. Pin the edges together, placing the pins 90 degrees to the tear so they’re easy to remove as you sew. I use this technique whenever I am sewing something together.
Note: If you’re working with slippery fabric, consider using fabric clips instead of pins to avoid causing any further damage. I use this for whip stitch embroidery too.
Choose The Stitching Technique
Now 4 types of stitching techniques can help you to stitch something back together. Such as:
- Ladder stitch
- Blanket stitch
- Darning stitch
- Back stitch
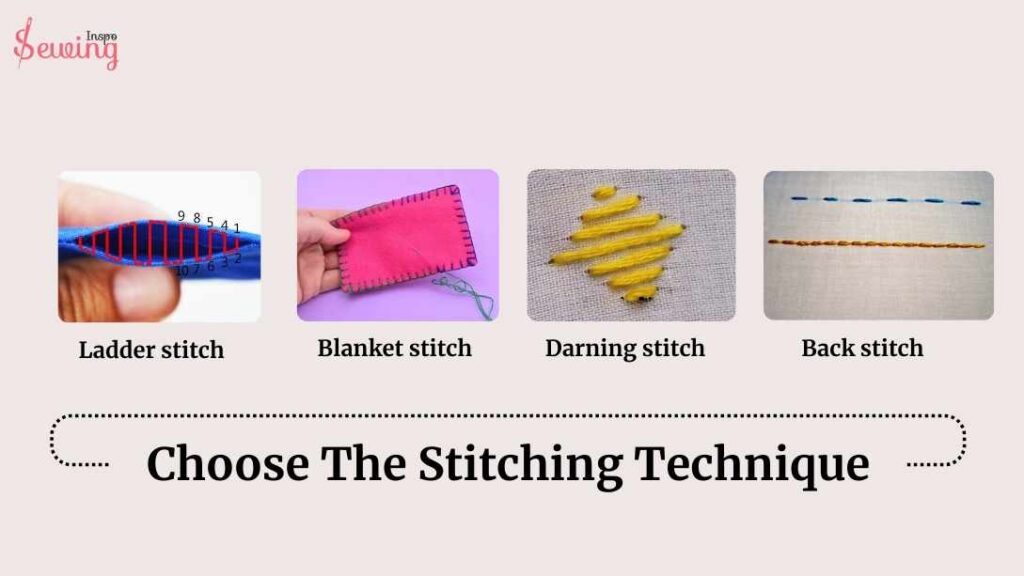
All of them are great for making torn parts back together but today let’s sew with back stitch. 😜 You can use back tack stitch too if you want extra security.
Now, let me show you how to sew a seam back together.
Thread Your Needle
Thread your embroidery needle eye with about 9-10 inches of thread and tie a knot at the end. Depending on the fabric you want to backstitch the thread length may change. So, keep that in mind. Start from the inside of the fabric to hide the knot, pushing the needle up through the fabric right at the edge of the tear. That’s how to sew something together.
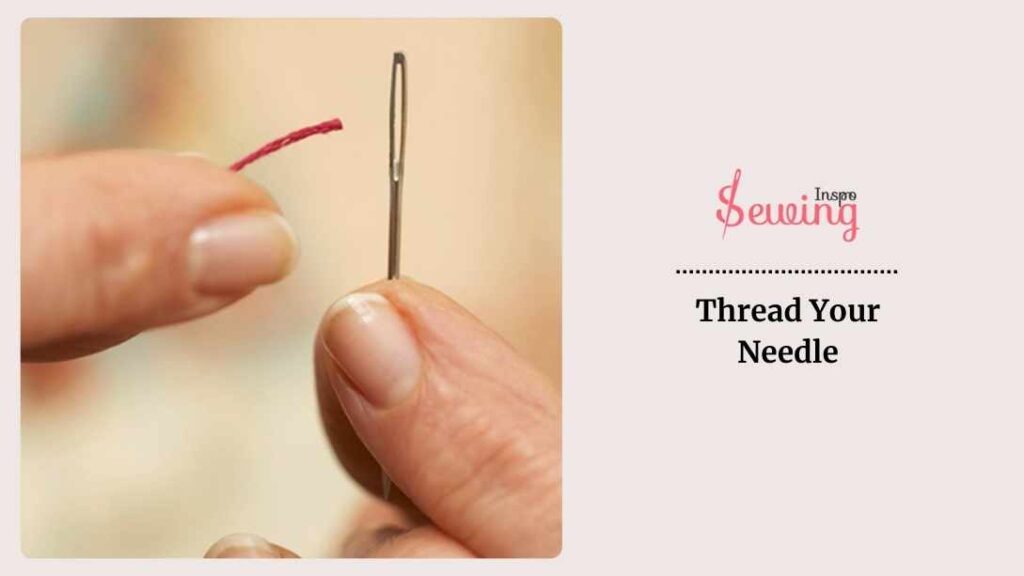
Tips: You can use a needle threader if you wanna skip the hassle.
Make The First Stitch
For the first stitch, take small diagonal stitches forward, about ⅛ to ¼ inch in length with gentle pressure. And push the needle down through the fabric and create adaptable stitches. This is where the backstitch magic happens and creates strong seams.
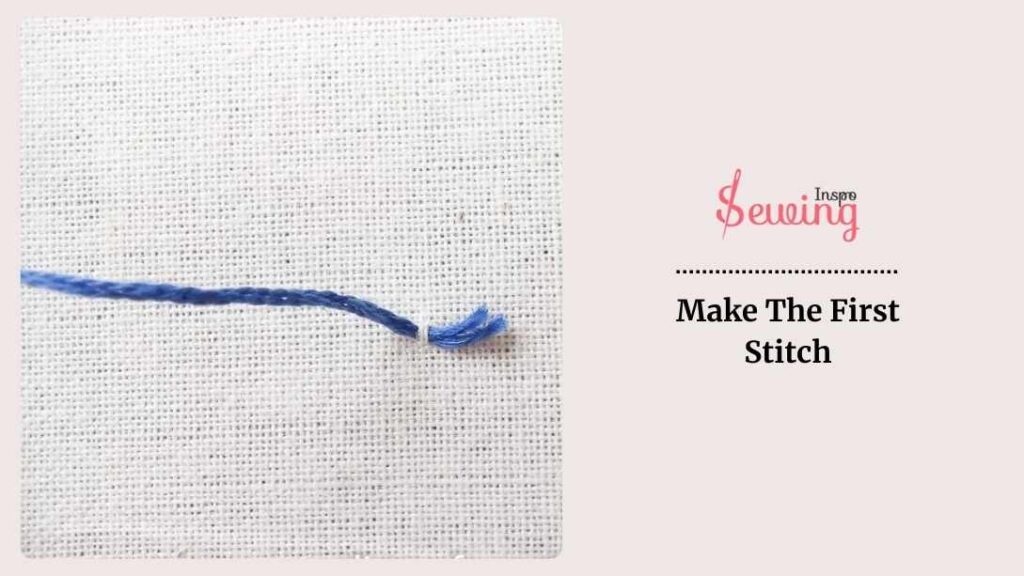
Bring the needle back up through the stretchy fabrics a short distance behind where your first stitch ended. That will create the “back” part of the backstitch. Then, insert the needle forward again, so it goes down through the end of your first stitch.
This will overlap slightly with the previous stitch, forming a strong, continuous stitching line. Make it perfect to sow it back together.
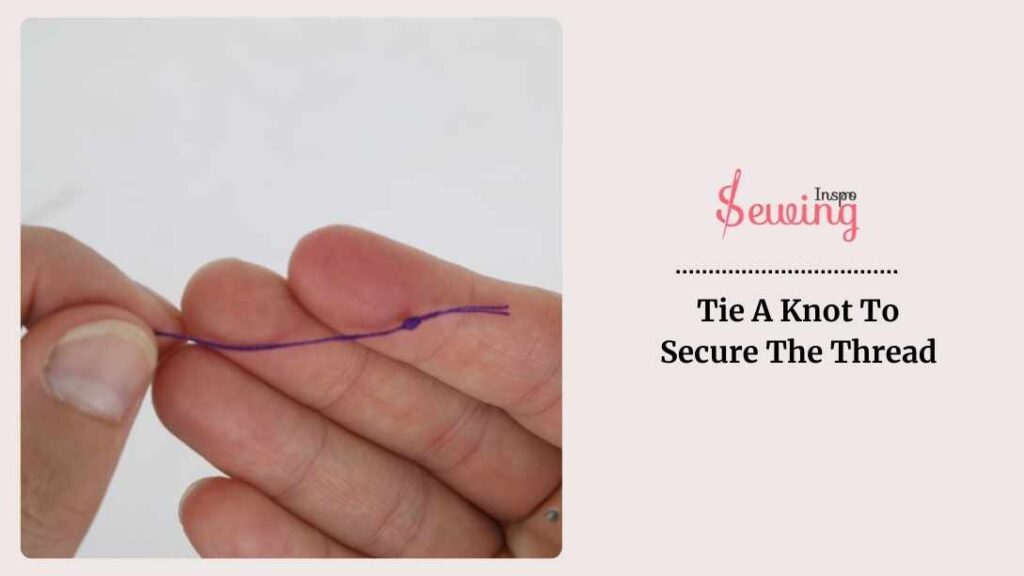
Tie A Knot To Secure The Thread
When you reach the end of the tear, it’s time to finish up. Tie overhand knots to secure the thread. To hide the knot, pass the needle through a few stitches on the inside of the fabric before trimming the thread with sharp scissors.
You can apply these tricks on whipped back stitches too. This will help make your repair look neat and professional. That’s how to sew something back together.
Using a backstitch like this gives you a strong, durable repair that can handle stress and movement.
It might take a bit more time, but it’s totally worth it for a sturdy fix! That’s how to sew something back together.
Cause the back stitch is the strongest stitch by hand.
You know the method now but I’m sure you are struggling with some torn out things right? So, let’s help you out those too.
So yeah, how to sew two pieces of fabric together by hand.
How To Sew Pants Back Together?
To sew the pants back together, align and pin the torn edges. Start from the inside to hide the knot, and make small forward stitches. Then, continue with the needle back behind the last loose stitches.
This will help you to sow it back together.
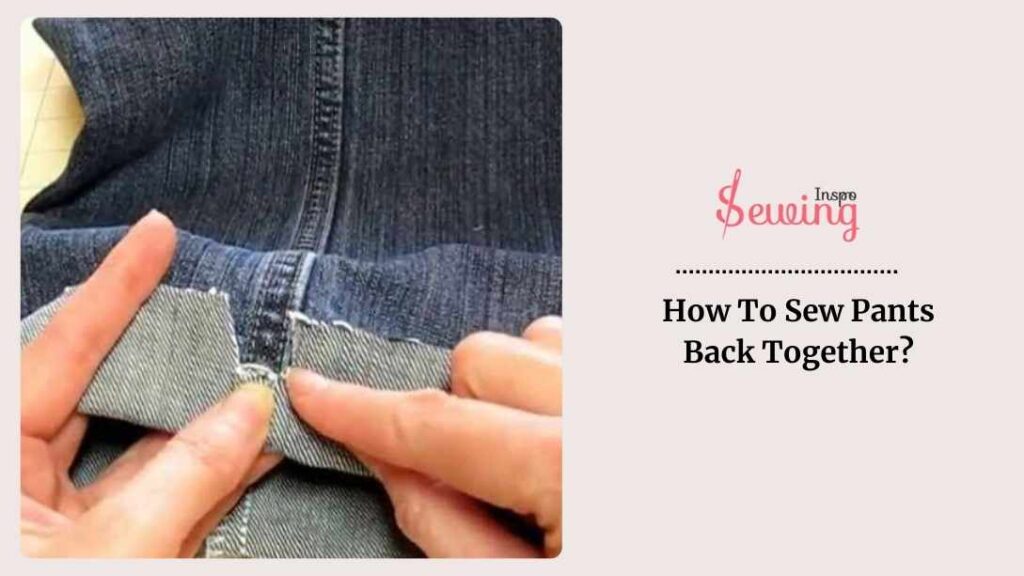
Keep the stitches even and close together. When you reach the end, tie a knot to secure the thread, and hide the knot by passing the needle through a few inside stitches before trimming. This method ensures a durable repair.
That’s how to stitch something together. And makes backstitch a part of 7 permanent stitches.
How To Sew Jeans Back Together?
To sew jeans back together, first align the torn edges and pin them in place. Use a 90 or 100 size needle and thread suitable for denim.

Start stitching with a straight stitch along the torn seam. Reinforcing with a backstitch pattern at the beginning and end. For added strength, sew a few rows of stitches. Finish by trimming excess thread and pressing the seam flat.
Wondering what is back stitch used for? That’s one of your answers.
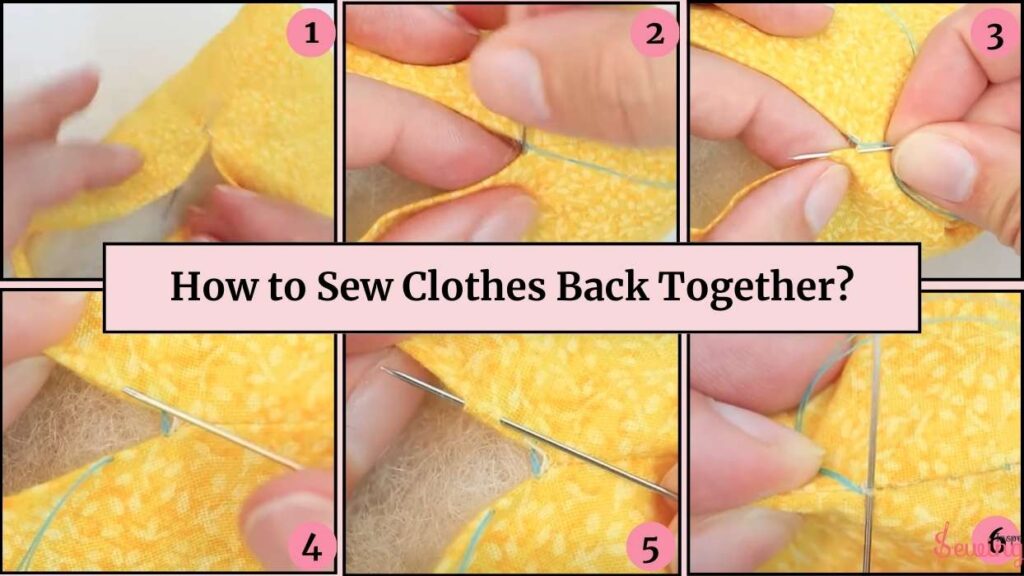
How To Stitch Clothes Together?
How to sew clothes together, use a needle and thread. Here’s a simple method:
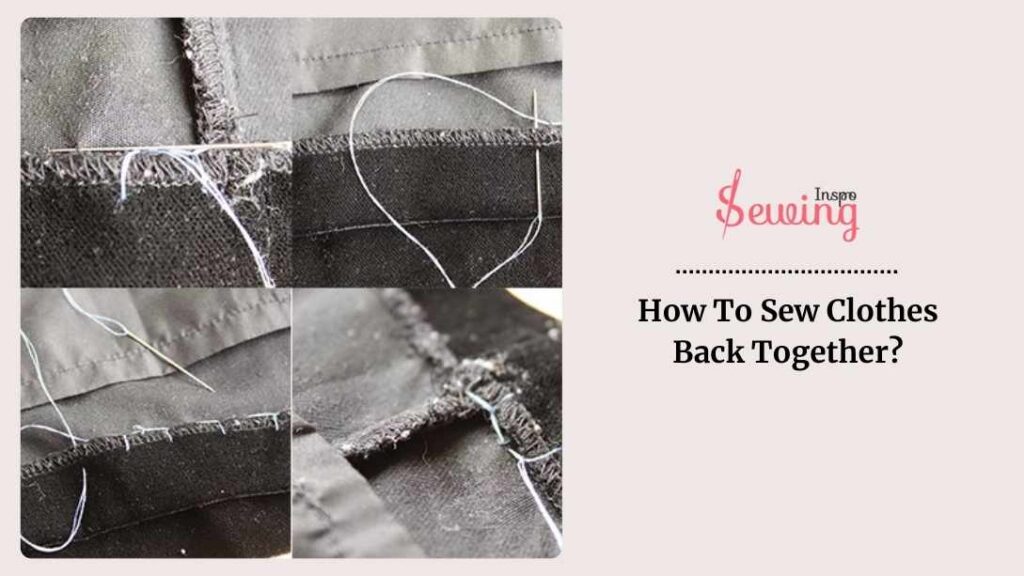
- Cut a piece of thread and thread it through the needle, tying a knot at the end.
- Place the torn edges of the fabric together. Just like you would do in back stitch in embroidery.
- Insert the needle at a 45-degree angle from the inside of the fabric to hide the knot. Insert the needle through the fabric, come back through the last stitch to form a loop, and repeat.
- When you reach the end, secure the thread with a knot and trim any excess.
So yeah that’s sew clothes back together. No need to through the tear stitch anymore. Just sew it back together. You can even use spaced backstitch for this.
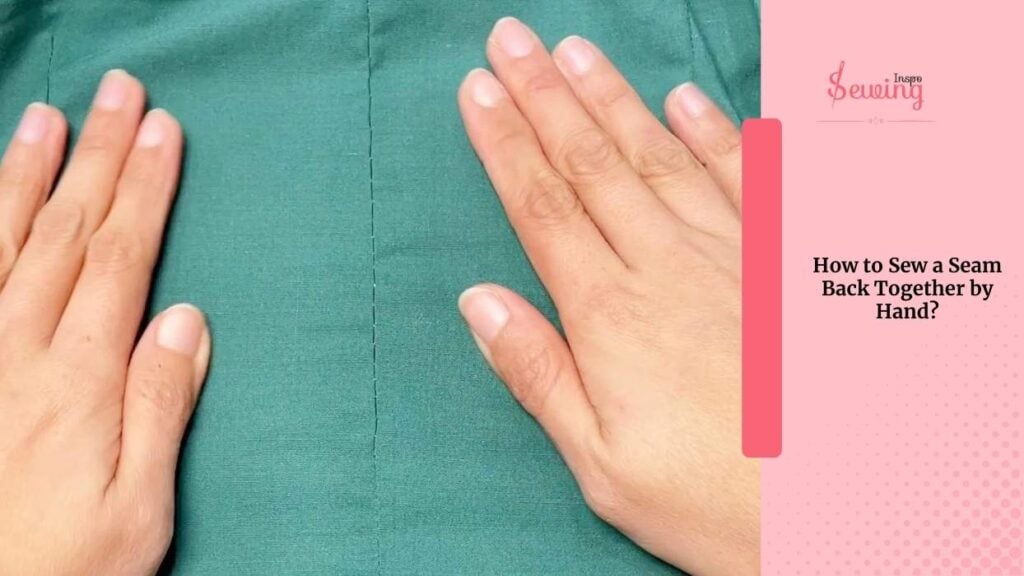
How To Sew Seam Back Together?
To sew a seam back together, thread your needle with matching thread and use a backstitch along the original seam line. Ensuring you sew through both layers of fabric. Backstitch at the beginning and end for added strength.

Once you’ve sewn the seam, remove the pins, trim any excess thread, and press the seam to flatten it for a clean finish. This technique also applies to the edges of blankets.
That’s how to sew a seam back together.
How To Sew Shoes Back Together?
To sew shoes back together, follow 4 steps with the sewing kit:
- Clean the shoe surface and align the separated parts.
- Use a strong, durable thread and a 60 – 200 8 – 25 size needle suitable for shoe repair.
- If necessary, use a leather punch to create holes for stitching.
- Use a strong basic stitch like a ladder stitch. Pass the needle through the holes, pulling the thread tight with each stitch. Make sure to stitch through all layers for durability.
- Tie off the thread securely and trim any excess. Apply adhesive if needed for extra strength. This can even create a decorative border.

How To Sew Couch Back Together?
To sew a couch back together, first align the torn or separated thicker fabrics and use upholstery pins to hold it in place. Thread a 23 size needle with upholstery thread and use a strong stitch like a whipstitch to sew along the seam or tear. Ensuring it goes through all layers for durability.

Secure the thread with a knot at the end and trim any excess. For added strength, consider using fabric glue or a stapler to reinforce the repair before covering it with upholstery fabric if needed.
How To Sew Boots Back Together?
To sew boots back together, you need to follow 6 steps.

- Ensure the boot is clean and dry.
- Use a strong, durable thread and an 85/13 to 90/14 needle suitable for leather or fabric.
- Use a leather punch to make holes if needed.
- Use a strong stitch like a saddle stitch or backstitch, sewing through all layers and pulling the thread tight.
- Tie off the thread securely and trim excess.
- Apply adhesive for extra strength or use a boot repair patch if necessary.
This is how to stitch clothes back together too if it’s made with leather.
How To Sew Leather Back Together?
To sew leather back together, combine torn edges and use a leather punch to create evenly spaced holes. Thread a strong, waxed thread through a Glover sewing needles.
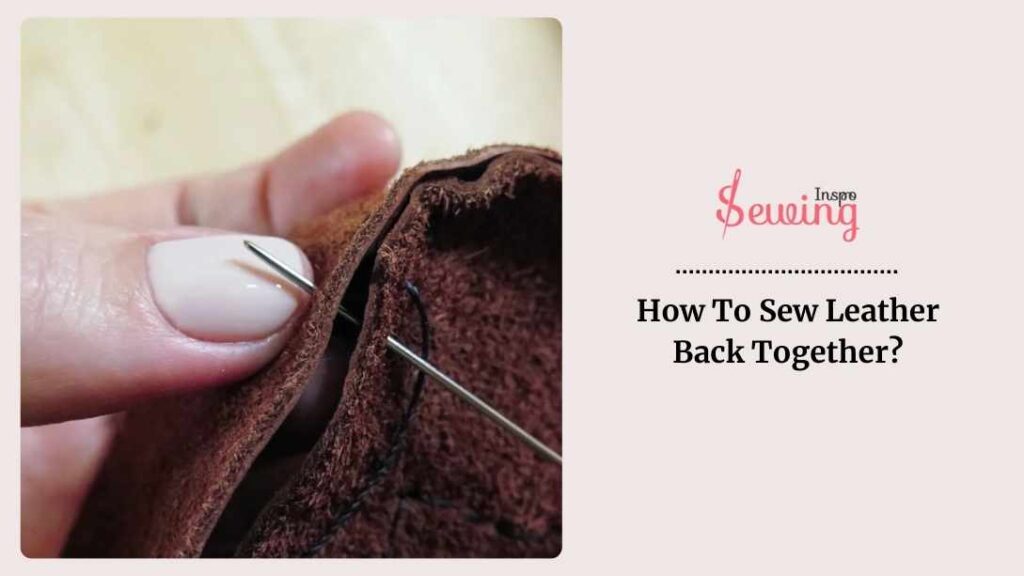
Use a saddle stitch or back stitch leather, passing the needle through each hole and pulling the thread tight to secure the edges. Knot the thread securely at the end and trim any excess. For added durability, consider using leather adhesive alongside stitching to reinforce the repair or handmade pillow.
How To Sew A Shirt Back Together?
Shirts can get wear and tear every now & then. So there is nothing new, actually. If the damage is in your favorite shirt, then you don’t want to throw it away. Well, you don’t have to. Here is a way to fix it. Here is how to stitching fabric together,
- Wash and dry the shirt first (if it’s not clean).
- Trim any loose threads around the tear or seam.
- Pin the torn edges together with the right sides facing each other.
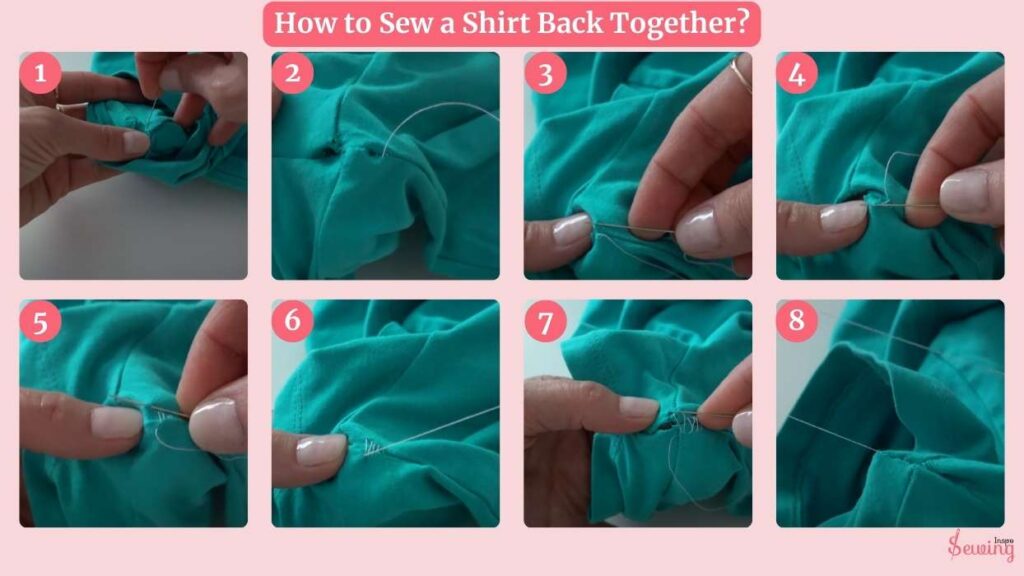
- Thread your needle with matching thread and knot the end.
- Use a backstitch or running stitch along the tear for strength.
- Go over the seam twice if it’s in a high-stress area.
- Knot securely at the end and snip extra thread.
- Press with an iron to flatten the seam for a clean finish.
How To Sew A Strap Back On With Needle And Thread?
Slipping the skirt strap is a common issue, and I know it’s annoying. But there is a solution. You can just put it together with thread and needle. Here is how you can do it.

- Cut about 18–24 inches of thread. Double it up for extra strength, and knot the end.
- Place the strap exactly where it tore off.
- Fold it under a bit (about ½ inch) for added strength and a cleaner look. Pin or clip in place.
- Push the needle through from the back.
- Go forward one stitch length (about ⅛–¼ inch), then bring the needle up through the fabric.
- Insert the needle back into the end of the previous stitch.
- Keep going! You’ll form overlapping stitches that are secure and tight.
- Go over the area at least twice, especially if it’s a bag or something that’ll carry weight.
How To Sew Something Together Video Tutorial
A visual guide for Sew Something Together video tutorial!
Frequently Asked Questions(FAQ’s)
What Type Of Thread Should I Use For Sewing Fabric Back Together?
It’s best to use a thread that matches the fabric in both color and type. For most general repairs, a polyester or cotton-polyester blend green thread works well as it’s strong and versatile. For more delicate fabrics like silk or lace, use a finer, more delicate thread. Always test a small section first to ensure the pink thread doesn’t damage the fabric.
How Can I Make My Repair Less Noticeable?
To make your repair less noticeable, match the thread color closely to the fabric and use small, even stitches. Align the fabric edges precisely and use a strong but subtle stitch like the backstitch. Press the repaired area with an iron to help the stitches blend in with the fabric, and if possible, match any patterns or seams for a seamless look.
What Should I Do If The Fabric Is Frayed Or Damaged Around The Tear?
If the fabric is frayed or damaged around the tear, start by trimming any loose threads or frayed edges to create a clean working area. You can reinforce the area by sewing a patch of matching fabric behind the tear before stitching it together. This adds extra strength and stability to the damaged area, preventing further tearing. If the fabric is delicate, consider using an iron-on interfacing to stabilize it before sewing.
Now It’s Your Turn
So, I teach you how to sew something back together. Now try it out with your torn out clothes and share those pictures with us in sewinginspo comment sections.
Do you have many new way to how to sew a seam back together.


Leave a Reply