
I wanted to do some sewing stitches outside of the thicker fabrics edge. I was thinking what to do? I know 20 types of stitches but can’t decide what to do. That’s when grandma came and said I need to do a top stitch.
Oh! how to hand sew top stitch then?
I asked her

Hand Sew Top Stitch
To hand sew a top stitch, simply sew straight, evenly spaced stitches along the top edge of your fabric using a needle and thread.
It won’t do, grandma! 😒Show me in depth and teach me how to top stitch by hand.
At a glance on how to top stitch by hand
- Begin stitching from the back, moving up through the fabric.
- Catch all bits of fabric to ensure a tidy stitch.
- Pull the top thread to the back and tie it in a knot with the lower thread.
Table of Contents
What Is Top Stitching?
Top stitching is a visible line of stitches on the right side of the fabric, typically running parallel to a seam line or edge. It is usually 1/4 -1/2″ away from the edge of the fabric.
A top stitch is a line of stitches sewn on the outside of your fabric, close to a seam or edge. It’s not just for looks (though it can be really stylish). But it actually secures the edge.

Top Stitch Length
The ideal length of the top stitch is around 1/8 to 3/16 inches (3mm–5mm). This length is perfect for topstitch, especially for half-loop topstitch.This length is perfect for any hand stitch.

But not everyone agrees!
Some sewists say, “Yes, that’s the sweet spot,” while others say, “No way, it depends on the fabric and the pattern”
What Does A Top Stitch Look Like?
A topstitch is a visible stitch on the outside of a garment or fabric. It’s usually a straight, neat line of stitching that goes along the edges or seams.
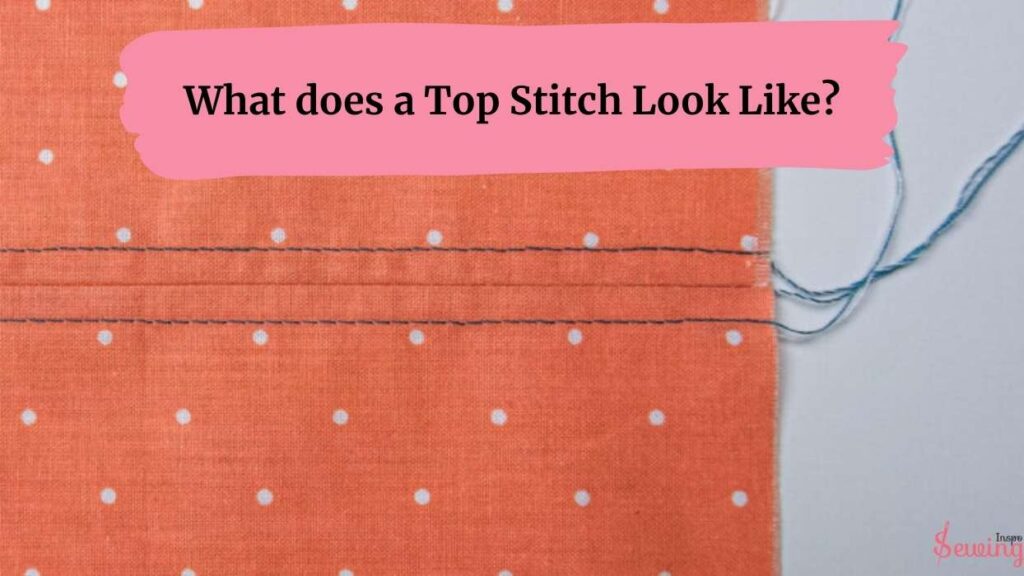
You can often find it on things like jeans, jackets, or bags, where it adds a decorative touch and helps reinforce the seams. It’s typically done in a contrasting color to stand out. It’s kinda similar to pad stitching collar.
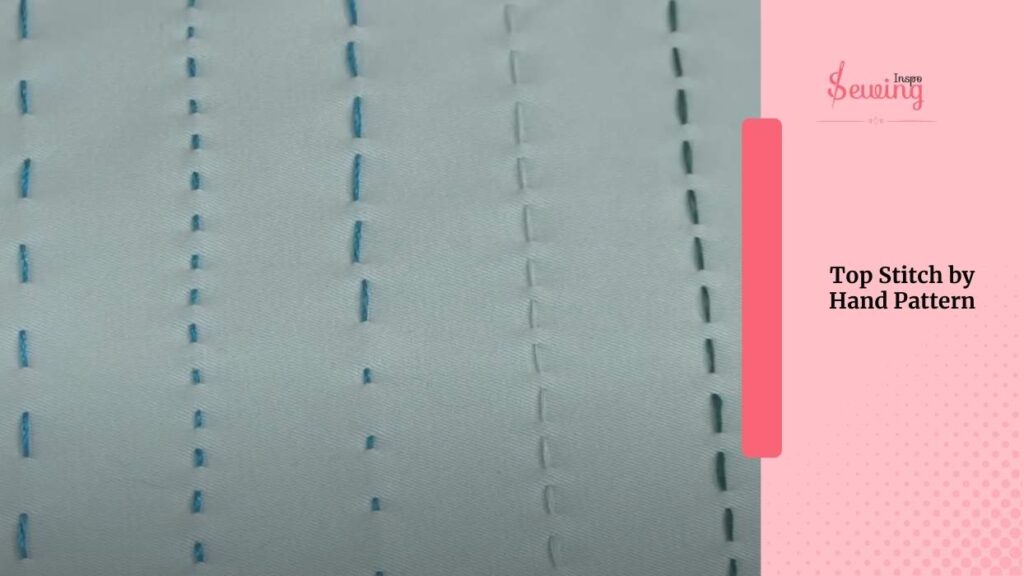
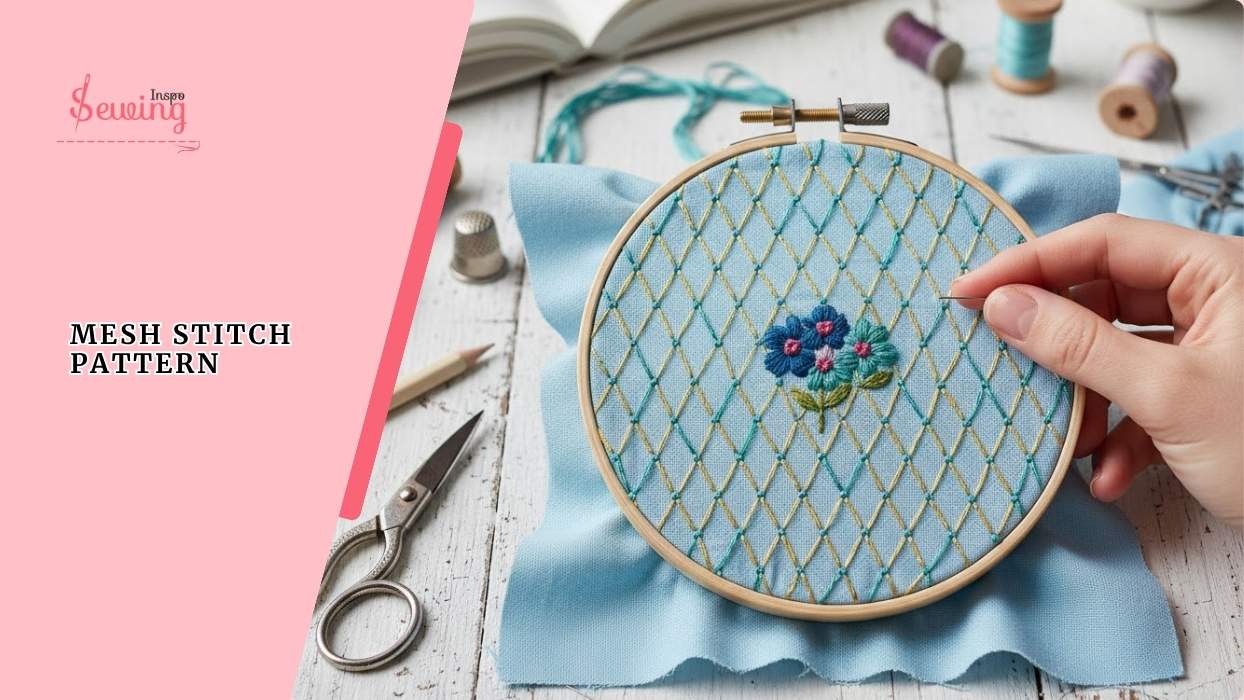
Top Stitch By Hand Pattern
Top stitch is so simple but if you know where to put it then it can be decorative too.
How To Top Stitch By Hand?
To hand sew top stitch follow 5 steps.
- Mark For Top Stitching
- Bring The Needle Through The Back Side
- Start Stitching From The Back
- Backtrack A Bit To Where Your Stitch Should Start
- Finishing Touch Of Top Stitch
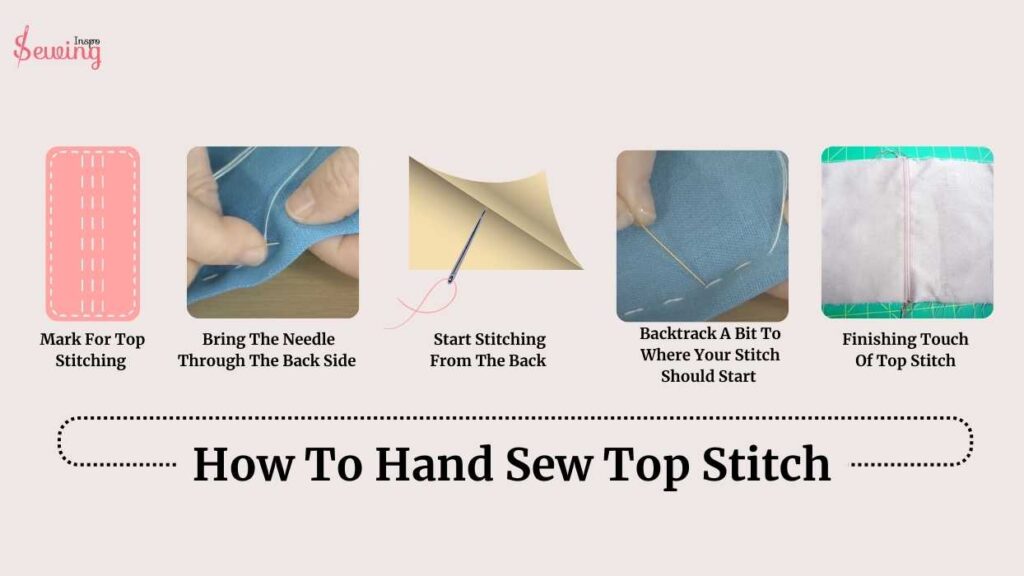
Now let’s get into topstitching by hand.
Mark For Top Stitching
Mark the stitch area with a marker or a pen just like you would do in pick stitch. But, you gotta remember you need to maintain certain gaps between stitches to start stitching. Marking makes the sewing stitch easy. Depending on the sewing pattern of the tacking stitch by hand.

To do that-
Grab your iron and gently press ¼ inch towards the wrong side along one long decorative edging of the binding. Just like you would do for whip stitching.

I know it’s kinda hard. But no worries, though! Keep a clear ruler handy to help you figure out the width of that ¼ inch. It might feel slow at first, but trust me, you’ll get faster with practice. This process can seem easy if you know blanket stitch step by step.
Now I thread the topstitching needle with nylon top stitch thread.

Top Stitch Hand Sewing Needle & Through It Back Side
Grab a top stitch needle with an extra-large eye and a deeper groove.

Bring that needle through from the wrong side to the right side of your fabric, keeping it about 1/4 inch away from the edge. As if you do while doing buttonhole stitch.
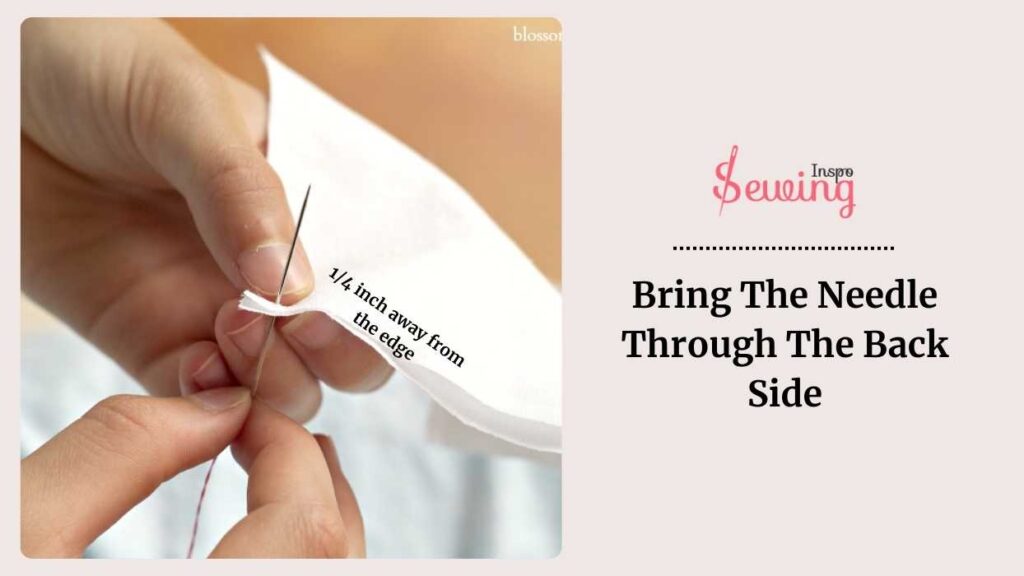
Grandma tip: make sure that the knot at the end of your thread stays put and doesn’t sneak through the hole made by the needle—that can be a real pain! You need to keep in mind this for all types of topstitching.
Start Stitching From The Back
Start stitching from the back, moving up through the top of the fabric, leaving a stitch length from where you began with ease stitch tension. Stitch tension is kinda similar to slip stitch. As you stitch, make sure you’re catching all the bits of fabric you want to secure—that’s the key to a nice, tidy stitch job! This will help you make a top stitch by hand easily.
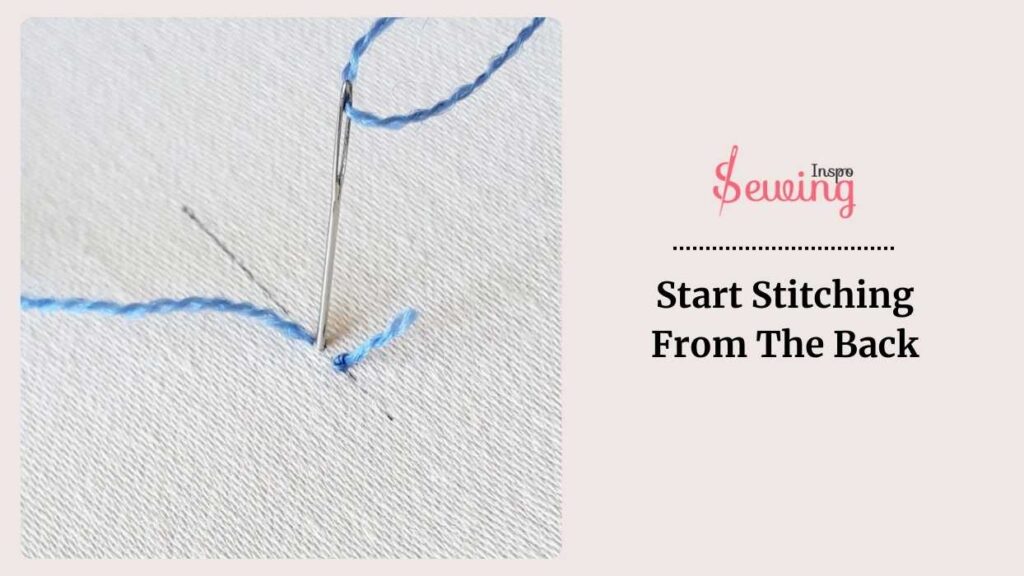
Now, take a peek at the image below. See that first row of stitches? Yeah, that’s what you’re aiming for. But check out the second row for reference—that’s where you’re headed next. No worries it isn’t tricky like saddle stitch.
Backtrack A Bit To Where Your Stitch Should Start
Let’s backtrack a bit to where your stitch should start. Once you’re there, push that needle and thread back down through the fabric, and give it a good pull to make sure it’s secure. That’s your first visible stitch. 😍 Isn’t the top stitch hand sewing so easy?

-What about the length of topstitch?
– Go for around 3 if you’re working with regular fabrics. But if you’re tackling something heavier, like, say, denim or canvas, you might wanna bump that up to 3.5 or even 4 that’s the perfect length for topstitch by hand.

Now, here’s where it gets interesting-
Bring that needle and thread back up through the back, about 1 stitch length to the right of your first stitch. This helps to do a balanced stitch. just like hemming stitch. Then, push the needle and thread through the second hole of the first stitch you made. This little move helps create a smoother, more seamless line of stitching. It’s all about those finishing touches, right?
You can apply this technique to blind hem stitch pants, too.

Top Stitch Hnd Sewing Finishing Touch!
You can give the finishing touch of the top stitch in 3 ways. it’s all about the looks, not about holding things together. So, there’s no need for any backstitching—it just adds unnecessary bulk to your project of your top stitching by hand.

Instead, here’s a slick grandma move:
When you’re done stitching, just pull that top thread to the back of your project and tie it in a knot with the lower thread. Simple, right?
Now, there’s another trick you can use to secure those threads-
You can shorten your stitch length as much as possible from the previous stitch. And tack the stitches in place at the beginning and end of your seam. You can do some shorter stitches too if you wish. And cut down the sharp scissors if you ever wanted.
Warning: be careful with this one, especially when you’re topstitching, ’cause it can mess with the look you’re aiming for. Just a little heads up to keep things looking sharp!
Or you can do is-
Press down your stitch. Make sure to adjust the thread tension. This will be helpful if you want to pick stitch lapel.
It is advisable to test your topstitching skills on delicate fabrics to ensure proper color thread tension, even if you are experienced.
This step helps blend those stitches into the heavier fabrics, making your combinations of stitches look even better. When you’re pressing, go for an up and down motion instead of sliding the iron across the fabric like you would when ironing a shirt for work. This is even helpful while doing buttonhole stitch by hand.
And that’s it! That’s how to hand sew top stitch!
Decorative Form Of Top Stitch
I show you a simple form of this stitch, which is mainly used for securing the edge.
But this stitch has some decorative form too. For example,

Half Loop Top Stitch
I used an 18–24″ thread, marked two parallel lines with a 2″ gap, and placed a stiletto in between for guidance.
Then,

I stitched around the stiletto from one side to the other, keeping the loops a little loose to create that lovely half-loop texture. Keep stitching back and forth tightly until you’re done, then slide out the stiletto.
You’ve got a textured, decorative top stitch that looks amazing.
The Secrets details of the Half Loop Top Stitch!
Thread And Needle For The Top Stitch
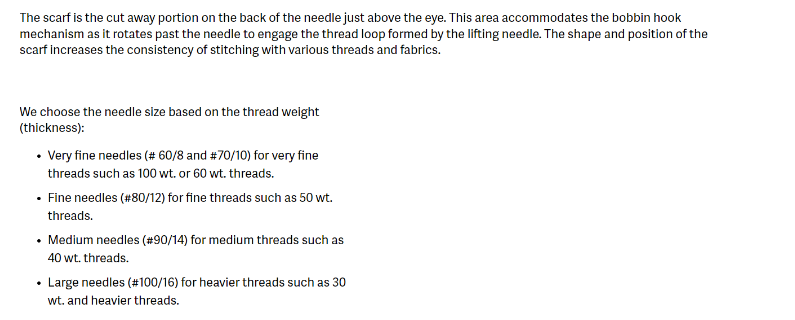
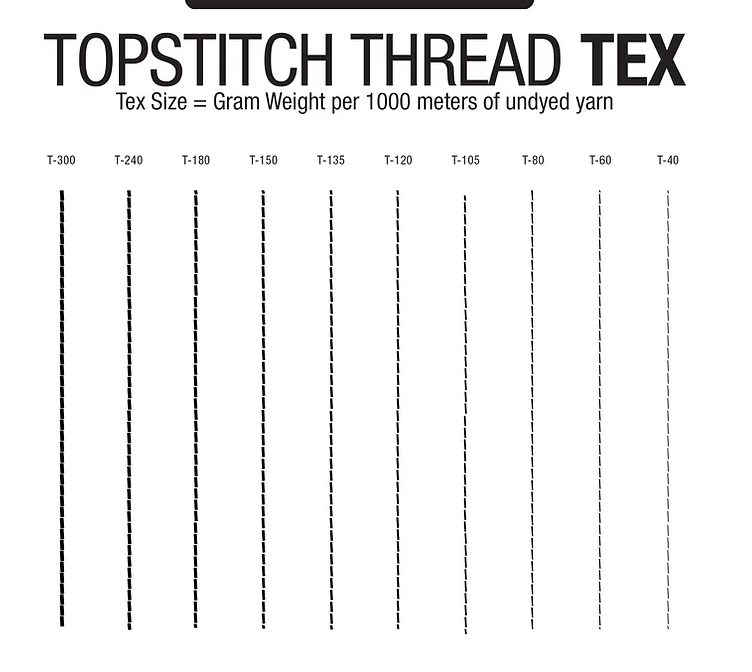
When you’re selecting a sewing needle size, it’s important to match it with the thickness of your thicker topstitching thread. Such as:

If you’re working with very fine threads, like 100 wt. or 60 wt. opt for very fine sharp needles such as #60/8 or #70/10. For slightly thicker threads in the 50 wt. range, fine needles like #80/12 are your best bet if you wanna do it on the sewing machine.
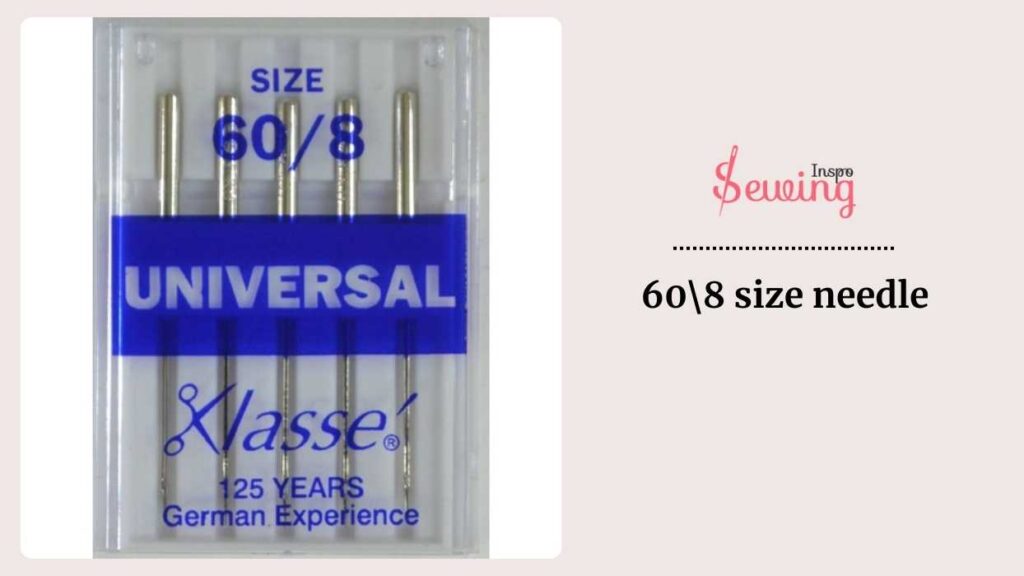
-Which needle should I choose Grandma?
-Well, I will suggest you go for a 60\8 size needle.
However, medium needles, around #90/14, are perfect for medium-weight threads like those in the 40 wt. range. And if you’re dealing with heavier threads like 30 wt. and above, go for larger needles such as #100/16. This way, you’ll ensure your sewing goes smoothly and your stitches look just the way you want them to.
-What about the thread, grandma?
Alright, let’s talk purpose thread for topstitching. The key here is finding one that matches your fabric weight. Like, if you’re sewing stitches on something heavy like leather, you’ll need a tough substantial topstitching thread that can handle the job.
But here’s the twist-
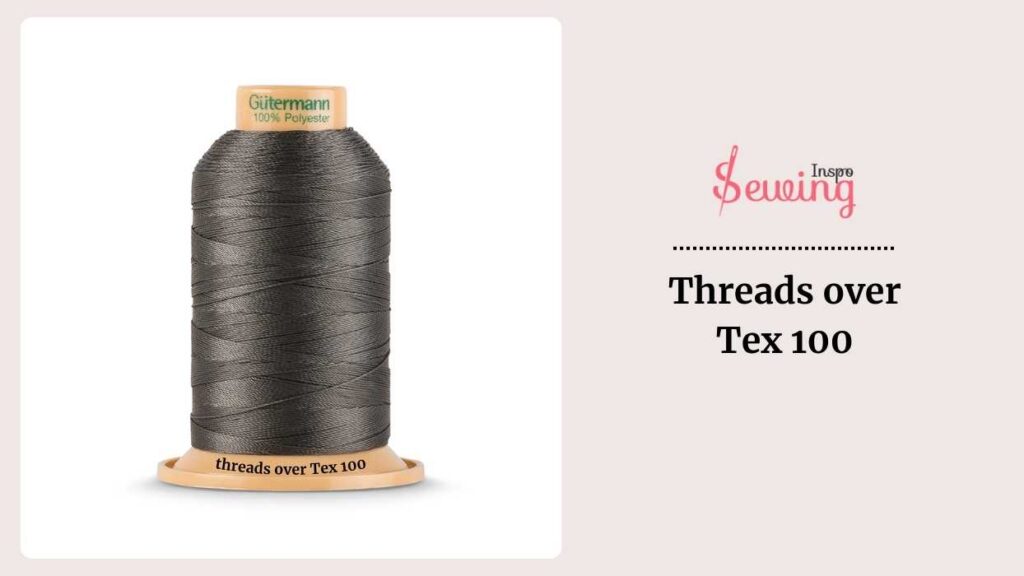
The thickness of your thread also affects how your stitching looks. So, lighter weights—like Tex 35, 40, or 45—give you those subtle, delicate stitches. For a middle-of-the-road look, aim for Tex 60-90.
And if you’re going for bold and in-your-face stitching, threads over Tex 100 are your jam.
Other Types Of Topstitches Method
There are 11 types of top stitch methods too. Such as:
- Single Topstitch: This is the basic topstitch where a single line of stitching is sewn along the edge or straight seam of a fabric piece. It’s simple yet effective for adding a clean, finished look to your project.
- Double Topstitch: In this style, two parallel lines of stitching are sewn, usually with a small gap between them. It creates a more decorative and defined look, often used on garment seams or pockets.
- Triple Topstitch: Similar to the double topstitch, but with three lines of stitching. This adds even more emphasis and detail, commonly seen on denim jeans or heavy-duty bags.
- Running Stitch: This is a basic stitch where the needle and thread pass through the fabric in a straight line, creating a dashed appearance. Running stitch is simple yet versatile, perfect for adding subtle detail.
- Zigzag Stitch: Zigzag stitch strong stitch creates a zigzag pattern as the needle moves back and forth. It’s great for securing edges or adding decorative flair.
- Serpentine Stitch: Similar to the zigzag, but with a more wavy, serpentine pattern. It’s fun and playful, adding a whimsical touch to your sewing projects.
- Stem Stitch: Often used in embroidery, the stem construction stitch creates a rope-like line that’s perfect for outlining shapes or adding text.
- Cable Stitch: This stitch resembles the twists of a cable and is often used for decorative purposes, adding texture and interest to your stitching.
- Rosette Stitch: Named for its resemblance to a rose, this stitch creates a circular pattern with overlapping loops. It’s elegant and sophisticated, perfect for adding a touch of romance to your sewing projects.
- Chevron Stitch: This stitch creates a V-shaped pattern, similar to the chevrons on a military uniform. It’s bold and striking, adding a modern touch to your stitching.
- Fern Stitch: Inspired by the delicate fronds of a fern, this stitch creates a feathery pattern that’s perfect for adding organic texture to your sewing projects.
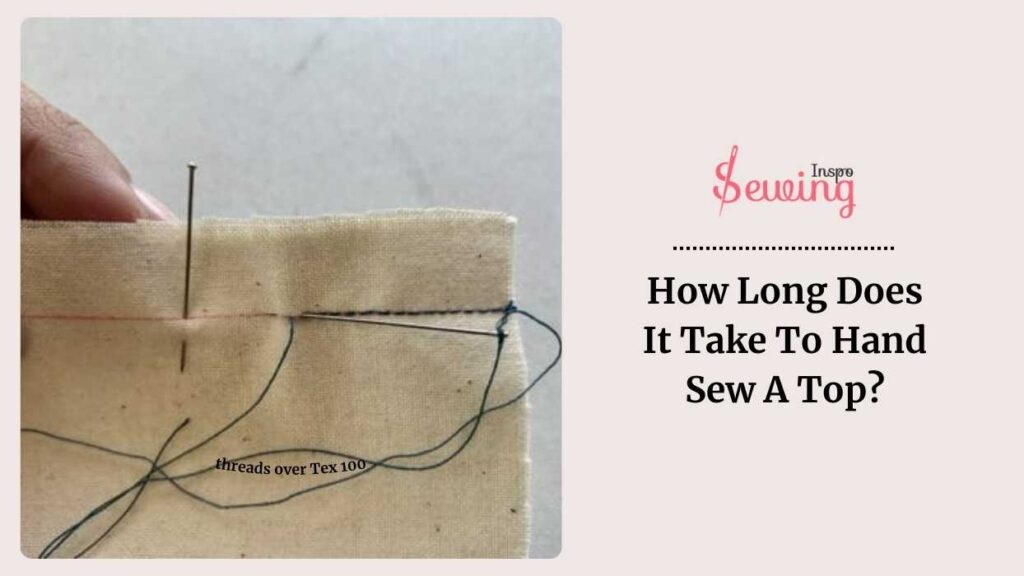
How Long Does It Take To Hand Sew A Top?
How long it takes to hand sew a top really depends on a few things. If the pattern is simple and you’re pretty skilled, you might knock it out in 8-12 hours. But, if you’re taking your time, dealing with distractions, or tackling a more complex design, it could stretch out over a week or so of leisurely sewing.
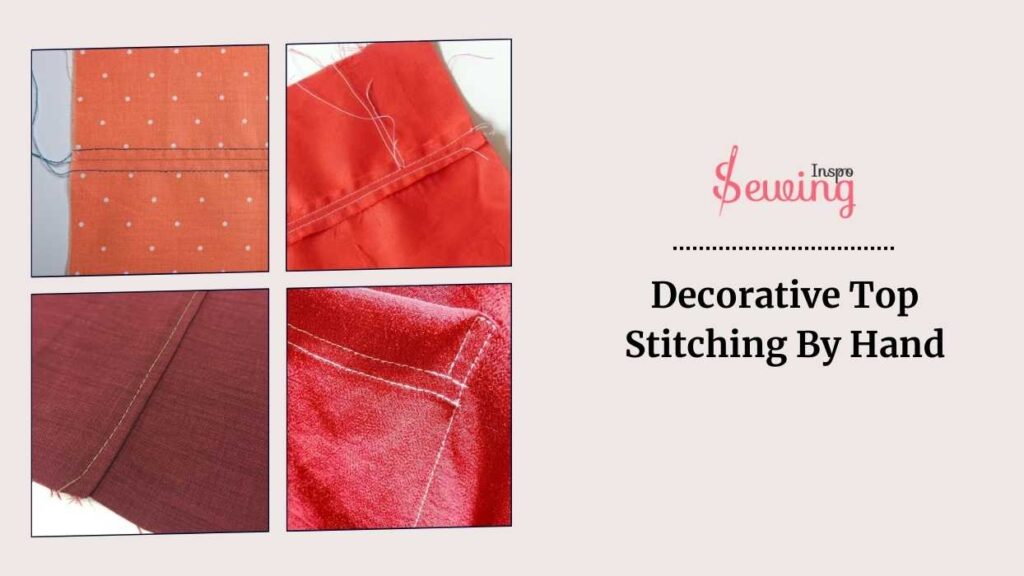
Decorative Top Stitching By Hand
Here are a few decorative top-stitching works by me. You can try it out with your decorative stitch options.
Top Stitch By Hand A Visual Guide
Thanks for reading my Top stitch A to Z guide! For more topstitching techniques, check out the visual guide! here I shear how top stitch by hand and machine!
How To Take In A Top At The Sides By Hand?
Honestly, you can’t make anything at 1st try. It’s only natural to make mistakes and need to adjust them sometimes. That’s where ‘take in a top at the sides’ helps you to do that. It means making the top smaller by sewing along the side seams.
It is basically adjusting the fit so it’s not too loose on you. You remove excess fabric from the sides to give the top a slimmer, more flattering shape. Here is how it’s done,

- Try it on and mark the
- Put the top on inside out.
- Pin or mark with chalk how much tighter you want it on both sides (use safety pins if you’re alone).
- Take it off carefully, keeping the pins or marks in place.
- Use a double thread for strength. Knot the end.
Use a backstitch (it’s strong for seams) and sew up along your marked line or pin placement. - Keep stitches tight and even.
- Tie off the thread with a few small stitches or a knot.
- Repeat the same on the other side.
- Make sure it fits how you like! If it’s too tight, undo and re-stitch further out.
- You can trim the excess fabric and use a whipstitch to finish raw edges, so they don’t fray.
And that’s it! You just tailored your top by hand. This is super useful when you don’t want to pull out the sewing machine. Let me know if you wish to a simple sketch or visual!
How Ot Top Stitch By Hand PDF?
If you easily forget things, then this PDF will help you out.
Frequently Asked Questions(FAQ’s)
How To Top Stitch Pants?
To top stitch pants, start by pressing the seams flat to ensure a smooth surface. Use a topstitching foot for even stitching lines just like basting stitch. Begin by stitching along the outer seams, pockets, and waistband, ensuring consistent stitch length and tension.
For decorative topstitching, experiment with different stitch patterns and bobbin thread colors. Press the seams again after stitching to set the stitches and give the pants a polished finish.
Warp Up
Well, after Grandma showed me how to hand sew top stitch. I did it myself and it turned out to be so amazing trust me! Hard to believe? Then try it out yourself and tell us the result of sewing inspo.


Leave a Reply