
There are so many versions of back stitch by hand that I got tired of learning them. I know it is tiring but fun at the same time. So, I researched more about it and then learned about half-back stitch. I learned about it just after doing the backstitch chain stitch, so my curiosity got more intense. This is another basic hand sewing stitch.
This variation is simple yet effective if you want to add something different.
So, basically,

Half Stitch
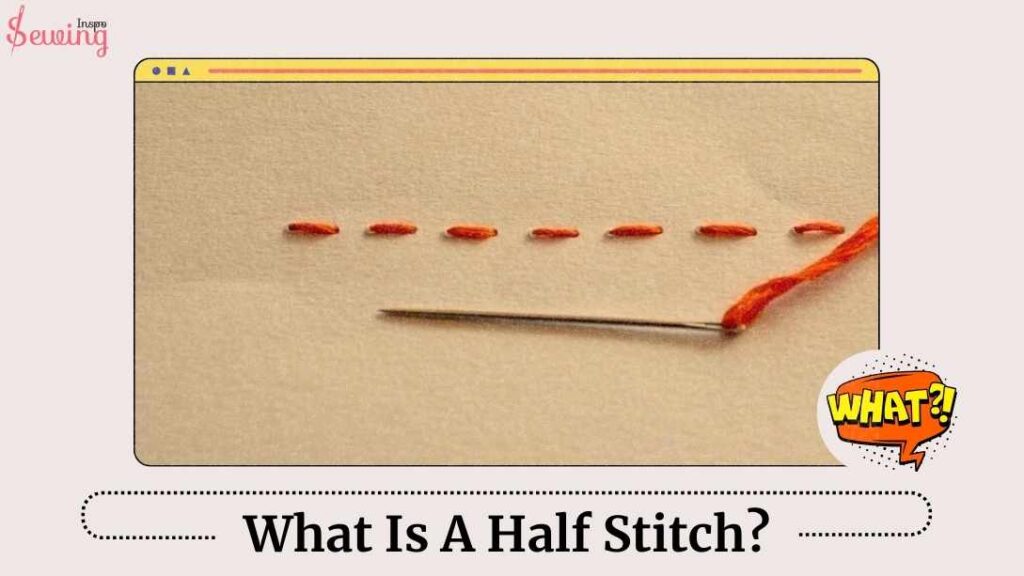
Half back stitch is a hand sewing technique where each stitch is only halfway back into the previous stitch, creating a dashed line effect.
How to do it? Is it easier than backstitch? Let’s get to hand back stitch more depthly. And learn half backstitch practically.
Table of Contents
What Is A Half Stitch?
A half stitch is a simple stitch that makes a small diagonal line on the fabric. It’s made by stitching diagonally, like a full stitch, but covering only half the space. kinda like a spaced back stitch.
This is even among 7 permanent stitches. It’s often used to fill in background areas, sewing seams, or to create shading effects. Because it’s quicker and uses less thread than a full stitch. In needlepoint, half stitches are also known as tent stitches and are great for adding texture to your projects. Each half back stitch design really makes your embroidery stand out. It not only serves decorative purposes but also serves one of the strong hand stitch purposes.
And if you are wondering how to sew a seam back together then back stitch got your back here too.
What Is Half Back Stitch?
A half backstitch is similar to a regular backstitch but has small gaps between the stitches on the front of the fabric. Kinda like run and back stitch. It’s the total opposite of Holbein stitch.
It is also called an uneven or detached backstitch. It’s done just like a backstitch, but the stitches going backwards are half the length of the forward stitches. This means the stitches are the same length as the spaces between them. This is the best among back stitch hand sewing.

Some stitcher also called reverse version of Straight Stitch Definition.
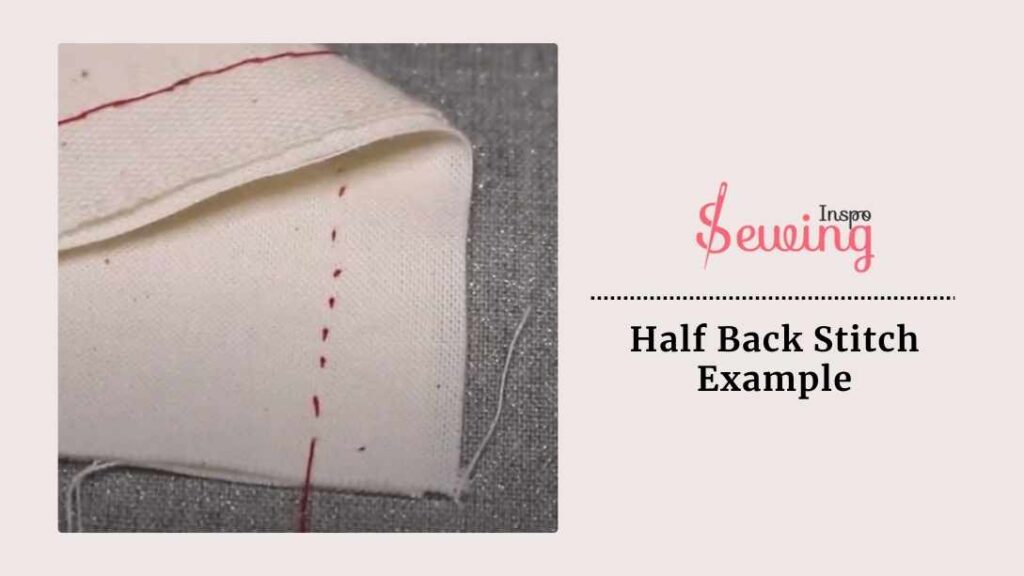
Half Back Stitch Example
Still confused? Ok then, see some examples of half back stitch:
Full Back Stitch And Half Back Different
Both are different. You can tell by its name. But if you still want a clear answer, then A full backstitch creates a solid, continuous outline, while a Half back stitch sewing has more spaced-out stitches for a lighter, more delicate effect. You can even used it in backstitch cross stitch.

How To Do A Half Back Stitch?
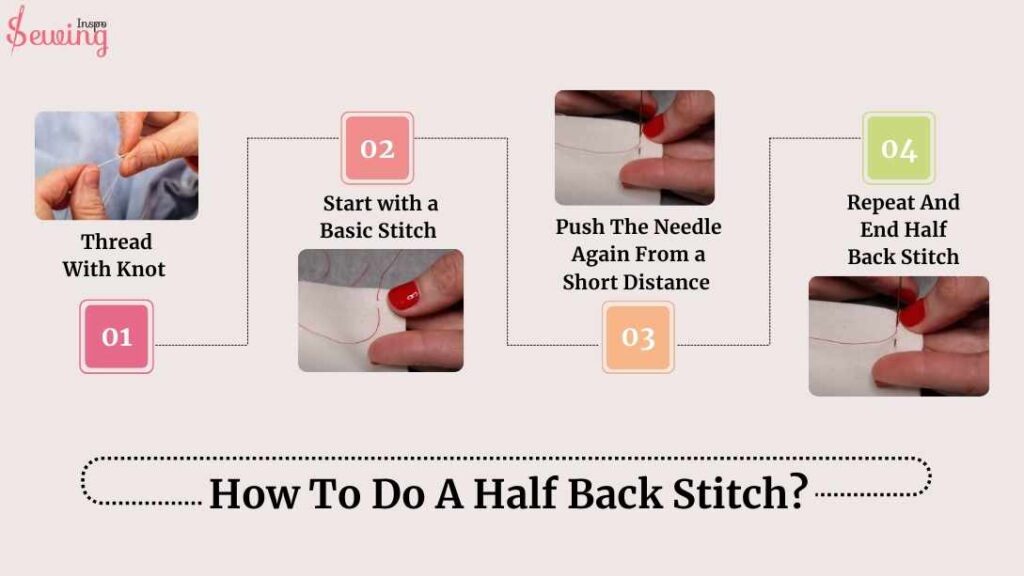
To do the half back stitch, you need to do 4 steps.
- Thread With Knot
- Start with a Basic Stitch
- Push The Needle Again From a Short Distance
- Repeat And End Half Back Stitch
Tool Need For Half Back Stitch
For the Half Back Stitch, you’ll need a few essential tools to get started:
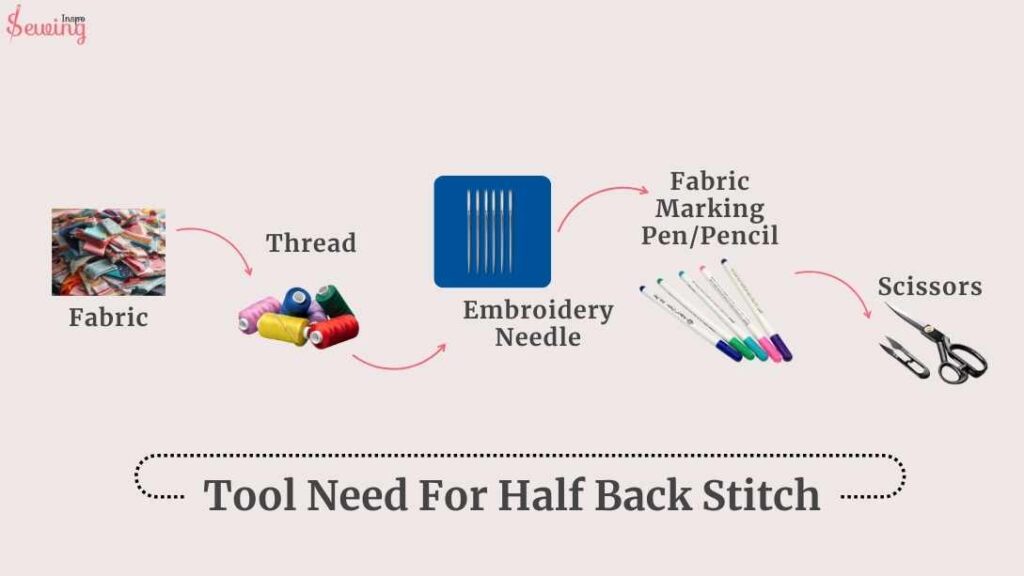
- Fabric: Aida fabric or any fabric suitable for embroidery. This fabric is also suitable for mattress stitch hand sewing.
- Thread: Use a color that contrasts well with your fabric for visibility. I use this thread for all back stitch hand sewing.
- Embroidery Needle: A sharp needle of 9 or 10 size. This size needle is helpful for whipstitch sewing.
- Fabric Marking Pen/Pencil (optional): To lightly mark where you want your stitches to go.
- Scissors: For cutting your thread cleanly.
I also use those for all different types of back stitch. Those are helpful for that stitch too.
Let’s start the lessons with steps of half back stitch.
Thread With Knot
Before you start your half-backstitch, you’ll want to secure your thread with a knot. Thread your needle and pull the thread through until the ends meet. This technique applies to all types of back stitch.
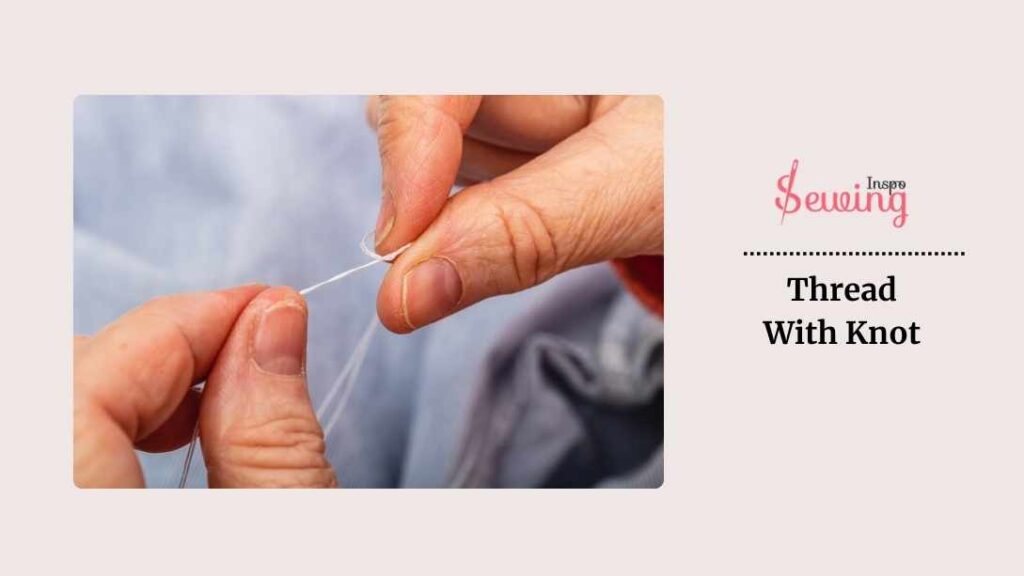
You can do this in 2 ways,
- Single thread knot
- Double thread knot
For a single thread,
You pull just one end of the thread through the eye of the needle, leaving the other end loose. After pulling the thread until about 2–3 inches are on the shorter side. However, how much thread you need depends on your design, just like the Epp flat back stitch.
To make the knot, wrap the end of the thread around your finger, roll it off, and pull it tight to create a small knot.
Since you’re only working with one thread, this setup gives you a more delicate stitch. It’s ideal for lighter fabrics or when you want less bulk in your stitches.
For a double thread,
Take an 8-12” long thread and needle it.
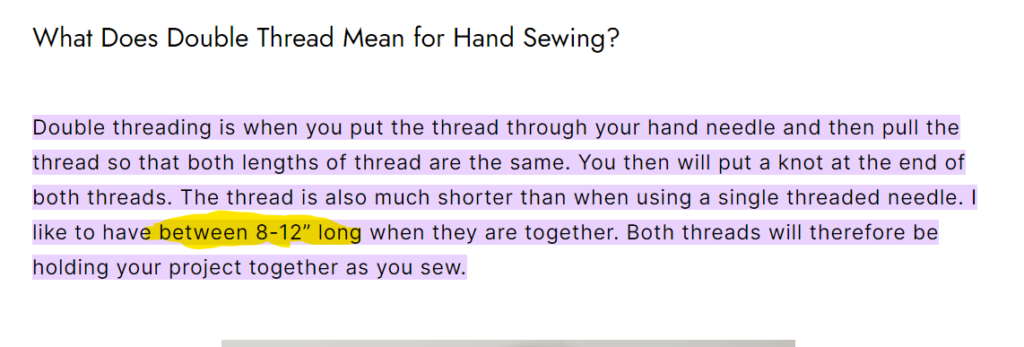
Now, tie a knot using both ends together. You can wrap both thread ends around your finger, roll them off, and pull tight to secure the knot.
Start with a Basic Stitch
To start a half backstitch, you’ll first need to bring your needle up at a 90-degree angle and push it through the fabric at the starting point. Just so you do in whipped backstitch. This is just like beginning any other stitch, so there are no surprises here.
Once you have your needle up, make the first stitch by pushing the needle back into the backstitch fabric a short distance away. Think of this as your straight stitch, simple and straightforward.

Push The Needle Again From a Short Distance
After you’ve made that first stitch, it’s time to get into the rhythm of the half backstitch. Push the needle back up through the fabric, but this time, do it from a short distance behind where your first stitch ended. This is the “back” part of the half backstitch.
How much gap is suitable between half backstitch?

Depending on your design, you can use any amount of space. However, I like to keep ⅙ inch gap between my half-back stitches.
You’re retracing your steps a little bit. Once you’ve pulled the needle through, push it back down into the fabric a short distance ahead.

It will create your next forward stitch. It’s a simple pattern of moving inside-out way slightly before moving forward again. It will give your stitches that neat, spaced-out look.
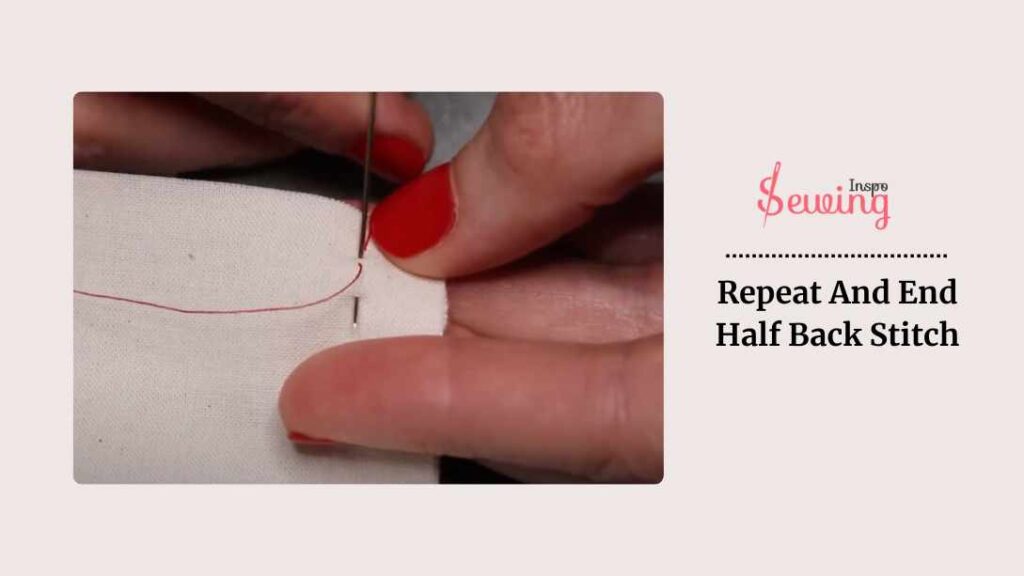
Repeat And End Half Back Stitch
Repeat the same steps to keep the rhythm going with your half backstitch. After you’ve pushed the needle forward to complete your second stitch. Bring it back up through the fabric halfway along the stitch lengths of that stitch, just like before.
This creates a small gap between stitches, which gives the half backstitch its unique look. You adjust the gap distance depending on your backstitch length.
Then, push the needle down again, the same distance forward as your previous stitches. This back-and-forth motion continues as you move along your design. Keep doing the continuous over-and-over stitches. Reminds you of running backstitch, right? Well, kinda is.
The key is to keep your stitches and gaps consistent in size. This will give your project a neat and polished appearance.
Just remember: it’s all about those small, even steps going halfway back and then a full step forward. Repeat this pattern, and you’ll have a beautiful row of half backstitches in no time!
So, yeah, I tried to give you a detailed guide on half-back stitches. Did I do a good job? Or do you still need clarification? 😔Yes, if you still need clarification, then watch this video to master these embroidery stitches.
Watch The Tutorial
Half Back Stitch
If you learn half backstitch correctly, then you do some unique sewing. Here are a few I have tried so far
Half Double Crochet Back Stitch
The half double crochet backstitch is a unique technique that combines elements of both crochet and sewing. It adds a decorative touch to your projects. You start by making a row of half double crochet (HDC) stitches, which serve as the foundation.
After completing the row, thread a needle with yarn that matches or contrasts, depending on the look you’re going for. Then, begin backstitching along the tops of the HDC stitches.
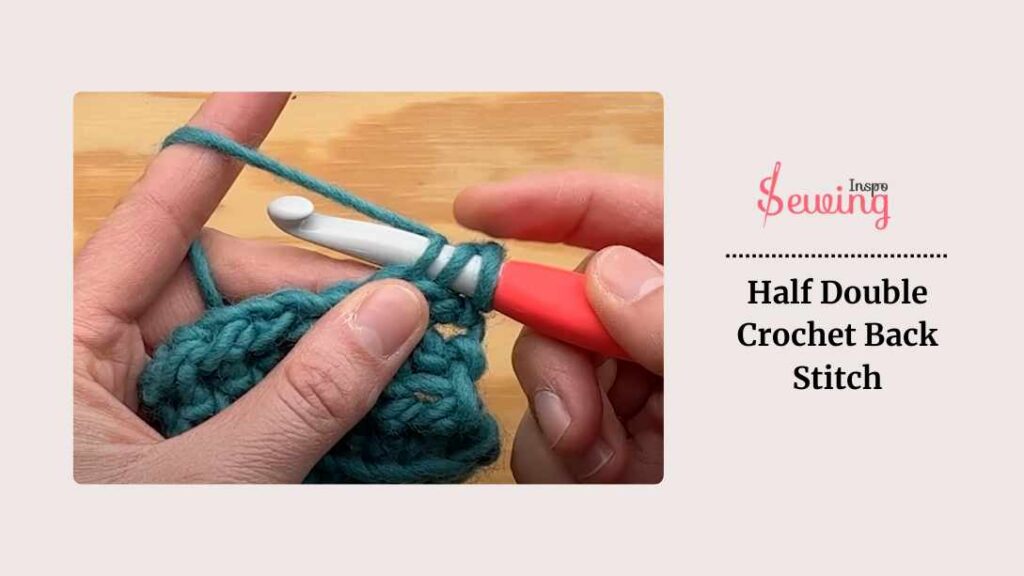
To do this,
Bring the needle up through the fabric at your starting point and stitch forward briefly. Then, bring the needle back halfway along that stitch. Continue this pattern across the row.
It creates a series of backstitches that add texture and interest to your crochet piece. This is the easy way to half double crochet stitch the back loop.
Purpose Of A Half Back Stitch
The Half Back Stitch is typically used in embroidery, cross-stitch, and other hand-sewing techniques. Its main purposes are:
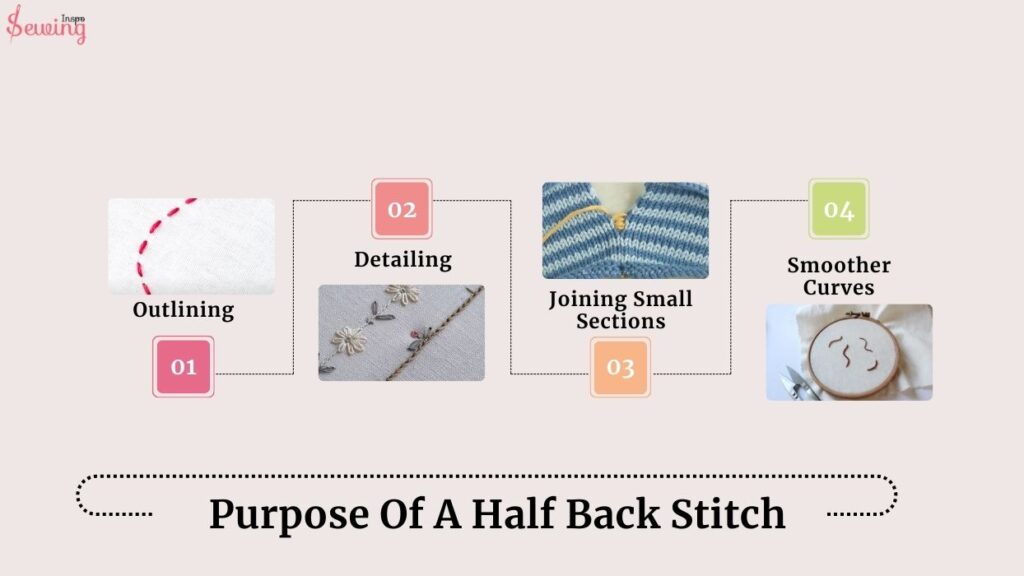
- Outlining: It’s perfect for creating clean, smooth outlines in embroidery designs, helping define shapes and details. But it won’t hold as strongly like backstitch. Cause there are differences between outline stitch vs backstitch.
- Detailing: The Half Back Stitch is great for fine lines and delicate detailing, especially when you don’t need the full strength of a backstitch.
- Joining Small Sections: It connects small design parts where a full stitch might be too bold or overpowering.
- Smoother Curves: When creating curves or intricate shapes, the half version allows smoother transitions without the chunkier look of a full backstitch.
That’s what is back stitch used for. Use it in the right place for the best result.
Half Back Stitch Design
Half back stitch is tricky, but once you get the technique, you can even do the beautiful design with it. What? Are you doubting me? Well, then, here are my few half back stitch designs:
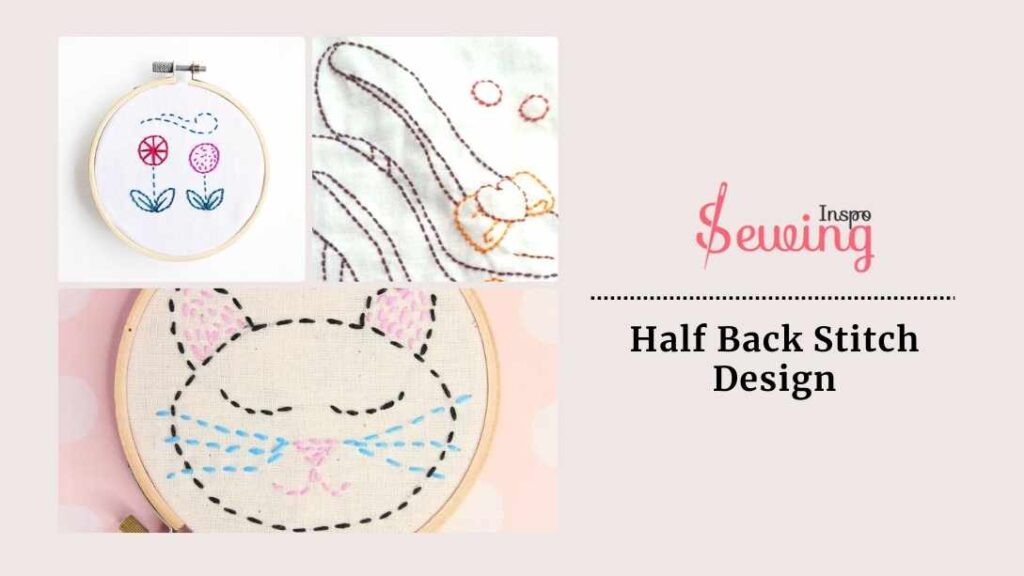
Half Back Stitch Embroidery
Half back stitch by hand became my favorite. That’s why I didn’t stop with simple design. I did many fancy Half back stitch Designs with it, too. Here, have a look, of my half stitch embroidery,


Frequently Asked Questions
When Should I Use A Half Backstitch?
Use a half backstitch to add fine details or outlines to your embroidery or cross-stitch projects. It’s great for creating delicate lines or adding a subtle texture to your work.
How Is A Half Backstitch Different From A Regular Backstitch?
In a regular backstitch, each stitch is placed directly next to the previous one, creating a solid line. In a half backstitch, the stitches have small gaps because the backward stitch is only half the length of the forward stitch.
What Kind Of Projects Is The Half Backstitch Best For?
Half backstitch is ideal for detailed embroidery, outlining shapes, and adding fine lines to cross-stitch designs. It’s beneficial when you want a lighter or more delicate outline.
Can I Use A Half Backstitch On Any Fabric?
Yes, you can use a half backstitch on most fabrics suitable for embroidery or cross-stitch. Just make sure the fabric is stable enough to hold the stitches securely.
Conclusion
See, doing half-back stitch isn’t that hard. All you have to do is practice. After that, you can do endless projects with it. So, tell me what your next project plan is. Do you need any help? If so, then feel free to contact us.


Leave a Reply