
I loved the creativity of making unique garments and crafts. But something was missing.
The finishing touches gave my projects that polished, professional look. That’s when I got the idea of doing a double top stitch. Some stitchers also called it French seam stitch, double top stitch upholstery. Cause it is mainly used for lapped seam allowances.
At first, I was hesitant. I did topstitching before but this one sounds… um kinda hard.
It seemed like an advanced technique, and I wasn’t sure if I could pull it off the pattern. But still, i decided to give it a try like other stitches. So I grabbed the the right top stitch tools everything clicked. The transformation was incredible.

I’ve since used double topstitching on everything from decorative pillowcases to denim jackets. I’ll share my journey with double topstitching and show you how you can master it too. No matter your skill level with double top stitch!
Double Top Stitched Seam Definition
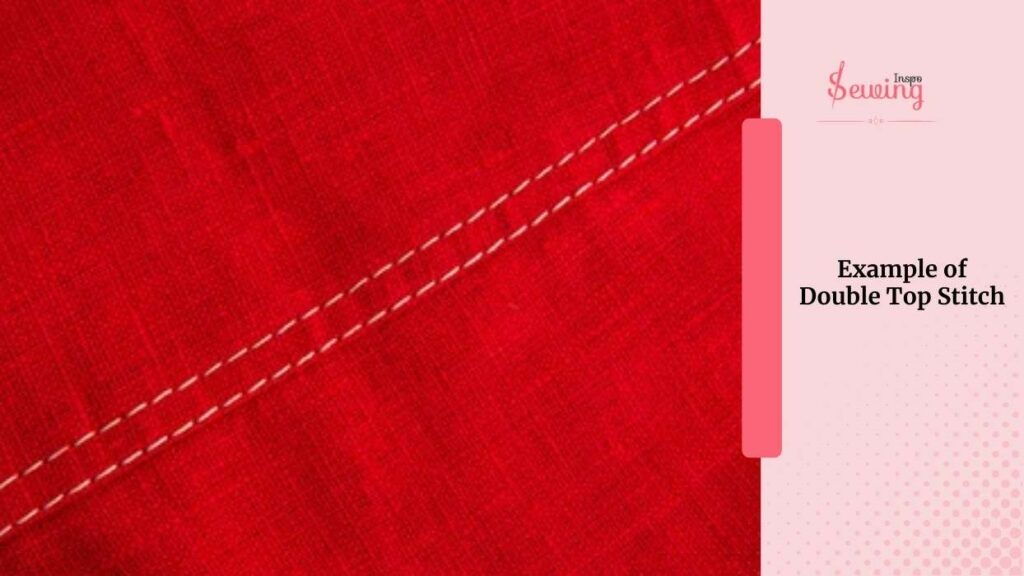
A double top stitch hem seam is a strong and decorative seam where two rows of visible stitches reinforce the fabric.
It’s commonly used in denim, sportswear, and upholstery to add durability and a polished look. This is the totally opposite of the tailors stitch line. I hope you won’t be confused about double top stitched seam definition.

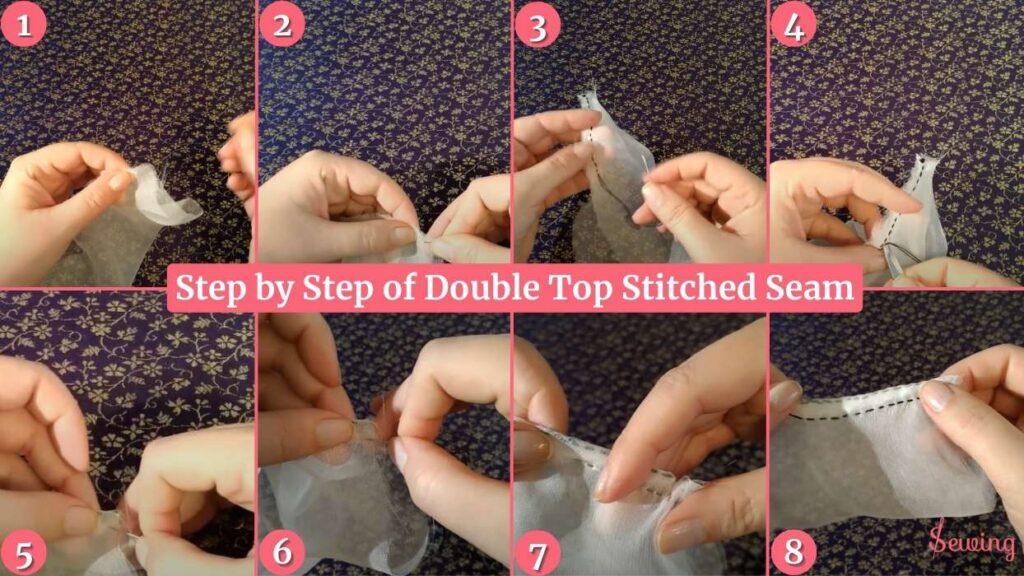
Double Top Stitch Seam
It looked hard before but still decided to do it. Cause I never give up without giving it a try. So,

Align The Wrong Sides Of The Fabric Together
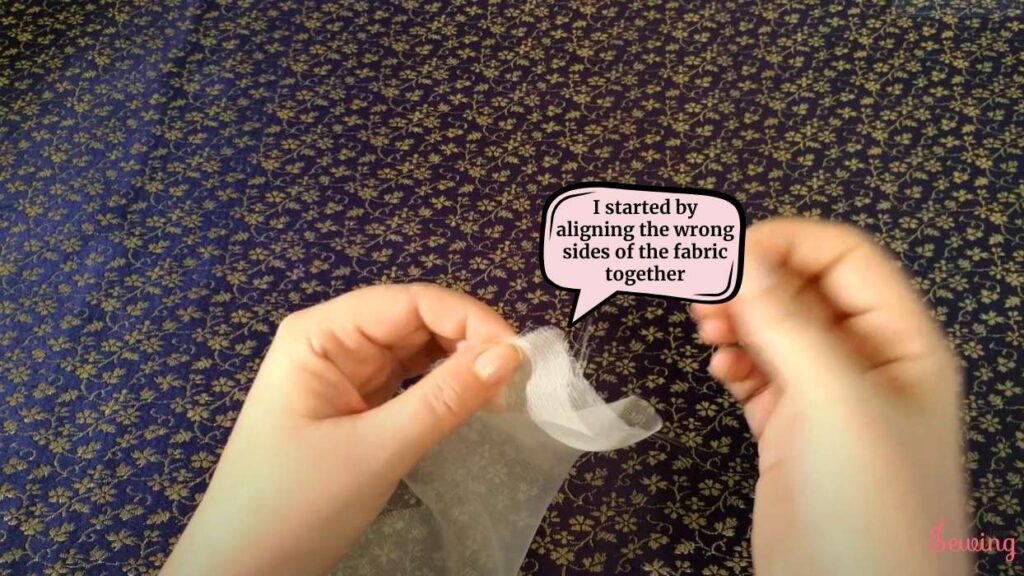
I started by aligning the wrong sides of the fabric together, which felt strange at first since it’s the opposite of how you usually start. Cause it will help me create seam line neat. That’s will create the double top stitch effect.
I Sewed A Simple Running Stitch
With my needle and thicker thread ready, I sewed a simple running stitch along the edge where I wanted the seam to be. I kept my stitches neat and evenly spaced for a clean look. You can do straight stitch too but I like to do running stitch cause it is convenient.
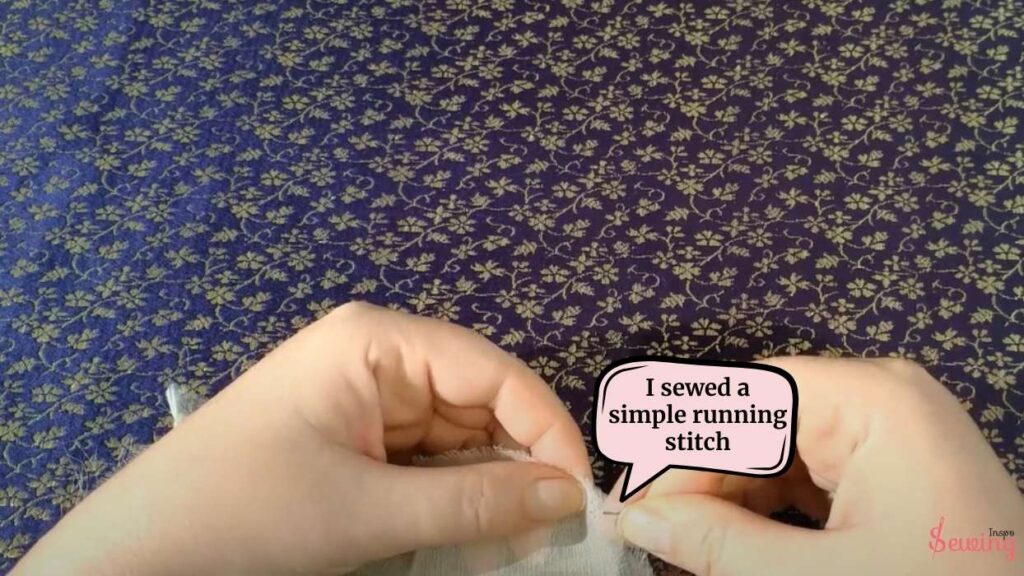
I like to keep my double top stitch between 2mm to 3 mm. Cause the length is perfect for stronger seams and double-stitched seam.
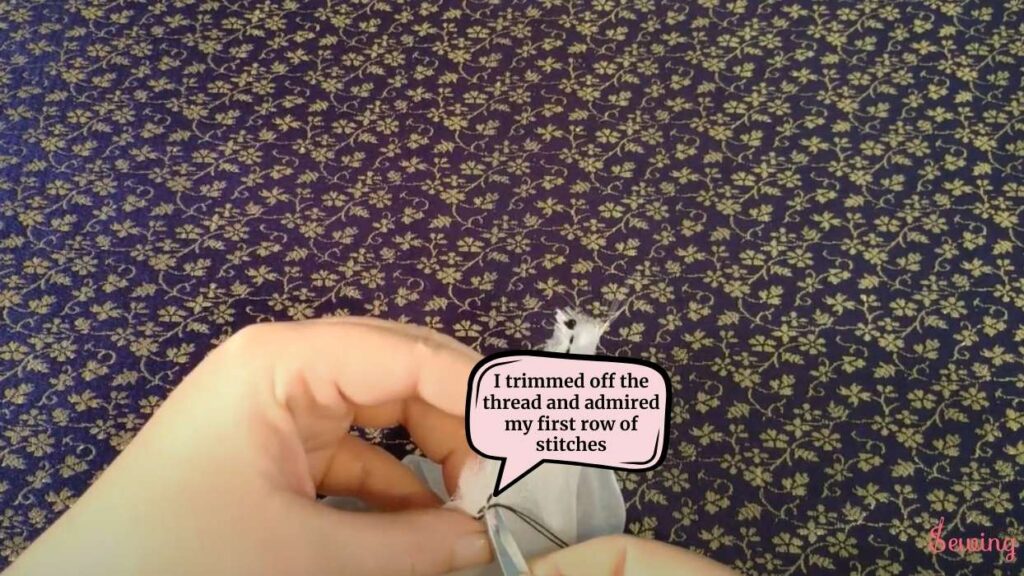
I Pulled The Thread Through Gently
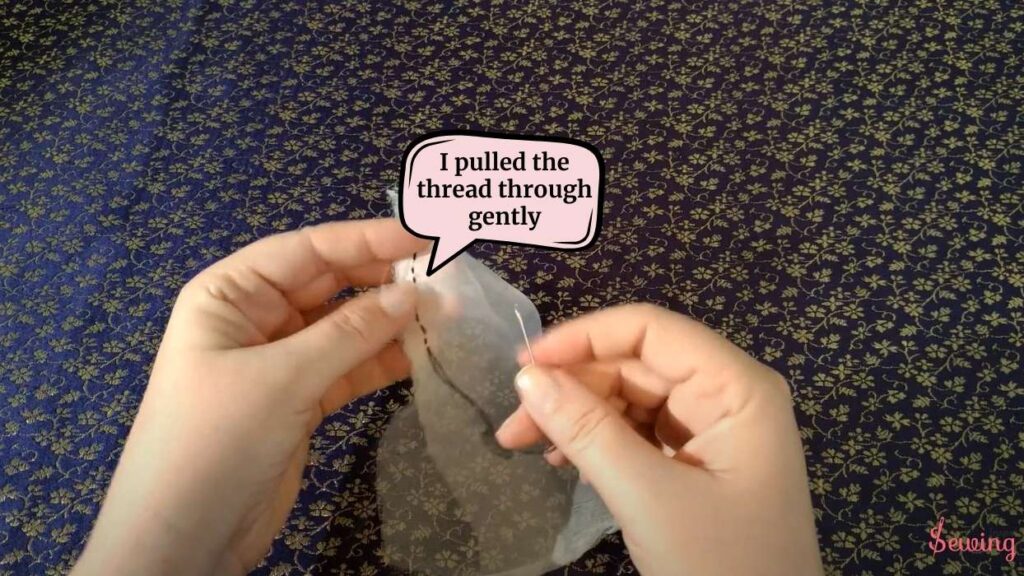
At the end of the seam, I pulled the thread through gently. It ensured it wasn’t bunched up, and secured it by stitching back a few stitches. But make sure to use the right needle size for a smooth process.
Then I trimmed off the thread and admired my first row of stitches.
I Tie Up The Raw Edge
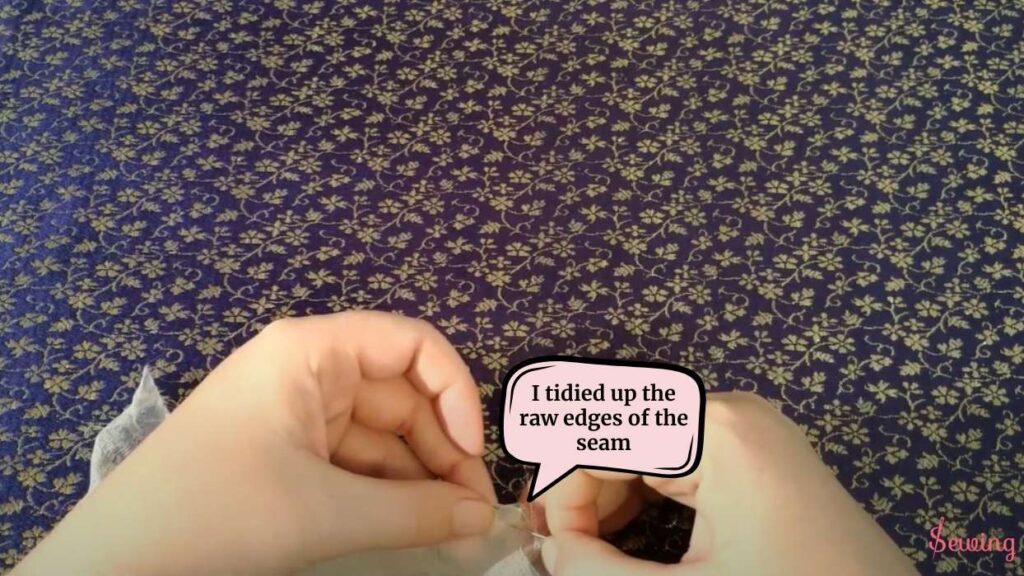
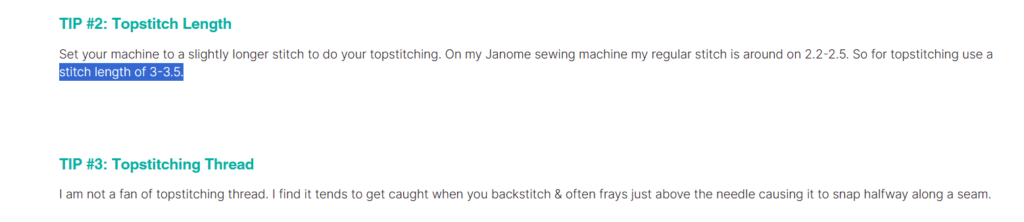
Next, I tidied up the raw edges of the seam. I carefully trimmed away any loose threads or uneven finer fabric to make the edges smooth. This will help you to maintain the right topstitch length.
This step is important because it prevents stray threads from peeking through the finished seam. That’s what double topstitch is.
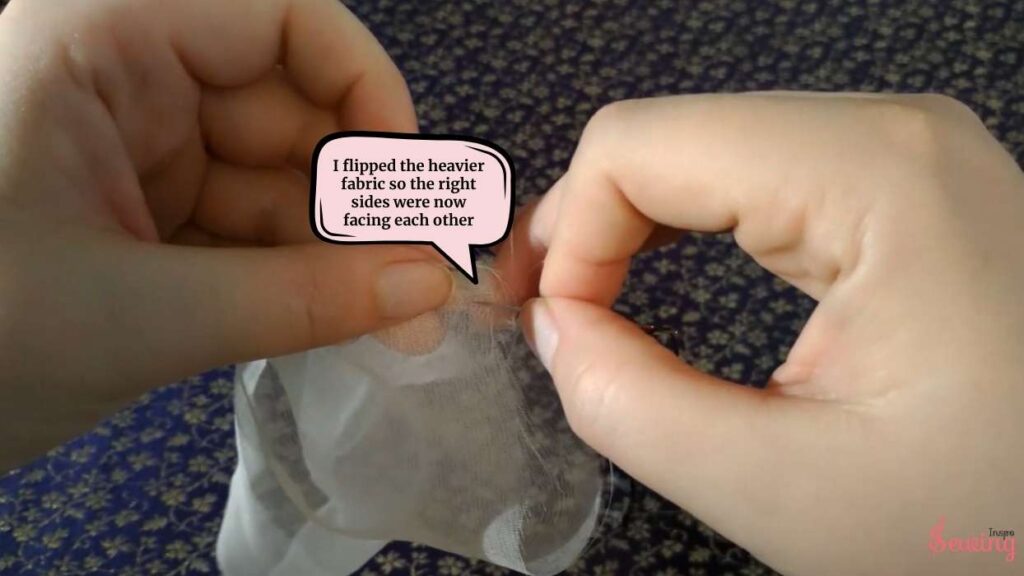
Flipped the fabric
With the first seam done, I flipped the heavier fabric so the right sides were now facing each other. And the raw edge from the first seam was tucked neatly inside. Like half topstitch.
Stitch Along The Edge
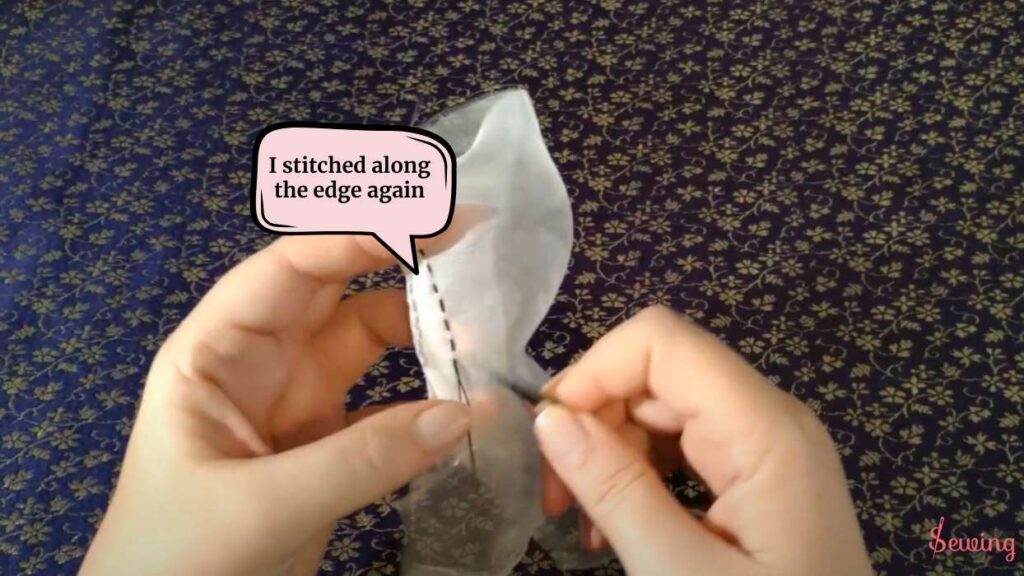
Now, I stitched along the edge again, just below the first seam’s raw edge, to encase it completely.
I took my time here to ensure the stitches were even and followed the edge smoothly. As I pulled the thread through, I felt a sense of accomplishment seeing the raw edges disappear into the seam.
Double Stitched Seam Step By Step
If you are confused about any of the above steps then watch this video tutorial.
The Final Look
Once finished, I turned the pieces of fabric right side out and gave it a final check. On the outside, it looked like a regular, neat seam. On the inside, all the raw edges were hidden, encapsulated in a second layer of stitching.
And that’s it! My double top stitched seam is done!
It’s now my go-to method for finishing seams on lightweight fabrics or delicate projects where a clean finish matters.
Don’t worry about making mistakes. I’ve ripped out stitches more times than I can count while learning. But once you get the hang of it, you’ll never look back.
Example Of Double Top Stitch


Leave a Reply