
I have done many projects with all kinds of cross-stitching. But recently, some of my work has been fraying from the edge. I was like, “Why is it happening? How can I stop it? 😭” I went to my grandma with this trouble.
She said you can easily stop fraying with cross stitch overcasting edges. You never heard of it?’ i was like, ‘ NO!’ she happily said ‘It’s super easy. Here is how,
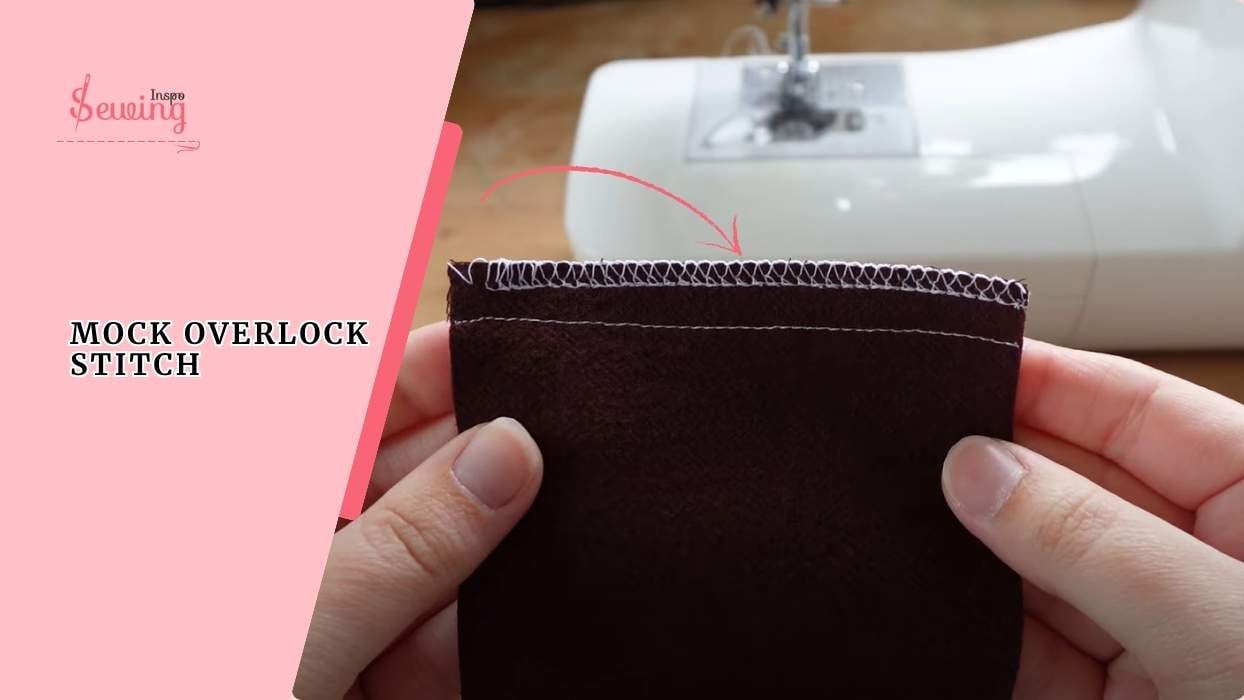
cross overcasting
To overcast cross stitch fabric edges by hand, use a whip stitch or overcast stitch along the raw edges to prevent fraying.
She knew that little glance wouldn’t make me fully understand things. So she showed me the full process & and I had taken notes for my sewinginspo readers. Let’s do cross stitch overcasting edges.
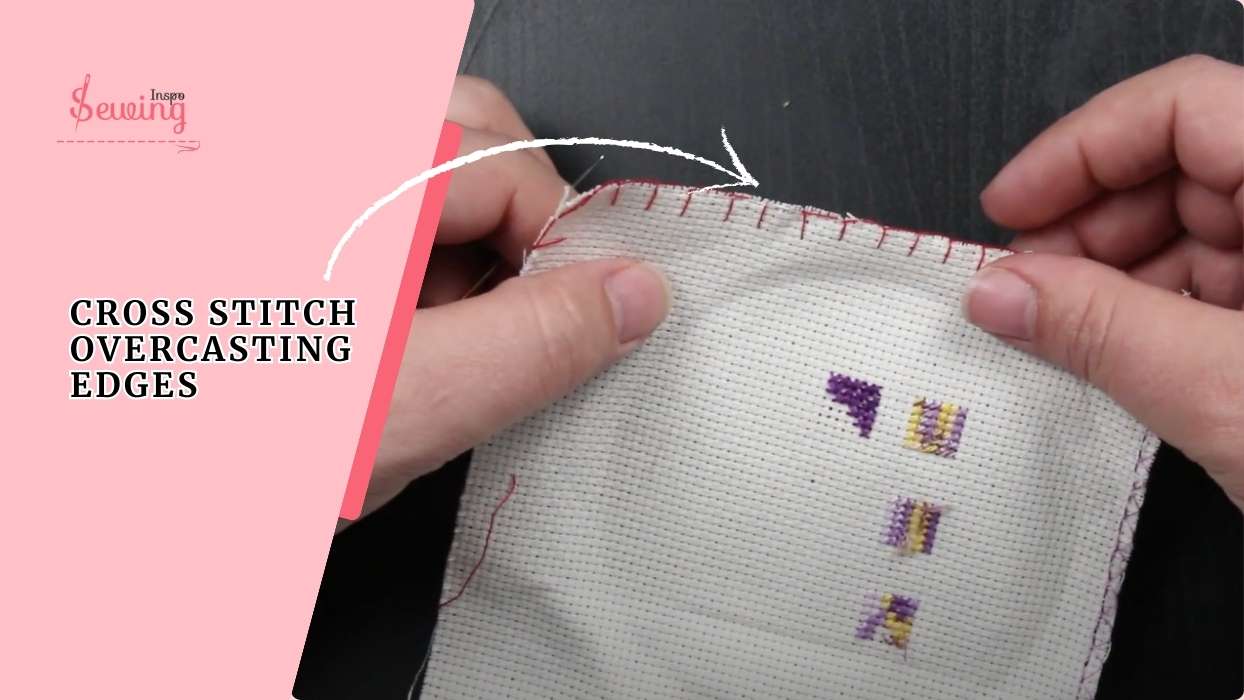
Table of Contents
What Does Cross Stitch Overcasting Edges Mean?
Cross stitch overcasting edges mean you’re stitching around the raw edges of your fabric to stop it from fraying while you work on your project. It not only happened with cross stitch patterns but also with every 7 basic hand stitches.
It’s kinda like putting a protective border on your fabric. So, those little threads don’t start unravelling and ruining your masterpiece. You usually use a zigzag stitch or whip stitch to do it.
Trust me, it might feel like an extra step, but it saves a lot of stress later on!

How To Stop Edges Fraying On Cross Stitch?
Stopping fabric edges from fraying is super easy once you know your options! Here are a few tried-and-true ways I personally use (and love):
- Use masking tape or washi tape
- Whip stitch or overcast stitch
- Fray check or fabric glue
- Sew a zigzag stitch with a sewing machine
- Hem the edges

I usually use tape when I’m feeling lazy, but if it’s a big project, I overcast the stitch. It holds like a charm. So today, I want to show you that technique, too.
Grandma said and started demonstrating Cross stitch overcasting edges patterns.
How To Do Cross Stitch Overcasting Edges By Hand?
The talks about preventing cross stitch from fraying excited me so much. That’s why Grandma decided to show me practically.

Cut and Prep Your Fabric
Before anything, decide the size of the fabric you need for your pattern. Always leave 2–3 inches of extra fabric around all sides. This gives you enough space for framing, hooping, or finishing later.
Once cut, give the fabric a gentle shake to remove any stray fibers or fuzz. If you notice fraying already happening, don’t panic—we’re about to fix that!

Pro Tip: Iron your fabric lightly if it has any wrinkles. It makes stitching way easier.
Choose Your Thread
You don’t need anything fancy for overcasting—regular sewing thread works just fine if you have leftover embroidery floss, even better! Use one strand for a cleaner finish.
Pick a colour that either blends in with your fabric or gives you enough contrast to see your stitches clearly while working. Just remember, these stitches will likely be hidden once the piece is finished.

I usually use a light gray or neutral shade so it’s easy to see but not distracting.
Thread Your Needle
Choose a small, sharp embroidery or sewing needle that glides smoothly through the weave of your fabric. Cut a piece of thread about 18–24 inches long—anything longer may tangle.

Thread your needle and tie a small knot at one end. If you’re using embroidery floss, split it to use 1 or 2 strands, depending on your preference for thickness.
Back Of The Fabric, Bring Your Needle Up
Pick any corner—usually bottom left or top right is most comfortable.
From the back of the fabric, bring your needle up through the weave, about 1/8 inch (or 2–3 threads) in from the edge. Pull the thread until the knot is snug against the back of the fabric.

Bringing The Needle Over The Edge Of The Fabric.
Now we’re stitching! Make a diagonal stitch by:
- Bringing the needle over the edge of the fabric.
- Inserting it from front to back, again about 1/8 inch from the edge.
- Pulling it through so it hugs the edge securely.

Each stitch wraps around the raw edge like a protective loop. Continue stitching like this all along the edge. Space each stitch evenly about 1/8 to 1/4 inch apart, depending on your fabric count.
Finish It Off With Backstitch
When you reach the end of one side:
- Flip your fabric to the back.
- Make a tiny backstitch or two to secure your thread.
- Knot it if needed.
- Trim the thread, leaving a short tail (optional: weave it into the edge for extra hold).

If you continue to the next side, you can pivot around the corner with a curved stitch and keep going—just be sure it stays smooth. That’s how to sew edges of cross stitch.
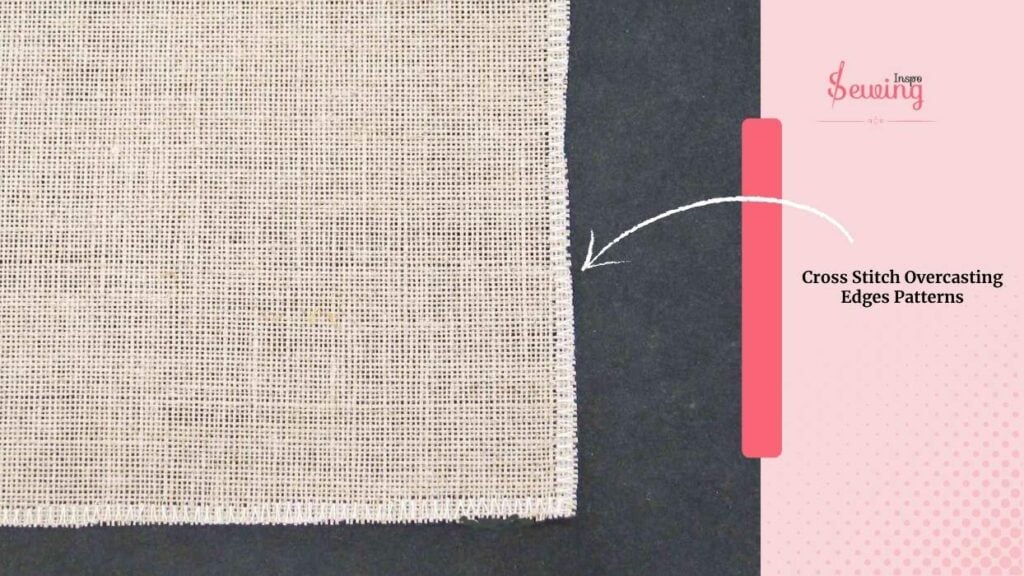
Cross Stitch Overcasting Edges Patterns
If you love the above pattern, you’ll want to try this one too. Those give an interesting touch to your edge.
How To Finish Edges Of Cross Stitch Bookmark?
After learning that from Grandma, I tried so many projects. But that technique didn’t work in my cross-stitch bookmark. Maybe because it is small. But insist on sitting down; I use another technique on it. Here is how,

- Cut your fabric close to the design, leaving a small border (around ¼” to ½”) all the way around.
- Dab a bit of Fray Check or even clear nail polish along the edges to prevent fraying. Let it dry completely.
- If you want a clean back, fold the edges to the back side and use a little fabric glue to hold them down.
- Cut a piece of felt the same size as your bookmark and glue or stitch it to the back.
- You can stitch around the edge with a blanket stitch or whip stitch using embroidery thread to make it look decorative and secure.
And that’s it. You are done. Quick, easy, and looks super polished!
Frequently Asked Questions
Why Should I Overcast The Edges?
To keep your fabric from unraveling—especially helpful if you’re working on a project that takes weeks or months.
Do I Need A Sewing Machine To Overcast?
Nope! You can do it by hand with a simple overcast or whip stitch.
What Kind Of Thread Should I Use For Overcasting?
Use a strong sewing thread or embroidery floss that contrasts slightly with your fabric so it’s easy to see and remove later (if needed).
Outro
That’s how my grandma taught me to cross-stitch overcasting edges. I tried each of them, and trust me, they were so good. Have you tried any of them so far? If yes, then share your experience with us.

Leave a Reply