Sometimes I feel like I can keep talking about backstitch for hours and hours. And still, something will be left out. 😑 Cause there is so much to talk about. Today I found another technique of backstitch called ‘back tack stitch’.
At first, I thought it was the same as the back stitch but it isn’t.
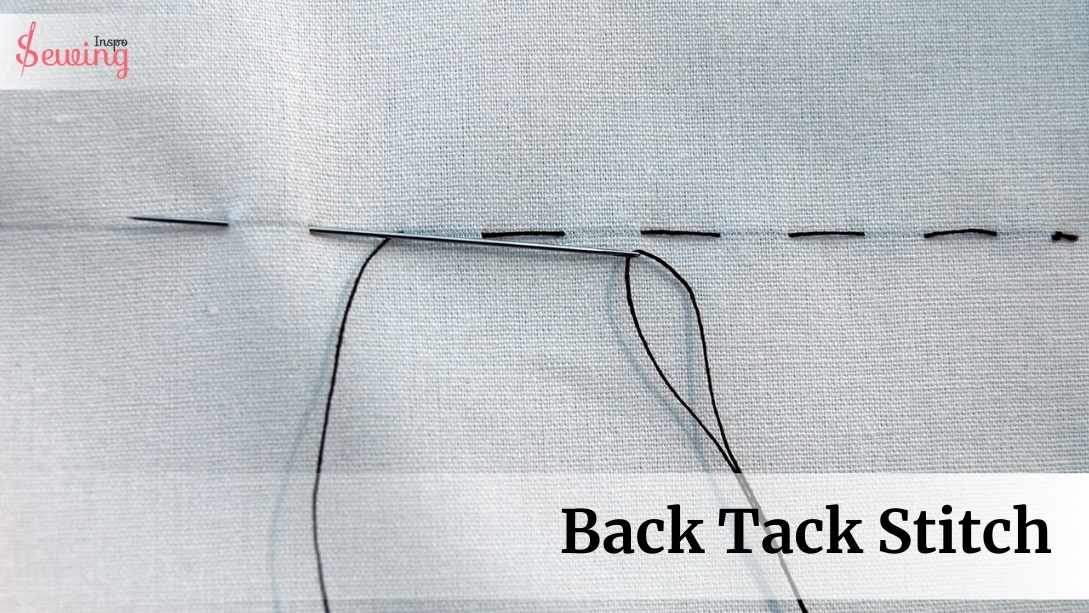
Basically it is-
A back tack stitch is a technique used in sewing to secure the beginning and end of a seam by sewing a few stitches in reverse, preventing the stitches from unraveling. That’s what back tack meaning.
So, you can that this is various of the strongest stitch. Now, you must be Curious to know how to use it properly. Then read till the end to find out all your answers and learn backtack a little more closely.
What to look forward to back tack meaning,
- Back tack stitch is a hand sewing technique used to secure seams
- It is commonly used in areas that experience stress, like garment seams.
- Some back tack stitch patterns are Basic, double, decorative, and zigzag.
Table of Contents
What Is Back Tack Stitch?
A back tack stitch is a small but essential hand sewing technique that helps secure the beginning and end of a seam. This is the easiest one among other types of back stitch.
It can also used as tacking stitch by hand. It may sound and look like a back stitch but it isn’t. When you’re stitching, you might notice that your thread could start to loosen up over time or after some wear. The back tack stitch is your way of preventing that from happening. Just like back stitch helps to sew something back together. This is the perfect back tack meaning.
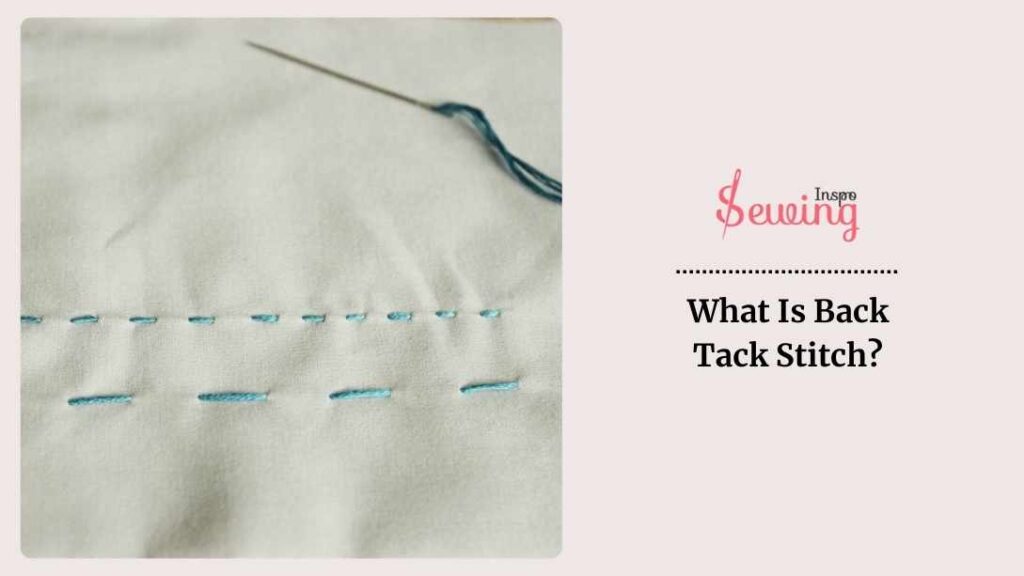
It’s like doubling back on your stitches, going over the same spot a couple of times to lock everything in place. The setup on stitch length is super handy, especially when you’re working on projects that will get a lot of use or movement, like clothing or bags. This is kinda like running backstitch.
If you’re already familiar with a basic running stitch, adding a back tack at the start and end of your seam is a quick and easy step that makes your work more durable. So use backtack whenever you need something quick.
What Is Back Tack Stitch Used For?
Back tack stitch is mainly used for 4 reasons such as:
- Locking seams
- Attaching fabric
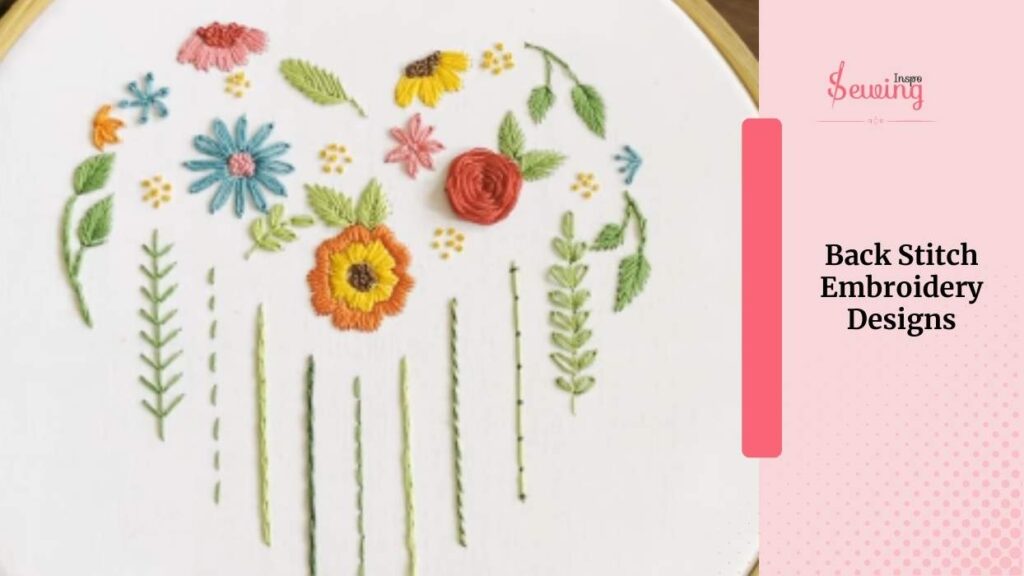
- Embroidery
- Appliques
This is kinda like front stitch sewing, right? Well, the uses are similar but it is not!
Backtack sewing is totally different from that.
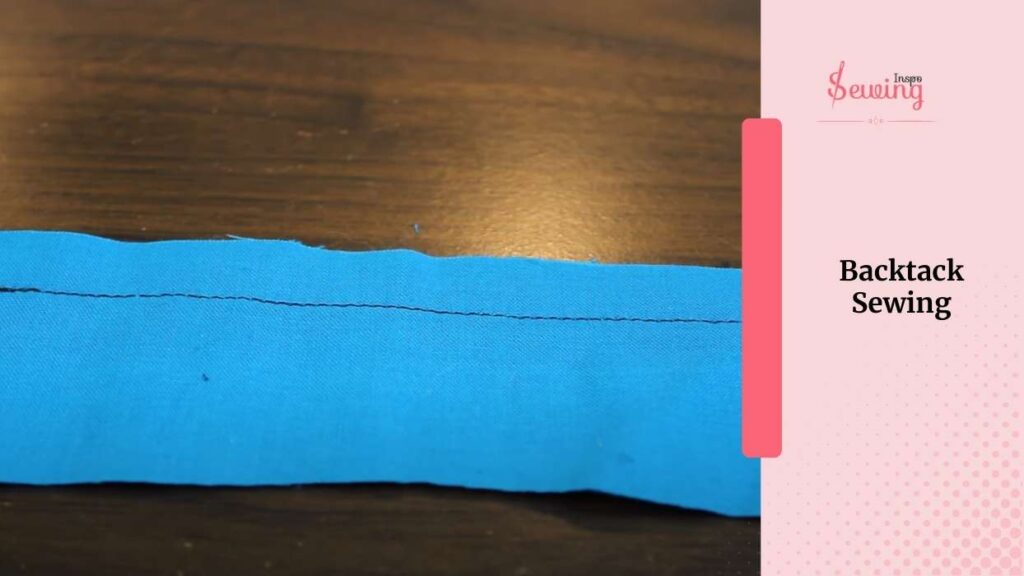
A back tack stitch is primarily used to secure the ends of a seam. It ensures that the stitches don’t unravel over time. Just like the back stitch used to secure. Backtack sewing is not for embroidery it is for temporary tack.
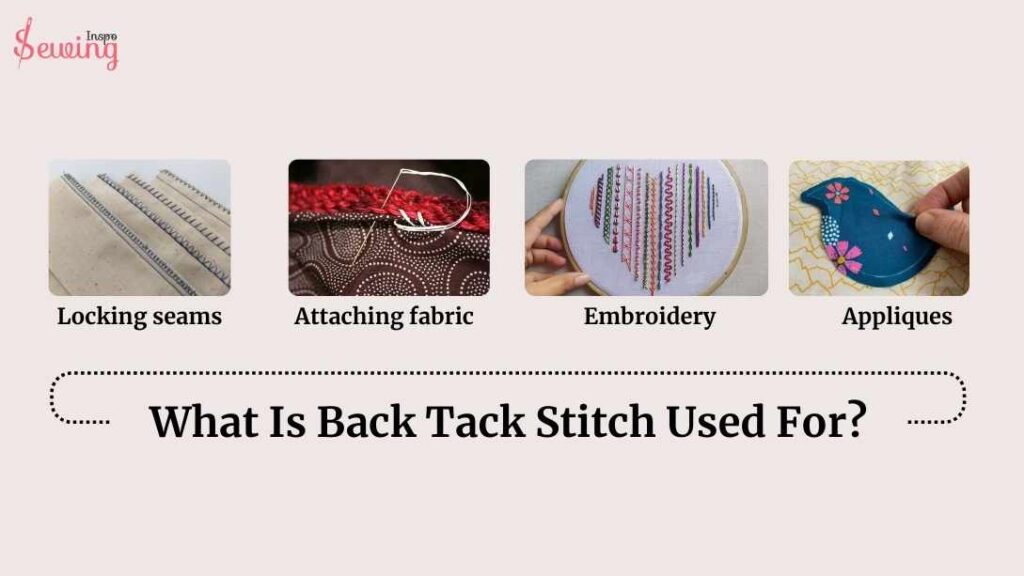
It’s particularly useful when you’re starting and finishing a line of stitching, whether you’re sewing by hand or with a machine. Going back over the stitches a couple of times creates a strong anchor that keeps your seam intact. Makes it a perfect reinforcement stitch.
It can even handle regular wear and tear. This technique is especially important for areas that will experience stress, like the edges of seams on garments, bags, or any item that will be handled frequently. Back tack stitch can used every edge.
How To Do Back Tack Stitch By Hand?
Now after all those talks, you might be interested in learning how to back tack stitch right? No worries I won’t leave you hanging here too. I will show you the backtack sewing.
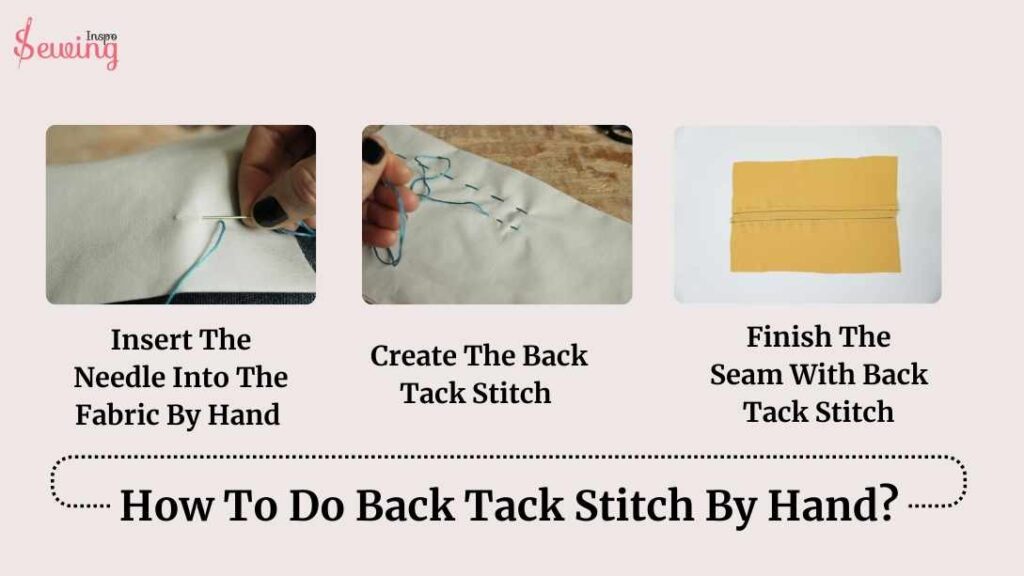
To do back stitch you need to follow 3 steps,
- Insert The Needle Into The Fabric By Hand
- Create The Back Tack Stitch
- Finish The Seam With Back Tack Stitch
Insert The Needle Into The Fabric By Hand
Insert the needle into the fabric with 18 inch bobbin thread from the wrong side. So that the knot stays on the inside of the fabric. Pull the needle through to the right side of the fabric. This will secure the thread even in slippery fabrics. You even use this technique on back whip stitch in leather.
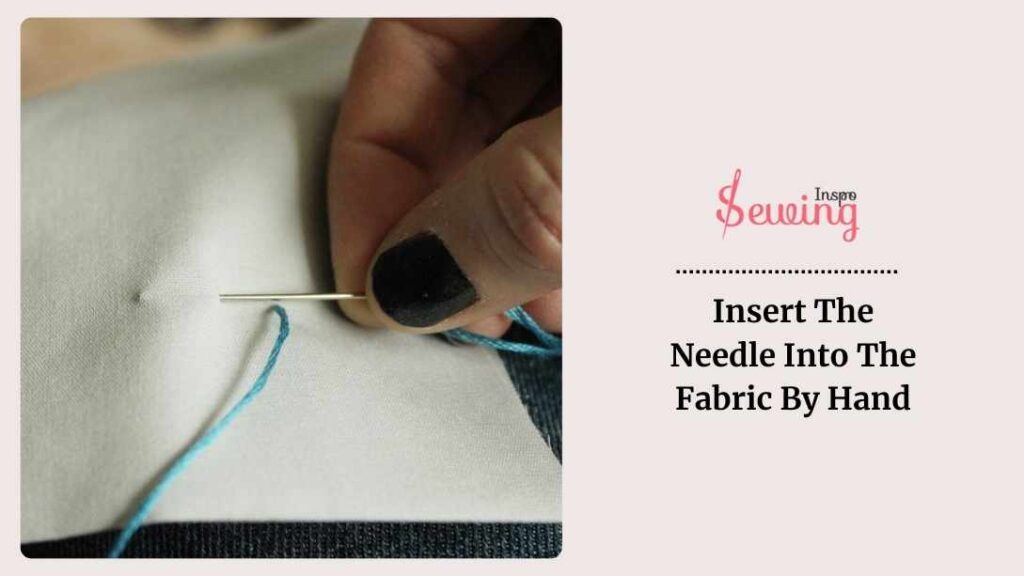
Then start stitching and move forward on the fabric (usually about 1/4 inch or 6 mm) and insert the needle through to the back. Pull the thread tight as you did in whipped back stitch.
This first stitch will be your starting point for back tacking sewing.
But make sure to use the right size needle according to your fabric. Otherwise, it will be kinda hard to stitch. This needle is perfect for back tacking.

However, 4 size needle is perfect for back tack stitching.
Create The Back Tack Stitch
After you’ve just made your first stitch and now it’s time to secure it with a back tack or you can tie a knot. You’ll want to bring your needle back up through the pieces of backstitch fabric.
But not right where you just went in. Instead, come up a little bit in front of that first stitch—about 1/4 inch ahead. But lengths between stitches can vary depending on the stitch length. This is where you’re setting yourself up to double back and secure the thread.
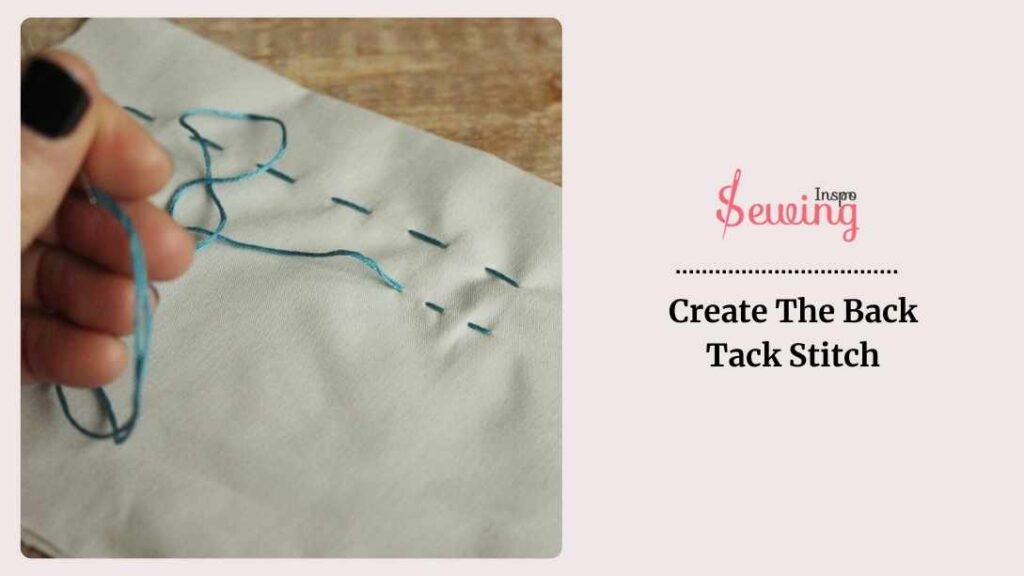
Once you’ve pulled the needle through, take a moment to line it up with the end of that first stitch, where the thread originally came out.
Now, push the needle back down into the fabric at that exact point. What’s happening here is that you’re creating a little loop of thread on the underside of the fabric. Which locks everything in place, making the stitch more secure.
As you pull the needle through, you’ll feel the thread tighten, and just like that, you’ve created a back tack.
This little technique is a simple but effective way to make sure your stitches don’t come loose. It especially works in areas that might experience some wear and tear.
Now continue doing it until you like the seam is totally secure.
Finish The Seam With Back Tack Stitch
Alright, you’ve stitched along your seam, and now you’re at the end, ready to finish things off.
So, here’s what you do:
When you reach the end of your seam, don’t just stop. Instead, you’re going to go over that last spot a couple of times. Bring your needle up just a bit ahead of where your thread came out.
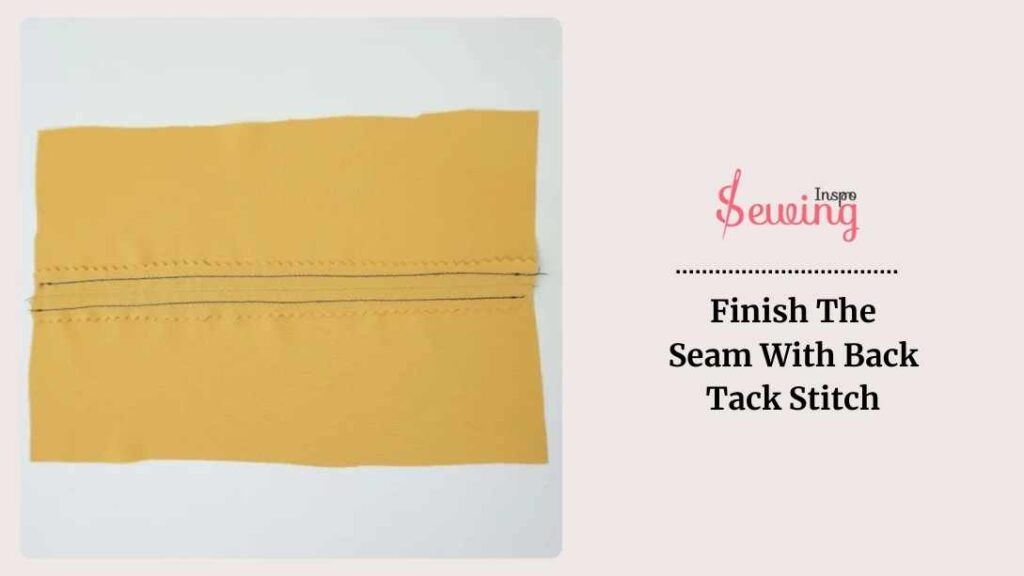
And then push it back down right into that same spot. Do this a few times—maybe 2 or 3 times—so you’ve got a nice, sturdy knot of stitches holding everything in place. I even try this method on a laced back stitch.
When you’re done, just tie off the thread on the underside of your fabric with a little knot to secure loosen stitches, and trim off the excess. And tada! Your seam is all set, and you can be confident it’ll hold together nicely. You can even do this technique for back stitch leather.
Then secure the thread, tie a small knot on the underside of the layers of fabric, and trim the excess thread.
Back Tack Stitch Patterns
When you’re doing a single stitch, there are a few different ways you can use it, depending on what you’re working on. Each back stitch pattern serves a different purpose, whether it’s for strength, decoration, or even just personal preference. Let’s explore a few patterns you can try rather than complex embroidery stitches. It will create eye eye-catching effect like a back stitch chain stitch but it still works some.
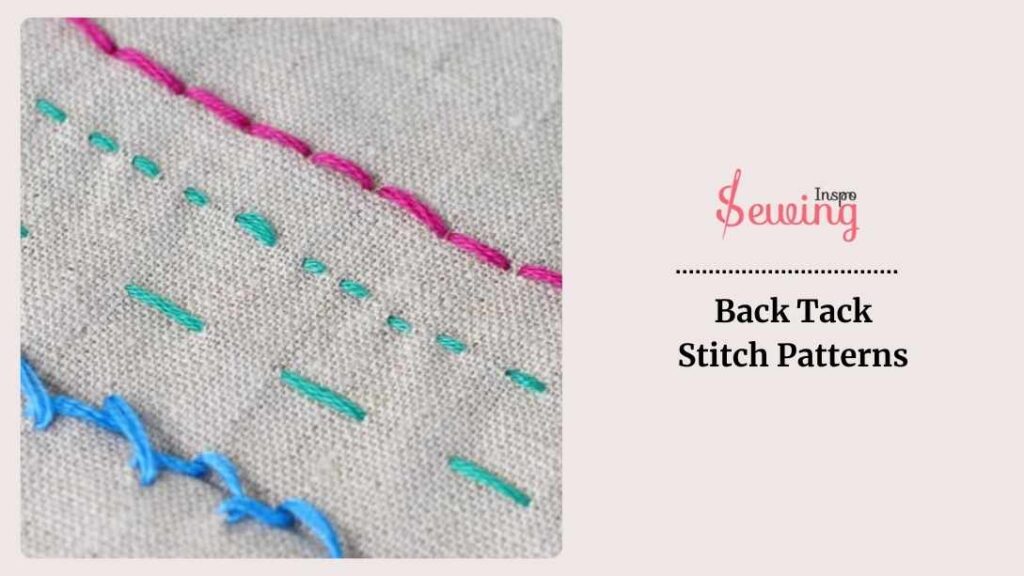
- Basic Back Bar Tack Stitch: This is your go-to for securing the start and end of seams with bar tack.
- Double Arrowhead Tack Stitch: Ideal for extra reinforcement in high-stress areas, like the underarm seams of a garment or the corners of a pocket.
- Decorative Back Tack: This is great for adding a bit of flair to your sewing projects, like on visible hems or decorative seams.
- Zigzag Back Tack: Zag stitch is useful for areas that need flexibility, like stretch sheer fabric. This tight zigzag stitch keeps it in shape.
Each of these patterns serves a different purpose, so you can choose the one that best suits your project. I like the zigzag back tack stitch pattern. It gives a unique yet eye catchy stitch pattern to look into.
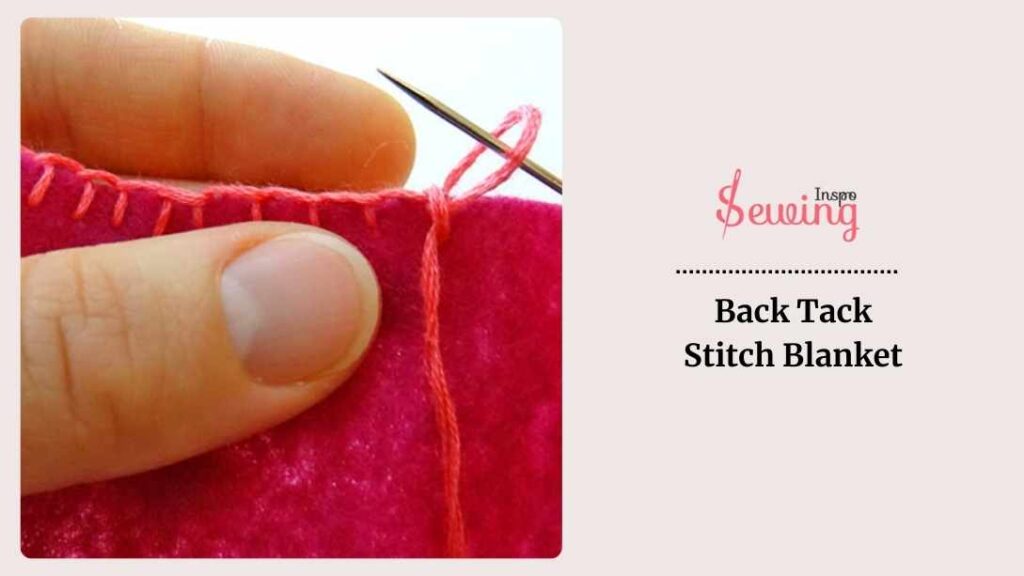
Back Tack Stitch Blanket
Since back tack stitch is most used in scouring seams. So, you can use it more while doing blanket stitch. Here are a few works of mine:
Back Tack Stitch Crochet
A back tack stitch in crochet is a quick and easy way to secure the beginning or end of your work. When you finish a row or need to fasten off your yarn, you can do a back tack by pulling the yarn through the last loop on your hook.
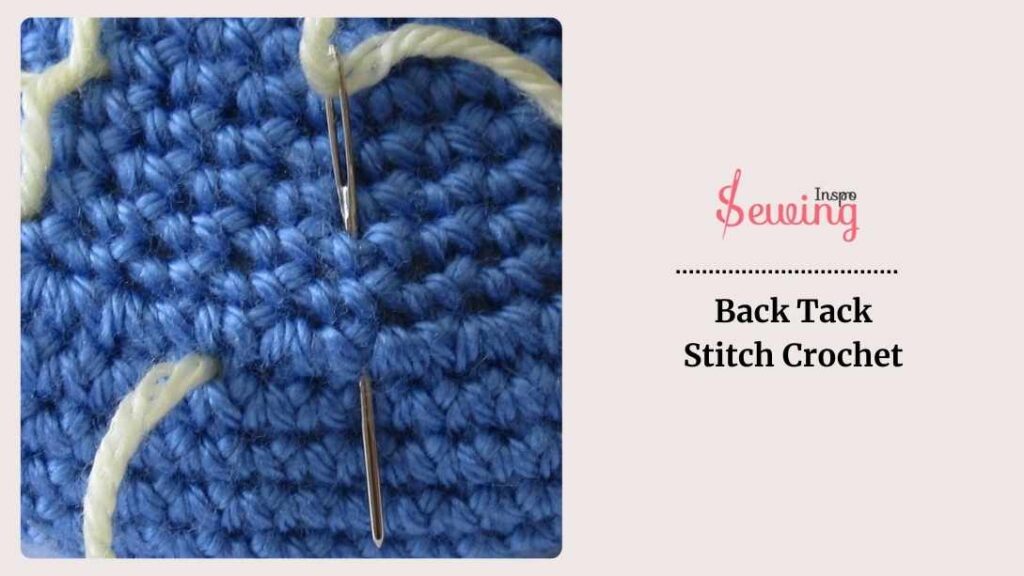
Then go back through a few basic stitches in the opposite direction. This locks the yarn in place, preventing it from unraveling and giving your project a neat, secure finish. It’s especially handy for projects that will get a lot of use, like blankets or bags.
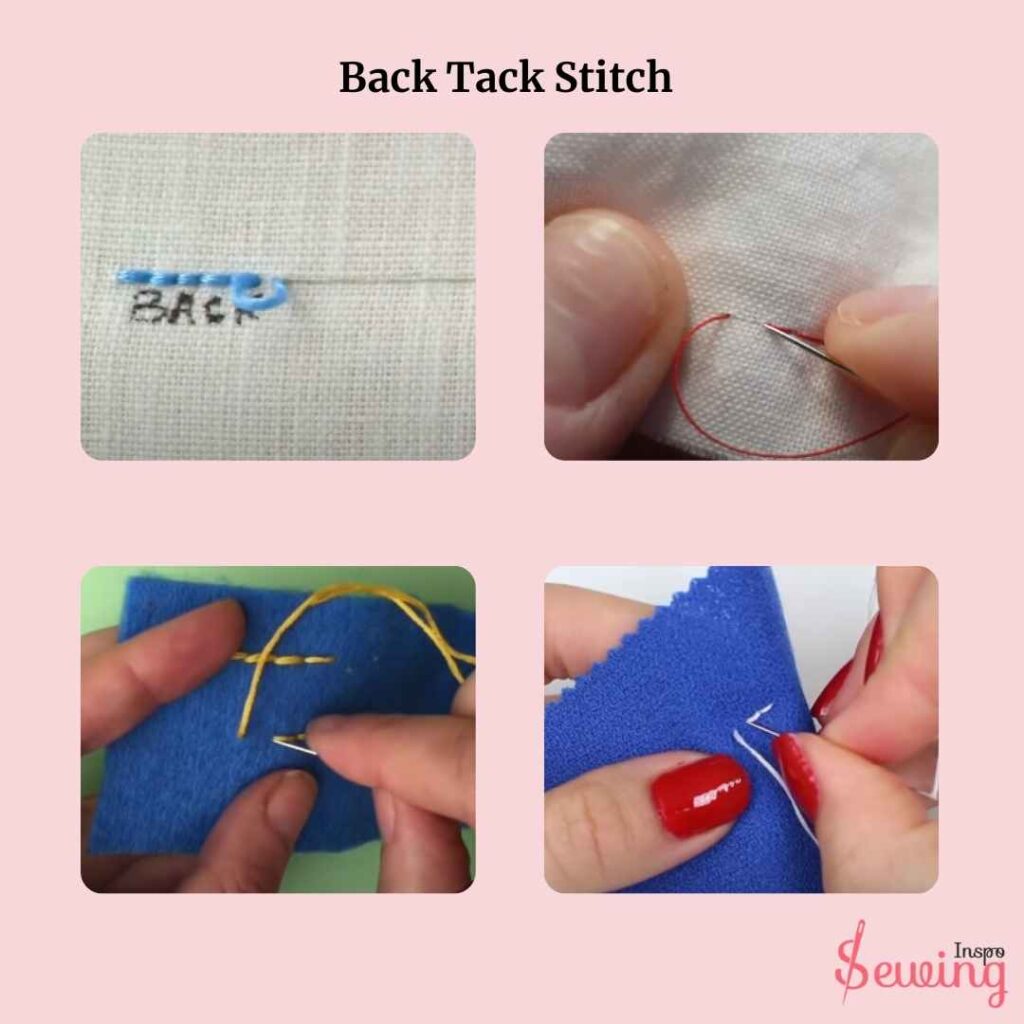
Backtack Stitch Image Collection
Back tack stitch is a unique way to do stitch. And that’s why stitcher uses backtack to make their embroidery stand out from the crowd. I did too.
And I even make an image collection of back tack stitch. See those and see if it works as your sewing inspiration or not.
Frequently Asked Questions (FAQ’s)
Why Is A Back Tack Stitch Important In Sewing?
A back tack stitch is crucial for securing the beginning and end of a seam. It prevents the high-density stitches from unraveling over time. It adds durability to your projects, especially in areas that experience stress, like garment seams or bag handles.
Can I Use A Back Tack Stitch In Hand Sewing And Machine Sewing?
Yes, you can use a back tack stitch in both hand and machine sewing. For hand sewing, you manually go back over your individual stitches to lock them in place. In machine sewing, many machines have a reverse function that allows you to easily back tack at the start and end of your seam.
When Should I Use A Back Tack Stitch?
You should use a back tack stitch at the beginning and end of any seam that won’t be intersected by another seam later on. It’s particularly important for seams that will undergo stress, like the edges of garments, the final borders of quilts, or when attaching fabric pieces that need to stay securely in place.
Sum Up
That’s what back tack stitch is. I tried to cover up everything if you still have any questions left then feel free to contact us.


Leave a Reply