
I learnt sewing backstitch but it wasn’t enough for me. I want to do a fancy back stitch pattern. So I went to Hasan and asked him to show me some back stitch designs.
He instantly grabs fabric, thread & needle and starts saying,
Pattern
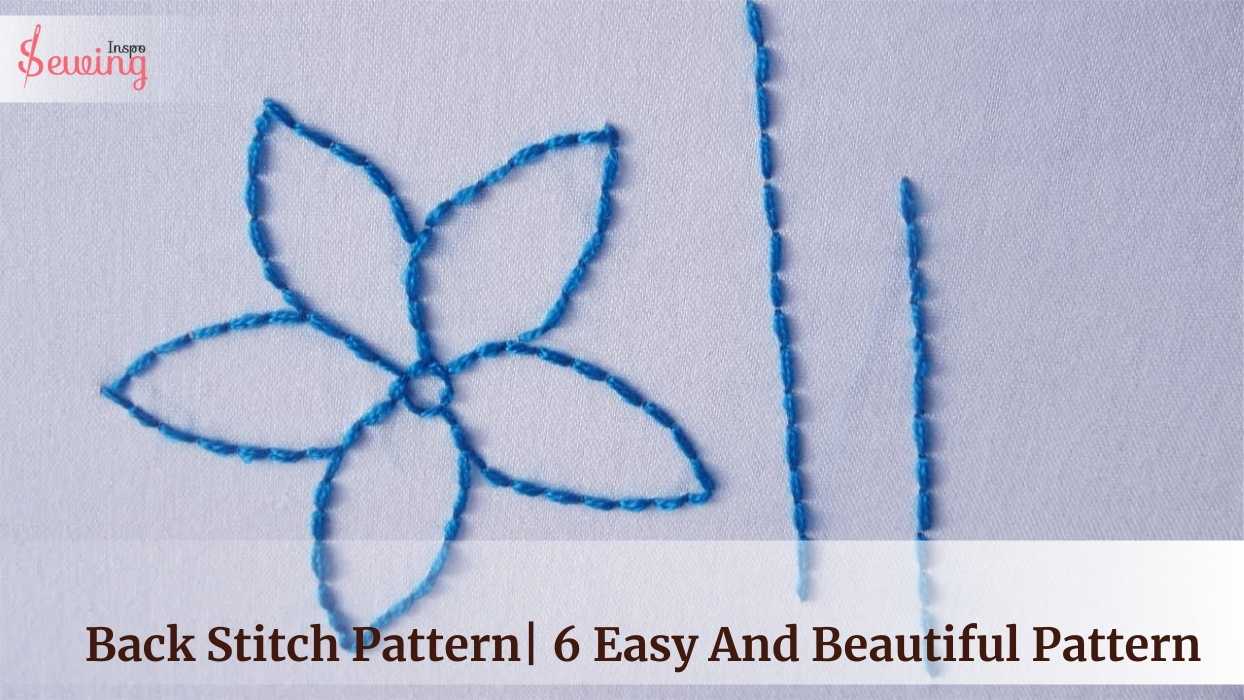
There are a lot of backstitch patterns. But the easiest one is outlining, numbers, the alphabet, Seasonal themes, etc.
Wanna see more patterns? Then let’s tag alone to get back stitch example.
Main Facts:
- A simple back stitch pattern is a wave pattern.
- You can stitch the alphabet with the back stitch.
Table of Contents
What Does Backstitch Mean?
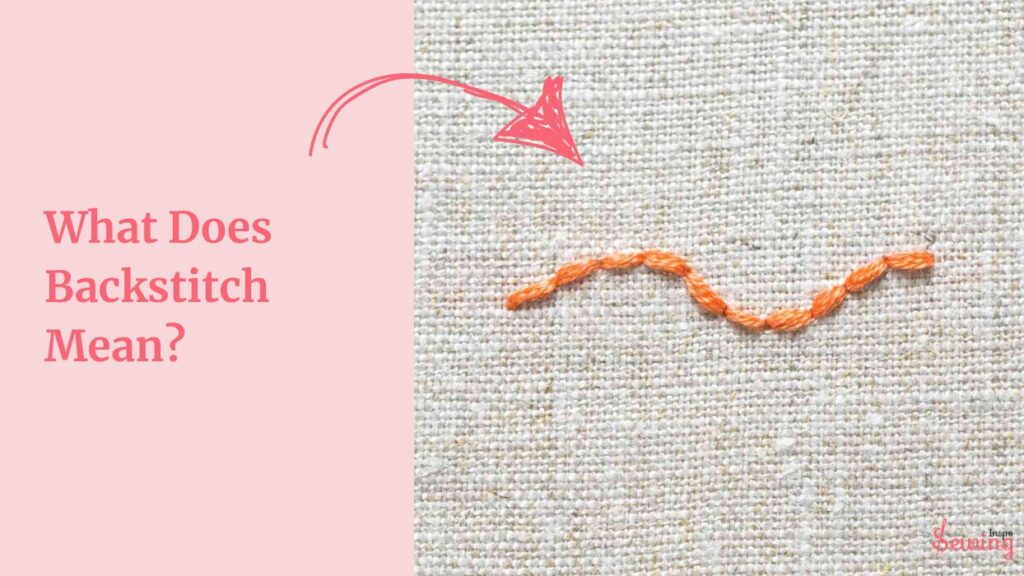
A backstitch is stitching backward over the previous stitch, creating a strong, durable seam. It’s often used at the beginning and end of a line of stitching to prevent unraveling. You can even call it basic back stitch hand embroidery designs.
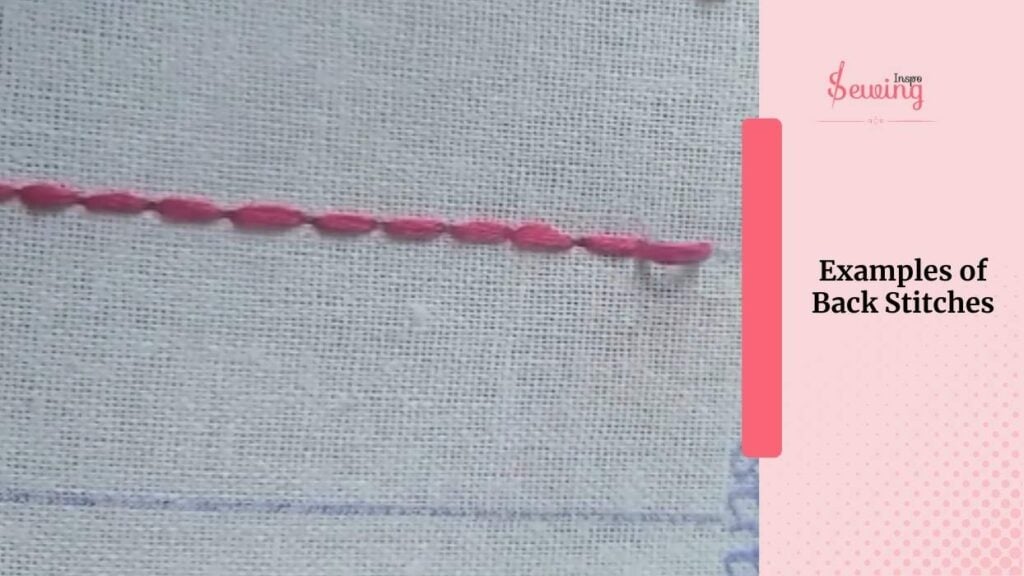
Examples Of Back Stitches
Even if the backstitch definition doesn’t clear your confusion, then look at this example, . I hope looking at those will clear out what is back tacking in sewing. Cause both are quite different.

Back Stitch Pattern
The back stitch may look simple but in reality, you can make plenty of worthy Back stitch patterns with it. Let me show you some:

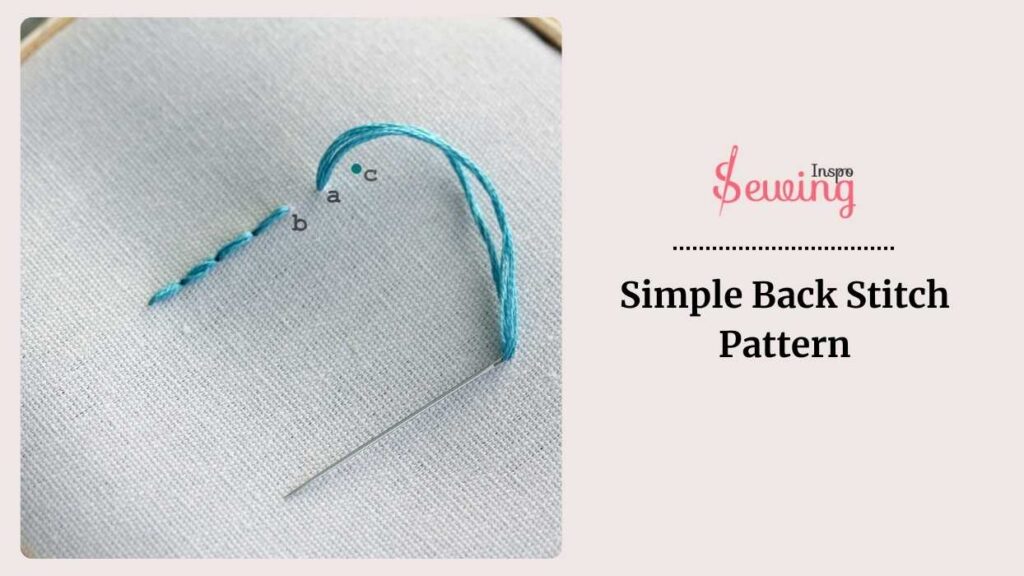
Simple Back Stitch Pattern
To do a simple back stitch pattern, bring your needle up through the fabric, sew one stitch 180 degree line, then go back 1 stitch length and repeat to create a continuous line of overlapping simple stitches. Make sure to maintain the right length of the back stitch.
Here are a few examples of simple patterns of backstitch:
- Straight Line Pattern: Create a straight 180 degree line by stitching back through the fabric in regular intervals.
- Zigzag Pattern: Stitch the opposite direction of your backstitches to create a zigzag backstitch pattern. But the back of the back stitch would look kinda messy. You can even do backstitched chain stitch embroidery with it.
- Wave Pattern: Stitch in a curved line to form wave-like patterns just like back tack stitch.
- Lattice Pattern: Create a pattern by stitching horizontal(180 degrees) and vertical(90 degrees) straight stitches that intersect. You can also do a split backstitch to add an extra touch.
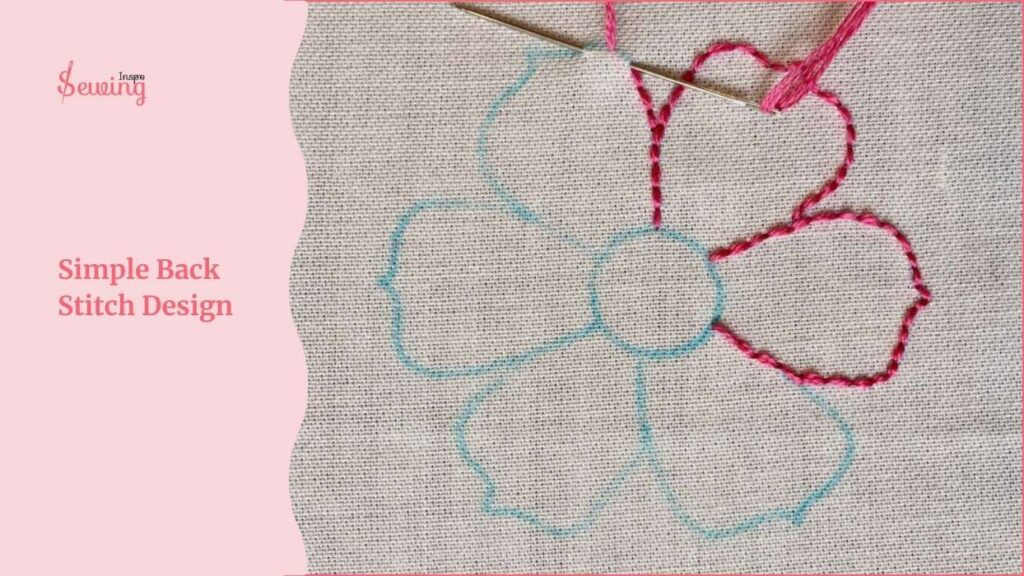
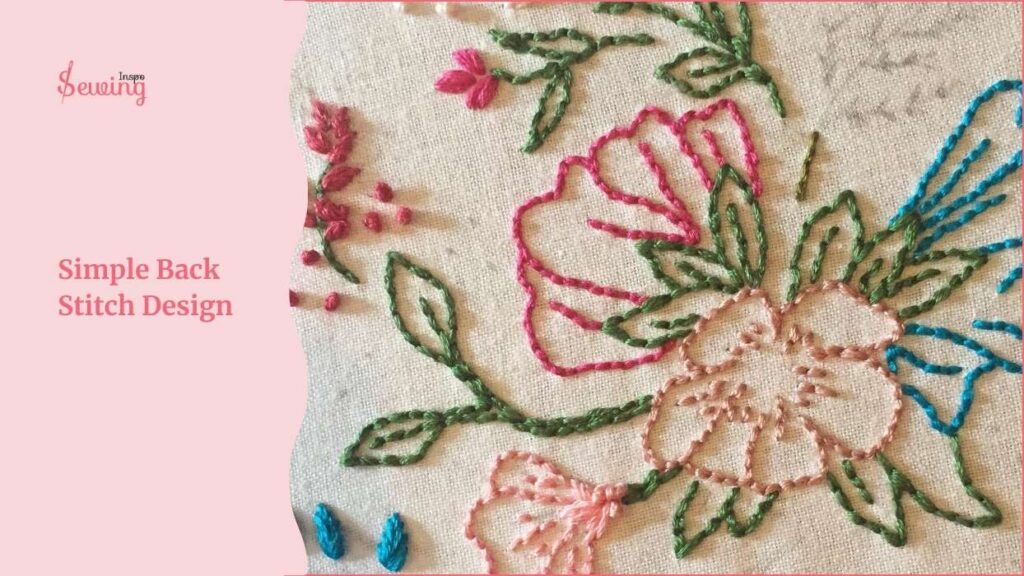
Simple Back Stitch Design
If those patterns seem hard for you, then try this simple back stitch design,
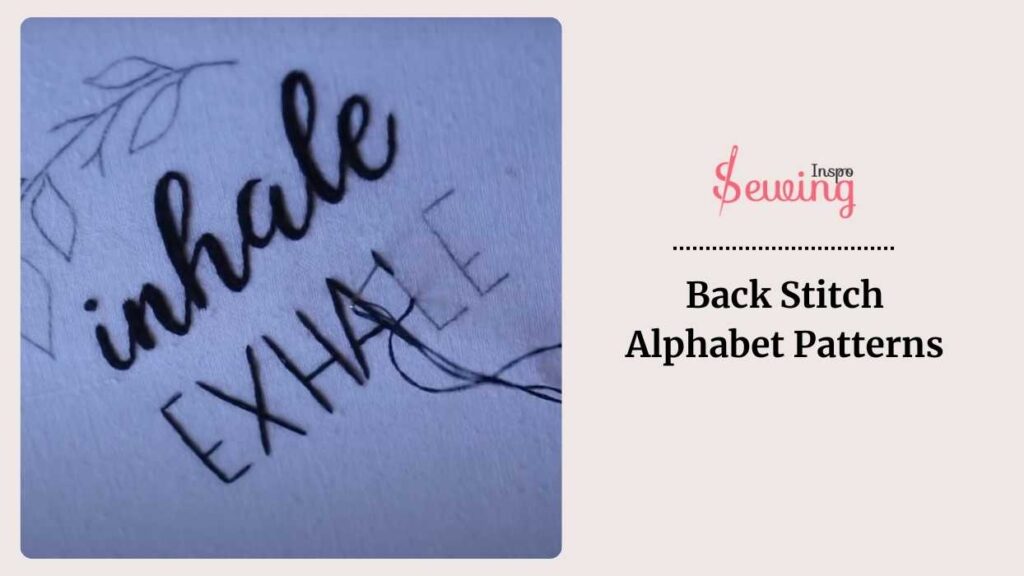
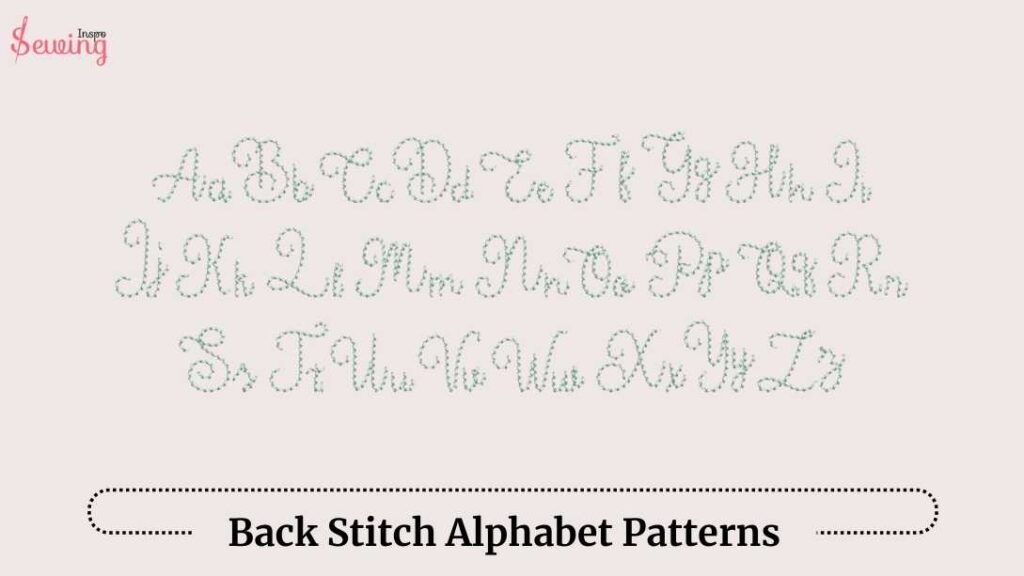
Back Stitch Alphabet Patterns
Since there is a lot to talk about. So here is the process of back stitching alphabet patterns in the table:
| Letter | Instructions |
| A | Start at the bottom left, stitch diagonally up to the top (45°), then stitch down to the bottom right (180°). Finally, stitch a horizontal line in the middle (0°). You can try back split stitch here, too. |
| B | Start at the top, and stitch a vertical line down (90°). Then stitch a small semi-circle from the top right to the middle (0°, 180°), and another from the middle to the bottom right (0°, 180°). |
| C | Start at the top, and stitch a semi-circle from left to right (0°, 180°). It can be done beautifully with a laced back. |
| D | Start at the top, and stitch a vertical line down (90°). Then stitch a semi-circle from the top right to the bottom (0°, 180°). |
| E | Start at the top, and stitch a vertical line down (90°). Stitch three horizontal lines at the top (0°), middle (0°), and bottom (0°). A flat backstitch works the best here. |
| F | Start at the top, and stitch a vertical line down (90°). Stitch two horizontal lines at the top (0°) and middle (0°). |
| G | Start at the top, and stitch a semi-circle from left to right (0°, 180°). Then do shorter stitches 90° line to the right at the bottom (90°). |
| H | Start at the top, and stitch two vertical lines down (90°). Stitch a horizontal line in the middle (0°). You can do running backstitch if you are in a rush. |
| I | Start at the top, and stitch a vertical line down (90°). |
| J | Start at the top, and stitch a short vertical line down (90°). Then stitch a semi-circle from the bottom left to bottom right (0°, 180°). |
| K | Start at the top, and stitch a vertical line down (90°). From the middle, stitch a diagonal line up to the right (45°), then another down to the bottom right (135°). If you wanna give it a twist, then try backstitching in cross stitch patterns in it. It will be a fun twist. |
| L | Start at the top, and stitch a vertical line down (90°). Stitch a horizontal line at the bottom (0°). |
| M | Start at the bottom left, and stitch a vertical line up (90°). Stitch a diagonal line to the top middle (45°), then another to the bottom right (135°). Finally, stitch a vertical line down (90°). |
| N | Start at the bottom left, and stitch a vertical line up (90°). Stitch a diagonal line to the bottom right (45°). Stitch a vertical line up (90°). |
| O | Start at the top, and stitch a complete circle (0°, 180°). You can do top stitching, too. |
| P | Start at the top, and stitch a vertical line down (90°). Stitch a semi-circle from the top right to the middle (0°, 180°). |
| Q | Start at the top, and stitch a complete circle (0°, 180°). Stitch a short diagonal line from the bottom right (45°). |
| R | Start at the top, and stitch a vertical line down (90°). Stitch a semi-circle from the top right to the middle (0°, 180°). Then stitch a diagonal line from the middle to the bottom right (45°). |
| S | Start at the top, and stitch a semi-circle from left to right (0°, 180°). Stitch another semi-circle from the middle to the bottom left (180°, 0°). |
| T | Start at the top, and stitch a horizontal line (0°). Stitch a vertical line from the middle down (90°). |
| U | Start at the top left, and stitch a vertical line down (90°). Stitch a semi-circle from the bottom left to bottom right (180°, 0°). Then stitch a vertical line up (90°). |
| V | Start at the top left, and stitch a diagonal line down to the middle (45°). Stitch another diagonal line up to the top right (135°). |
| W | Start at the top left, and stitch a diagonal line down to the middle (45°). Stitch another diagonal line up to the middle right (135°). Stitch another diagonal line down to the bottom middle (45°). Finally, stitch another diagonal line up to the top right (135°). |
| X | Start at the top left, and stitch a diagonal line to the bottom right (45°). Then stitch another diagonal line from the top right to the bottom left (135°). |
| Y | Start at the top left, and stitch a diagonal line to the middle (45°). Then stitch a vertical line from the middle down (90°). |
| Z | Start at the top left, and stitch a horizontal line to the right (0°). Stitch a diagonal line from the top right to the bottom left (135°). Finally, stitch a horizontal line to the right (0°). |
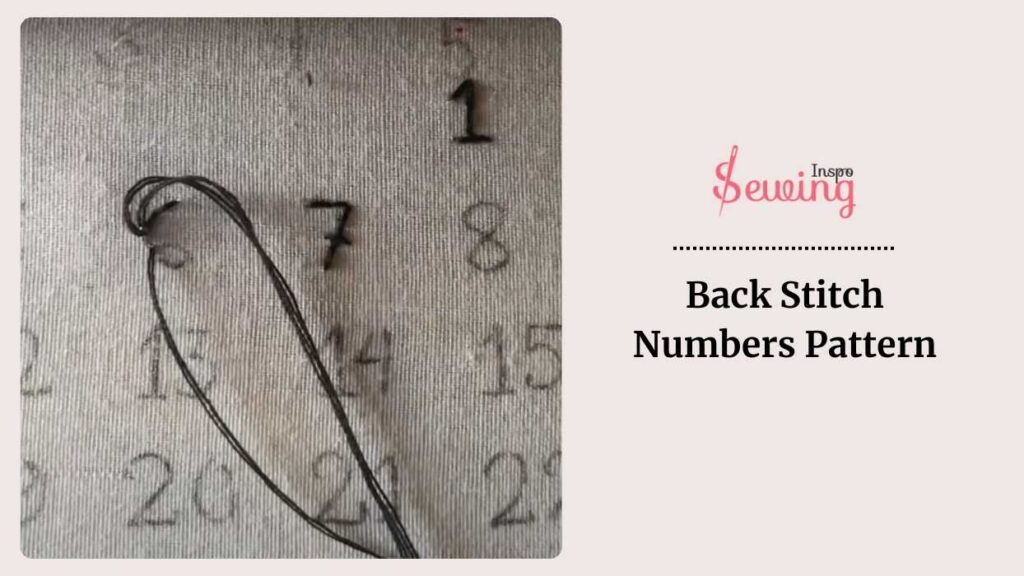
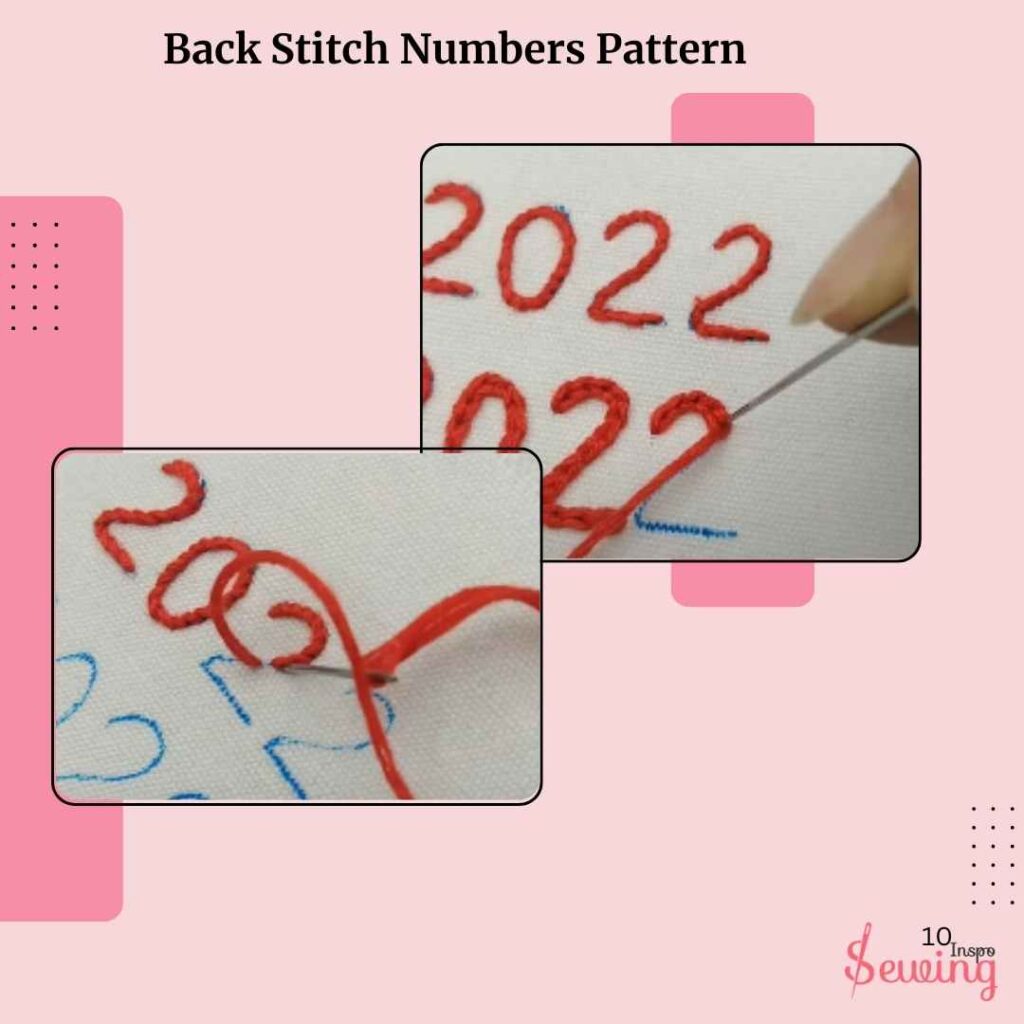
Back Stitch Numbers Pattern
To do back stitch numbers pattern, you just need to draw the number and continue according to the line. Here is how:
- Number 1: Sew straight 180 degree lines with back stitch. And it doesn’t need much of thread.
- Number 2: Stitching 45 degrees across the entire shape of the number, maintaining a consistent angle and spacing between basic stitches. These are the easiest back stitch numbers.
- Number 3: Start at the center of each loop, sew a small circle, then move outward, sewing larger circles around the initial one. You do it with a split back stitch, too.
- Number 4: Continue sewing squares, alternating between filled and empty squares to create the perfect pattern.
- Number 5: Sew a straight (180 degree) line from the central point to the outer edge of the number 5.
- Number 6: Stitching the wave pattern until the entire number 6 is filled or outlined as desired and how you want your back stitch design images to look.
- Number 7: Sew the outline of the shape using a backstitch. For a triangle, sew three sides; for a square, sew 4 sides in continuous stitch lines.
- Number 8: Continue sewing intersecting diagonal (45 degree) lines throughout the entire number.
- Number 9: Sew in a 9o degree pattern within the number shape.
- Number 10: Combine different patterns for ‘1’ and ‘0’ within the same design.
That’s how you can do backstitch numbers. So what are you waiting for? Try it now and do some fun with it.
Back Stitch Embroidery Patterns
Wanna do something that will catch other people’s attention? Then backstitch embroidery is what you need. You can even use back stitch in cross stitch to make those patterns stand out. Its easygoing technique makes it perfect for embroidery work. Here are some embroidery ideas:
- Floral Designs: Sew petals and leaves in a repeating pattern around the number. You can even do whip stitch leather.
- Animal Silhouettes: Outline animal shapes within the number using a backstitch.
- Nature Scenes: Create scenes like mountains, trees, or rivers inside the number.
- Seasonal Themes: Incorporate elements like snowflakes, leaves, flowers, or sun within the number. You can try woven backstitch patterns here, too.
- Metropolitan of Paris: Sew landmarks like the Eiffel Tower or street scenes within the number. Back stitch entire project.
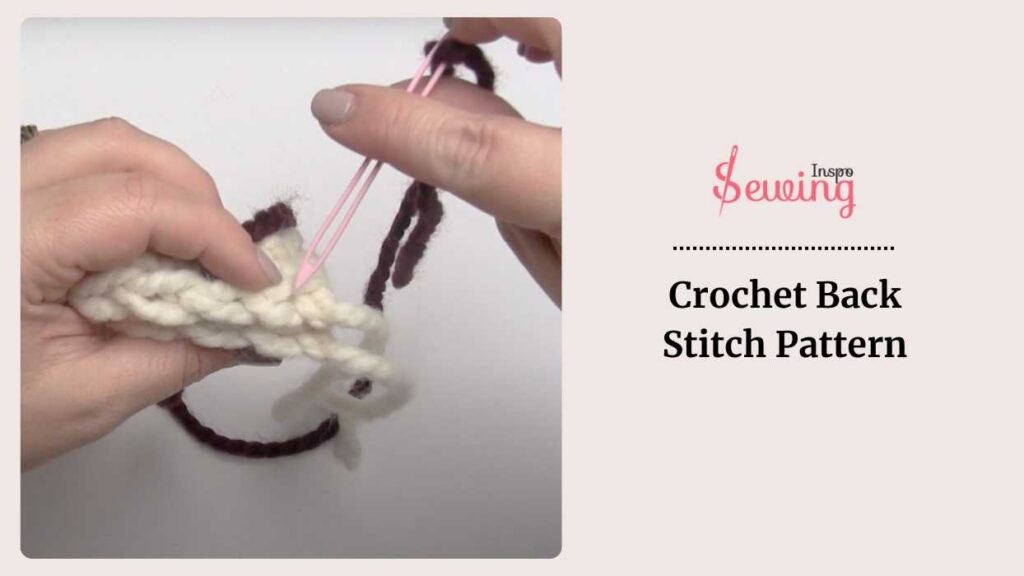
Crochet Back Stitch Pattern
Start by crocheting a smooth, even piece. Thread a crochet hook with yarn or thread and knot the end. Bring the sharp needle up from the back at your starting point, then insert it back down a stitch length away. Or you would do whipped back stitch in this part.
Continue bringing the needle up a single stitch length ahead and back down into the end of the previous stitch to form a continuous line. Keep doing this up to the until.
Here are a few crochet backstitch pattern ideas:
- Text and Letters: Use backstitch to embroider names, quotes, or initials onto your crochet piece. You can do a spaced backstitch for an intense look.
- Borders and Outlines: Add a decorative border or outline to your crochet sewing project for a finished look.
- Simple Shapes: Embroider hearts, stars, circles, or other simple shapes to embellish your work. You can try doing Holbein stitch embroidery on it, too.
- Floral Patterns: Stitch flowers and leaves onto a crochet background for a nature-inspired design.
- Geometric Patterns: Create patterns like chevrons, triangles, or squares to add visual interest.
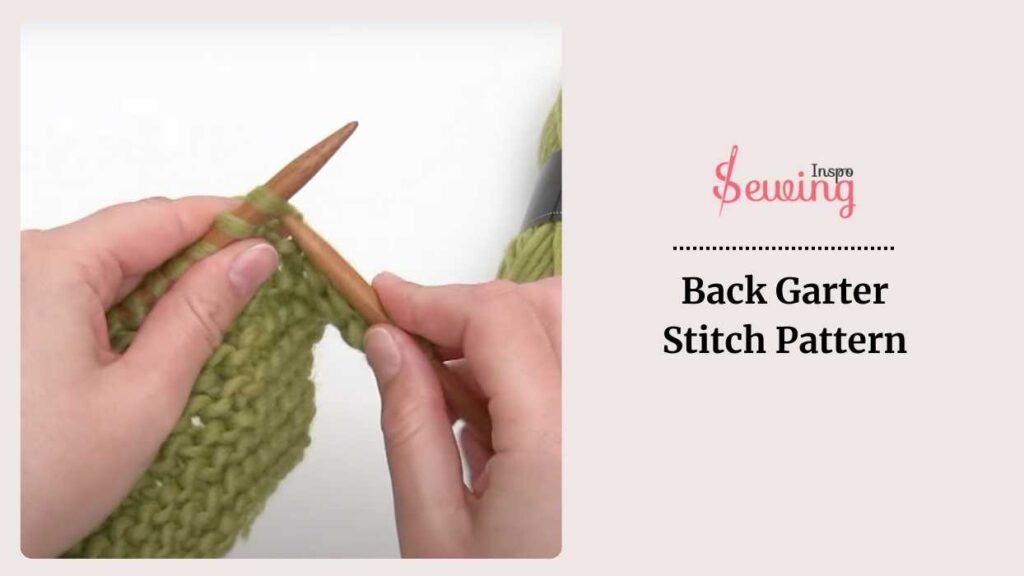
Back Garter Stitch Pattern
To crochet a Back Garter Stitch pattern, work single crochet stitches into the back loop of each stitch across every row. This creates a textured, ribbed effect similar to garter stitch in knitting.
Wanna know some backstitch patterns? Here you go:
- Scarves and Cowls: Create cozy scarves or stylish cowls with a textured, ribbed design. This is perfect beginner embroidery stitches. This can even make a beautiful chain stitch design.
- Headbands and Ear Warmers: Make warm and snug headbands or ear warmers that feature a unique texture.
- Blankets and Throws: Crochet blankets or throws with the Back Garter Stitch for added warmth and visual interest.
- Handbags and Totes: Design sturdy handbags or practical totes with a textured pattern that stands out.
- Pillows and Cushions: Enhance home decor by crocheting pillows or cushions with a plush, ribbed surface.
Frequently Asked Questions(FAQ’s)
What Type Of Needle And Thread Are Best For Backstitching?
A sharp embroidery needle is ideal for backstitching, as it easily pierces the fabric without damaging it. Use embroidery floss or thread that matches your fabric for a clean and strong seam.
How Do You Keep Backstitches Even?
To maintain even stitches, measure the length of each stitch consistently. Bring the needle up through the fabric at the desired length, then insert it back down at the end of the previous stitch. This method ensures uniformity throughout your embroidery.
Can Backstitching Be Used For Complex Designs?
Yes, backstitching is versatile and can be used for both simple outlines and intricate designs. It allows for precise detailing and can be combined with other embroidery stitches to create depth and texture.
Warp Up
Thanks, Hasan for letting me know the back stitch pattern.
Now I will do those and share my backstitch work with you on sewinginspo.


Leave a Reply