
Wool stitchery patterns are a charming way to add texture, warmth, and personality to your embroidery or sewing projects, like cross stitch pattern. While many people think of fine threads for delicate embroidery, wool threads bring a soft, cozy feel that makes designs really pop.
Sewing wool appliqué is also easy. Such as,
To sew wool stitchery patterns, use wool threads with a sharp needle on felt or fabric, following the pattern’s design with embroidery stitches like blanket, stem, or chain stitch.
Let’s sew one together with easy wool stitchery patterns.
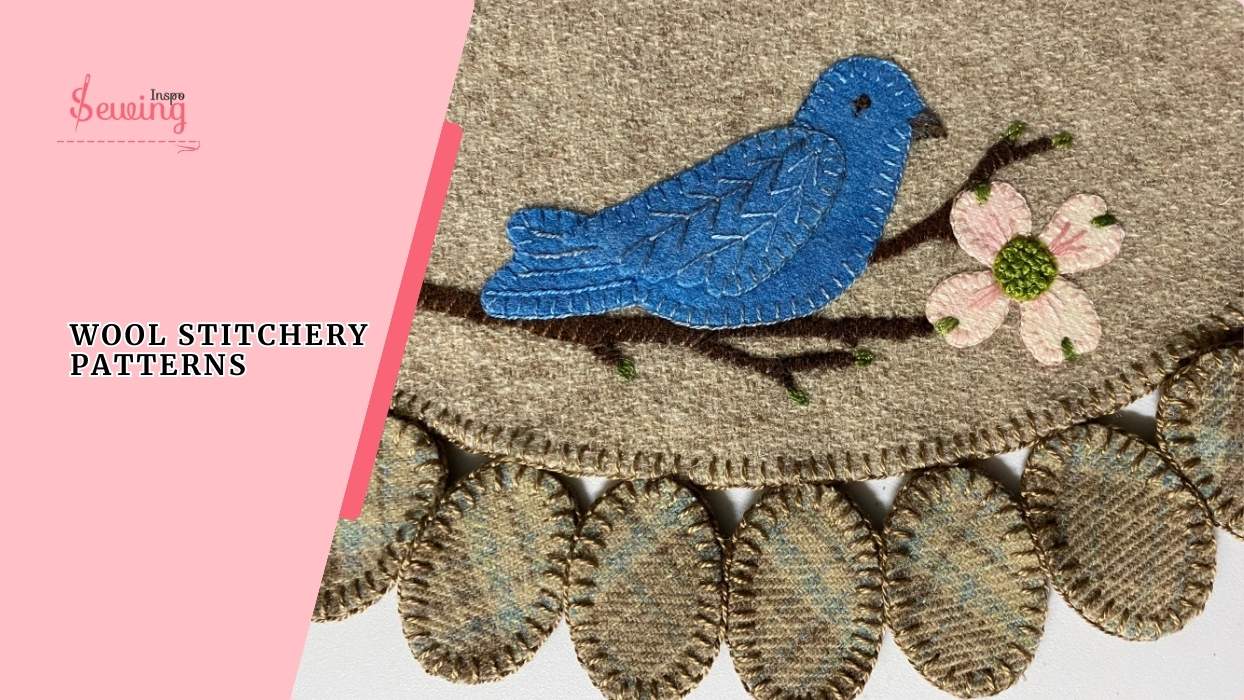
Table of Contents
How To Sew Wool Stitchery Patterns For Beginners?
To sew wool stitchery patterns, follow 6 steps,
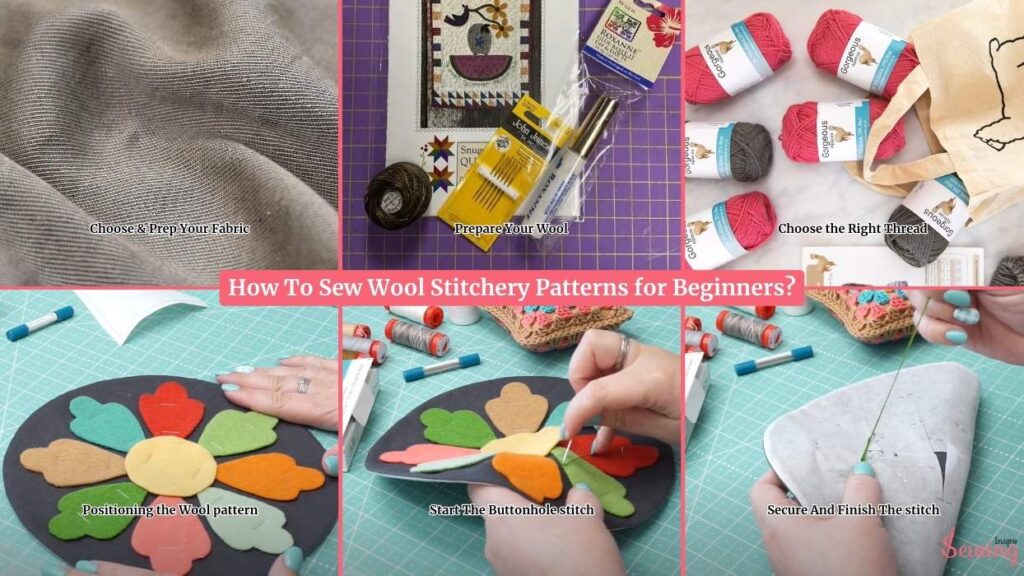
- Choose & Prep Your Fabric
- Prepare Your Wool
- Choose the Right Thread
- Positioning the Wool pattern
- Start The Buttonhole stitch
- Secure And Finish The stitch
Choose & Prep Your Background Fabric
For my projects, I prefer Riley Blake linen in dark gray, but any medium-weight, tightly woven fabric works.
- Pre-wash the linen (or any background fabric) to prevent shrinking and distortion after stitching. It helps me do counted cross stitch pattern too.
- Iron the fabric flat. A crisp, smooth surface makes wool placement and stitching easier.
- Cut the fabric slightly larger than your final project to allow for framing or finishing edges. You can use this for chevron stitch patterns too.
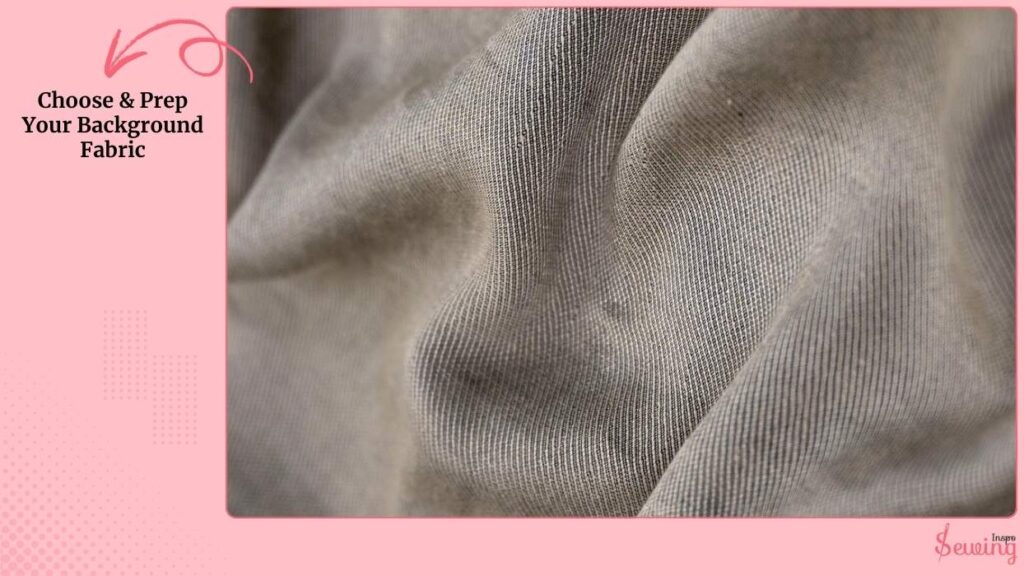
Pro Tip: Linen gives a subtle texture that complements wool’s softness, but cotton or lightweight canvas can work if you want less texture.
Prepare Your Wool Applique Kit
I enjoy using circle rulers and simple templates to create shapes such as leaves, circles, or seasonal motifs like stick & stitch pattern. Common sizes I use:
- Small: 4-inch diameter (good for small accents like leaves or buttons)
- Medium: 6-inch diameter (ideal for central shapes or flowers)
- Large: 9-inch diameter (great for focal pieces like pumpkins or larger leaves)
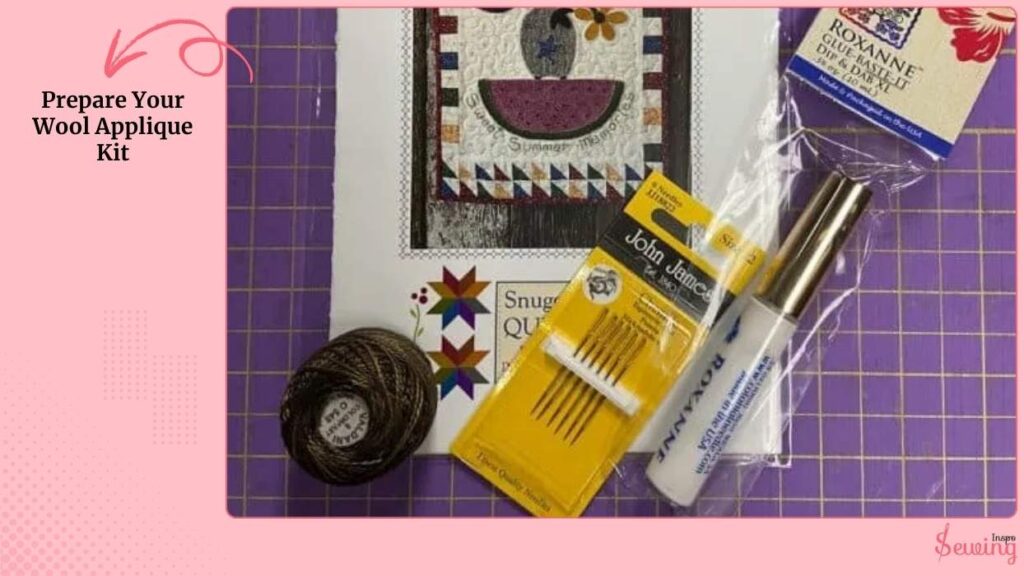
Preparation Methods For Wool Embroidery Patterns Free:
- Freezer Paper Method: Trace your shape onto freezer paper. Iron the shiny side onto the wool. Cut along the traced line just like diamond pattern.
- Heat ‘n Bond / Fusible Method: Trace the shape onto fusible paper. Iron onto wool to adhere. Cut out your pieces for easy placement on the background. I use this method for purl stitch pattern in sewing too.
- Pinning / Stapling Method: For quick projects, pin or even staple your wool shapes directly onto interfacing or background fabric. Staples can be removed easily after stitching. It’s like reading a peyote stitch pattern, isn’t it?
Pro Tip: Avoid gluing edges, as it can make stitching difficult or damage your wool over time.
Choose the Right Threads & Needle For Wool Patterns
Use wool threads in the colors that complement your design. I keep a set of neutrals for subtle detailing and a set of vibrant colors for contrast.
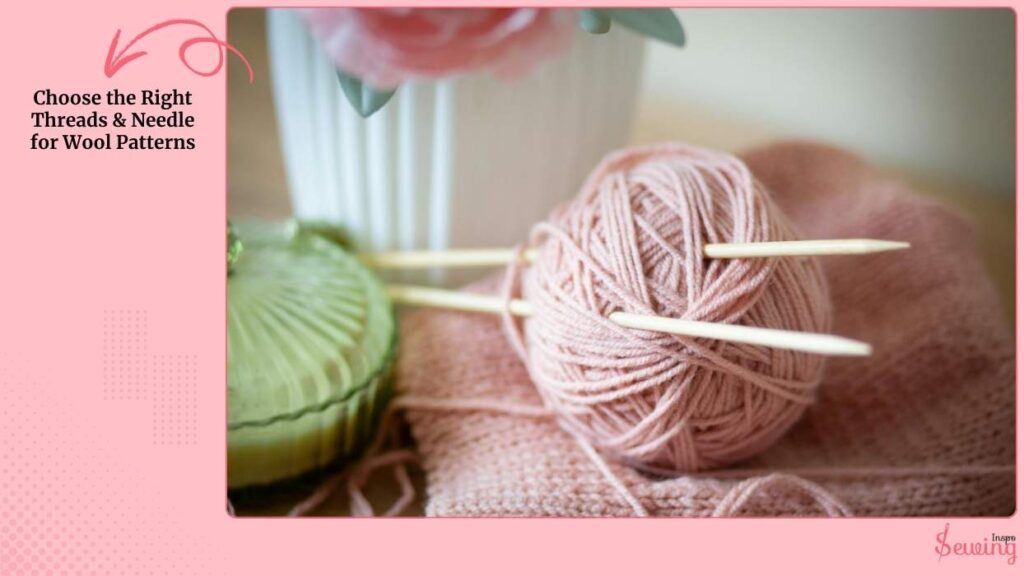
I prefer denim or sharp-pointed needles with a slightly rounded eye. They pierce wool easily without shredding fibers and allow thicker threads to pass through.
Positioning the Wool Pieces
Lay your wool pieces on the prepped background fabric. Ensure alignment and spacing are visually balanced. Temporarily secure pieces using pins, small staples, or fusible adhesive.
Pro Tip: Keep the shapes slightly raised with a thin layer of interfacing underneath for a more dimensional effect.You usee this for teddy bear stitching too.

Start The Buttonhole Stitch To Attech Wool Applique
The buttonhole stitch is classic for wool applique because it secures the edges while creating a decorative finish. Bring the needle up from the back about 1/8 inch from the edge of the wool piece.
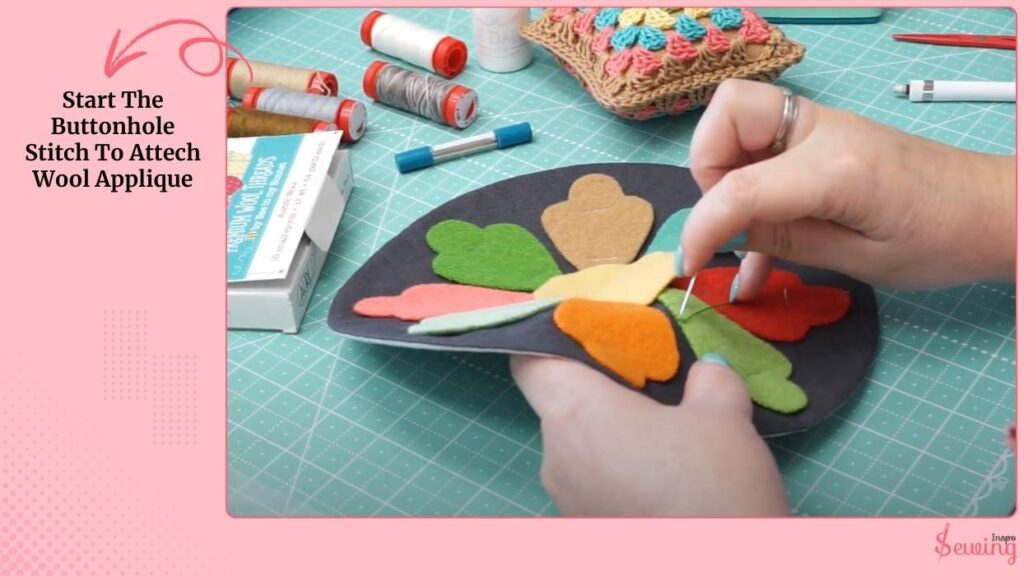
Keep the thread on one side and loop it under the needle before pushing it back down along the edge. Continue stitching evenly around the shape, maintaining consistent spacing.
Stitch Size Guide:
- Tiny stitches: ~1/8 inch for delicate work best for necktie stitch
- Medium stitches: ~1/4 inch for most projects. I use this for a purse stitching pattern, too.
- Large stitches: ~3/8 inch for rustic or textured effects or even a seed stitch pattern.
Pro Tip: Keep tension consistent. Too tight, and the wool puckers; too loose, and stitches look sloppy.
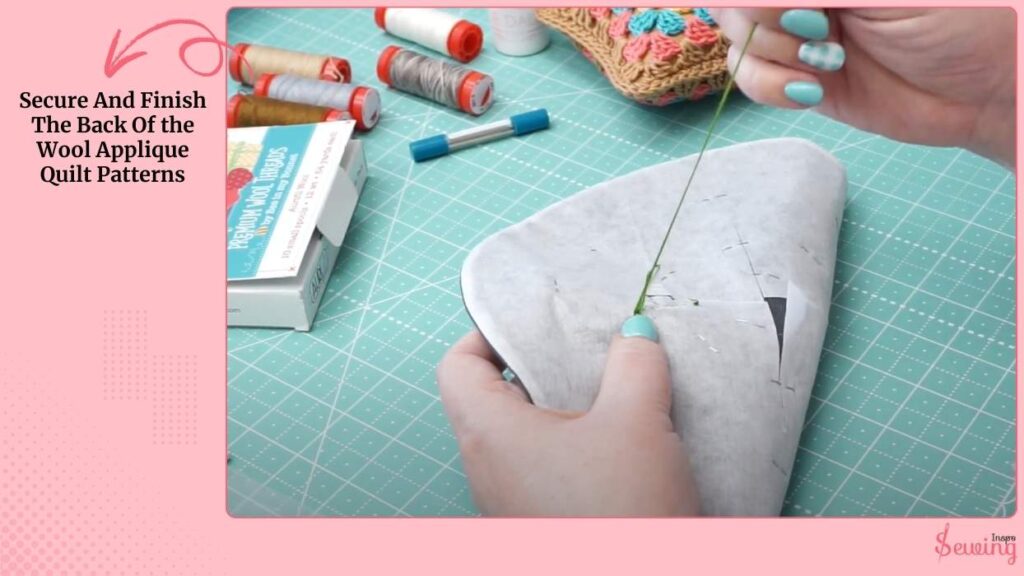
Secure And Finish The Back Of the Wool Applique Quilt Patterns
To finish, take a small bite of the interfacing under your stitches. Loop your thread through twice to knot it securely. Trim excess thread carefully.
Wool Applique Patterns Free
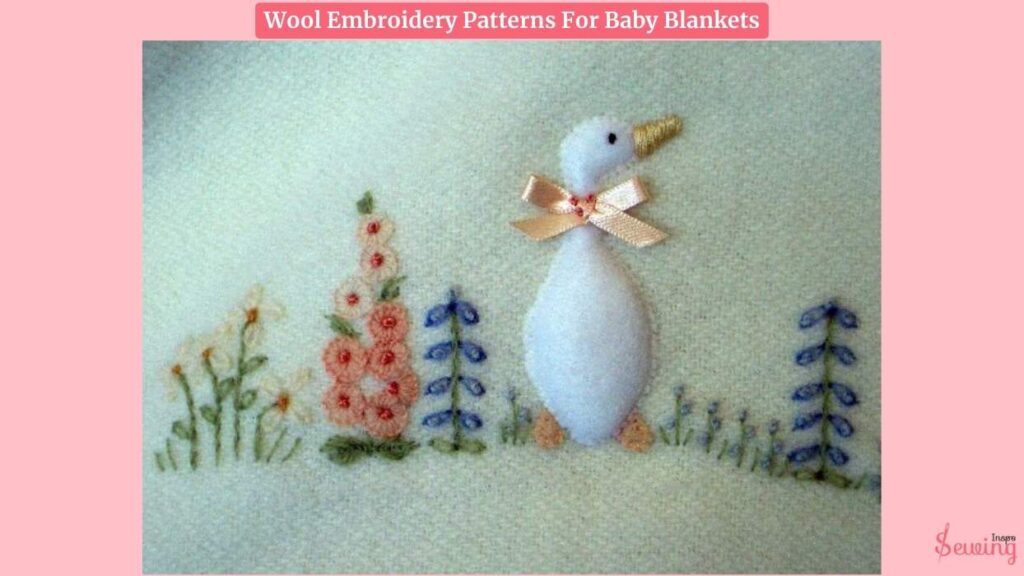
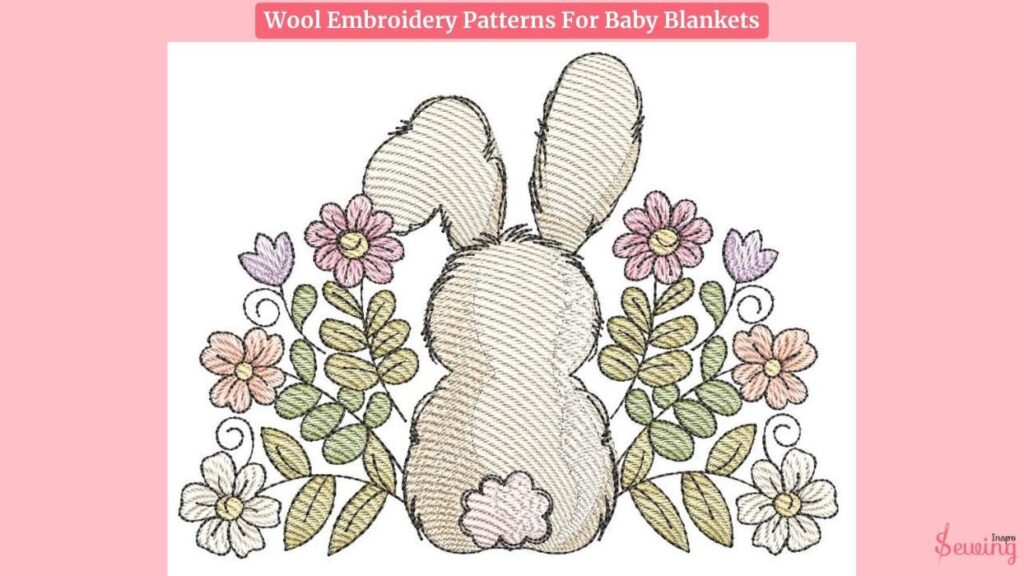
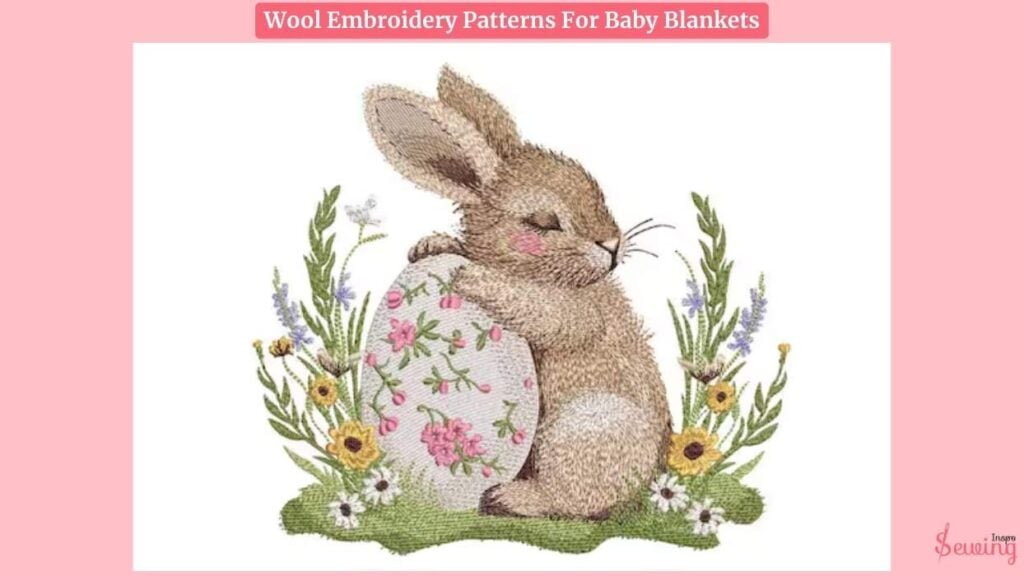
Wool Embroidery Patterns For Baby Blankets
If you wanna make some decorative blankets for your baby or as a gift, then use this stunning embroidery one.
Frequently asked questions
Do I need to pre-wash wool before using it for stitchery?
Not always. Felted wool is usually ready to use, but if you’re working with woven wool or linen backgrounds, pre-washing helps prevent shrinkage later.
What is the best stitch for wool applique?
The buttonhole (blanket) stitch is the most common because it secures and decorates the edges at the same time.
Can I use regular embroidery floss instead of wool thread?
Yes! Embroidery floss works well if you separate the strands. Wool thread gives a chunkier, more rustic look, while floss is neater and finer.
How do I stop the wool edges from fraying?
Wool felt and felted wool don’t fray much, but woven wool might. Using the buttonhole stitch close to the edge helps secure it.
Warp up
That’s how wool stitchery patterns work.
Now it’s your turn to try it out and let us know.


Leave a Reply