
Last week, I was helping my niece personalize a tote bag, and I decided to try machine embroidery fill stitches for the first time on her name.
At first, I thought it would be just a bunch of threads covering fabric. But as the machine hummed along, the letters transformed into bold. The textured shapes looked like they’d been lifted straight out of a design magazine.
It looked so good, so I wanted to note down all the Types of filling stitches. So that I can show it to my students.
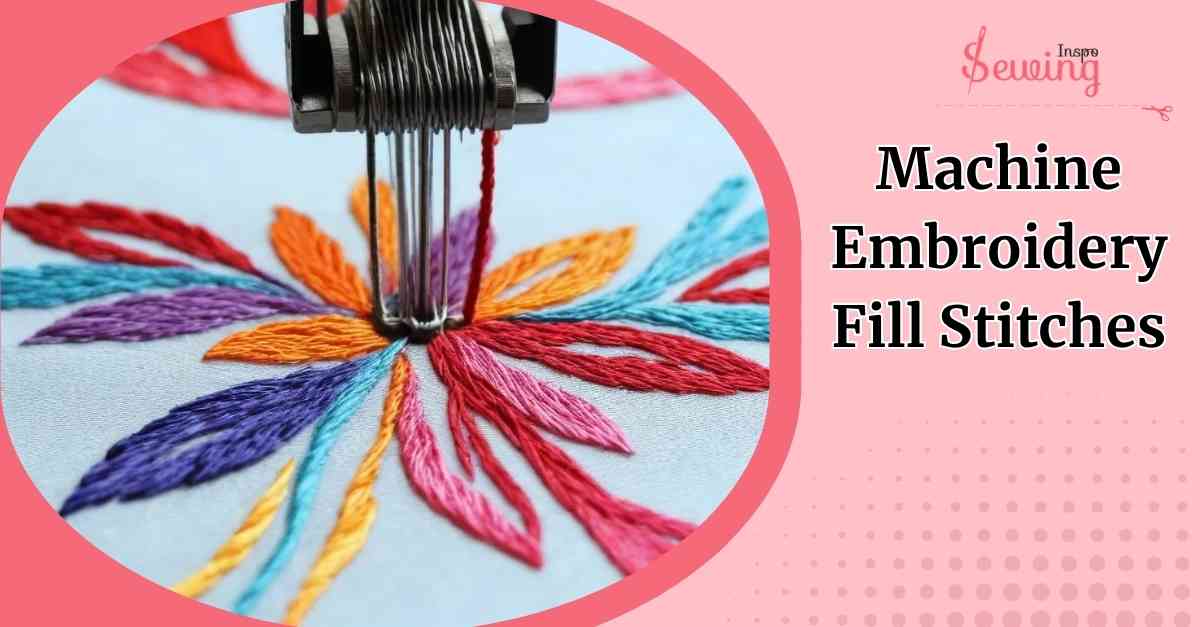
Table of Contents
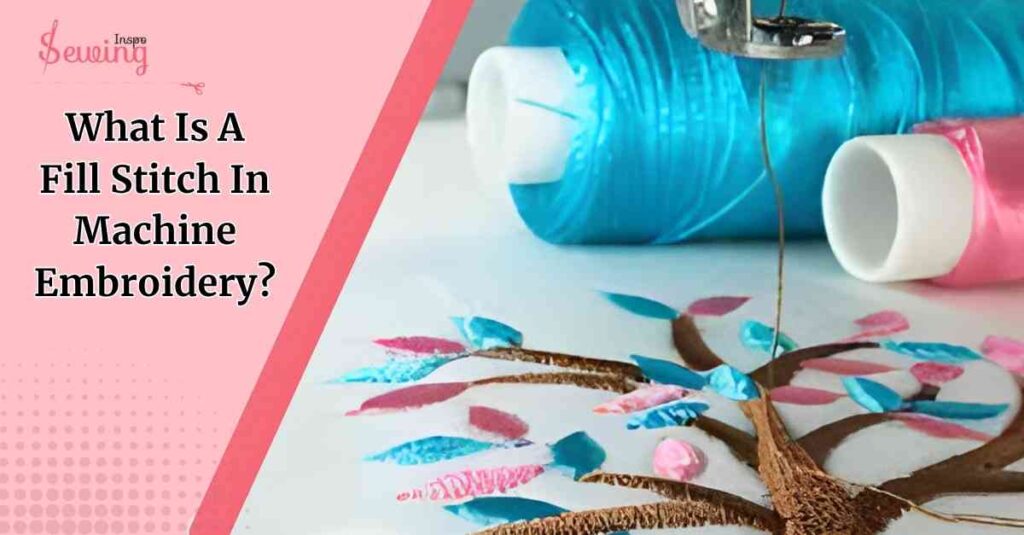
What Is A Fill Stitch In Machine Embroidery?
A fill stitch in machine embroidery is a type of stitch used to cover larger areas of a design with thread. Instead of just outlining a shape, fill stitches “fill in” the space. It creates solid, textured sections that add depth and dimension to your embroidery.
They’re great for lettering, logos, or any area where you want a smooth, dense, or decorative look.
Types Of Machine Embroidery Fill Stitches
Machine stitches sound limited, but it’s not. You can do some beautiful embroidery with a machine, too, if you know what to do. Here are 10 Best machine embroidery fill stitches-
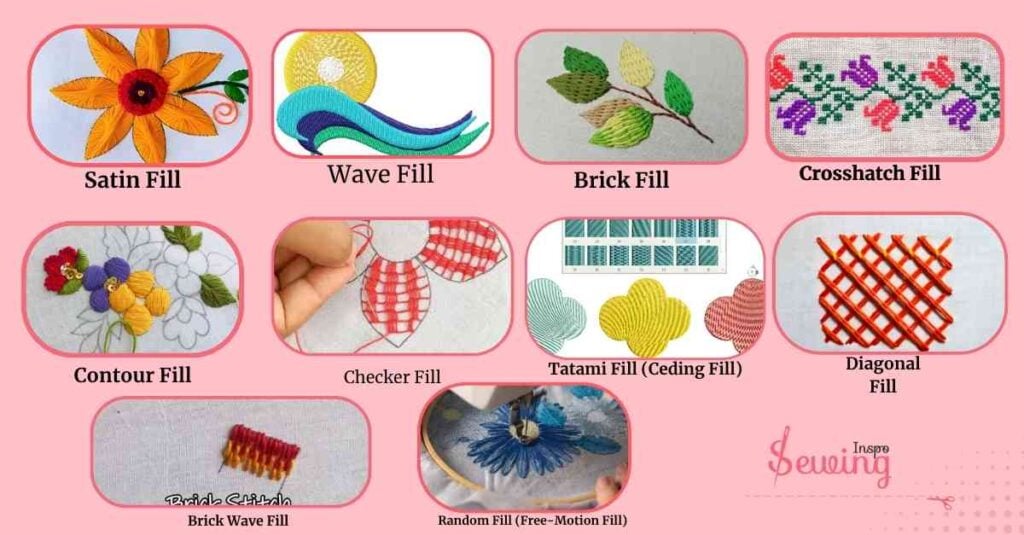
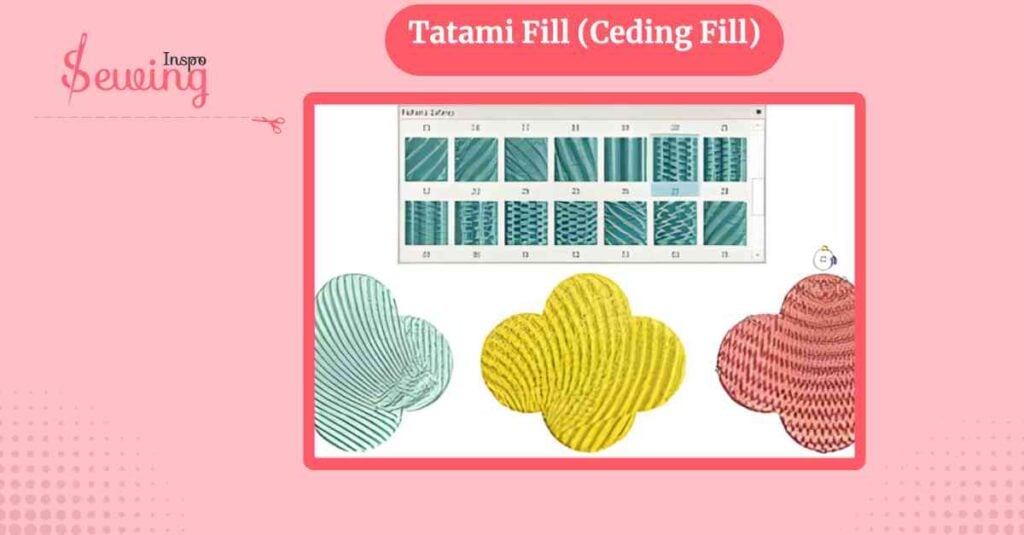
Tatami Fill (Ceding Fill)
Tatami fill is my workhorse stitch for large areas. I love it because it gives a smooth, even surface without making the fabric stiff or bulky.
I usually use it on medium to large motifs, like banners, leaves, or animal bodies. My go-to settings are stitch width 3–4mm and stitch length 2–3mm, depending on fabric thickness.
I sometimes adjust the density slightly for delicate fabrics so the stitches don’t pucker. Watching the design slowly fill in evenly is oddly satisfying. It feels like the fabric is “breathing” as the machine works.
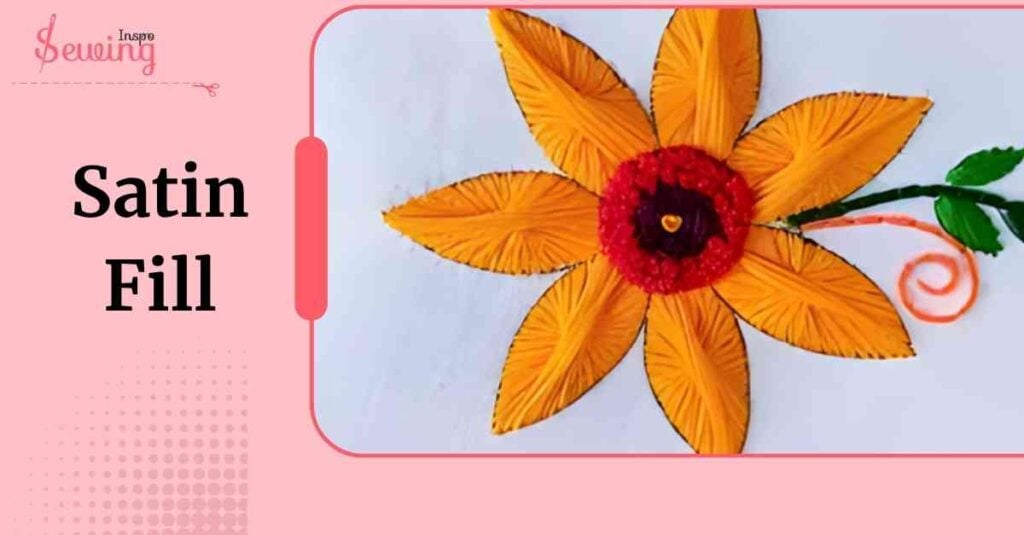
Satin Fill
Satin fill is my secret weapon for small details. I use it for lettering, small logos, or decorative edges. I keep the stitch width narrow (2–3mm) and the stitch length very short (0.5–1mm) for a smooth, glossy finish.
The best part?
The thread catches the light beautifully, making letters and shapes pop. I’ve used satin fill on initials, tiny flowers, and monograms.
It’s especially perfect for fine details on t-shirts or lightweight fabrics.
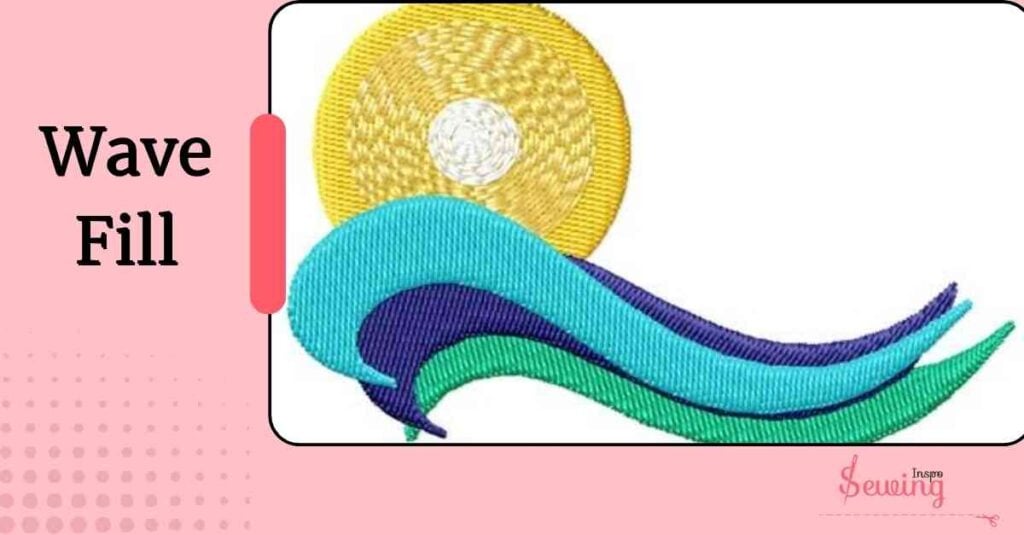
Wave Fill
Wave fill adds movement and texture to designs. I love using it on natural shapes like leaves, waves, or flowing hair.
I typically set the stitch width to medium (3–4mm) and adjust the wave amplitude depending on the design size. The density is important. I learned that too tight makes it stiff, too loose looks sloppy.
When done correctly, the stitches create a dynamic, almost 3D effect that brings flat embroidery to life.
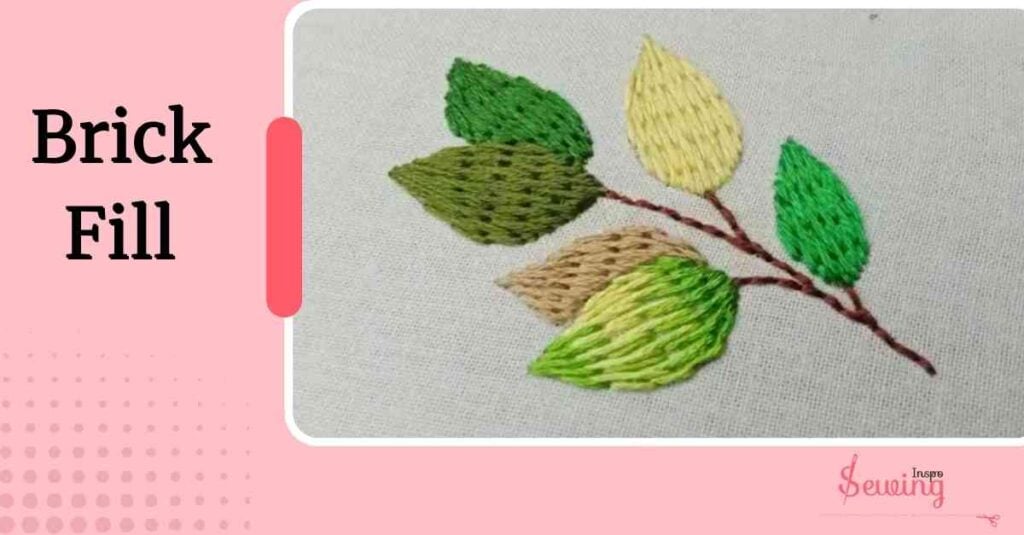
Brick Fill
Brick fill is my geometric favorite. It’s perfect for architectural motifs, brick walls, or any design needing structure. I offset the rows like real bricks, usually with a stitch width of 3mm and a length of 2–2.5mm.
I even used it on tiny animal textures, such as a turtle shell, and it worked surprisingly well! The pattern adds depth, and it’s remarkable how simple rows of stitches can create such significant dimension.
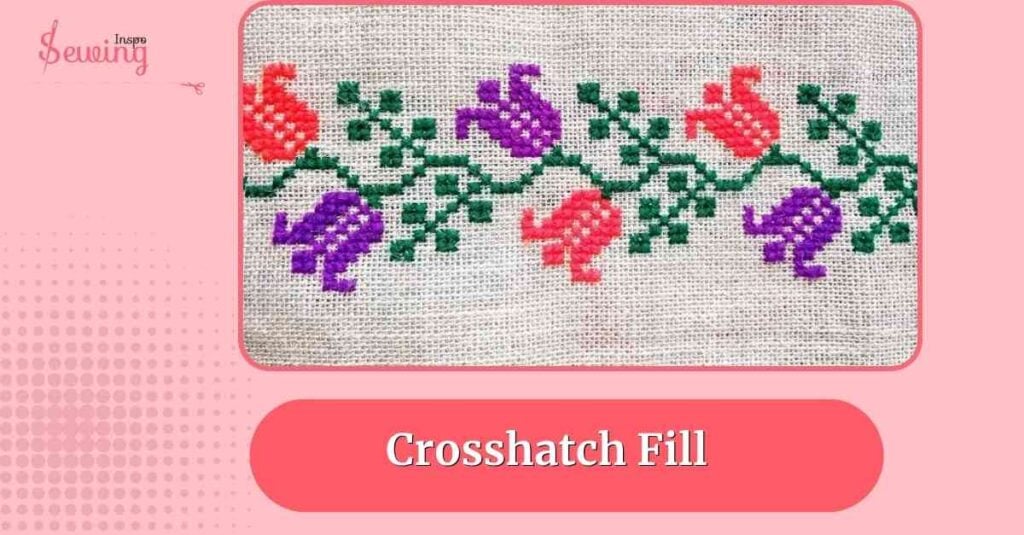
Crosshatch Fill
Crosshatch fill gives a woven, textured look. I love using it for petals, leaves, and textured backgrounds. I usually do two passes at 45-degree angles, sometimes changing the density depending on fabric type.
On soft fabrics, I go lighter to avoid puckering. Crosshatch is great when I want subtle texture without drawing too much attention. It’s understated but professional-looking.
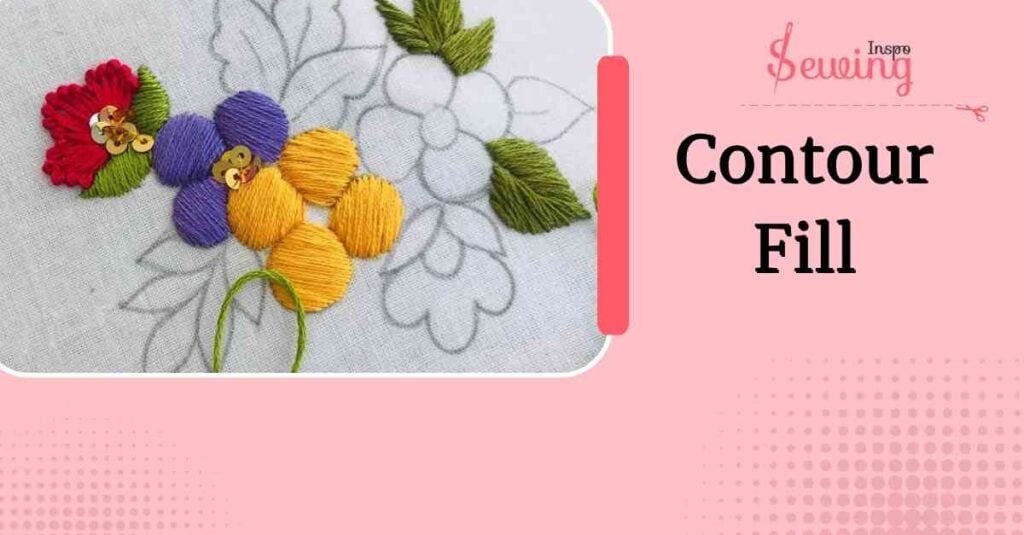
Contour Fill
Contour fill is my shape-hugger. It follows curves perfectly, making it ideal for hearts, circles, or rounded motifs. I set the stitch length a bit longer (2.5–3mm) so the needle moves smoothly along curves.
I also adjust the density slightly on thicker fabrics. The best part? Watching a flat outline transform into a curved, dimensional motif.
It feels like the design is “alive” and moving with the fabric.
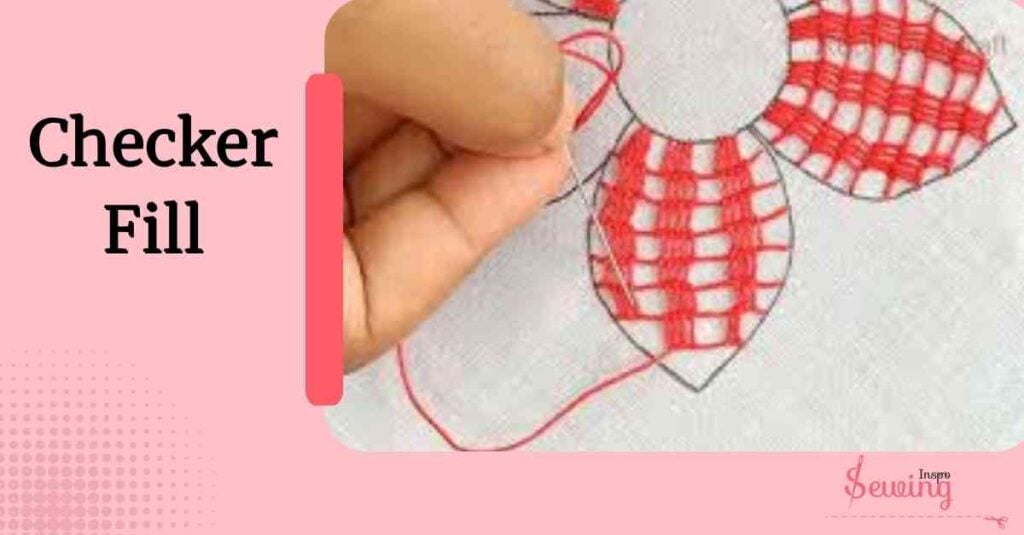
Checker Fill
Checker fill is playful and eye-catching. I love it for small accent areas or motifs that need a fun texture.
I keep the squares small—around 2–3mm—and adjust the spacing so the pattern is visible but not overwhelming.
I’ve used it on bunnies, stars, and small patches, and it always adds a quirky, lively vibe. The neat repetition gives a professional touch without looking stiff.
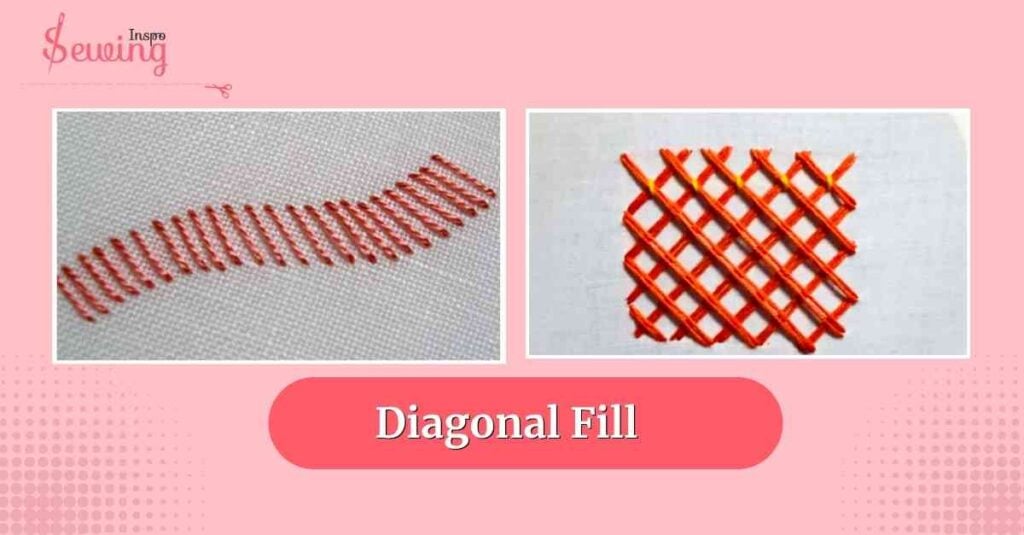
Diagonal Fill
Diagonal fill gives a modern, sleek look. I love using it for banners, stripes, or backgrounds. I usually set the angle to 45 degrees, the width 3mm, and the length 2–2.5mm. Adjusting the density ensures the fabric doesn’t bunch.
Diagonal fill is great when I want clean lines and a professional edge. It instantly elevates a simple design.
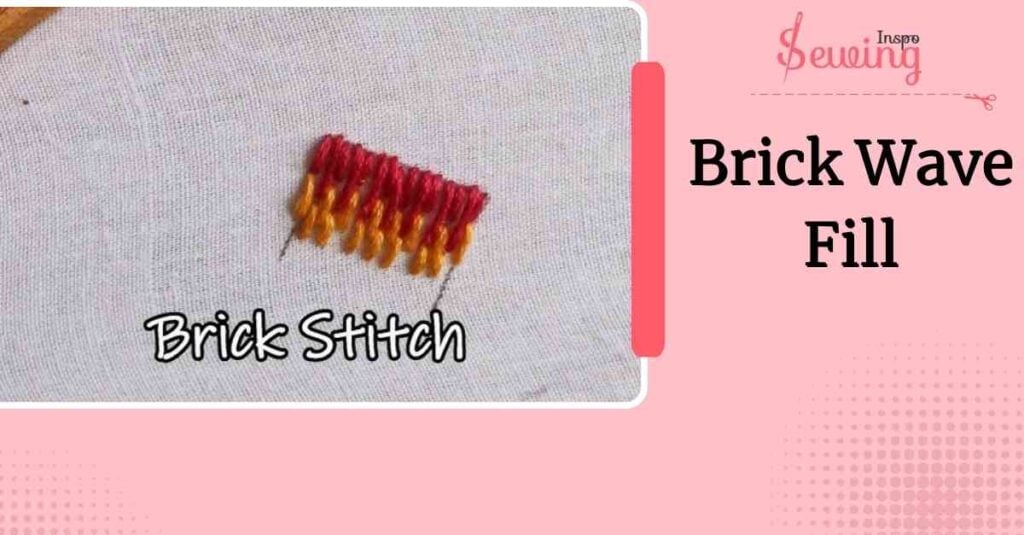
Brick Wave Fill
Brick wave fill combines two textures: structured bricks and flowing waves. I used it on stars and abstract motifs, and it gave a 3D, dimensional effect. I adjust the wave amplitude and brick offset slightly to maintain a balanced pattern.
The stitch density is medium to avoid stiffness, and it works beautifully on medium-weight fabrics. This fill is my go-to when I want designs to feel unique and intricate.
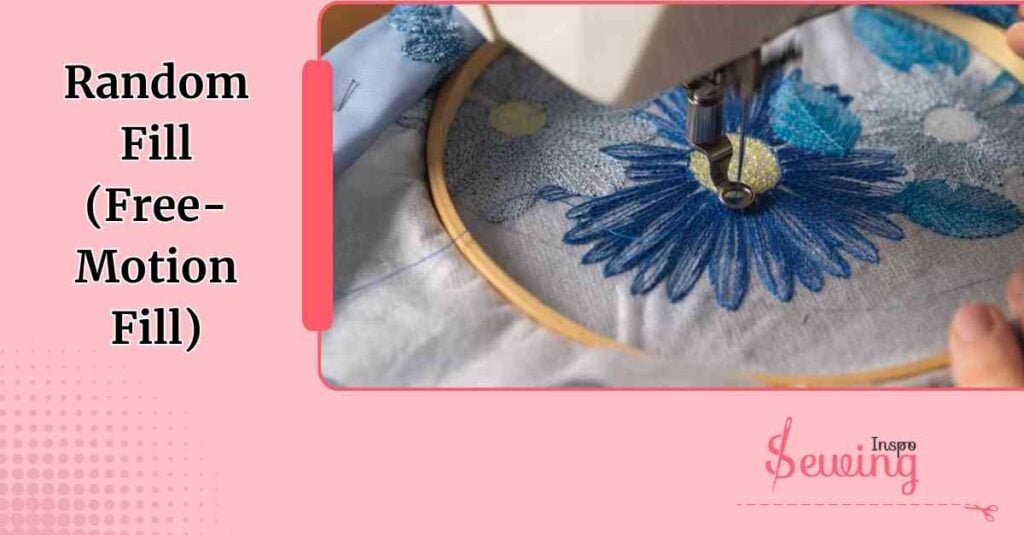
Random Fill (Free-Motion Fill)
Random fill is my creative playground. I drop the feed dogs, move the fabric manually, and let the machine stitch freely. The result is a textured, artsy pattern that’s completely unique every time.
I adjust stitch density as I go and use it for abstract designs, backgrounds, or experimental embroidery. It’s messy but magical.
Every project comes out differently, and I love the unpredictability. This is like cutwork embroidery.
Types Of Machine Embroidery Fill Stitches PDF
Fill stitches embroidery on a machine is fun if you know what to do. This PDF will help you out in the long run.
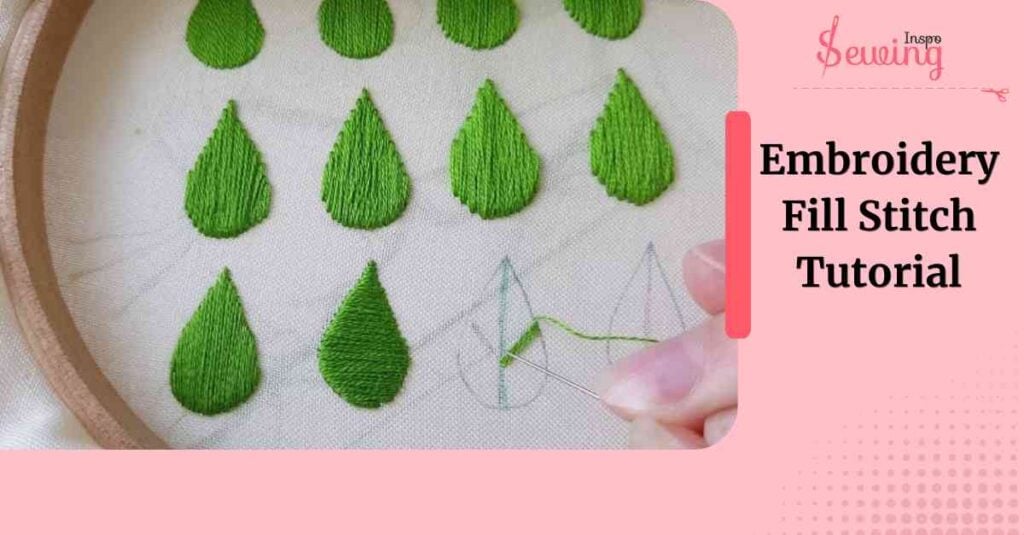
Embroidery Fill Stitch Tutorial
I remember the first time I tried a tatami fill stitch. I was nervous it’d pucker the fabric, but once I got the hang of it, it became my absolute favorite for covering big areas smoothly. Here’s how I usually do it:
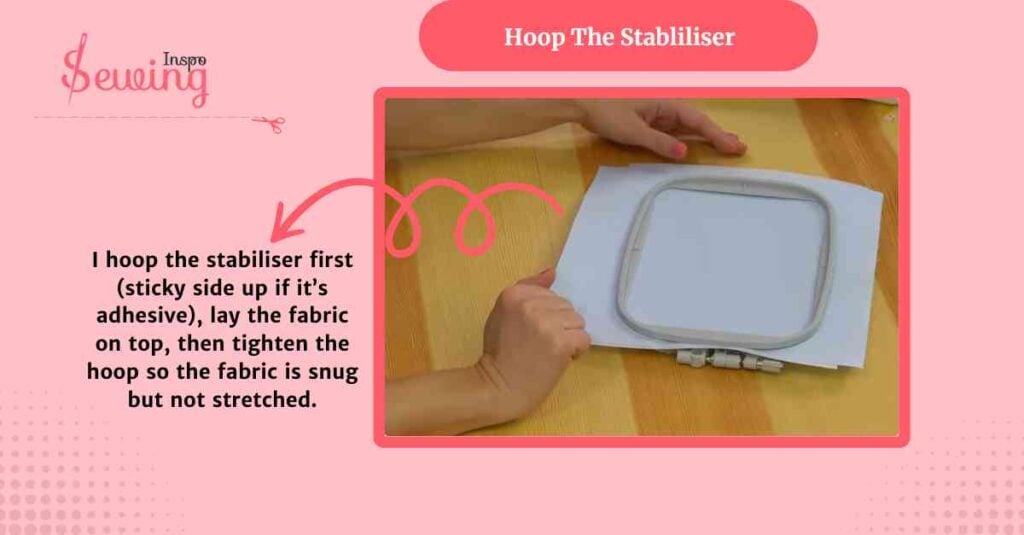
Hoop The Stabliliser
I hoop the stabiliser first (sticky side up if it’s adhesive), lay the fabric on top, then tighten the hoop so the fabric is snug but not stretched.
I tap the fabric with my finger: it should sound slightly drum-like, not tight enough to pull the design. If the fabric’s too loose or over-stretched the tatami will ripple; too tight and it’ll pucker.
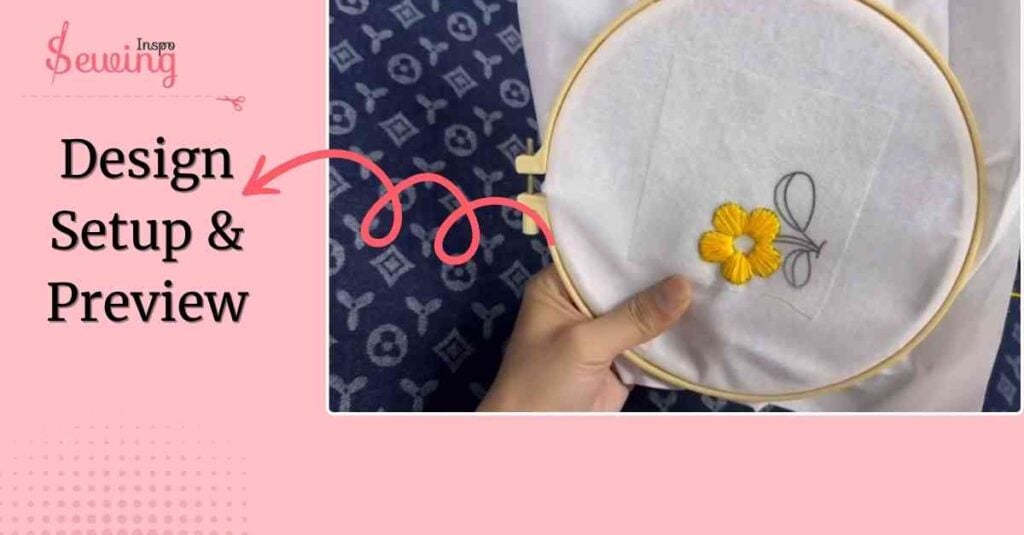
Design Setup & Preview
I load the design and zoom in on the fill area. I check orientation and the fill direction. If the software lets me preview stitch order and underlay, I peek at that too.
If the direction appears incorrect, I rotate the design rather than forcing the machine to struggle against the shape.
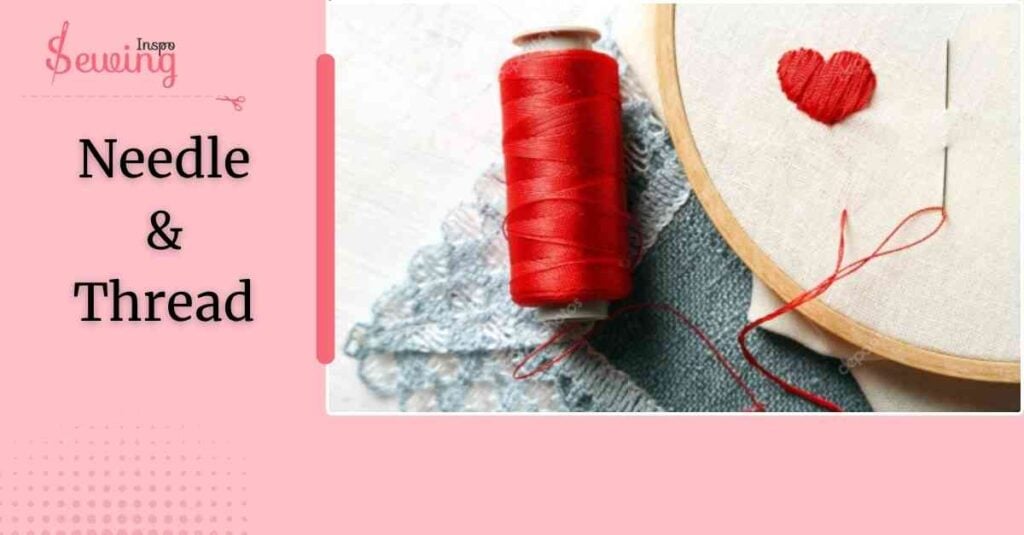
Needle & Thread
I pick a fresh needle sized for the fabric: 75/11 for light cotton, 90/14 for denim or thicker blends. It is perfect for quilting too.
I use high-quality polyester embroidery thread on top (it has good strength and sheen) and a fine, smooth bobbin thread so the back is tidy.
Small habit: I always insert a new needle before a big fill. Needles dull subtly and can cause skipped stitches across long fills.
Start Stitching First Rows
When I begin the actual piece, I watch the first 3–5 rows closely. This is where tension or hoop issues become obvious. If I see tight ridges, I loosen top tension slightly or drop the density 0.05 mm. If the machine seems to push fabric, I recheck the hoop firmness.
Managing Thread Changes & Stops
If the fill has color changes or angle shifts, I let the machine stop at color trims and check the edges.
I trim long jumps with snips and use tape if the thread wants to drag. For long fills, I periodically pause to check bobbin and thread tail positions so nothing bunches under the fill.
Finishing Stitches & Trimming Jumps
When stitching ends, I pull the bobbin thread tails to the back and tie or secure if necessary. I trim jump threads close.
But not so close that they pull free under the underwear. For embroidered garments, I leave a small tail and knot or use a tiny dot of fray check on the inside seams.
Which One Is Your Machine Embroidery Fill Stitches?
If I’m being honest, tatami fill is totally my stitch. It’s the one I keep coming back to, no matter how many fancy fill types I try.
There’s just something about how smooth and even it looks. It gives my designs that clean, professional finish without making the fabric feel stiff.
But I won’t lie, I still love mixing things up. Sometimes a satin fill gives me that perfect shine, and other times a wave fill adds just the right bit of movement.
Still, if you peek at most of my embroidery projects, you’ll see tatami fill doing most of the work.


Leave a Reply