
People often struggle when they switch from hand stitching to machine stitching. But I got one question, so many times and that is, how to change stitch pattern on sewing machine?
Cause changing stitch patterns on your sewing machine might sound tricky. But it’s actually easier than you think. Basically,
Change Stitch Pattern
To change the stitch pattern on a sewing machine, simply select your desired stitch using the machine’s dial, touchscreen, or buttons, and adjust the length and width settings as needed.
I know it’s not really clearing the air. So I want wanna walk you through the process in detail.
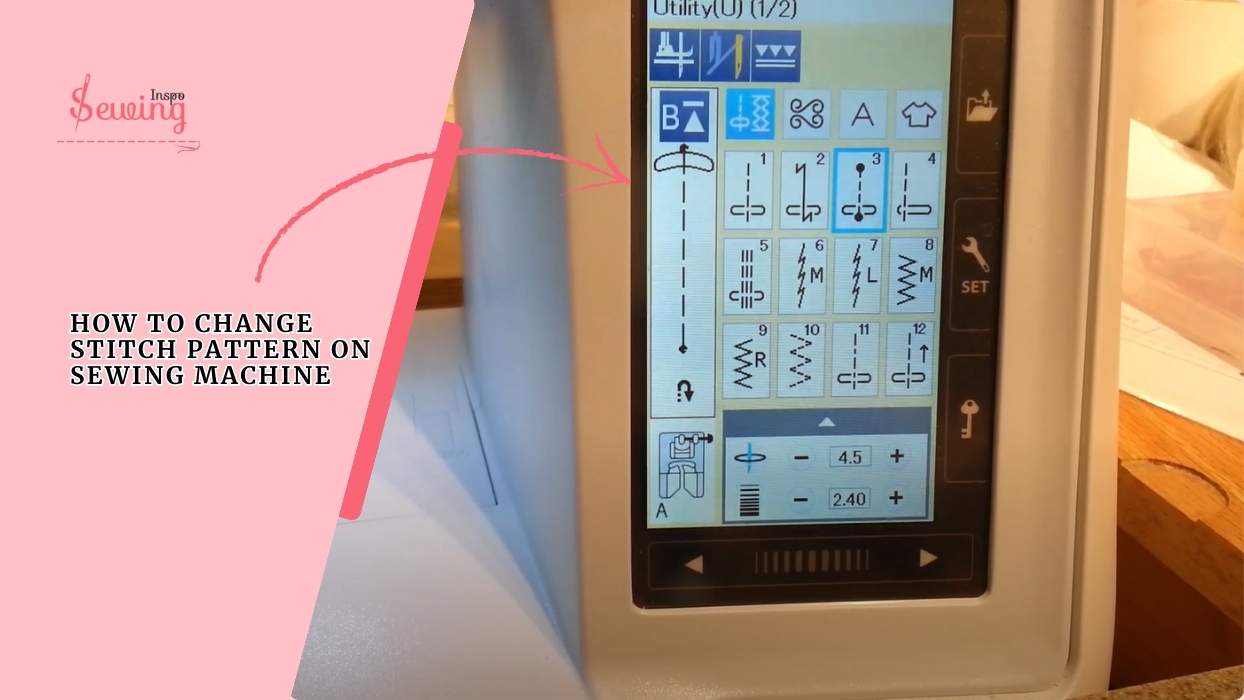
Table of Contents
How To Change Stitch Pattern On Sewing Machine?
To change the stitch pattern on a sewing machine, follow these five steps,
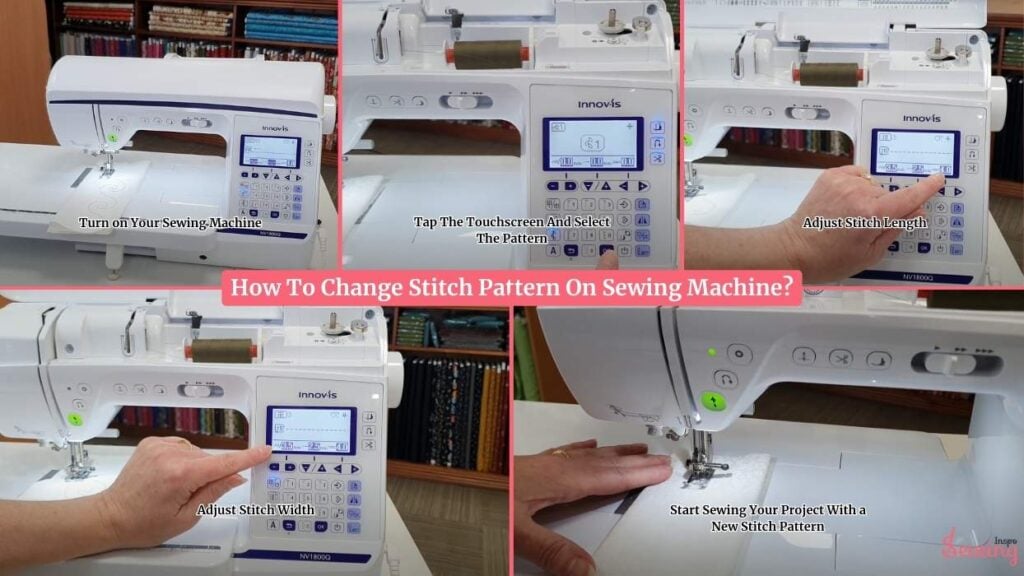
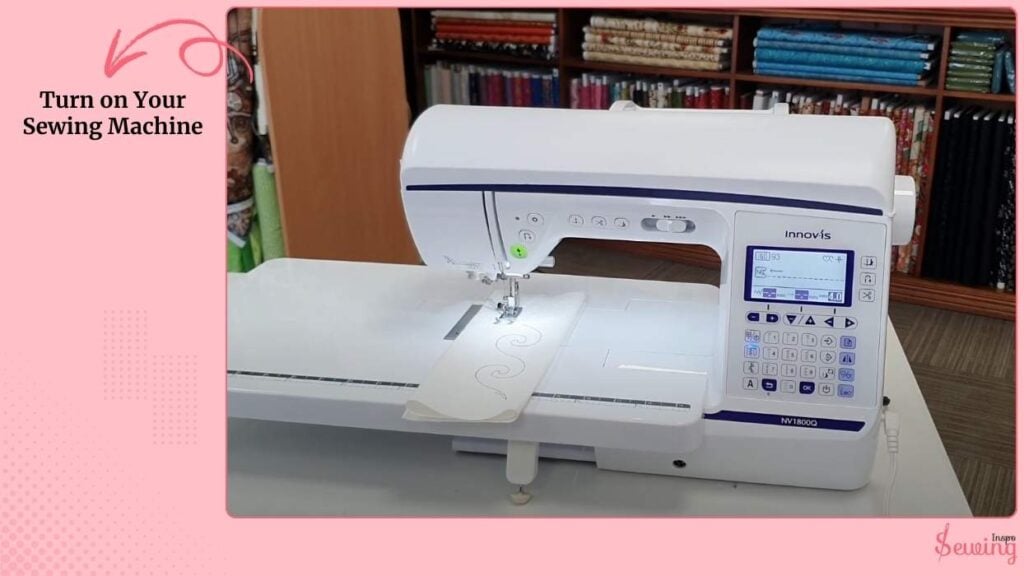
Turn on Your Sewing Machine
I plug in my sewing machine and switch it on. I like to ensure the machine is ready and all my lights are on before I start adjusting any settings.
It feels a little ritualistic, but it helps me focus. At least it isn’t as tricky as creating a cross-stitch pattern.
Tap The Touchscreen And Select The Pattern
Next, I choose the stitch pattern I want. On my machine, I either turn the dial, press the buttons, or tap the touchscreen (depending on your model) until I see the stitch I want.
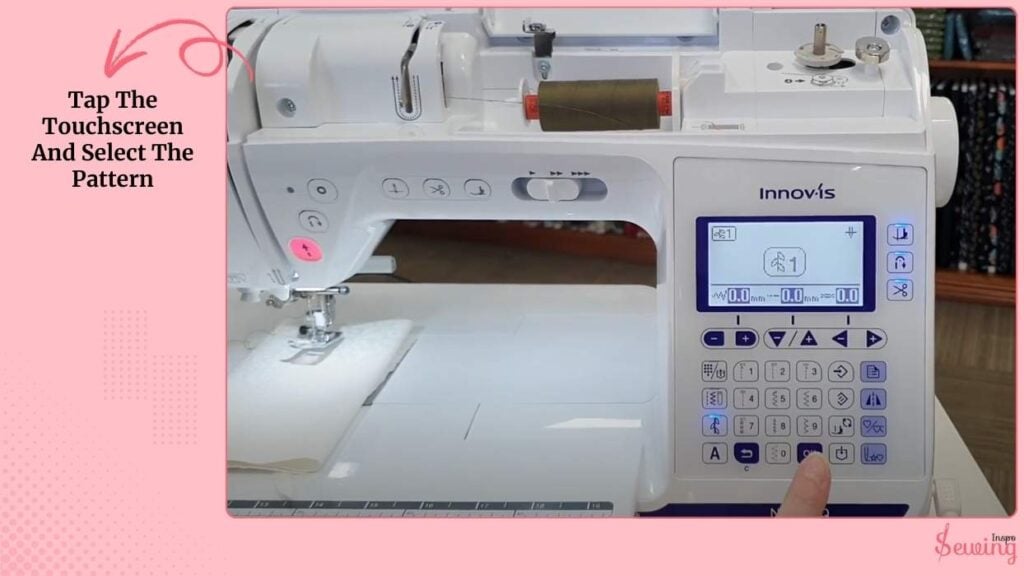
I take a moment to double-check. Sometimes I pick a stitch, and it’s not exactly what I imagined, so a quick glance saves frustration later.
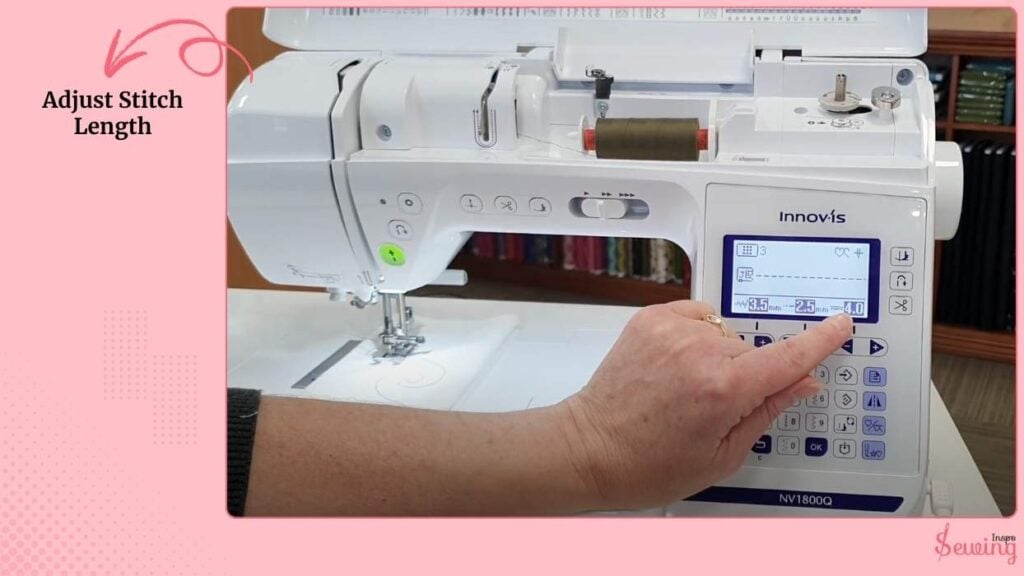
Adjust Stitch Length
Once the stitch is selected, I adjust the stitch length. For small, neat seams, I usually go shorter around 1.5–2 mm. For basting, gathering, or long decorative stitches, I adjust the tension slightly. I always think of it like the “pace” of my stitching.
The longer the stitch, the more fabric it covers per pass. I use this trick for counted cross stitch, too.
Adjust Stitch Width
If I’m using a zigzag or decorative stitch, I tweak the width next. This controls how wide the stitch swings from side to side. A narrow width is subtle and tidy, perfect for finishing edges, while a wider width makes the stitch bold and decorative.
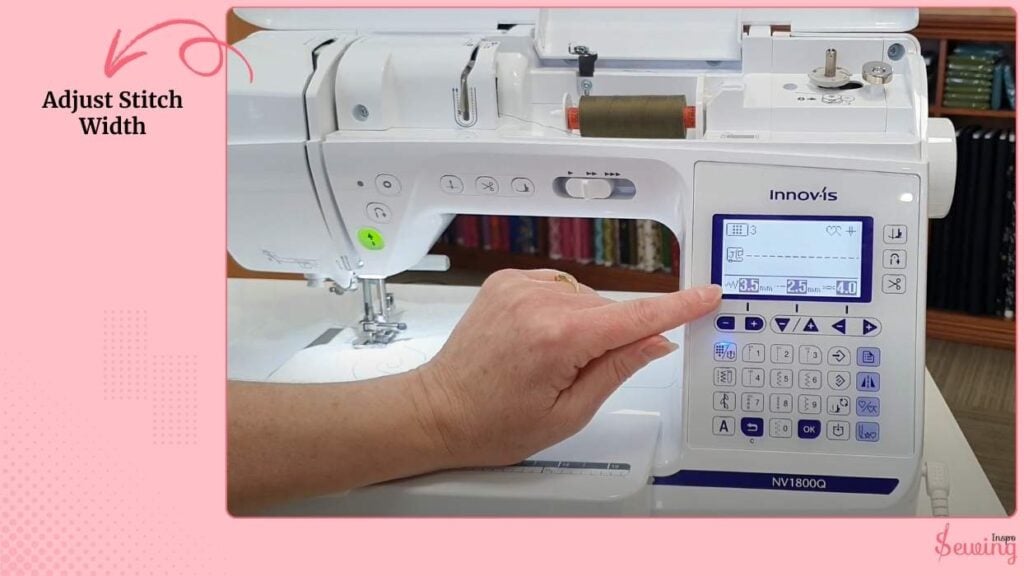
I usually start in the middle range and adjust after testing.
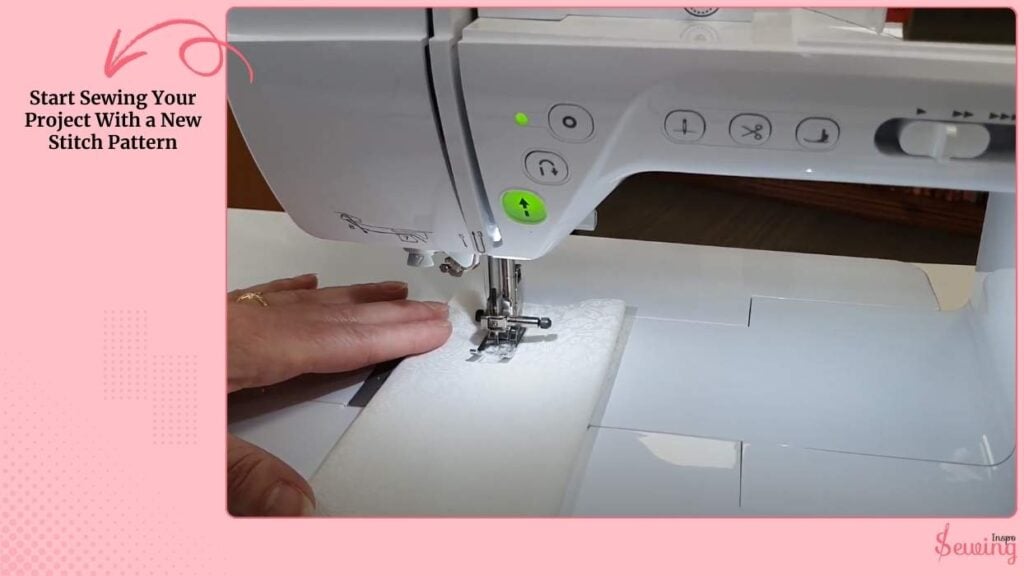
Start Sewing Your Project With a New Stitch Pattern
Finally, I’m ready to sew on my actual project! I guide the fabric slowly, keeping an eye on the stitch as it forms.
It’s satisfying to see my chosen stitch pattern come to life, knowing I set it up perfectly from start to finish.
How To Change Stitch Pattern On Brother Sewing Machine?
The Brother sewing machine is the most talked-about one, so I often get questions about how to change stitch patterns on it. So here you go,

- Turn on your Brother sewing machine.
- Press the stitch selection button or use the touchscreen to choose your desired stitch.
- Adjust the stitch length using the stitch length dial or buttons.
- Adjust the stitch width (for zigzag or decorative stitches) using the width dial or buttons.
- Test the stitch on a scrap of fabric.
- Begin sewing your project once satisfied with the settings.
Brother’s machine is smoother than other machines I have tried. So you don’t have to struggle much.
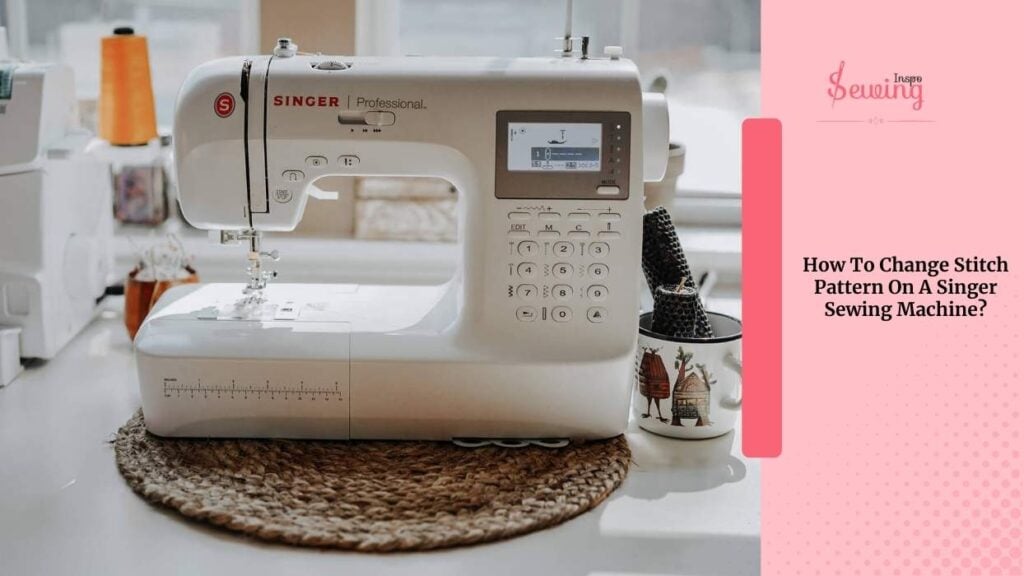
How To Change Stitch Pattern On A Singer Sewing Machine?
You have a Singer machine, not a Brother? No worries I have got your cover too. Here is what you gotta do,
- Turn on your Singer sewing machine.
- Use the stitch selector dial or buttons to choose your desired stitch pattern.
- Adjust the stitch length using the stitch length dial or buttons.
- Adjust the stitch width (for zigzag or decorative stitches) using the width dial or buttons.
- Test the stitch on a scrap piece of fabric.
- Start sewing your project once you’re happy with the stitch
It’s so simple, right? That’s how you can make free tie pattern pdf, too.
Singer Stitch Guide Pdf Free Download
My Sewing Machine Won’t Change Stitch
When I start working with machine stitches, I encounter numerous problems. And won’t change the issue, maybe one of them.
If your sewing machine refuses to change stitches, it could be caused by a few common issues, like a stuck stitch selector, debris in the mechanism, an engaged reverse lever, an incorrectly installed straight stitch plate, or improper threading.
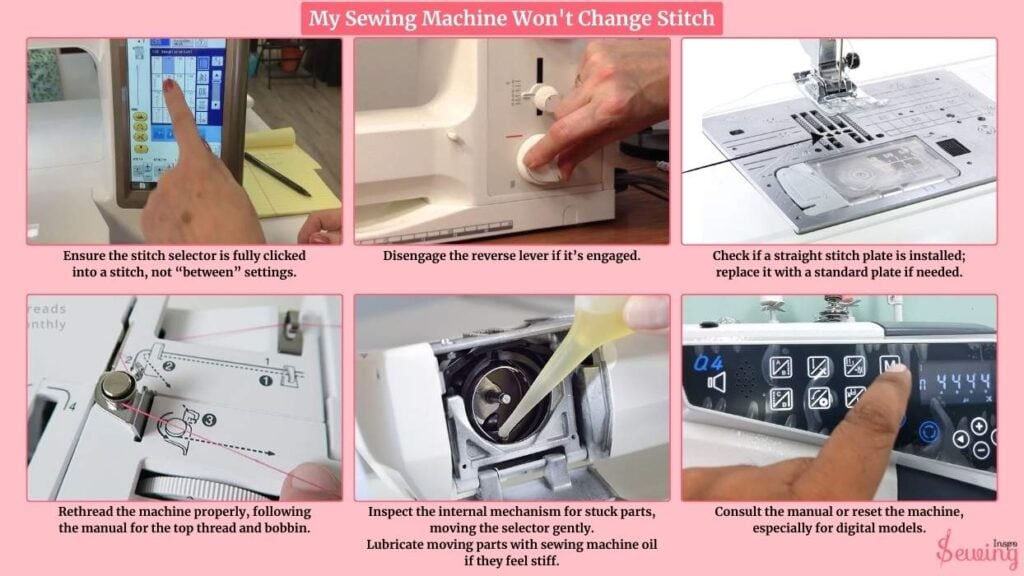
If basic fixes don’t work, internal lubrication problems or a stuck zigzag mechanism may be the cause. Persistent issues likely require professional service. Before running into professional help, do it.
- Ensure the stitch selector is fully clicked into a stitch, not “between” settings.
- Disengage the reverse lever if it’s engaged.
- Clean the machine, removing lint, dust, and thread around the stitch mechanism.
- Check if a straight stitch plate is installed; replace it with a standard plate if needed.
- Rethread the machine properly, following the manual for the top thread and bobbin.
- Inspect the internal mechanism for stuck parts, moving the selector gently.
Lubricate moving parts with sewing machine oil if they feel stiff. - Consult the manual or reset the machine, especially for digital models.
If none of the above options work, then seek professional help.
Read out how to make stick and stitch embroidery patterns to learn a cheat code of embroidery.
Frequently Asked Questions
How do I remove stitches from a sewing machine?
Use a seam ripper or small scissors to carefully cut the threads. Gently pull the thread out, working from the back to the front of the fabric to prevent damage.
Can a sewing machine do different stitches?
Yes! Most modern sewing machines can do multiple stitches, including straight, zigzag, decorative, and stretch stitches. You can select the stitch using the machine’s dial, buttons, or touchscreen.
When should I use different stitch patterns?
Different stitches serve different purposes. Straight stitches are great for seams, zigzag stitches prevent fraying, decorative stitches add style, and stretch stitches work well on knit fabrics. Choose a stitch based on the fabric type and project needs.
Final Thought
That’s how to change stitch pattern on sewing machine.
Now that you’ve got the hang of changing stitches and troubleshooting your machine, you’re ready to take your projects to the next level. Keep experimenting with different stitch patterns
I promise, every little stitch you try brings you closer to creating something uniquely yours!


Leave a Reply