
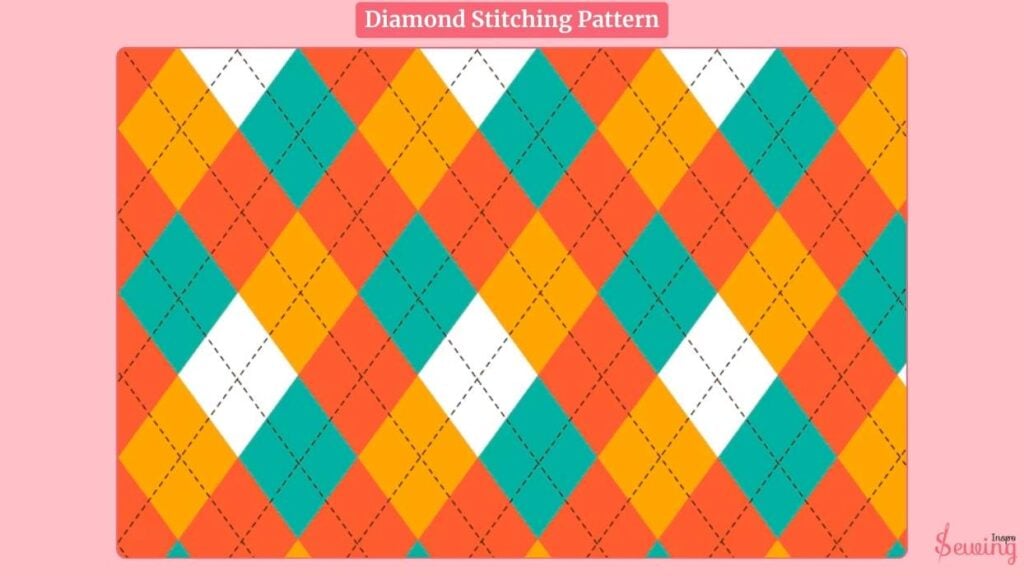
Diamond stitching pattern never really goes out of style. It’s like the fabric version of the harlequin design. It has elongated diamonds lined up point-to-point
Sometimes super close together, sometimes spaced out so the empty space forms a lattice effect. That’s what makes it a stunning stitch pattern.
The fun part?
You can play with it however you like. You can use bold 2 contrasting colours, or go wild and use a mix of shades for something eye-catching.
The roots of this design actually trace back to 16th-century Italian theatre, where harlequin clowns stitched scraps of fabric into diamond-shaped costumes.
Over time, that quirky, playful pattern turned into a design staple that shows up everywhere.
Now you can see it on high fashion runways to cosy quilts. Today’s session is about it. I’ll demonstrate using diamod stitch in many cases. So stay tuned.
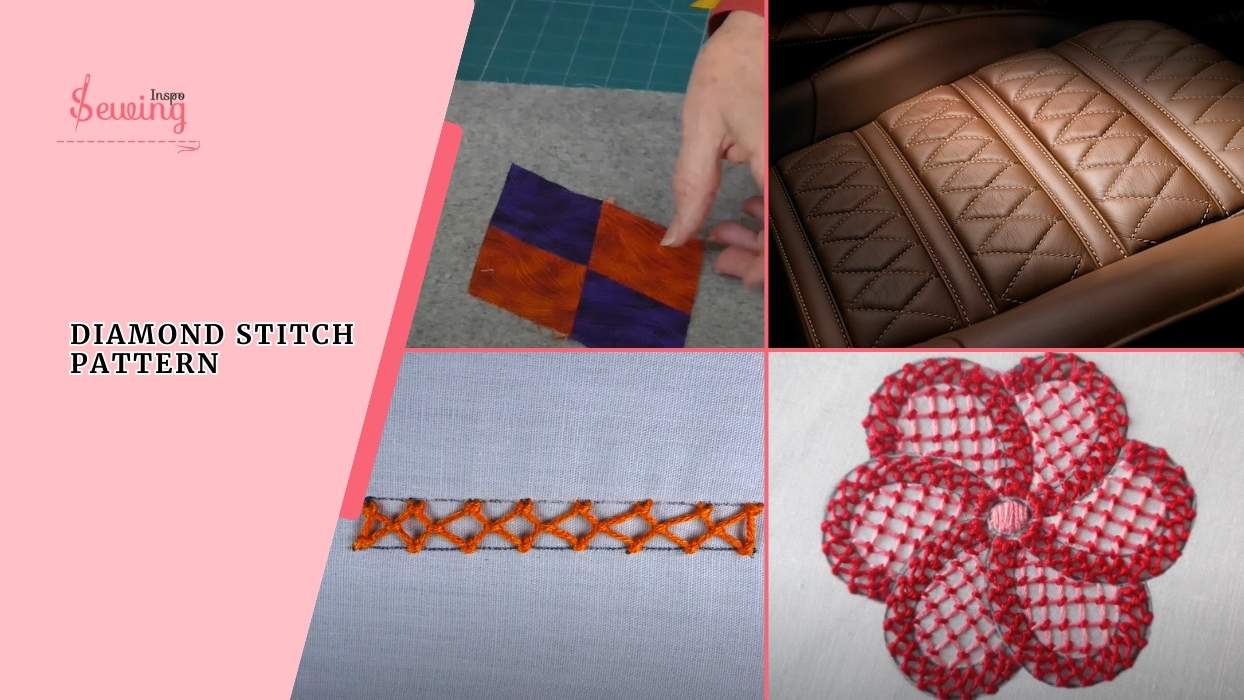
Table of Contents
What Is Diamond Stitching Pattern?
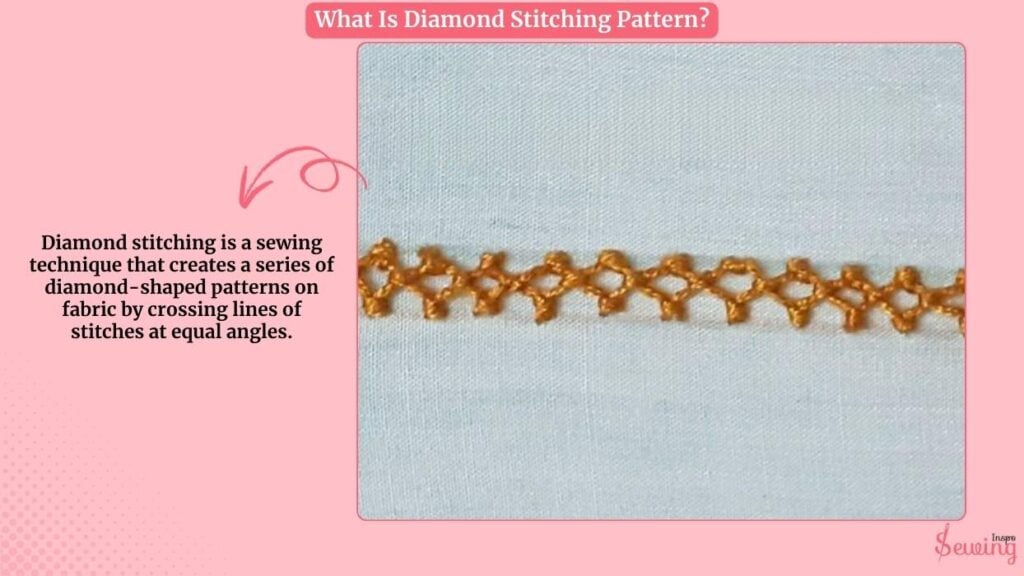
Diamond stitching is a sewing technique that creates a series of diamond-shaped patterns on fabric by crossing lines of stitches at equal angles.
It’s often used in quilting, upholstery, and fashion to add both strength and style. The pattern can be tightly spaced for a bold, textured look or spread out for a softer, lattice-like effect.
That’s why stitchers use this for embroidery or quilting. You can even make Diamond Stitching seat covers, too.
What Is A Diamond Pattern On Fabric Called?
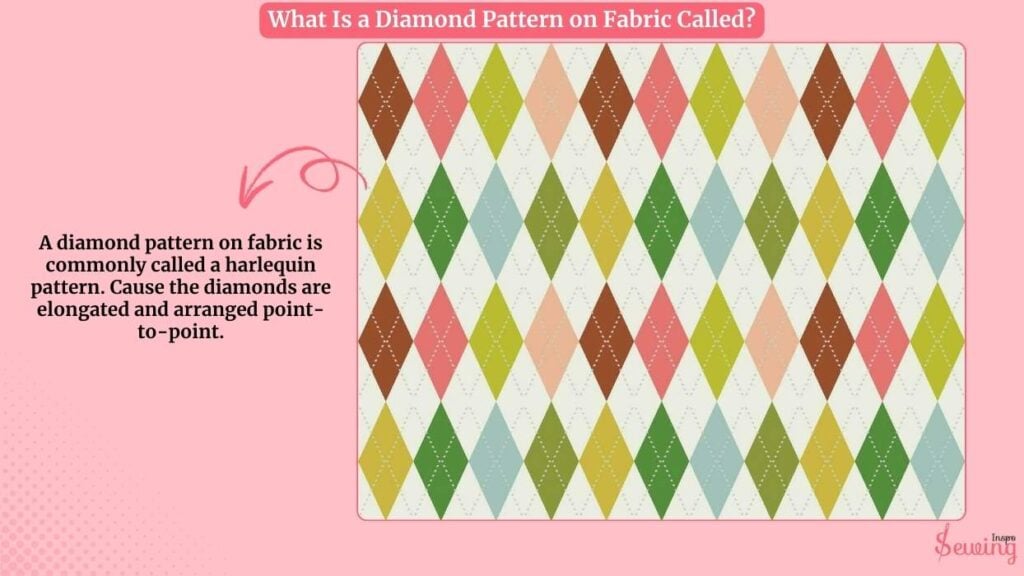
A diamond pattern on fabric is commonly called a harlequin pattern. Cause the diamonds are elongated and arranged point-to-point.
It is often in bold or contrasting colors. If the diamonds are smaller and more uniform, it’s often just referred to as a diamond pattern or sometimes a lattice pattern, depending on the spacing.
How To Make Diamond Stitch Pattern By Hand?
Ok, before getting into making patterns with diamond stitch, let’s do the stitch 1st. So to make a diamond stitch, follow 8 steps,
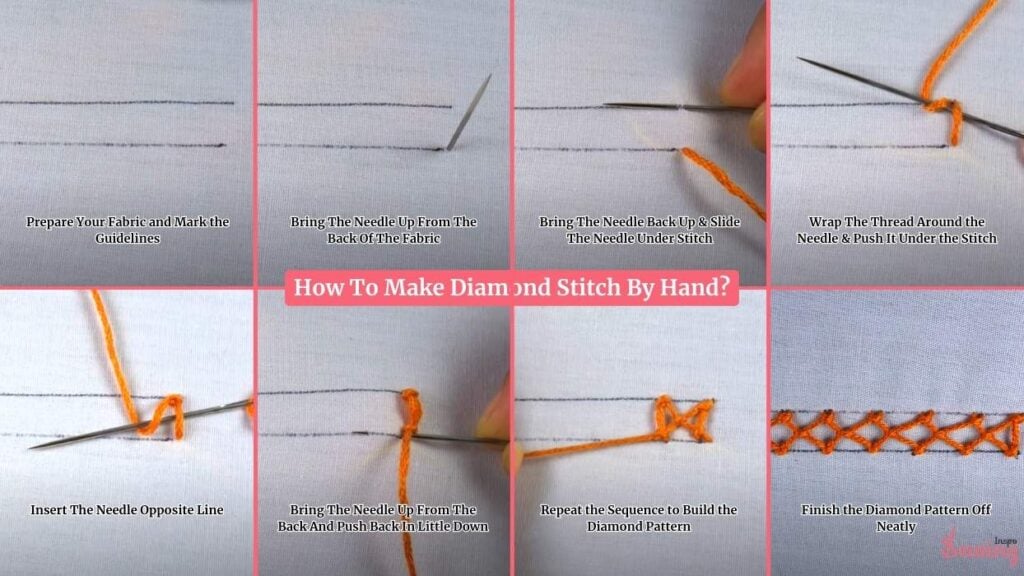
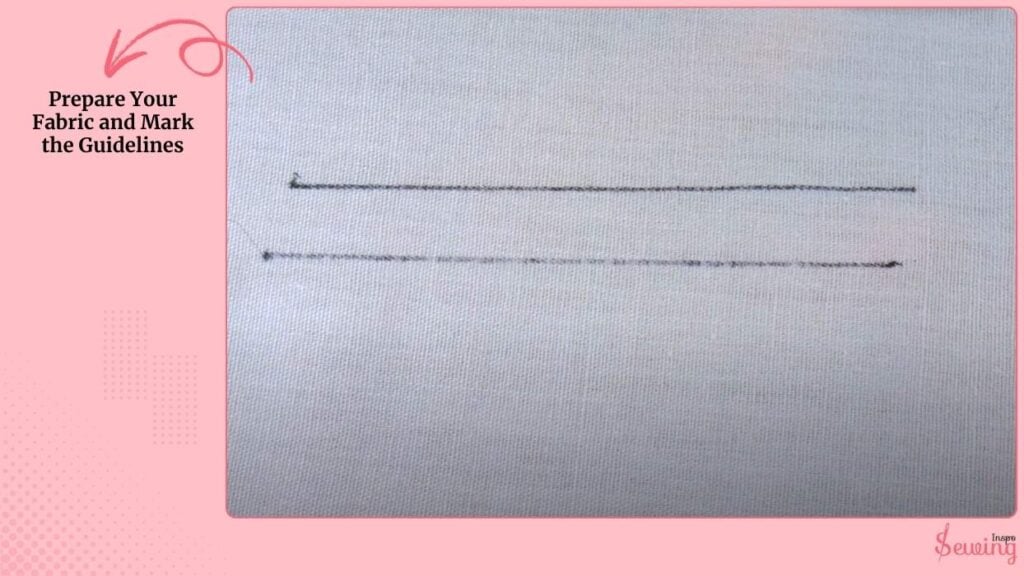
Prepare Your Fabric and Mark the Guidelines
Start by drawing two vertical parallel lines on your fabric using a fabric pencil or erasable marker. Keep about 1–1.5 inches of gap between them. I maintain it for popcorn stitch patterns, too.
You can adjust the size and boldness of your diamonds as needed. This gap size will define the width of your diamond shapes. Make sure the lines are straight and evenly spaced so your stitches stay consistent.
Thread your needle with about 18–24 inches of thread, tie a neat knot at the end, and position yourself comfortably. This length of thread is perfect for a garter stitch pattern in sewing, too.
Hold the needle at a slight upward angle (about 30–40 degrees) when you pierce the fabric. It’ll help you make cleaner, more controlled stitches.
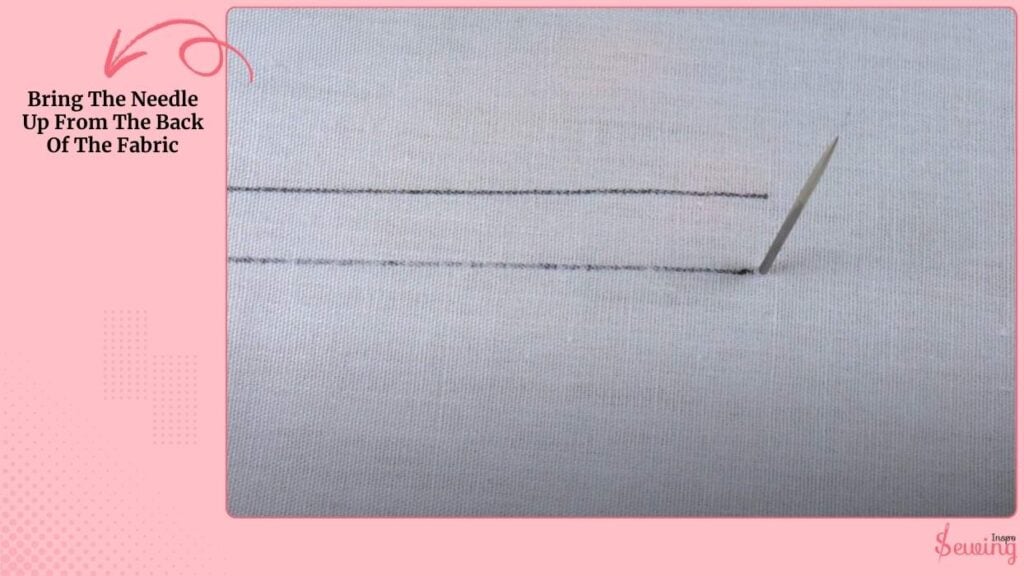
Bring The Needle Up From The Back Of The Fabric
Bring the needle up from the back of the fabric at the right vertical line, about half an inch from the top (or wherever you want to begin).
Pull it through completely.
Now, move directly across and insert the needle into the left vertical line, keeping the stitch straight and horizontal.
This creates the first bar that will serve as the “base” for your diamond. Keep the stitch snug, but not so tight that it pulls the fabric inward.
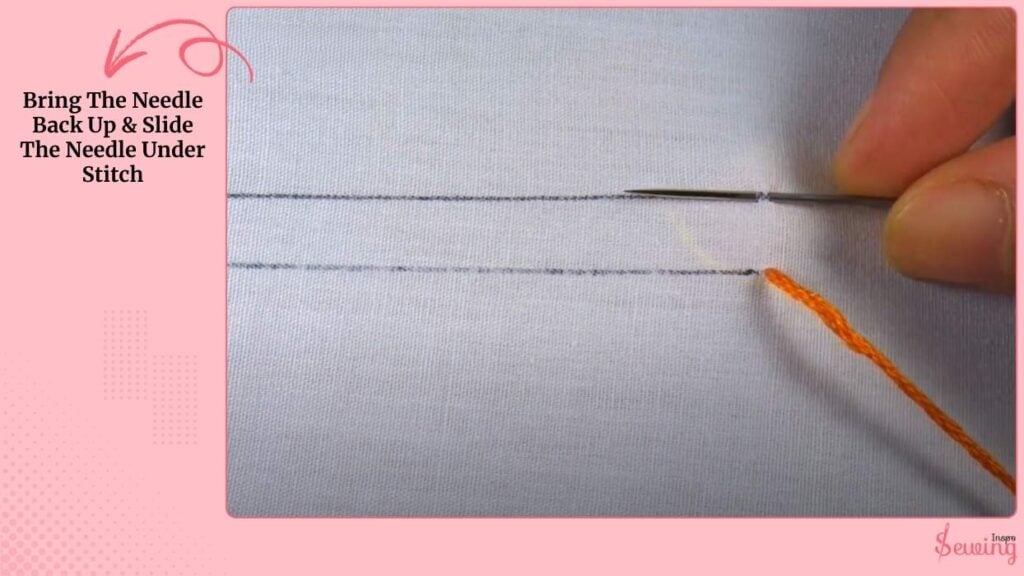
Bring The Needle Back Up & Slide The Needle Under Stitch
Bring the needle back up just below where you first started on the right vertical line. Slide the needle under the horizontal stitch you just made (without piercing the fabric).
Don’t pull it all the way through. Pause with the loop still on the needle.
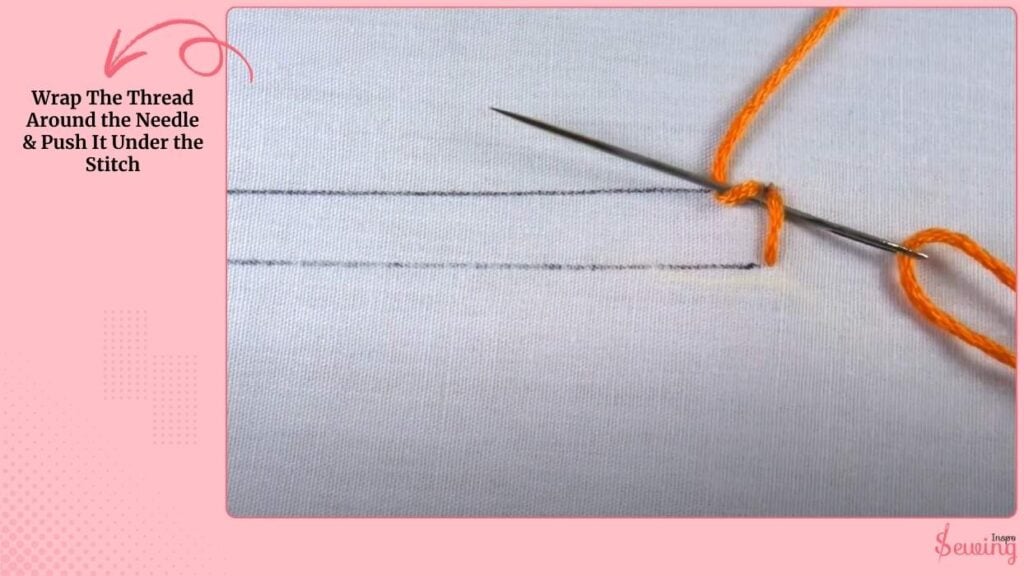
Wrap The Thread Around the Needle & Push It Under the Stitch
Wrap the thread over the top of the needle and then under it, pulling gently upward. This creates a small knot that should sit as close to the right vertical line as possible.
I usually make the knot tiny and neat about 2–3mm. Just enough to anchor the thread without looking bulky.
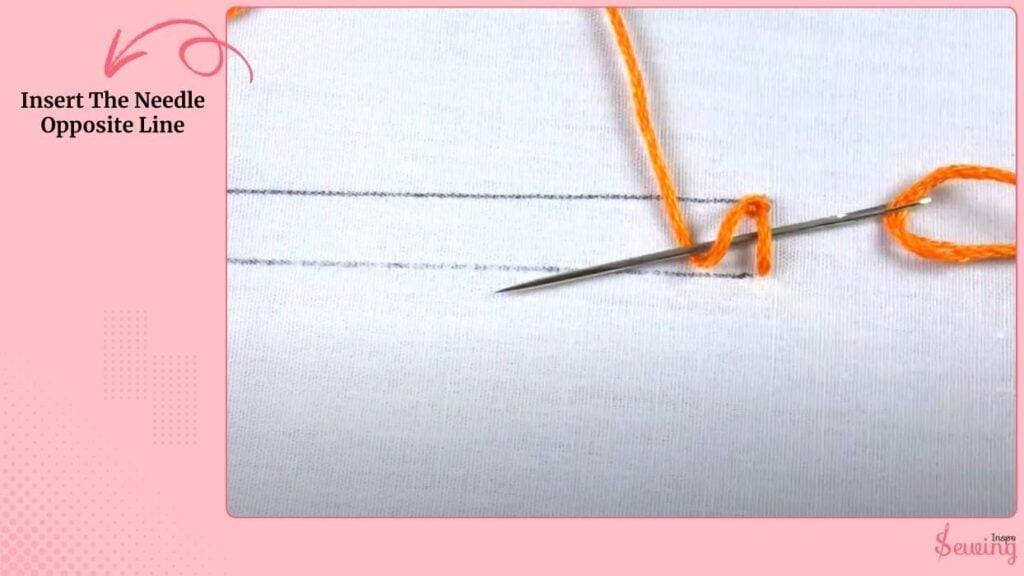
Insert The Needle Opposite Line
Now move across and insert your needle into the left vertical line, directly opposite where the thread came up on the right.
Pass the needle under the same horizontal stitch, again without pulling all the way through. This works well for the seed stitch pattern in sewing, also.
Wrap the thread over and under the needle from right to left, then pull upward to form a knot.
This time, the knot should sit snugly on the left vertical line, balancing out the right knot. These side knots lock your thread in place and start shaping the sides of your diamond.
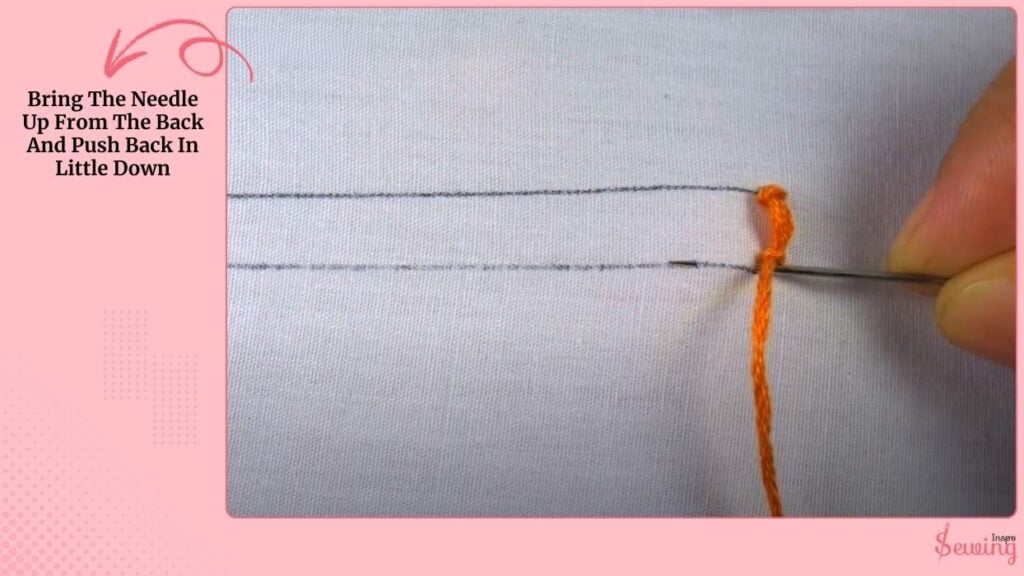
Bring The Needle Up From The Back And Push Back In Little Down
Next, bring your needle up from the back of the fabric, a little lower down on the left vertical line.
I keep it about ¼–½ inch below the previous stitch, depending on how tall you want your diamonds to be.
Pass the needle under the second horizontal stitch (the one you just made), pause, and then wrap the thread from left to right over and under the needle.
Pull the thread gently upward and then press slightly downward so the knot forms in the centre between the two vertical lines.
This is what pulls the threads inward and creates the diamond shape. I follow this pattern for counted cross stitch, too.
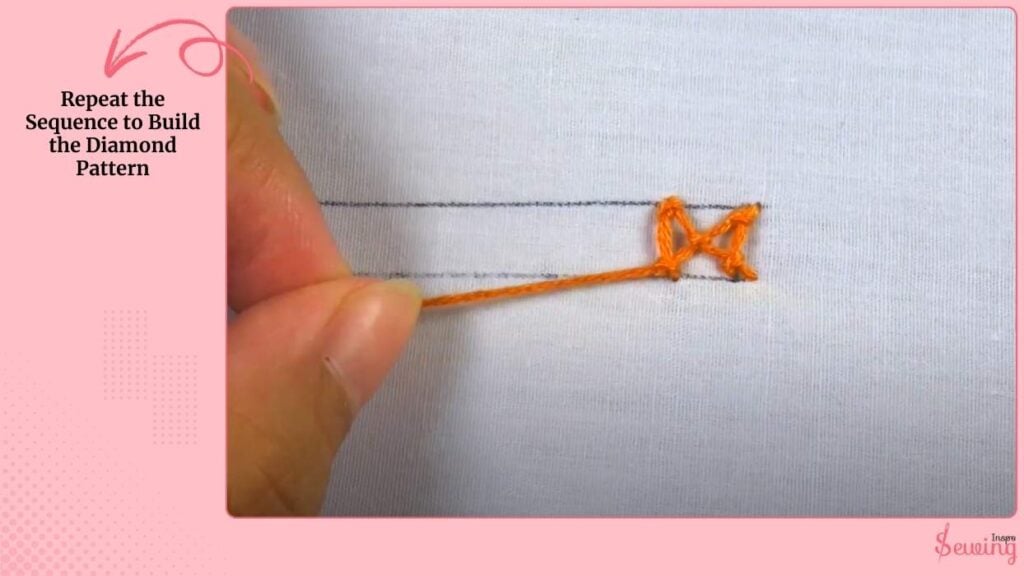
Repeat the Sequence to Build the Diamond Pattern
To keep going, insert your needle down into the right vertical line. Push it directly across from where you came up on the left.
Bring it back up just below on the same line, pass the needle under the horizontal stitch, and wrap right to left to form another small knot on the right side.
Cross over to the left line, repeat the same wrapping motion, and lock the thread with a left-side knot.
Then come up lower on the left line, create a center knot (left to right wrap), and watch the next diamond form.
Keep your stitches evenly spaced about ¼–½ inch between rows for a balanced, consistent look.
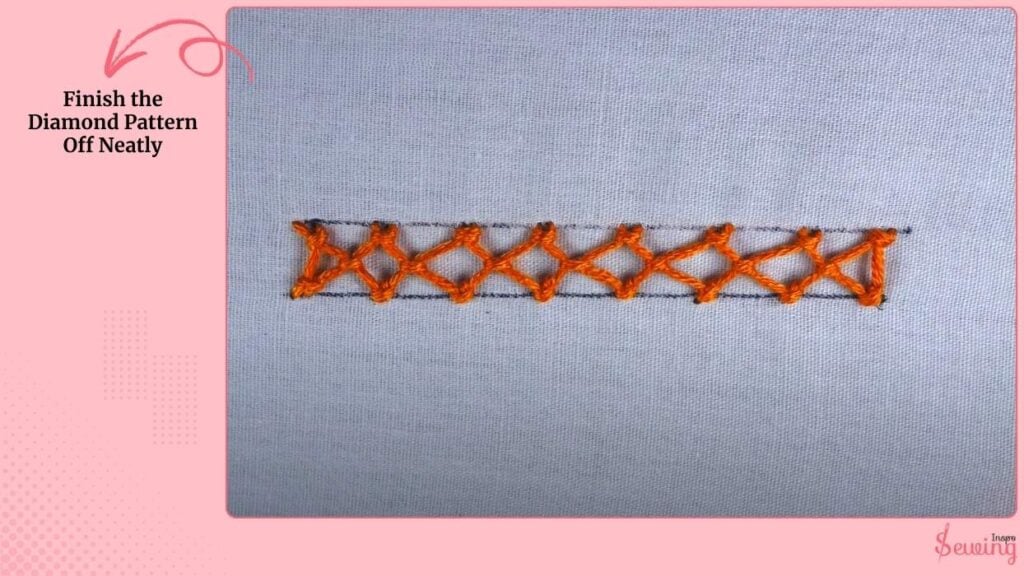
Finish the Diamond Pattern Off Neatly
Once you’ve stitched as many diamonds as you’d like, complete your last side knot (not a centre knot) so you end with a straight, balanced line. You can do some purl stitch pattern if you want something decorative.
Take your needle to the back of the fabric, make a tiny securing knot, and trim the thread.
Gently smooth the fabric out with your hands to ensure the diamonds sit evenly. You now have a line of handmade diamond stitches.
Each one is neatly anchored with side knots and pulled together with a centre knot.
That’s it! To create a diamond stitching pattern, simply stitch it along the patterns.
Diamond Stitching Pattern Free
If you want to bring up diamond stitches in embroidery, similar to stick & stitches, then use these patterns as a reference.
how to sew diamonds together for a quilt?
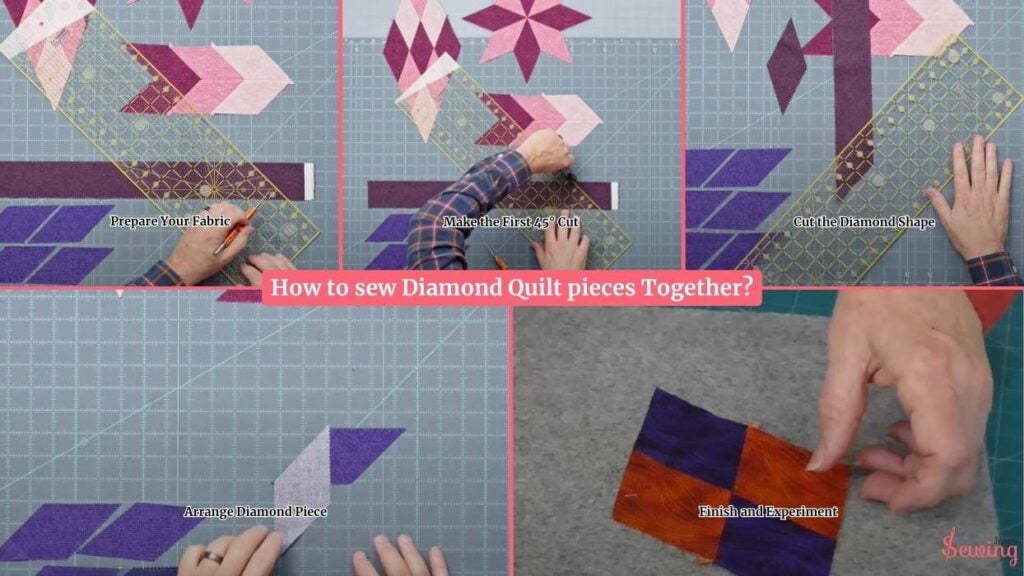
Now that you know the embroidery part, let’s do quilting with a diamond shape. Here is how to sew diamond shapes together-
- Prepare Your Fabric
- Make the First 45° Cut
- Cut the Diamond Shape
- Arrange Diamond Piece
- Finish and Experiment
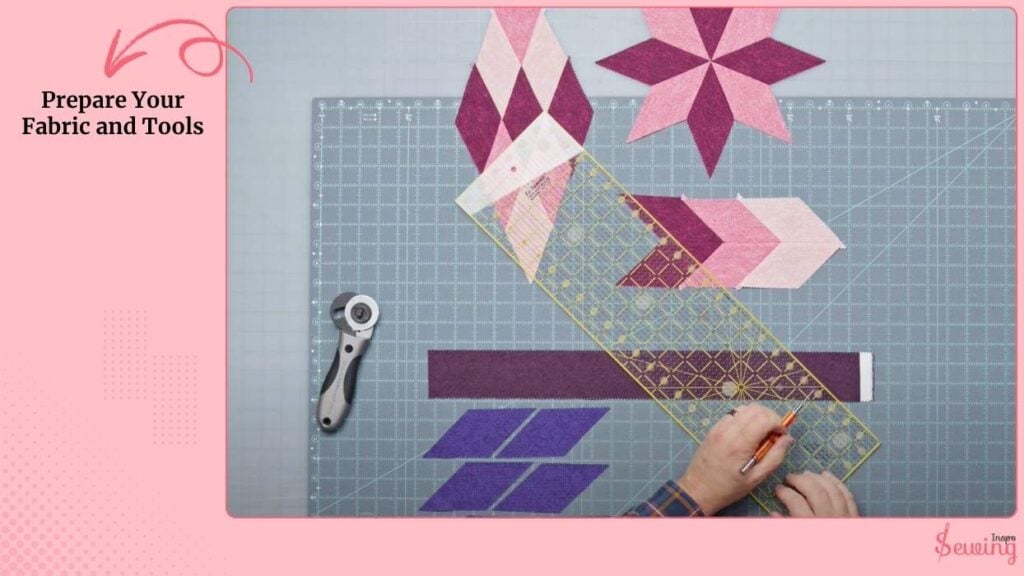
Prepare Your Fabric and Tools
Start with a jelly roll strip (2½ inches wide) or any fabric strip cut to that width. Lay your fabric flat on your cutting surface and grab a quilting ruler that has a 45° diagonal line across it.
This angled line is going to be your best friend for cutting diamonds. Line up the 45° mark with the base edge of your strip, making sure it’s straight and even.
Make the First 45° Cut
Once your ruler is aligned, use your rotary cutter to make a clean 45° cut across the strip. This angled cut sets you up for perfect diamonds.
After the cut, rotate your strip so that angled edge becomes your starting point for measuring out diamonds.

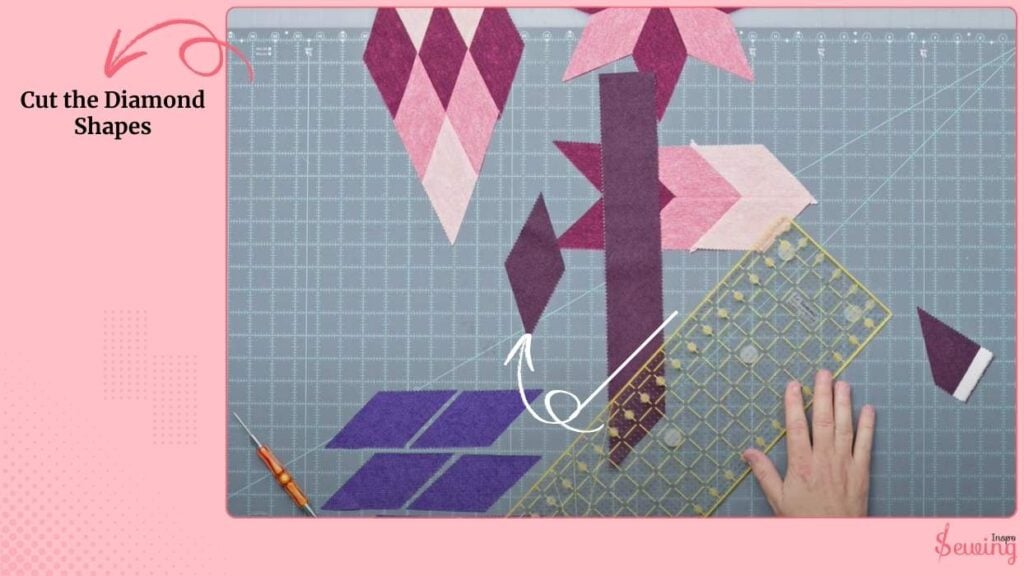
Cut the Diamond Shapes
Since the strip is 2½ inches wide, you’ll use that same measurement to cut diamonds. Place your ruler so that it measures 2½ inches from the angled edge you just created, and make another cut.
That gives you a perfectly shaped diamond. Continue to slide the ruler along the strip in 2½ inch increments, cutting as you go.
You’ll end up with a whole stack of diamonds, all equal and ready to play with. Isn’t it kinda like cutting a teddy bear stitching pattern?
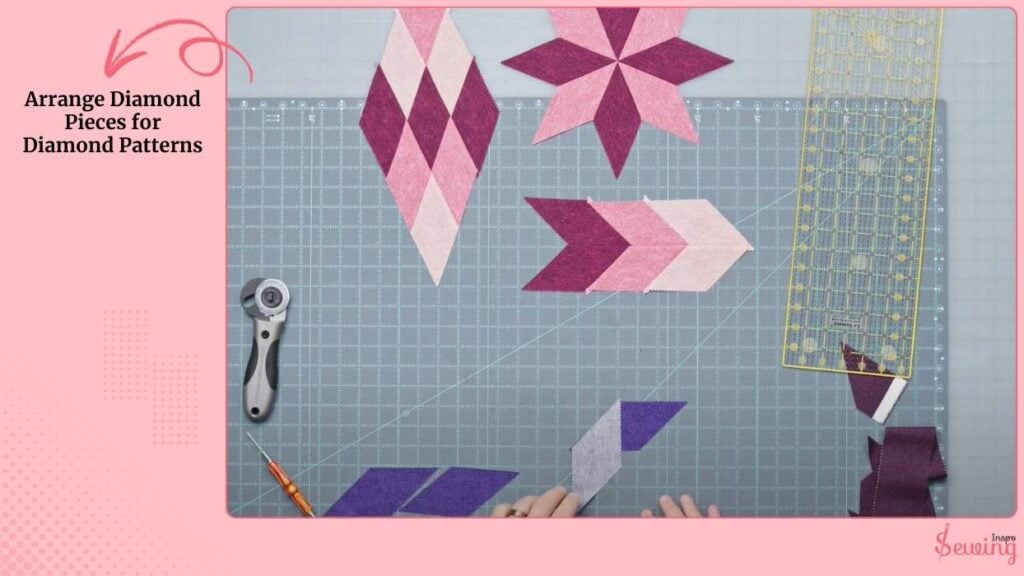
Arrange Diamond Pieces for Diamond Patterns
Arrange your diamonds. You can create giant diamonds, arrowhead figures, or star shapes, depending on how you place them.
But the golden rule is that when sewing them together, check if they’re mirror images or not.
Here is what you can do,
Mirror Image Diamonds.
If you place two diamonds right sides together, and they perfectly overlap (a mirror image). You can simply sew them with a ¼-inch seam allowance. Open them up and they’ll match beautifully. This is kinda like sewing patterns for leather.
Non-Mirror Image Diamonds.
If your diamonds don’t match perfectly when folded (edges sticking out on opposite sides), you’ll need to offset the top diamond by ¼ inch before stitching. I use this method while making a tie.
That makes the seam line perfect. When you open the fabric, the points will align smoothly. That’s how to sew diamond pleats.
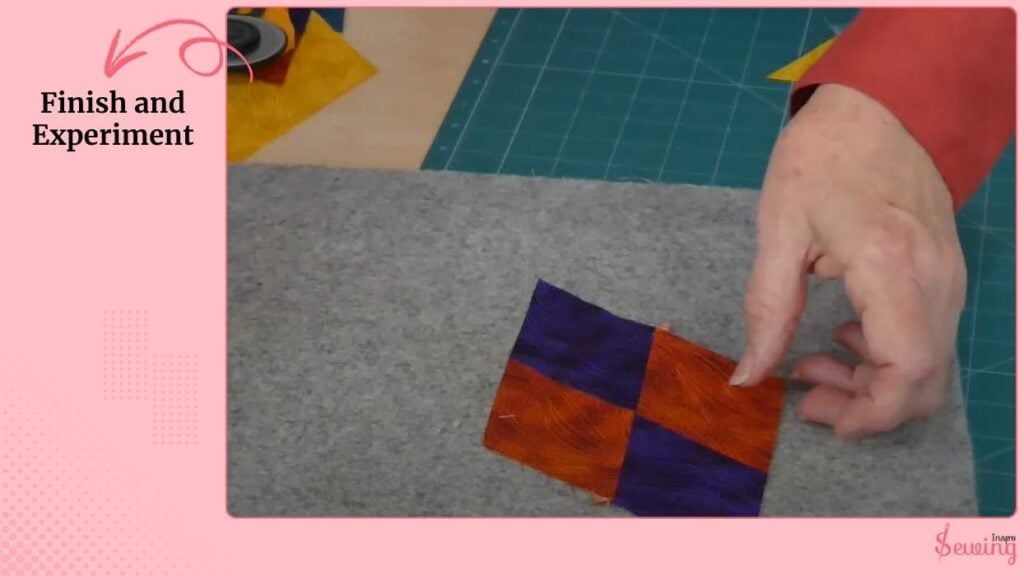
Finish and Experiment
After stitching, press your seams flat and admire your work.
If you want something different, then use a bigger piece. Cutting and piecing these simple 2½-inch diamonds. You can create dynamic quilt patterns that look far more complex than they are.
Remember: mirror images = simple sew, non-mirror images = offset by ¼ inch.
Once you get the hang of that, the design possibilities are endless: stars, chevrons, or even whole quilt tops made entirely of diamonds.
Sewing Diamond Stitching Leather Using a Sewing Machine
The diamond shape isn’t just quilting. You can even do it on leather. But in leather, it is hard to do it by hand stitches.
That’s why you need your Diamond stitching leather in a sewing machine. Here is how i do it-
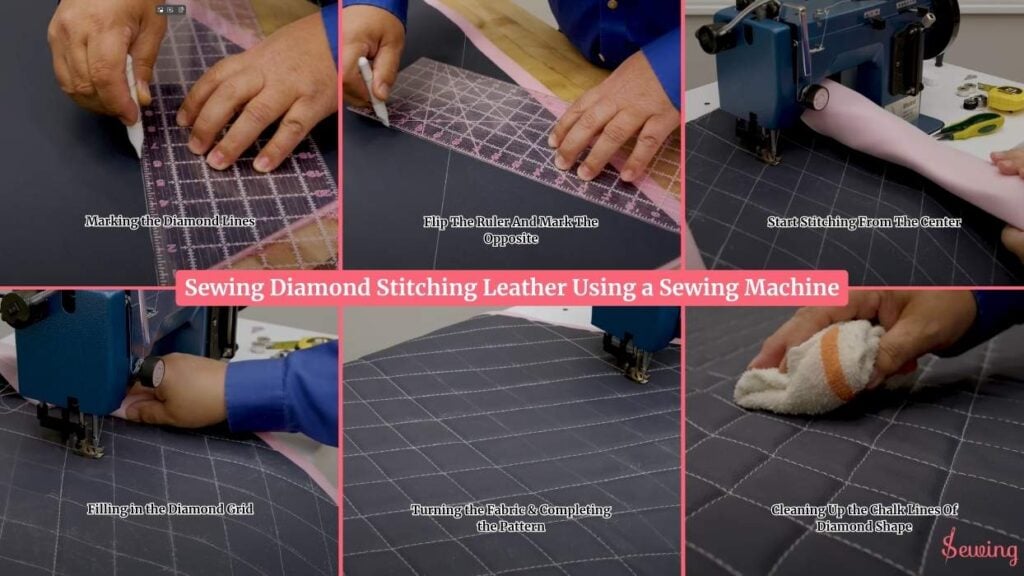
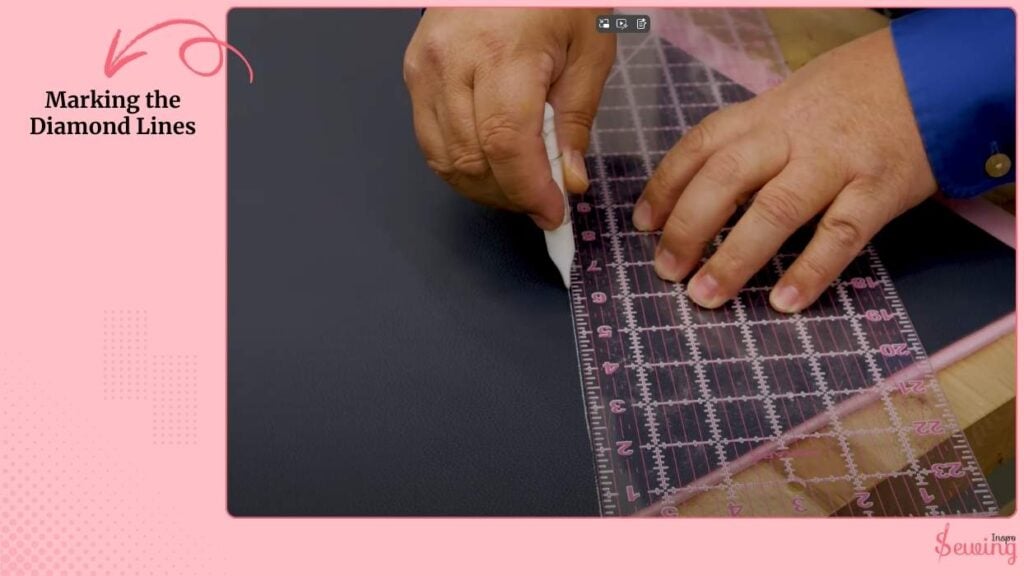
Marking the Diamond Lines
First, I grab my clear acrylic ruler and decide on the angle of my diamonds. In this case, I’m going with a 30° angle. You can tilt the ruler either way, depending on what you want wider or taller diamonds.
It’s all about preference.
I line up the 30° guide on the straight edge of my fabric and mark the line with a chalk roller marker. This chalk sticks well during sewing but wipes off easily afterward. It’s like sewing a free tie pattern.
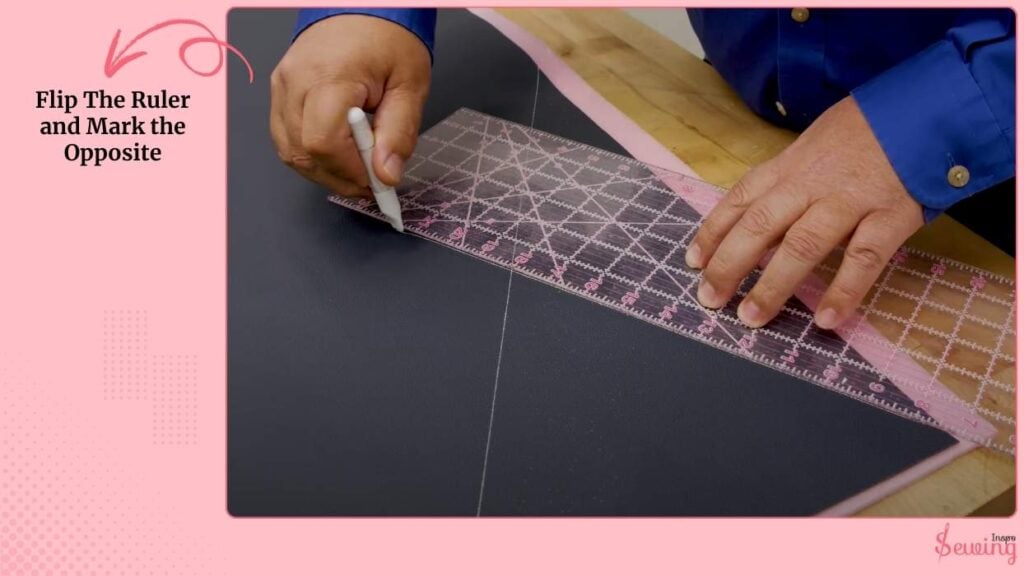
Flip The Ruler And Mark The Opposite
Next, I flip the ruler and mark the opposite 30° line to form an “X” shape. That’s the base for my diamonds. I use this shape for purse stitching pattern.
I like my diamonds to be about 2 inches apart, so I use the 2-inch markings on my ruler to draw parallel lines across the fabric. The ruler width actually helps here.
It makes spacing quick and consistent unlike wave stitch pattern.
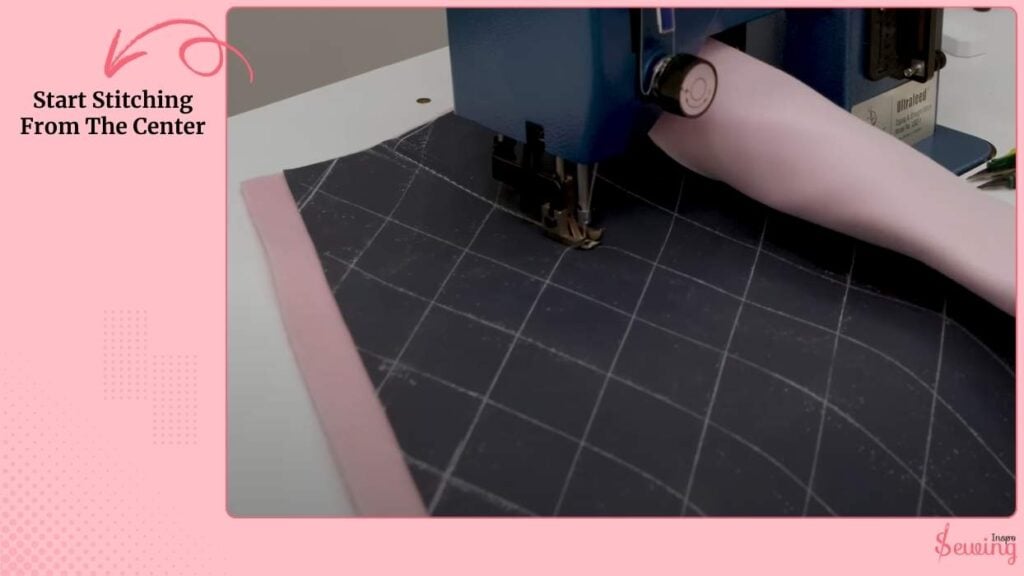
Start Stitching From The Center
I like to begin stitching across the center of the fabric instead of the edge. This locks the foam and leather in place before I work outward. Using a 6mm straight stitch.
I carefully follow my chalk line, rolling or “scrolling” the fabric to fit under the sewing machine throat. Don’t stress about little creases in the foam. They disappear once the pattern is finished.
At the end of each line, I don’t backstitch; I just sew straight off the edge, lift the presser foot, and trim my threads. You can change the pattern if you needed.
Then, I stitch the opposite diagonal line to complete an “X.” This secures the fabric so it’s easier to manage as I keep sewing more lines.
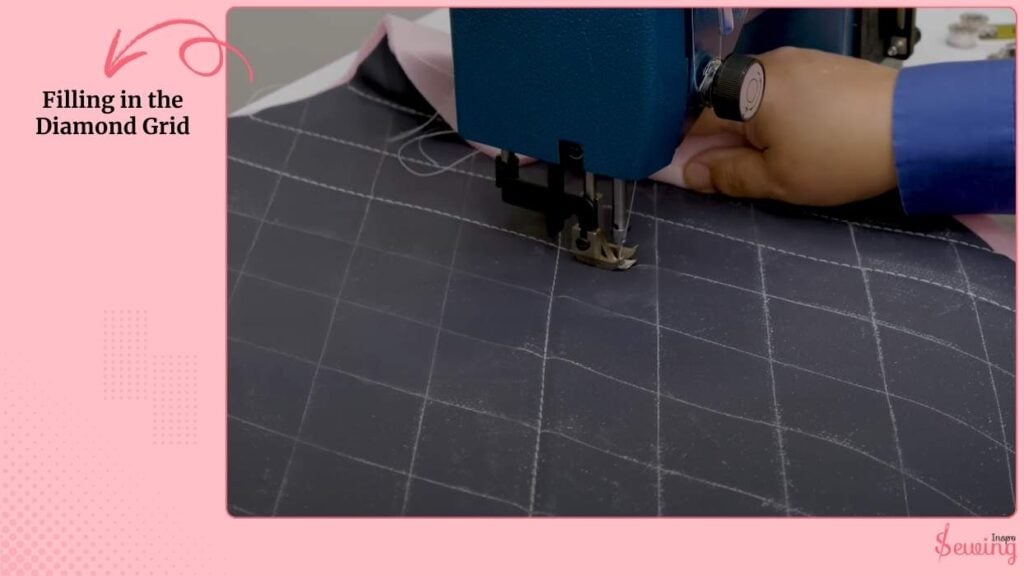
Filling in the Diamond Grid
Once the first few diagonals are stitched, the fabric naturally folds along the seams, making it easier to scroll through the machine.
I keep marking, spacing, and stitching until the entire panel is filled with evenly spaced diamond lines and checker stitches.
If I want precision, I lower the speed control on my machine so even when I press the pedal fully, it only sews at half speed. This prevents mistakes, especially around corners.
And if I’m unsure about my bobbin, I stop and check. Better to swap it early than to risk empty stitches in the middle of my diamonds.
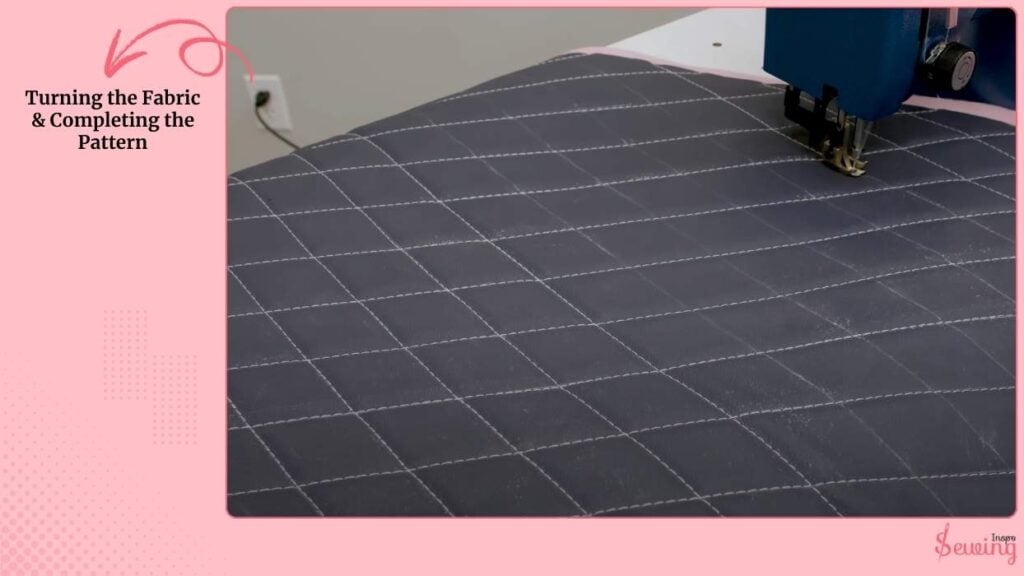
Turning the Fabric & Completing the Pattern
When I’ve sewn one complete set of diagonals, I turn the fabric and repeat the process in the opposite direction.
This creates the full diamond grid.
At this point, the plush effect really shows. Especially if I’m using half-inch foam instead of quarter-inch. The thicker the foam, the more raised and dramatic the diamonds look.
I keep scrolling, guiding, and sewing until every chalk line is stitched.
Now the leather has that luxurious quilted diamond pattern you see on car seats, RV cushions, or luxury handbags.
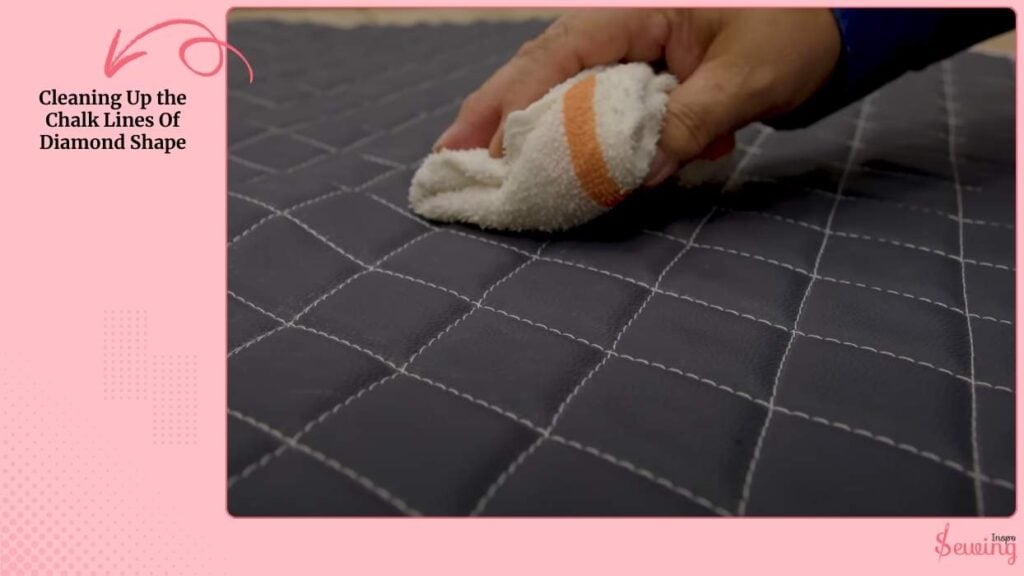
Cleaning Up the Chalk Lines Of Diamond Shape
Finally, I take a damp cloth to wipe away the chalk marks. For stubborn marks, I use a multi-surface cleaner, but always test first.
Once clean, the finished diamond stitching looks neat, plush, and professional.
From here, the stitched panel can be sewn into a cushion, seat cover, or decorative panel. Anywhere you want that padded diamond effect.
And that’s it. You’ve just made a diamond Stitch Leather Fabric Roll.
Diamond Stitching Pattern Pdf
Upholstery Diamond Pattern Template
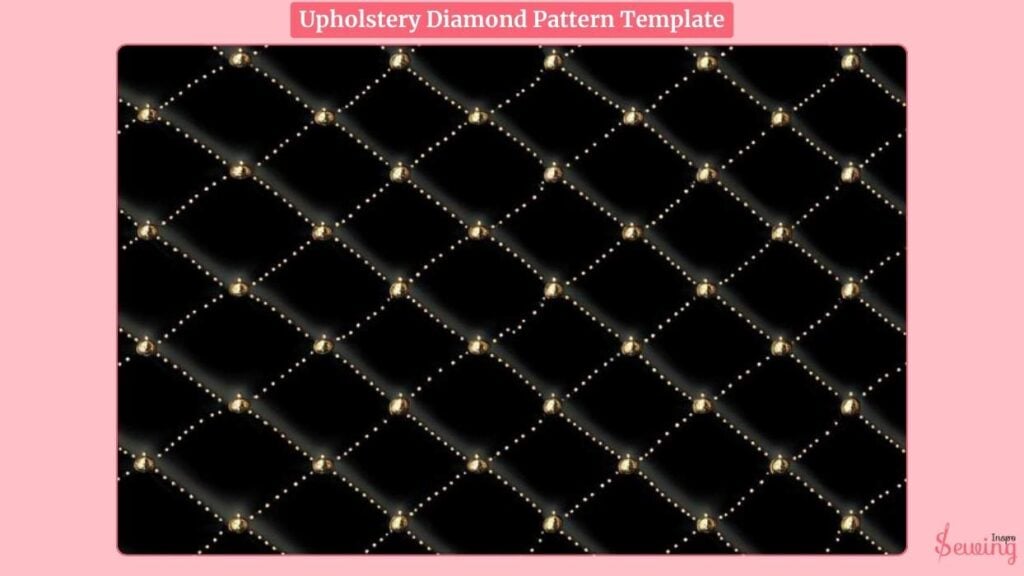
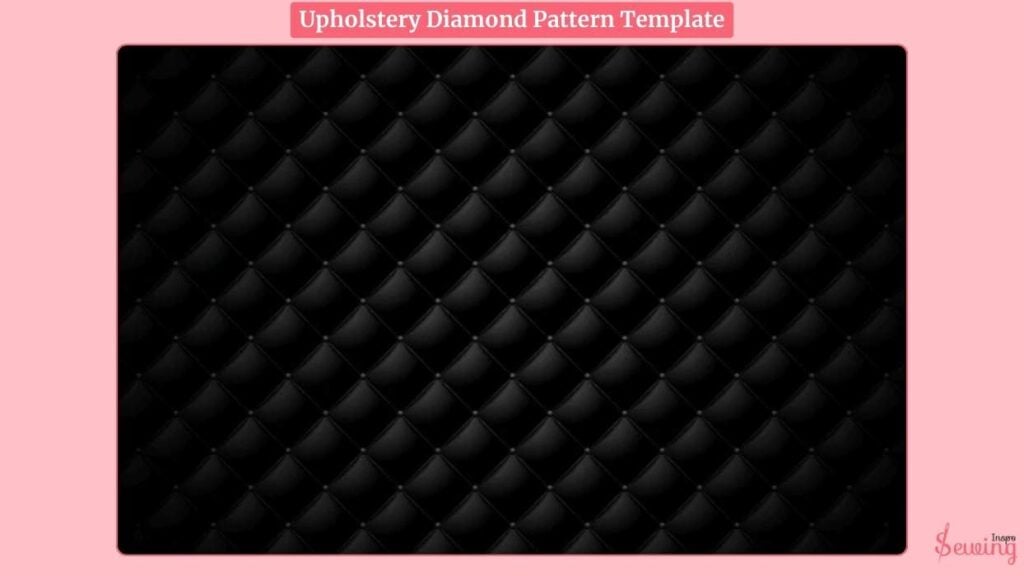
If marking all those diamonds feels overwhelming, then just use those templates as a reference-
FAQ
What size should my diamonds be?
It depends on your project. Standard sizes range from 1–2 inches per side. Smaller diamonds look detailed and elegant, while larger diamonds create a bold, plush effect—especially with foam backing.
Can I use regular thread on leather?
For durability, it’s best to use heavy-duty nylon or polyester thread. Regular cotton thread may break or wear out quickly on leather or vinyl.
Do I have to use foam for the raised effect?
No, foam is optional. Quarter-inch foam gives subtle dimension, while half-inch foam gives a more pronounced plush effect. You can also stitch without foam for flat diamond quilting.
Conclusion
Diamond stitching pattern adds a luxurious, quilted look to leather, vinyl, or fabric projects.
If you want to do something new then use this technique.


Leave a Reply