
Chain stitch is a complex yet beautiful stitch on a sewing machine. However, because of its complexity, not every machine can do it. Which machine can do it then? I was struggling with that too.
But then I figured out you need a special sewing machine. That’s when I went into the experiment. Trying every machine I could get my hands on. Until then, I found my personal favorite one.
Wanna know how the experiment went? Ok, let’s go.

Table of Contents
Can Embroidery Machines Do Chain Stitch?
Yes, some embroidery machines can do chain stitch, but not all. Just like not all machines can do an overcast stitch.
Most standard home embroidery machines (like Brother or Janome models) mainly focus on satin stitch, running stitch, or fill patterns. Chain stitch isn’t usually built into their default stitch library. That’s why I often use it for quilting stitches.
Why can’t all sewing machines do chain stitch? 🤔
Chain stitch uses a looper instead of a bobbin. And that’s a major difference from how regular sewing machines are built. This machine is different like whip stitch sewing machine.

Most home sewing machines use the lockstitch system (needle + bobbin thread), which is simplyn’t designed to form a chain stitch. On the other hand, chain stitch loops a single thread into a chain using a looper mechanism, which requires a totally different internal setup.
However,
Industrial embroidery and multi-needle machines, especially from brands like Bernina (with their specialized attachments) or Barudan. They can handle chain stitch — often through a special looper mechanism or optional modules. That’s why I mostly use it to do decorative stitches on the sewing machine.
Embroidery Machine Chain Stitch Features
Now you must be wondering why you need a special sewing machine? What’s so special about a chainstitch machine? Well,
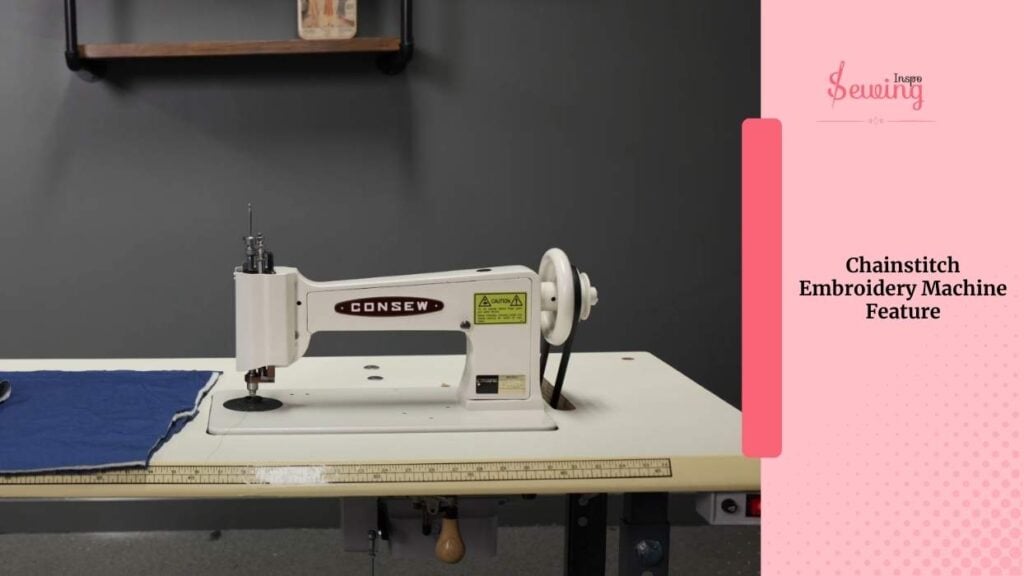
- Can be used for decorative outlines, borders, and lettering.
- Uses a looper instead of a bobbin to form stitches.
- Can be single chain stitch (lightweight) or double chain stitch (stronger).
- Easy to remove/unravel by pulling the end thread.
- Adds a raised, textured look compared to lockstitch.
That’s why we need chainstitch machine to do the perfect chain stitch.
My Experiments With A ChainStitch Embroidery Machine
I tried many sewing machines after I got to know them. But among them, I find a few that are worth trying. Here is what caught my attention,
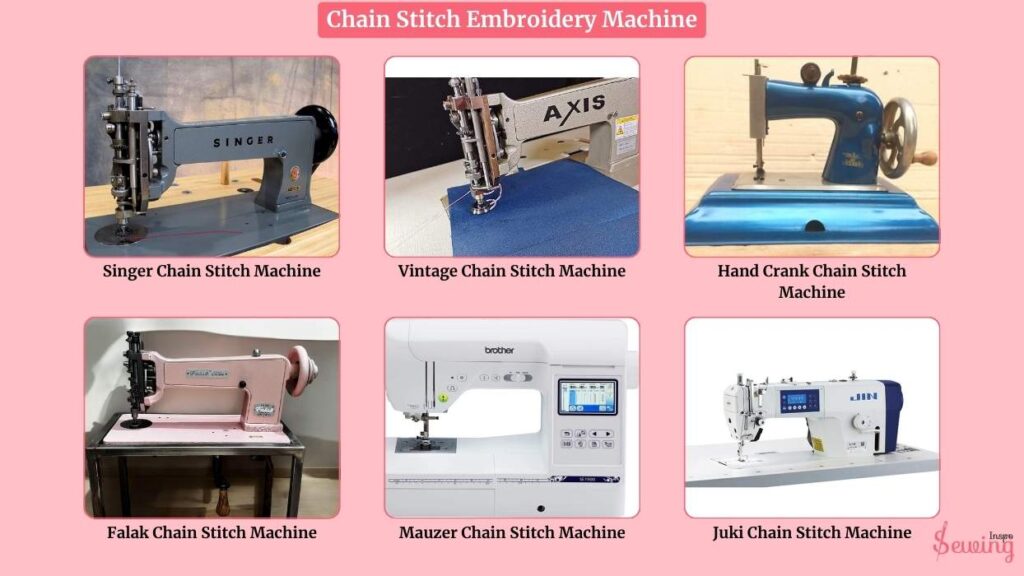
- Singer chain stitch machine
- Vintage chain stitch machine
- Hand crank chain stitch machine
- Falak Chainstitch Embroidery Machine
- Mauzer Chain Stitch machine
- Juki chain stitch machine
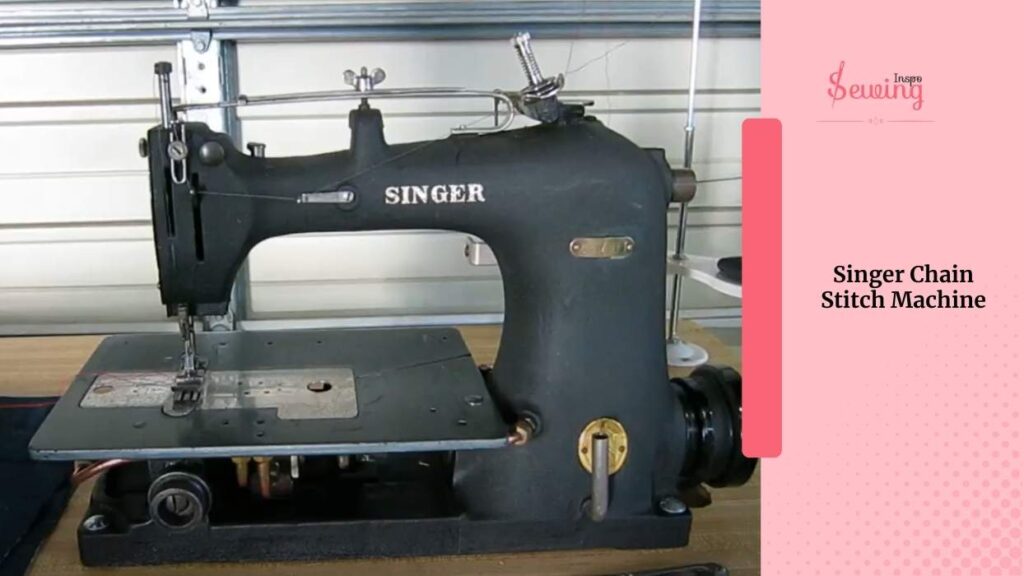
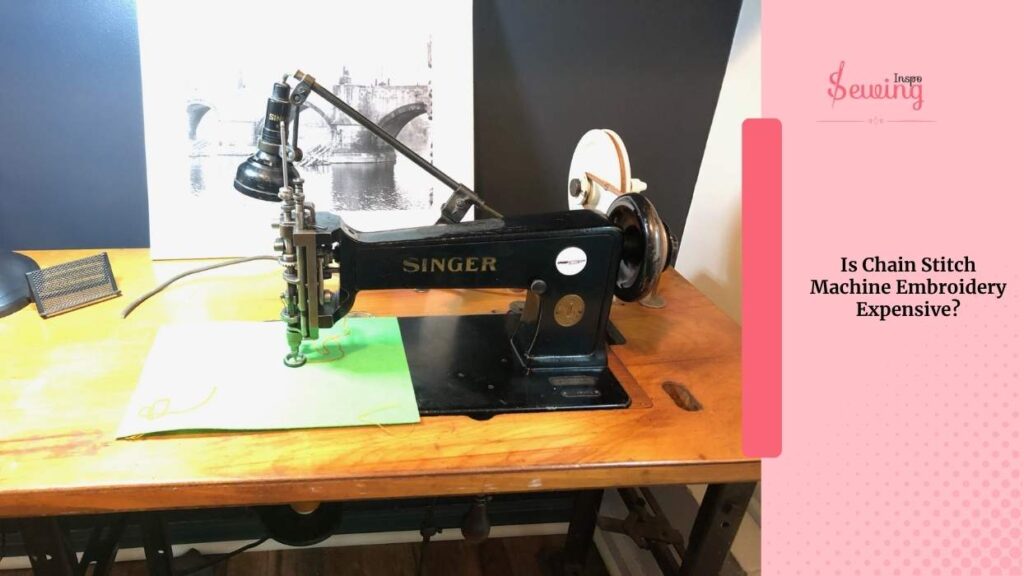
Singer Chainstitch Embroidery Machine
When I 1st saw the singer, I was like ‘it is such an old school! Can it do chain stitch? It actually can. There’s this little handle under the table—kind of wild at first.
You spin it, and that’s what actually steers your stitches. Sounds weird, I know. But once you get the hang of it, it’s like steering an old-school Etch A Sketch—but with thread.

What Makes It Cool
This machine uses just one thread, and it feeds it from underneath. So, no upper spool drama, no top thread tangles. Just smooth, continuous chain stitching, unlike a zigzag stitch.
You rotate that little under-table handle, and your stitches follow your steering direction. It’s honestly kind of genius. The more I used it, the more it started to feel intuitive, like drawing with thread like blind stitch machine.
I ran some tests on a scrap of denim. Just a single layer, no stabilizer, and it worked beautifully. I started off with outlining, then added some loose fill in the petals of my design. I kept the thread tension loose, especially since I plan to toss this in the laundry and let the thread naturally snug up.
Sure, it’s not a high-tech, touchscreen machine with 99 stitch settings.
But it feels real. And there’s something really satisfying about steering those loops by hand. Plus, if I mess up a little, missing a spot here or there adds to the charm. It’s handmade, after all.
Vintage Chain Stitch Embroidery Machine
Right out of the gate, this machine looked like it meant business. There were no digital screens or fancy presets.
It’s a one-thread machine with solid metal parts, a hand crank, and some serious nostalgia. It threw me at first, but I was hooked once I saw those perfect little loops forming underneath.
What really sets it apart is how mechanical and tactile everything feels. You feel every motion. Adjusting tension, changing stitch direction, and guiding the fabric.

It all feels more involved, but in the best way possible.
I’m not going to lie.
The first ½ hours were spent figuring out how to guide the fabric without messing up the loop. I even forgot to thread it correctly once (don’t judge), but once it clicked, it was kind of addictive. Just find the chainstitch symbol, like the overlock stitch symbol, brother & start stitching.
You really have to slow down and steer the stitches. There is no rushing, no racing, just you and the machine working together.
And even if it’s a little unpredictable sometimes, that’s part of the fun. You’re constantly adjusting and reacting—it keeps you engaged.
Hand Crank Chain Stitch Machine
It looked simple enough, right? Just a crank on the side and a thread running up from underneath.That’s how a hand crank chain stitch machine works.
No pedal. No cords. That’s why I love the hand crank chain stitch machine so much.
Just muscle and motion. But wow—I was mesmerized once I started turning that crank and seeing those chain loops appear.
It takes a bit to get the rhythm down. You can’t rush this thing. But when you find your groove, it becomes oddly meditative.
You crank with your right hand, guide the fabric with your left, and the machine does this beautiful looping action from the bottom side.

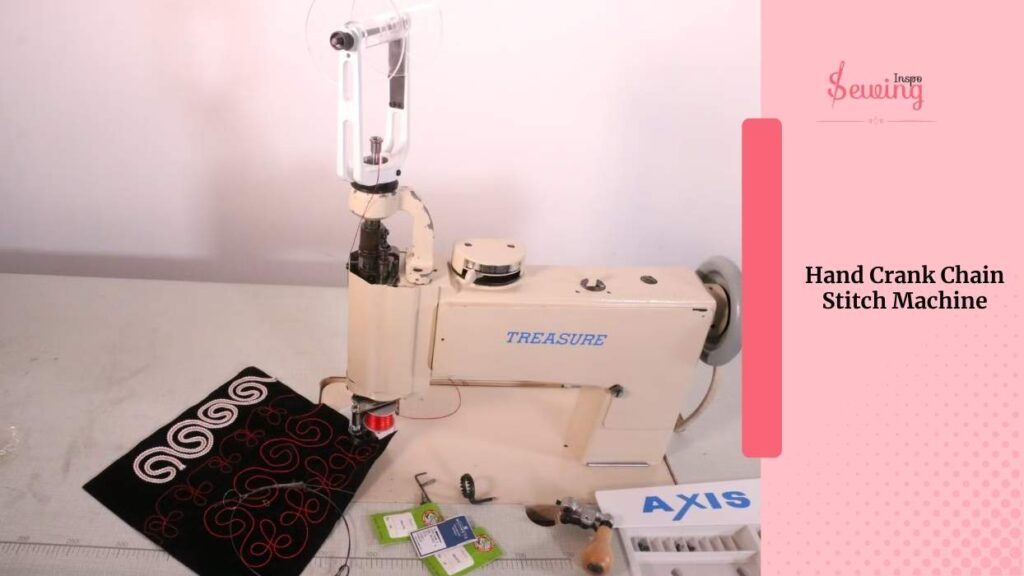
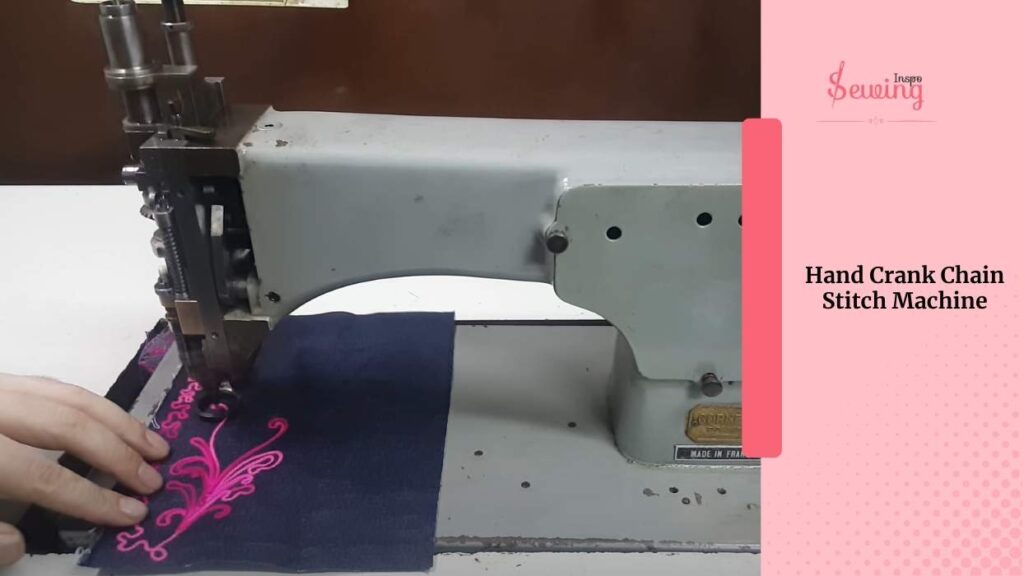
Yup—all the action happens below, which is wild when you first see it.
Direction Control = Total Freedom
Here’s the cool part, on some of these machines, especially the vintage ones, the stitching direction is super flexible, like drawing with thread.
I could steer the fabric around curves and corners, even do lettering, just by controlling the motion with the crank. It felt a bit like Etch-A-Sketch meets embroidery.
No joke—I was literally sketching with stitches.
A Few Challenges
You’ll need some patience. The tension has to be right, the loops won’t hold, and the fabric needs guiding or you’ll drift off course. But honestly, once I got past the first 20 minutes of trial-and-error, it felt natural.
Falak Chainstitch Embroidery Machine
Right off the bat, it’s simple but solid. Definitely more affordable than some vintage models I’ve tried, but it gets the job done.
It’s a one-thread chain stitch machine, perfect for embroidery and outlining. The stitching was smooth, and once I adjusted the tension, the loops came out really clean.
It’s manual, so you’ll need a bit of patience to get the hang of it, especially when turning curves. But once you’re in the flow, it’s relaxing. Not stressful like overlock stitch.
No stabiliser is needed for light fabrics, and it handled denim pretty decently, too. It’s not bad at all for a budget-friendly chain stitch option, and it’s great for practicing or casual projects.

Mauzer Chain Stitch Embroidery Machine
Alright, so I finally gave the Mauzer Chain Stitch Machine a proper test drive. And wow, it’s a beast. Heavy-duty, solid build, and it means business.
It’s a single-thread chain stitch machine, and once it’s up and running, it gives tight, consistent stitches with barely any fuss.
I tried it on denim, thick cotton, and even some layered stuff—it didn’t blink. It’s definitely not beginner-friendly, though. Before diving in, you’ll want to get familiar with thread tension and oiling.
But once it’s tuned right?
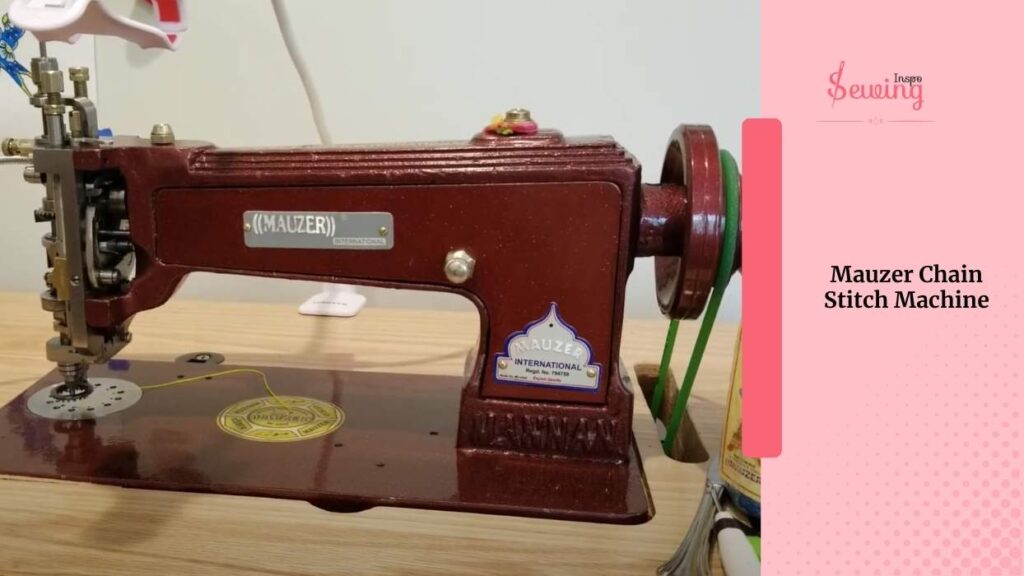
It runs buttery smooth. It has more of an industrial feel than others I’ve used, which makes sense since it’s durable and built for long sessions.
It’s great for production-style stitching or heavy embroidery outlines. It’s not the prettiest machine.
But who cares when the stitches speak for themselves?
Juki Chain Stitch Machine
So I finally got to try the Juki chain stitch machine, and let me just say. This thing is smooth like butter. 😌
It’s a two-thread chain stitch machine, and it’s made for precision.
The stitches come out clean and tight, even on tricky fabrics like rayon or knits. I tested it on lightweight and mid-weight fabrics, and it didn’t skip a beat. Plus, it’s surprisingly quiet for its power.
What I loved most?
It’s super consistent.
Once the tension is dialed in, you don’t have to babysit it. Great feed, easy to handle, and minimal vibration—perfect for long hours of stitching.

It’s a bit pricey, yes—but worth it if you’re serious about your sewing game. Especially great for hems, waistbands, and decorative seams.
What Is The Disadvantage Of A Chain Stitch Sewing Machine?
I am talking about all that machine’s pros or nice side, but is all that true? Not really!
It has a disadvantage too. Here are a few things about them that annoyed the hell out of me,
- The biggest issue is that if one part of the stitch breaks, the whole seam can start to come undone, like pulling a thread on a sweater.
- Chain stitches aren’t as strong as lockstitches for areas needing heavy tension, like jeans crotches or shoulder seams.
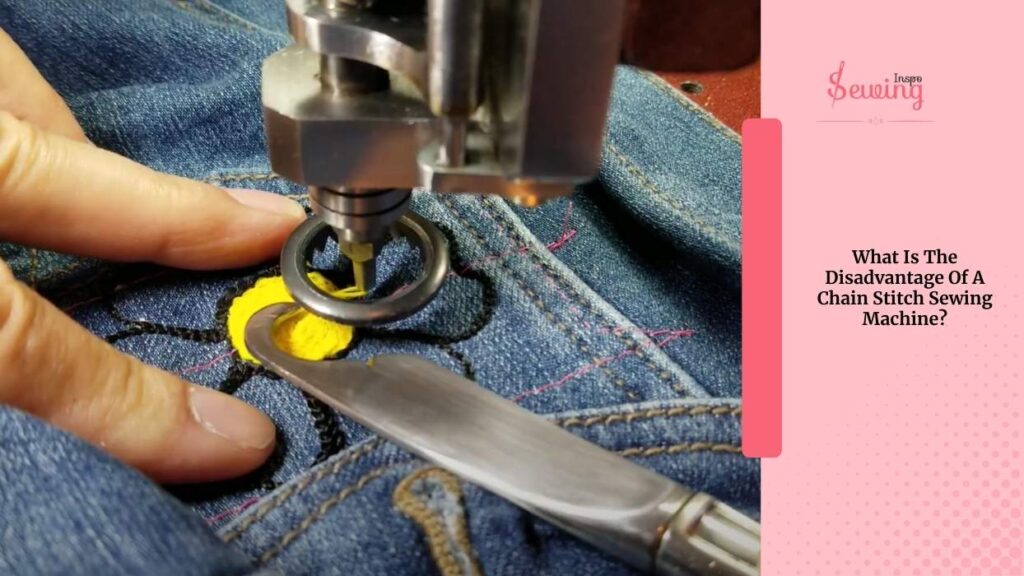
- Chain stitches sometimes cause puckering or fabric curling if the tension isn’t perfectly set, especially on lightweight or stretchy materials.
- It’s a looper-based stitch that burns through thread a bit faster than lockstitch machines.
So yes, of course, it has both sides, but if you want to know what you are doing, then you will understand.
My Favorite Chain Stitch Embroidery Machine
After going through all those machines, I definitely have my favorite. But before telling you my favorite, let’s see what I like and don’t like about them.
| Machine | What I Liked | What I Didn’t Like |
| Singer Chain Stitch | Super smooth motion, Etch A Sketch vibes, and great for creative fills | A bit finicky with tension, not always beginner-friendly |
| Vintage Chain Stitch | Beautiful build, classic feel, really satisfying to use | Hard to find parts, takes more effort to maintain |
| Hand Crank Chain Stitch | Total control, great for slow, detailed work, doesn’t need power | Slower for large projects, wrist workout 😅 |
| Falak Chain Stitch | Good budget option, decent stitch quality for small projects | Build feels lighter, not the best for thick or dense fabrics |
| Mauzer Chain Stitch | Industrial strength, fast and powerful, handles thick fabrics like a beast | Noisy and heavy, not ideal for small home spaces |
| Juki Chain Stitch | Super precise, clean stitches, very reliable and smooth | On the pricier side, but you’re paying for quality |
So if you ask which chainstitch embroidery machine is best? Then
My Favorite: The Juki Chain Stitch Machine
After stitching with all of them, Juki easily stole the show for me. Its precision, stitch consistency, and quiet running.
It is mainly for an industrial-style machine. Just make it a joy to work with. It handled everything I threw at it, from delicate to dense fabric, and the results were always on point.
Chain Stitch Embroidery Machine Price
Well, the cost isn’t certain. It depends on what kind of machine you’re going for:
If you’re just getting started or want a vintage hand-crank or manual model (like some old Singers or Indian Falak machines).
Depending on condition and age, you’ll need to spend anywhere from $100 to $400. If you’re lucky, you can find some cheaper on eBay or local listings.
Stepping up to machines like Mauzer or Falak Pro versions will cost between $500 and $900. These are popular with artisans and small shop owners.
Now, if you’re going for the big leagues—think Juki, Barudan, or Tajima- they can range anywhere from $3,000 to $15,000+.
So, yes, you can find a sewing machine in all kinds of price ranges. It just depends on you which one you wanna take.
Is Chain Stitch Machine Embroidery Expensive?
Yes, chain stitch machine embroidery can be a bit more expensive than regular embroidery. But it really depends on the design size and the machine used.
So, eventually you can find a embroidery chain stitch machine that fits in your budget.
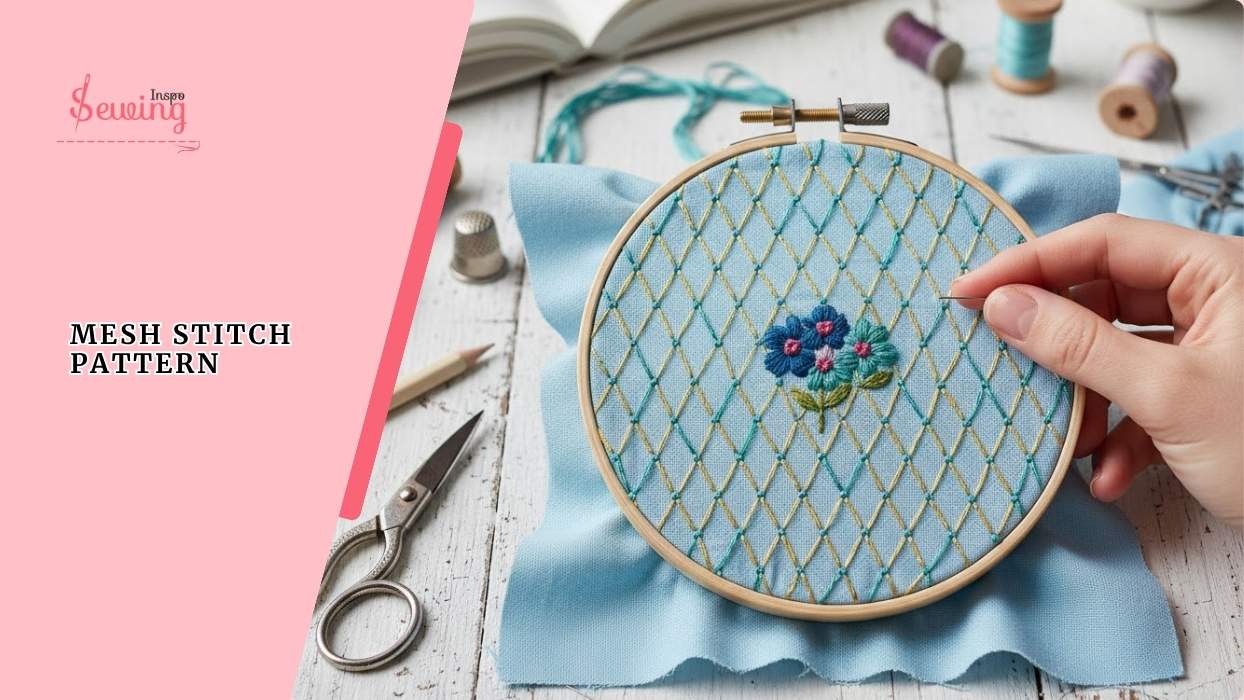
Chain Stitch Embroidery
Got your favorite chain stitch machine?

Great, then practice the embroidery stitch on these designs with other types of machine stitching.
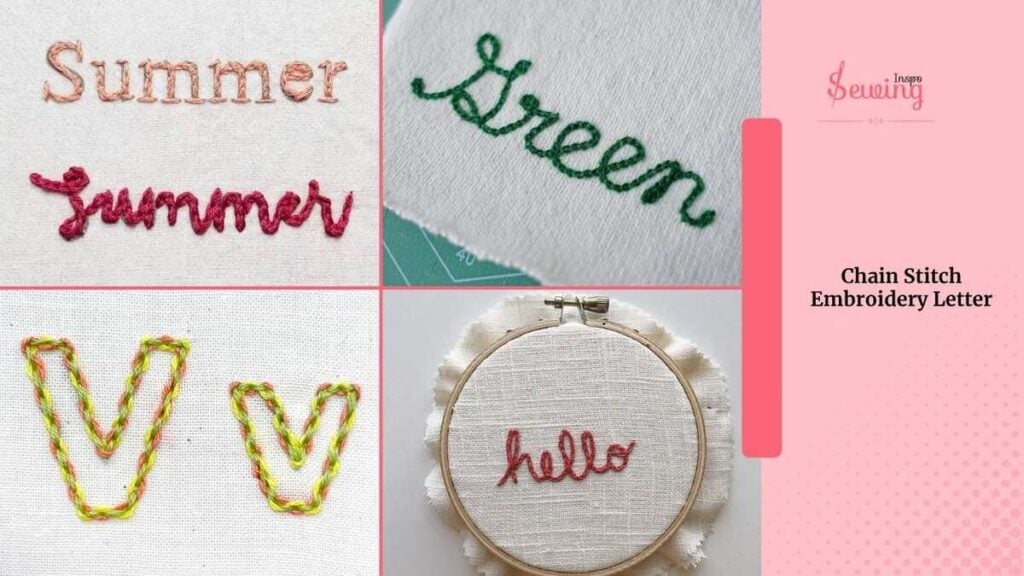
Chain Stitch Embroidery Letter
If the embroidery project feels overwhelming, consider incorporating some lettering into it.
I did, and here is how it went,
Frequently Asked Questions
Can a regular embroidery machine do chain stitch?
Not typically. Most home machines use lockstitch. Some high-end or speciality machines (e.g., Barudan, Cornely, or Handi Quilter) offer chain stitch features.
Is chain stitch stronger than lockstitch?
No—chain stitch is less secure than lockstitch. It can unravel if broken, which is why it’s mostly used for decoration, not for seams or structural stitching.
What kind of thread is used?
Usually cotton, rayon, or polyester embroidery threads, depending on fabric and machine compatibility. Chain stitch is thread-heavy, so quality matters.
Conclusion
That’s what I think about experimenting with a chain stitch embroidery machine. You can trust my process and buy the one you want, or you can do your own experimentation and choose the best one.


Leave a Reply