
Whenever I first mentioned I was going to do a slip stitch on my sewing machine, I got a lot of raised eyebrows. “Wait, isn’t that only done by hand?” people asked. I totally get it.
Most of us think a slip stitch is impossible on a machine like a loop stitch. After all, it’s supposed to be invisible, delicate, and precise. The qualities we usually see with hand-sewing.
But the secret is,
It’s totally possible to create a slip stitch with your sewing machine. How, you may ask? Well,
machine slip stitch
You can do a slip stitch on a sewing machine by using the straight or narrow zigzag stitch to catch just a tiny edge of the main fabric while sewing the hem allowance.
But whenever I mention it, people give me a shocking look. So I decided to note it down.
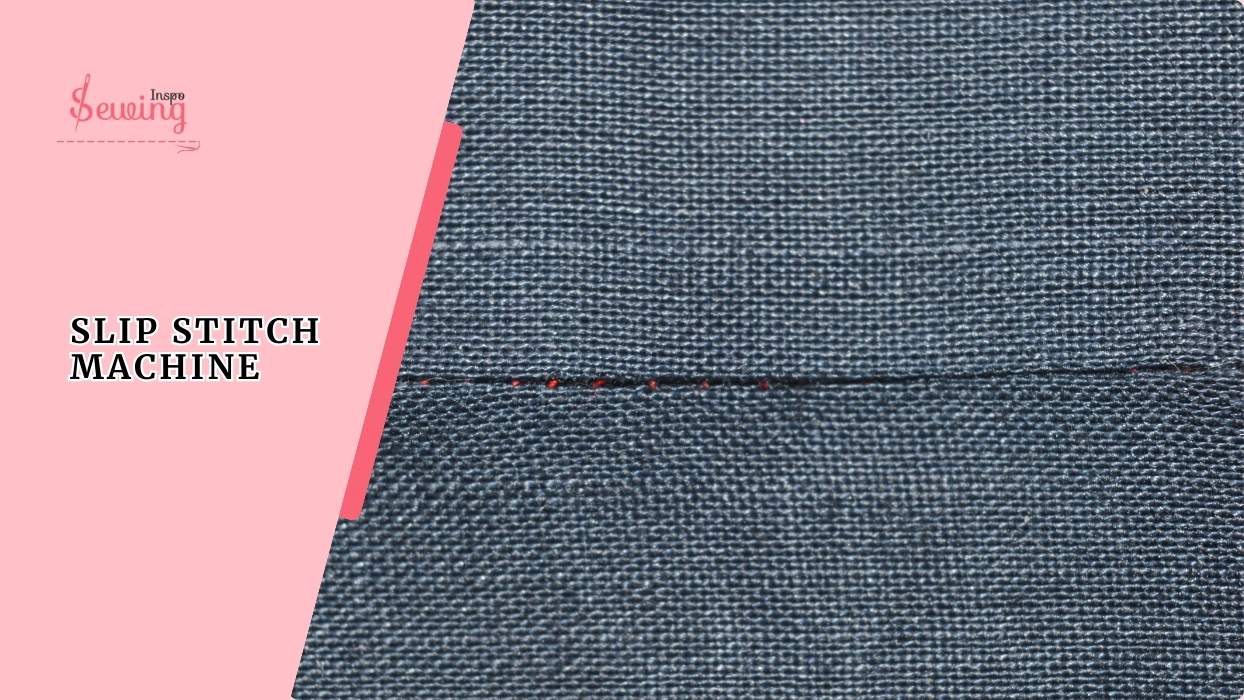
Table of Contents
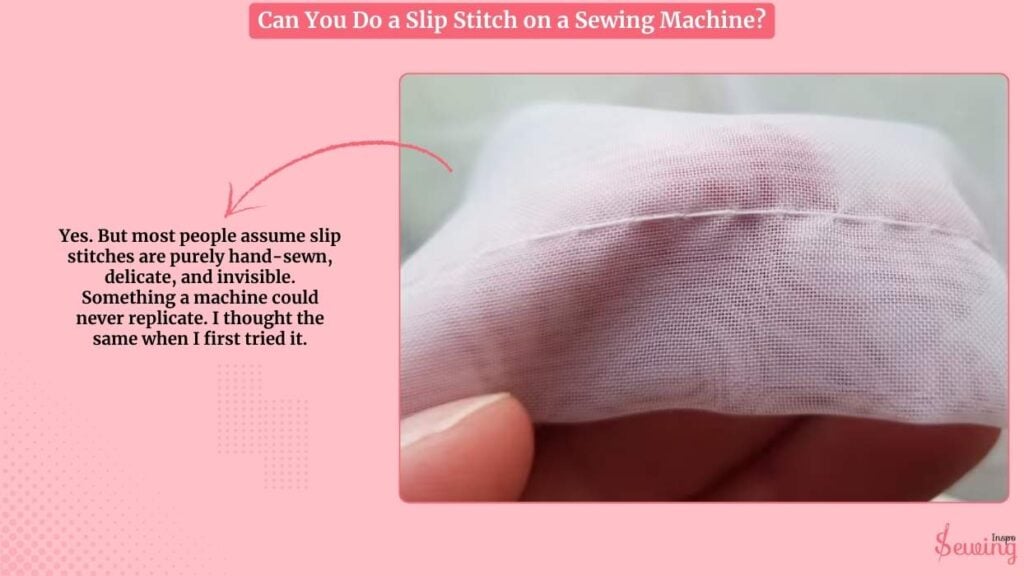
Can You Do A Slip Stitch On A Sewing Machine?
Yes. But most people assume slip stitches are purely hand-sewn, delicate, and invisible. Something a machine could never replicate. I thought the same when I first tried it.
But,
You absolutely can create a slip stitch on a sewing machine. You can do it with little technique, like using a narrow zigzag or carefully guiding the fabric.
You can get professional-looking results without ever picking up a needle by hand.
Best Slip Stitch Machine
For professional-looking hems, the Brother 2340CV is a great choice for slip stitch , while the Baby Lock Euphoria stands out as the top option for advanced users.
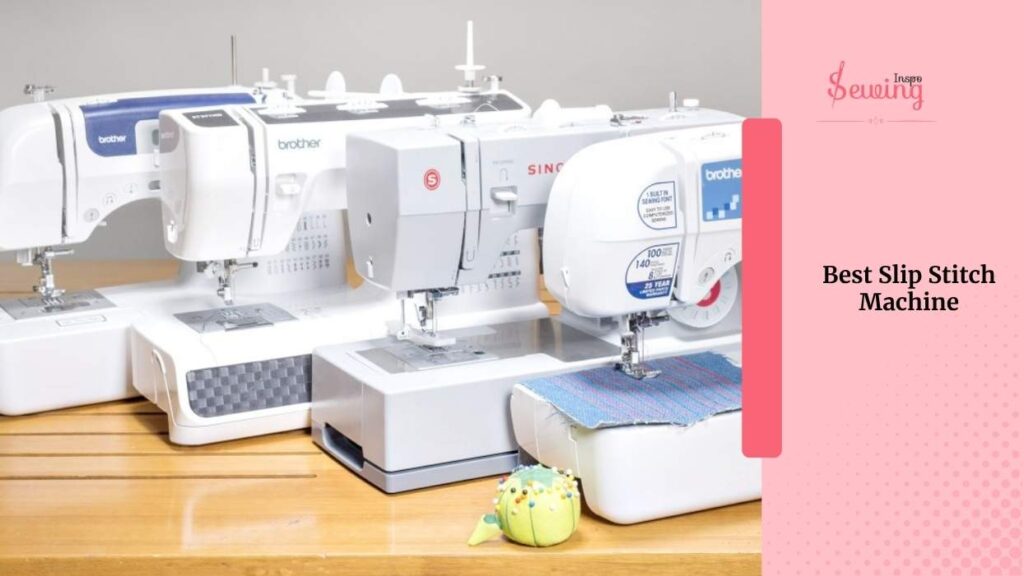
If you want a versatile machine that handles both serging and coverstitching, the Baby Lock Accolade is the perfect all-in-one solution.
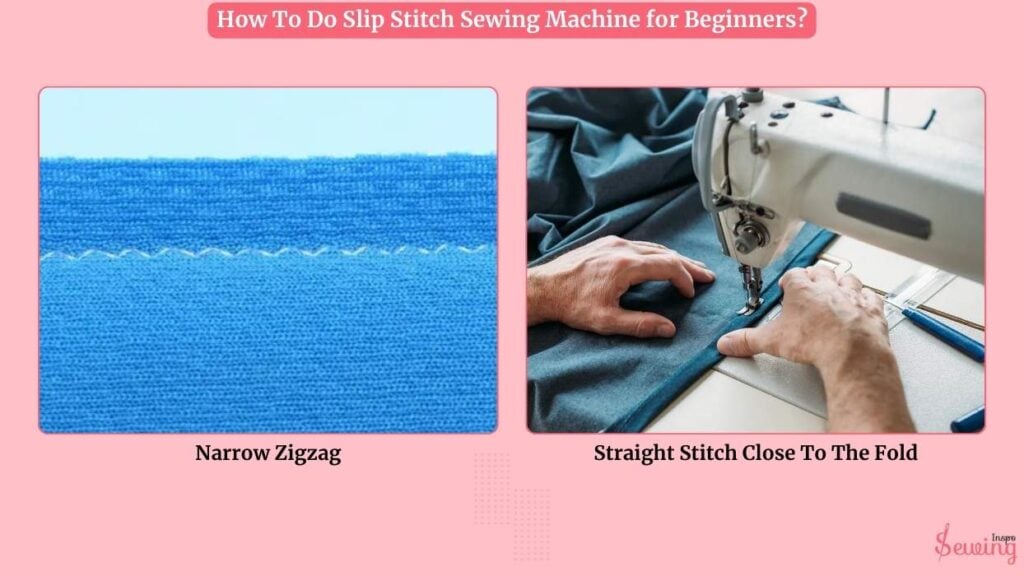
How To Do Slip Stitch Sewing Machine For Beginners?
You can do a slip stitch on a sewing machine by 2 methods.
- Narrow Zigzag
- Straight Stitch Close To The Fold
Some stitchers do slip stitch with the blind stitch technique. But actually not a slip stitch. You can call it an alternative to the slip stitch, not the actual one. You can get as close as possible to a hand-stitched version with the above 2 one.
Method 1 Of The Slip Stitch Machine: Narrow Zigzag Stitch
To use a narrow zigzag as a blind stitch, I follow,
Fold the Hem
I start by folding my fabric edge up once, then fold it up again to hide the raw edge. I press it with an iron so it stays in place. I do this for overcast stitch sewing machine too.
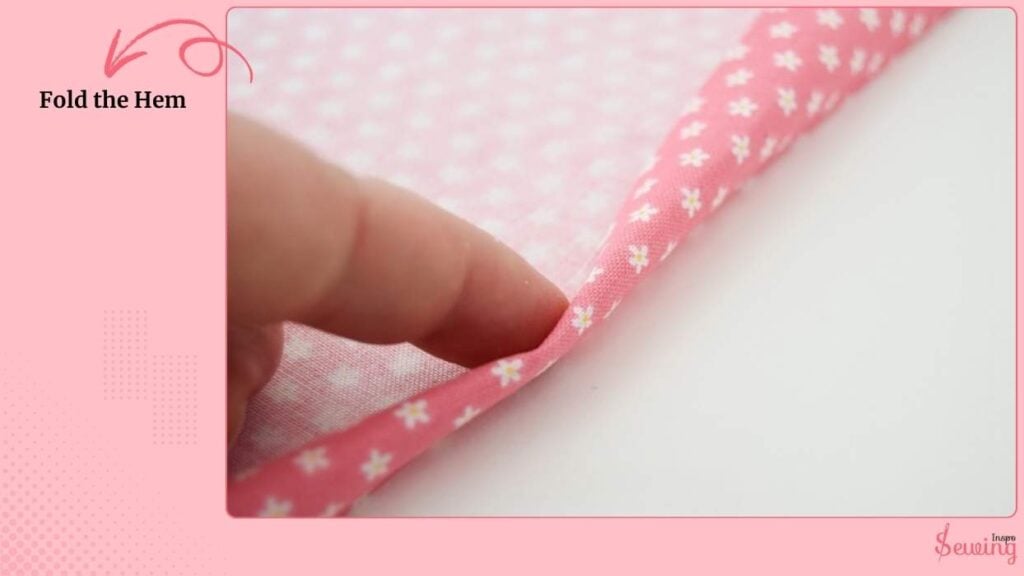
This is super important because a neat fold makes the slip stitch much easier to control kinda like topstitch machine.
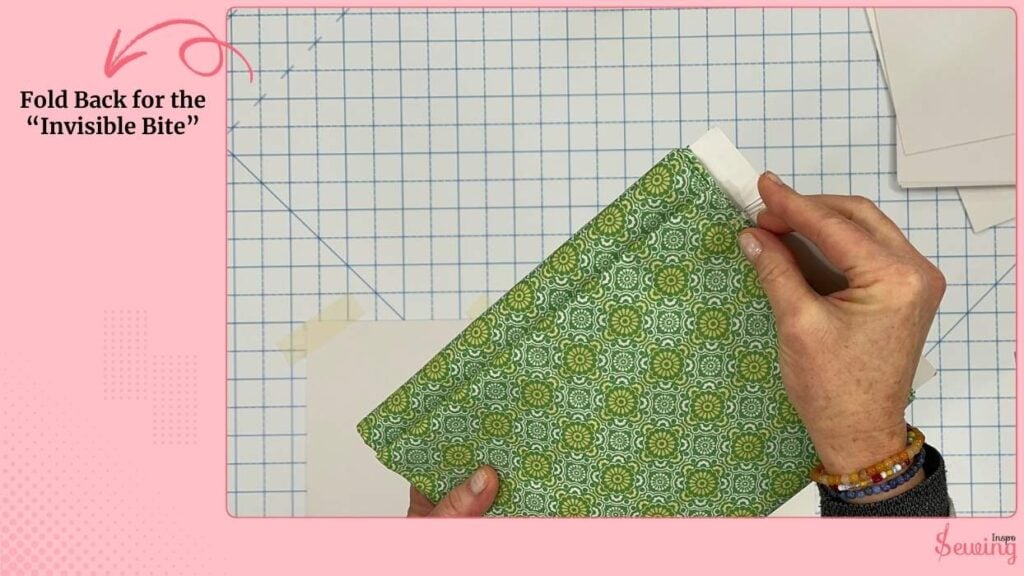
Fold Back for the “Invisible Bite”
Next, I fold the hem back so just a tiny sliver of the main fabric shows. This is exactly how a blind hem works.
The machine will stitch mostly on the hem allowance and only catch that small edge. You can try doing it for skip stitch too.
I line it up carefully so the fold is even and straight, which makes my stitches look professional.
Set The Zigzag Stitch Setting For Slip Stitch
I switch my machine to a narrow zigzag stitch and make sure the width is very small.
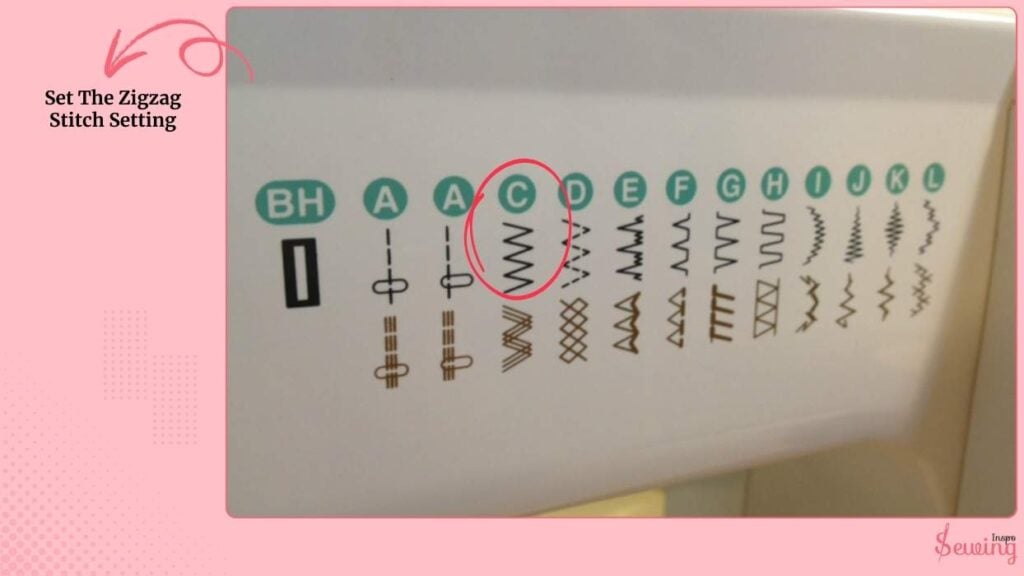
The goal here is to let the zigzag catch just one or two threads of the main fabric while stitching mainly on the hem allowance. This is what keeps the stitch nearly invisible on the right side.
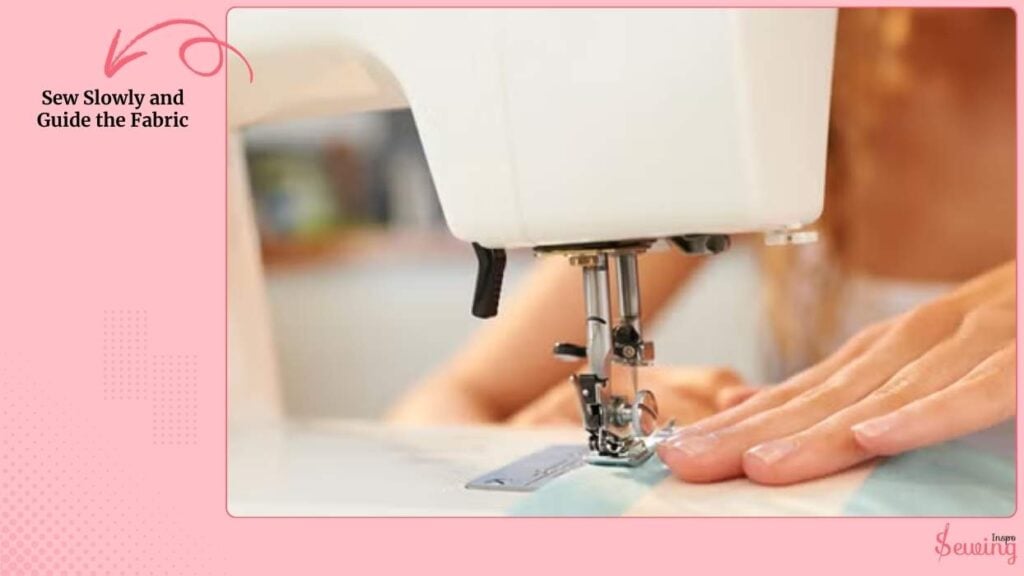
Sew Slowly and Guide the Fabric
I lower the presser foot and start sewing slowly, keeping my hands gently on the fabric. I carefully line the edge of the fold with the guide on my presser foot so the needle catches the main fabric exactly where I want it. Slow stitching always works, even in a sewing machine chain stitch.
I take my time rushing can make the stitch bite too much or miss the fabric entirely.Basically, handle it like you are handling a running stitch sewing machine.
As I go, I watch the outside of the fabric and notice tiny little dots forming where the zigzag catches the main fabric. If I’m using a matching thread, these dots almost disappear, giving me a nearly invisible hem.
Finish and Press
Once I reach the end, I backstitch lightly or pull the thread tail to the back and knot it to secure the hem. Then, I press it with an iron one more time. When I flip the fabric over, my stitches are neat and nearly invisible like tack stitch.

The slip stitch effect works beautifully, even though I used a machine. The result?
On the outside, you’ll see only tiny dots. Almost invisible if you use a matching thread. This is kinda like basting stitch.
Method 2 Of The Slip Stitch Machine: Straight Stitch Close To The Fold
This method is easy, but it involves some technical side. Here is how things work,
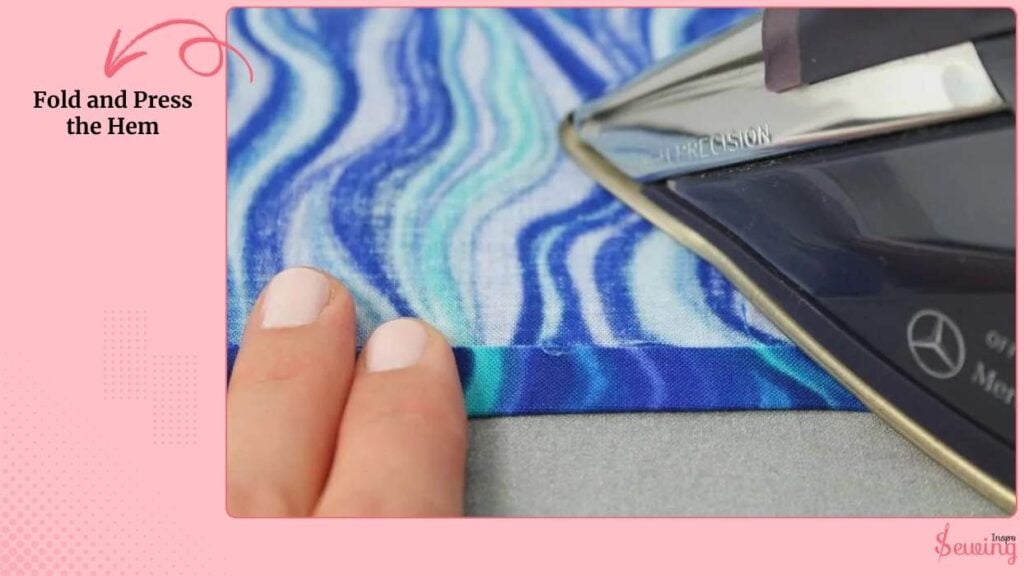
Fold and Press the Hem
I start by folding my fabric edge up once, then fold it again so the raw edge is completely hidden. I press it carefully with an iron to make the fold crisp.
This gives me a clean guide to follow and helps the stitches stay neat.
Position the Fabric for Stitching
I place the folded hem under the presser foot, making sure the folded edge lines up right under the needle.
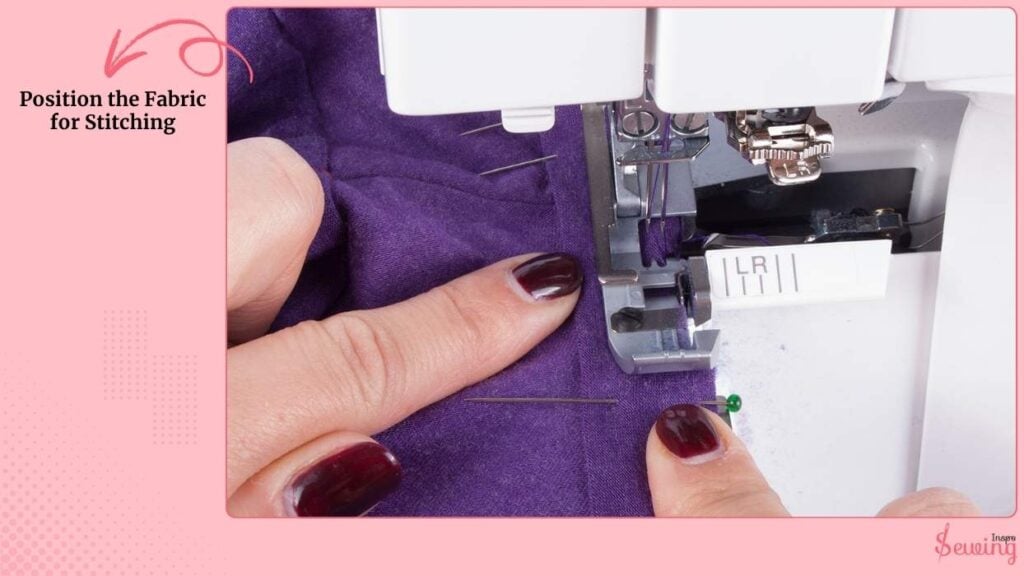
The idea is to sew as close as possible to the fold so the stitches will barely show on the outside. I hold the fabric gently but steadily, making sure it feeds evenly.
Sew a Straight Stitch
I set my machine to a regular straight stitch with a stitch length of about 2–2.5 mm.
I keep the needle very close to the fold so the stitch catches just enough fabric to hold the hem in place. I watch the outside of the fabric as I go, making sure the stitches are almost invisible.

Finish and Press
Once I reach the end, I backstitch lightly or pull the thread tail to the back and tie a small knot to secure the hem. Then I press it again with an iron.
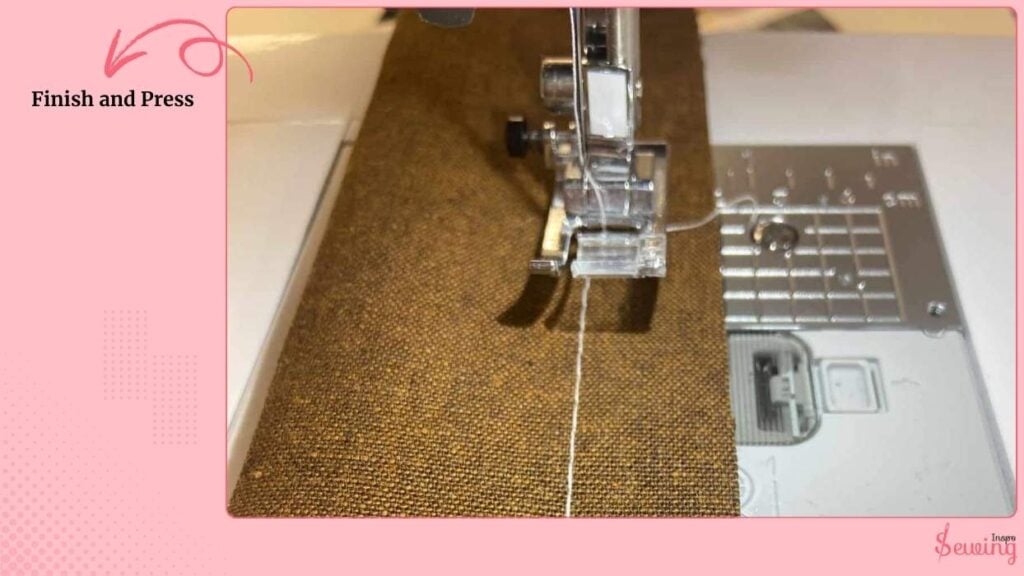
From the outside,
The stitches are barely noticeable. They blend perfectly along the fold, creating a professional-looking slip stitch even without using the blind hem setting.
Frequently asked questions
What stitch length should I use for a slip stitch?
For straight-stitch slip hems, a stitch length of 2–2.5 mm works well. For a narrow zigzag, keep the width small and the length medium so the stitch barely catches the fabric.
How do I make the slip stitch invisible?
Use a matching thread and sew carefully along the folded edge so only tiny threads peek out on the right side. Pressing the hem neatly also helps the stitches blend in.
Can beginners do a slip stitch on a machine?
Absolutely! With practice on scrap fabric, careful folding, and slow stitching, beginners can achieve professional-looking slip stitches without hand sewing.
That’s It
That’s how I work the slip stitch machine.
Do you have any other way to do it?
If yes then feel free to share it.


Leave a Reply