
If you’ve ever wondered how those perfectly neat, straight stitches appear on your clothes or fabric projects.
It’s chances are, a single needle lockstitch machine did the job. It’s the most common type of industrial and domestic sewing machine used today. It is known for its strength, precision, and versatility.
However, if you are new, you may be wondering how to use it correctly. It’s not rocket science either. All you gotta do it-
Single Needle Lock Stitch
To use a single needle lockstitch machine, thread the upper and bobbin threads correctly, set the tension, place your fabric, and press the foot pedal to start stitching.
It’s simple to use, easy to maintain. Once you get the hang of threading and tension, it delivers that perfect stitch every single time.
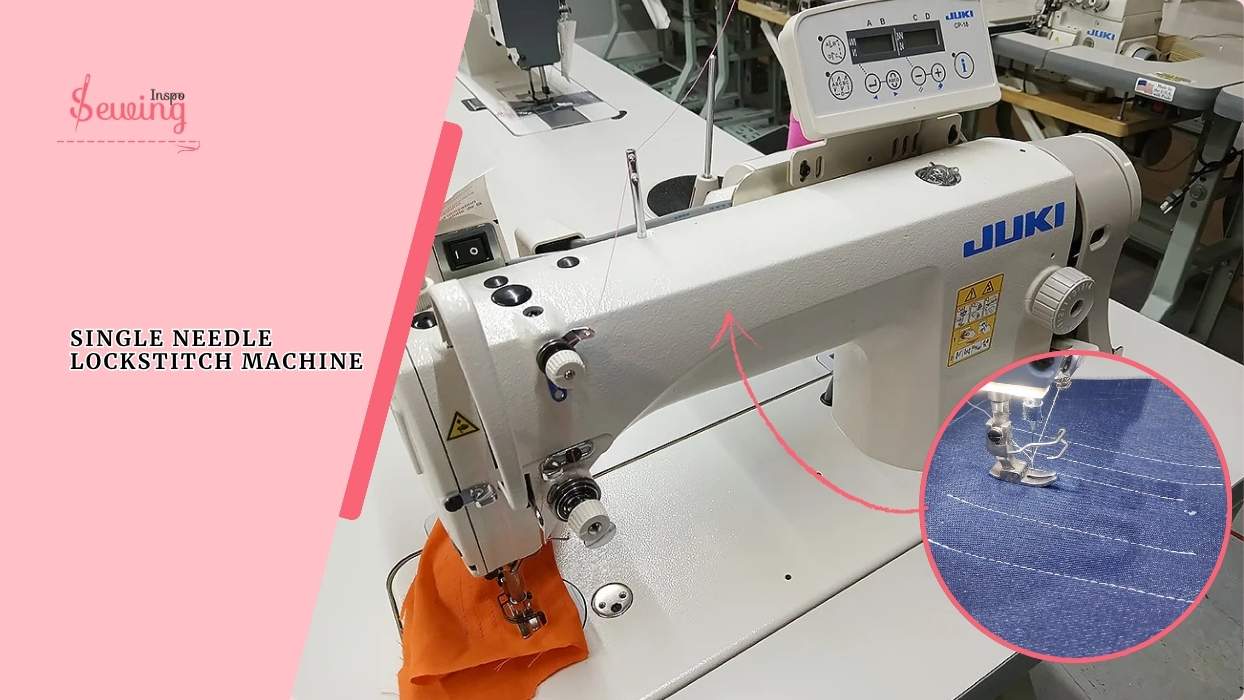
Table of Contents
Lockstitch Machine?
A lockstitch machine is one of the most common types of sewing machines. Both in homes and in garment factories. It’s called a lockstitch because of how the threads interlock inside the fabric to form a secure, balanced stitch.
Here’s how it works:
- The top thread comes from the needle.
- The bottom thread comes from the bobbin.
When the needle pushes the top thread through the fabric, a tiny hook catches it from below and loops it around the bobbin thread. The two threads then “lock” together in the middle of the fabric.
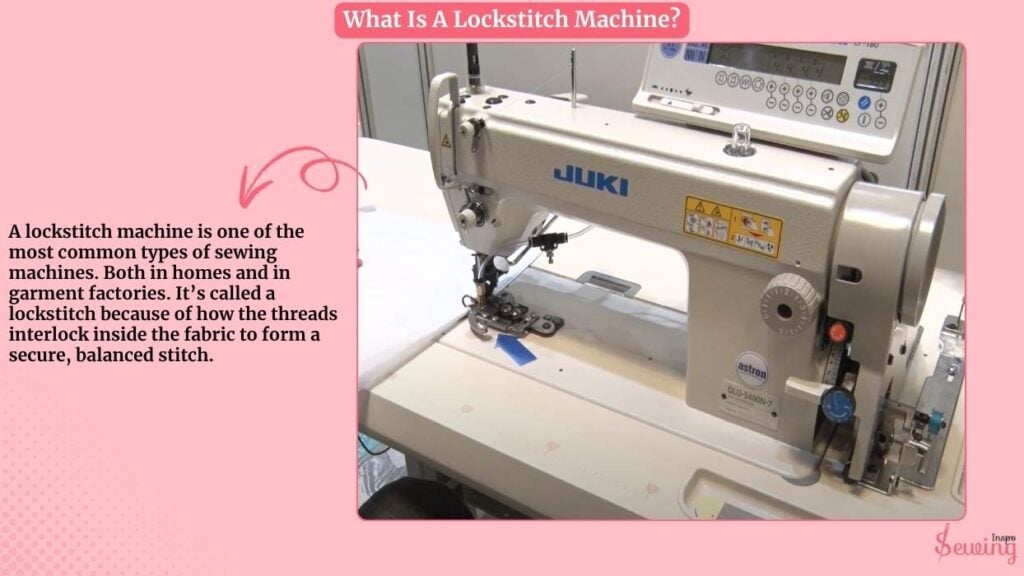
This locking action makes the stitch strong and tidy on both sides of the fabric. You’ll see it on everything from T-shirts and trousers to upholstery and leather goods.
What Is A Single Needle Lockstitch Machine?
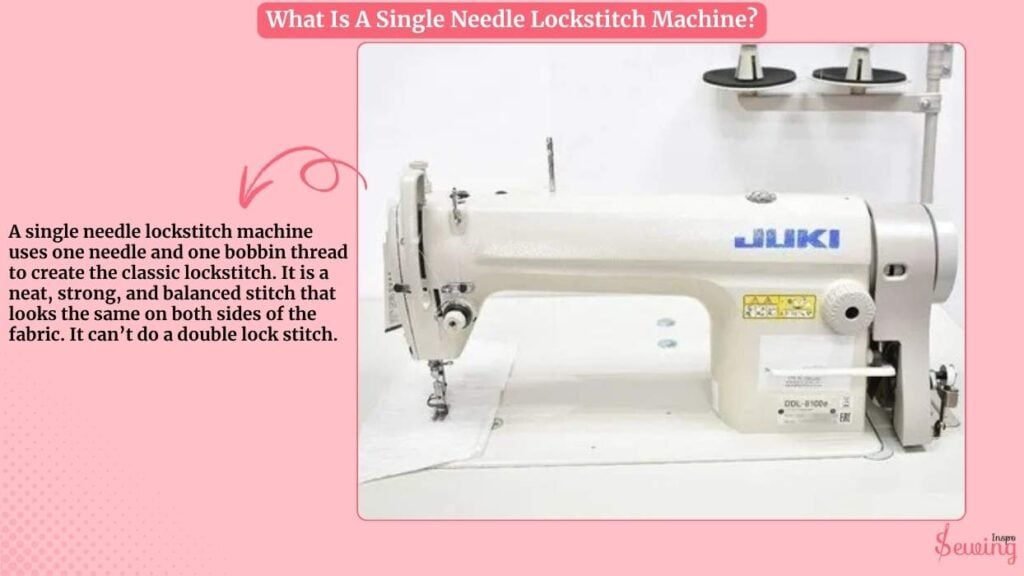
A single needle lockstitch machine uses one needle and one bobbin thread to create the classic lockstitch. It is a neat, strong, and balanced stitch that looks the same on both sides of the fabric. It can’t do a double lock stitch.
Here’s the simple breakdown:
- The needle thread comes from the top.
- The bobbin thread comes from below.
When the needle pierces the fabric, the two threads loop and “lock” in the middle. It forms a tight, durable stitch.
Single Needle Lockstitch Machine Parts Name
A single needle lockstitch machine is made up of 2 main sections,
- The Upper Parts
- The Lower Parts
It is, along with a few key controls that manage the machine’s overall operation and fabric movement.
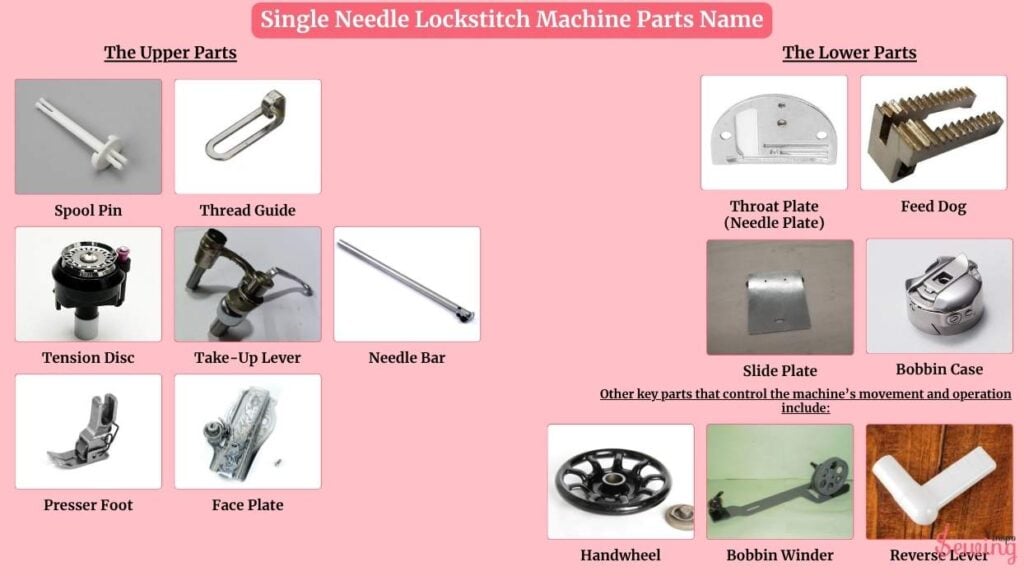
The upper parts include the spool pin, thread guides, tension disc, take-up lever, needle bar, and presser foot. These components handle the upper thread and stitching process.
- Spool Pin
- Thread Guide
- Tension Disc
- Take-Up Lever
- Needle Bar
- Presser Foot
- Face Plate
The lower parts deal with fabric movement and the lower thread mechanism. They include the throat plate, feed dog, slide plate, and bobbin case.
- Throat Plate (Needle Plate)
- Feed Dog
- Slide Plate
- Bobbin Case:
Other key parts that control the machine’s movement and operation include:
- Handwheel
- Bobbin Winder
- Reverse Lever
Single Needle Lockstitch Machine parts PDF
If you wanna know their parts closely, then download this PDF.
How To Use Single Needle Lock Stitch Machine?
To use a single needle lockstitch machine, follow the steps-
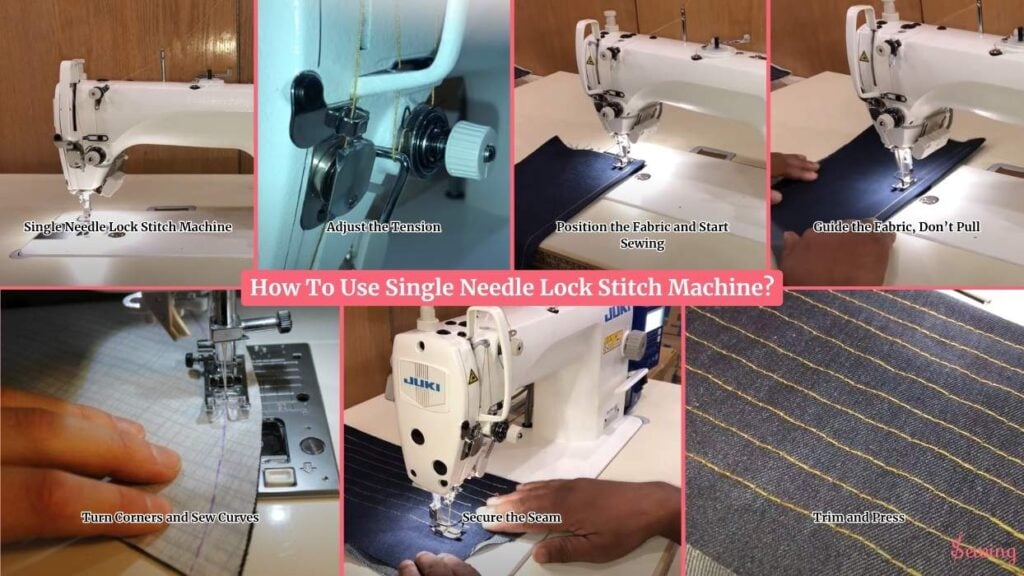
Single Needle Lock Stitch Machine
For most fabrics, I keep the stitch length around 2.5 mm. Here’s my quick guide:
- Regular seams: 2.2–2.8 mm
- Topstitching: 3.0–3.5 mm
- Basting: 4.0–5.0 mm

A quick test on scrap fabric tells me if it looks just right, unlike the portable machine one. I hold the upper thread tail, turn the handwheel toward me once, and watch the needle go down and come back up.
It catches the bobbin thread, and both threads pull through to the back under the presser foot. Now I’m ready to stitch.
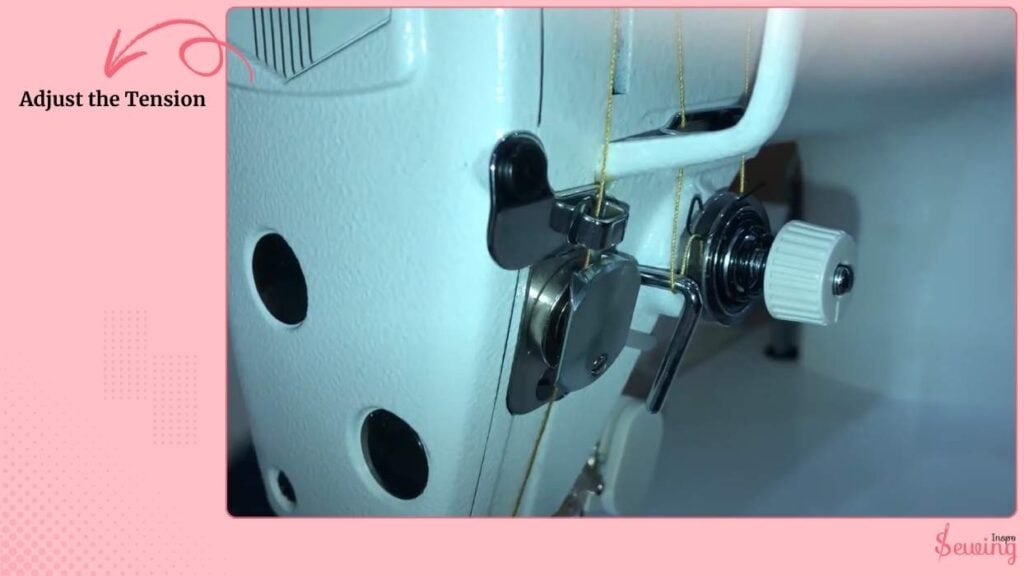
Adjust the Tension
I start with the tension dial in the middle (around 4–5). Then I test:
If the top thread loops underneath, I tighten the upper tension slightly. If the bottom thread loops on top, I loosen it.
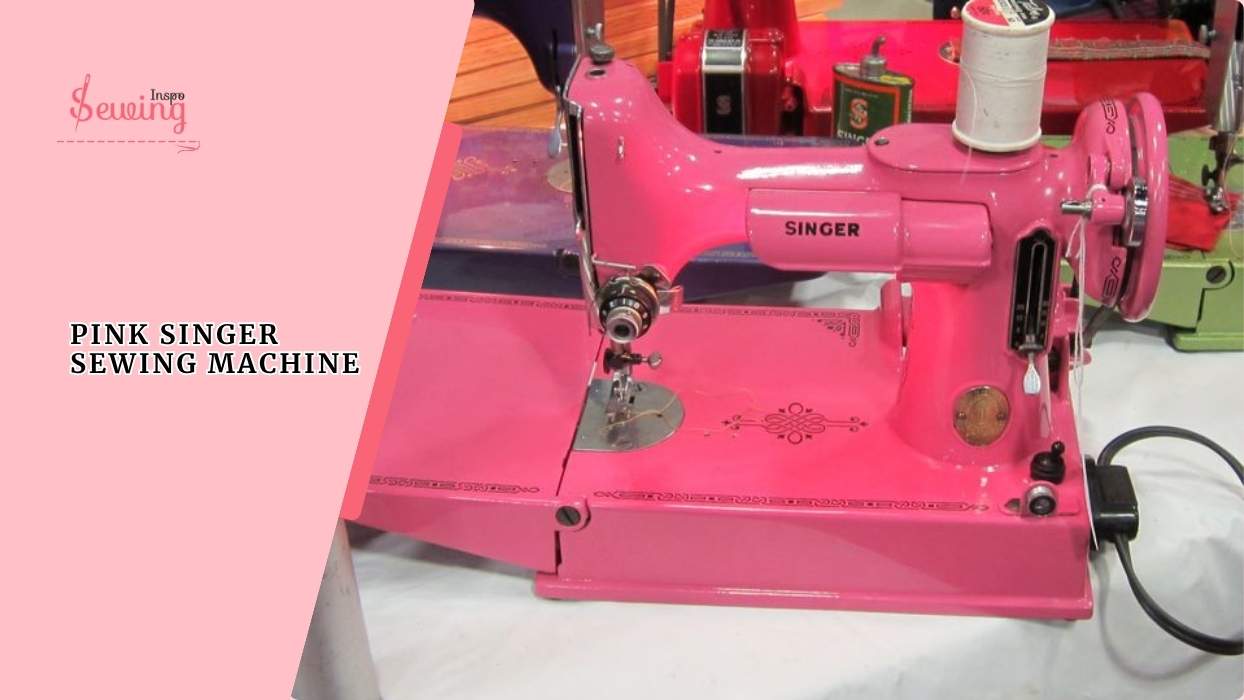
Perfect balance = smooth, flat stitches on both sides. It works like this on the pink singer sewing machine, too.
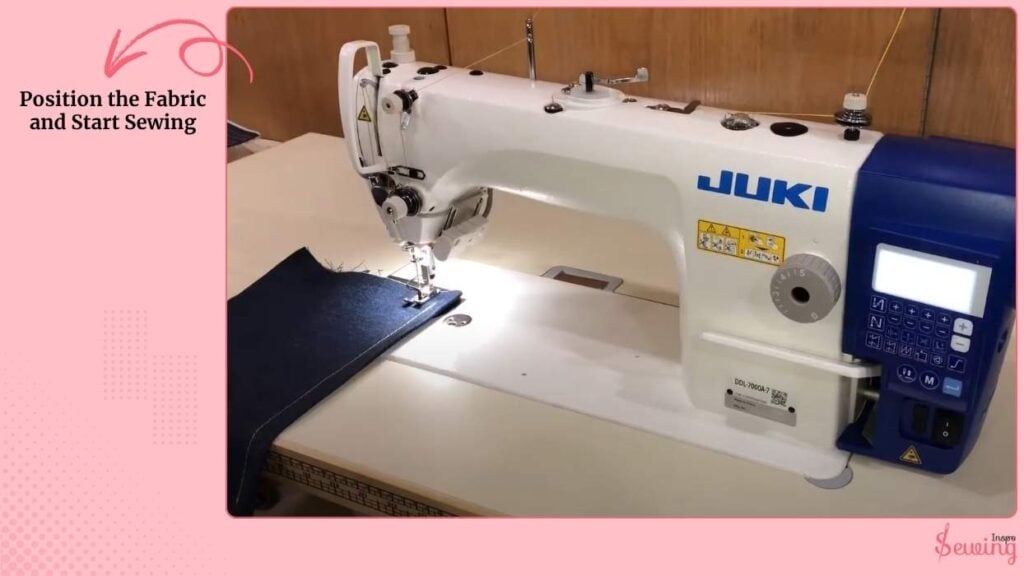
Position the Fabric and Start Sewing
I place the fabric under the presser foot, align the seam line, and lower the foot. I gently hold both thread tails and press the pedal slowly. The first few stitches are key to locking in a clean seam.
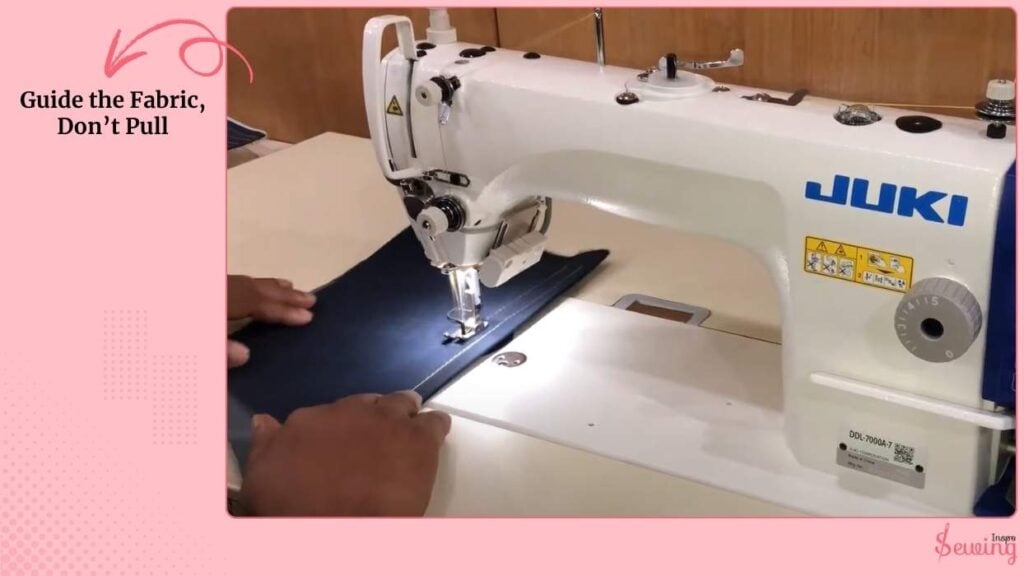
Guide the Fabric, Don’t Pull
This part’s all about feel. I guide the fabric with my fingertips but let the feed dogs move it forward naturally. Pulling or pushing can cause skipped stitches or uneven seams, so I keep my touch light and steady.
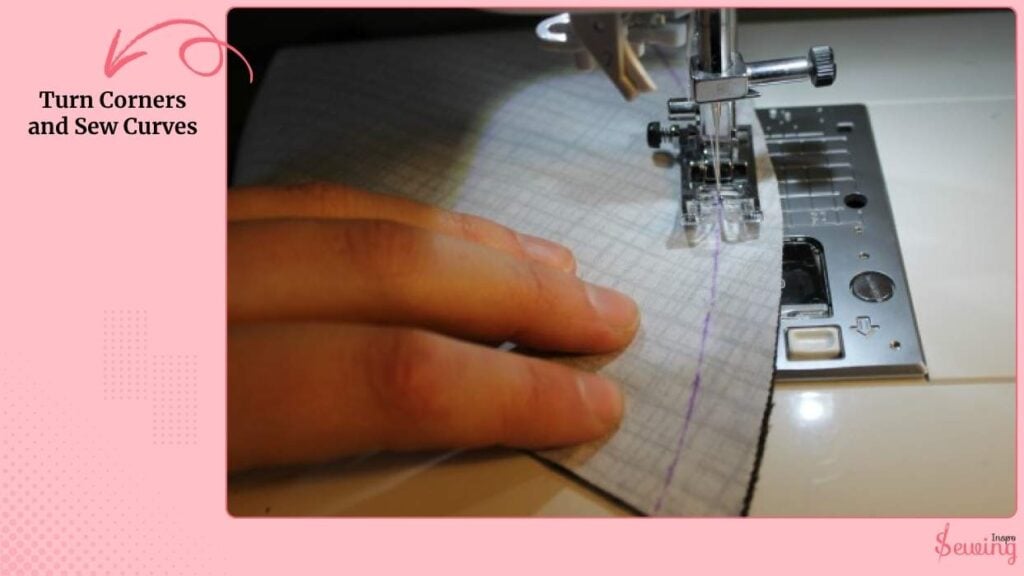
Turn Corners and Sew Curves
For corners, I stop with the needle down in the fabric, lift the presser foot, pivot, lower the foot again, and continue sewing.
For curves, I slightly shorten the stitch (around 2.2 mm) and turn the fabric gradually as I sew. This keeps the curve smooth and clean.
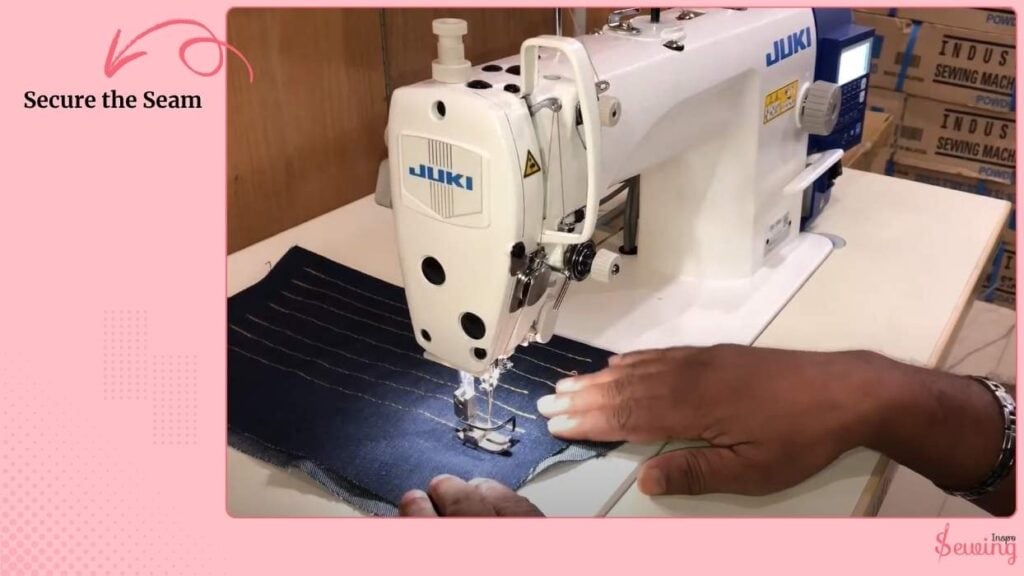
Secure the Seam
At the start and end, I backstitch 2–3 stitches to lock the thread. If my machine doesn’t have reverse, I leave 2–3 inches of thread tail and tie a knot or pull the last loop through itself. That keeps the seam from unraveling later.
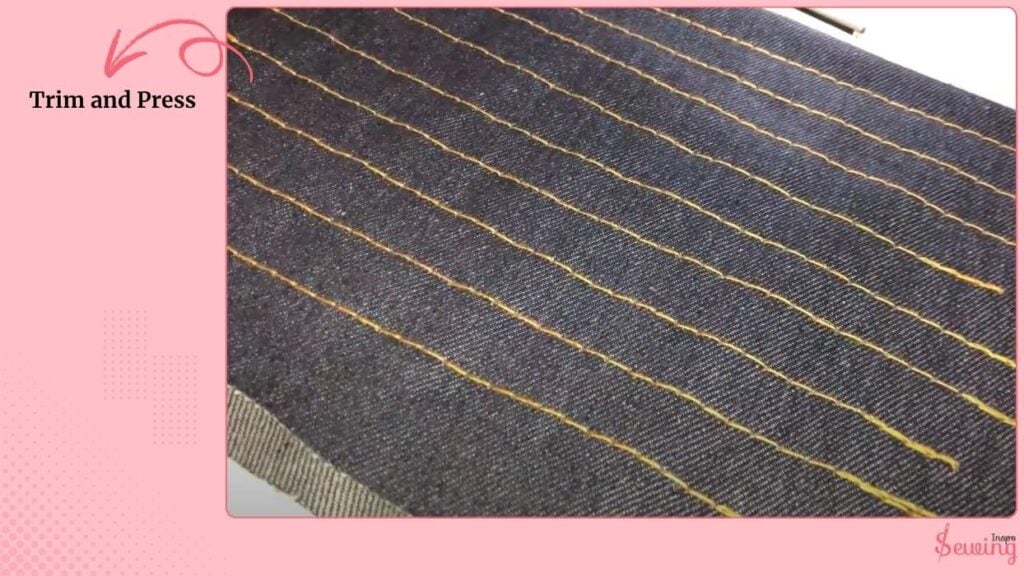
Trim and Press
Once I finish stitching, I trim the thread ends and press the seam flat. Pressing makes a world of difference. It “sets” the stitches and gives the seam that neat, professional look.
Frequently asked questions
Can I use any type of thread?
Not quite! Polyester thread works best for most fabrics, while cotton thread suits natural fibers like linen or muslin. Always match thread weight to fabric thickness.
Why is my fabric puckering while sewing?
Puckering usually occurs due to excessive tension or a needle that’s too large for the fabric. Try loosening the tension and switching to a finer needle.
Do I need to backstitch on a lockstitch machine?
Yes, a quick backstitch at the start and end of your seam locks the stitches in place and prevents unravelling.
Conclusion
And that’s how I work with my single needle lockstitch machine. It is smooth, precise, and reliable every time.
What I love about this machine is its simplicity. It’s not flashy, but it gets the job done right.
Once you get the rhythm, you’ll see why the lockstitch is called the “backbone” of sewing.” It’s steady, strong, and always ready for your next project.

Leave a Reply