
Sewing machine jumping stitches! Is my sewing machine broken? But I just bought that? Why is my sewing machine is jumping thread?
Relax! Nothing is wrong with your sewing machine. Some call it a jumping stitch, and some call it a skipping stitch. And it is a common issue with sewing machines.
jumping stitches
Jumping stitches usually happen due to a dull or bent needle, wrong threading, off tension, or even just a bit of dust hiding inside.
But hold still! Don’t panic. If there is a will, there is a way. There are ways to fix it. Let me tell you how.

Table of Contents
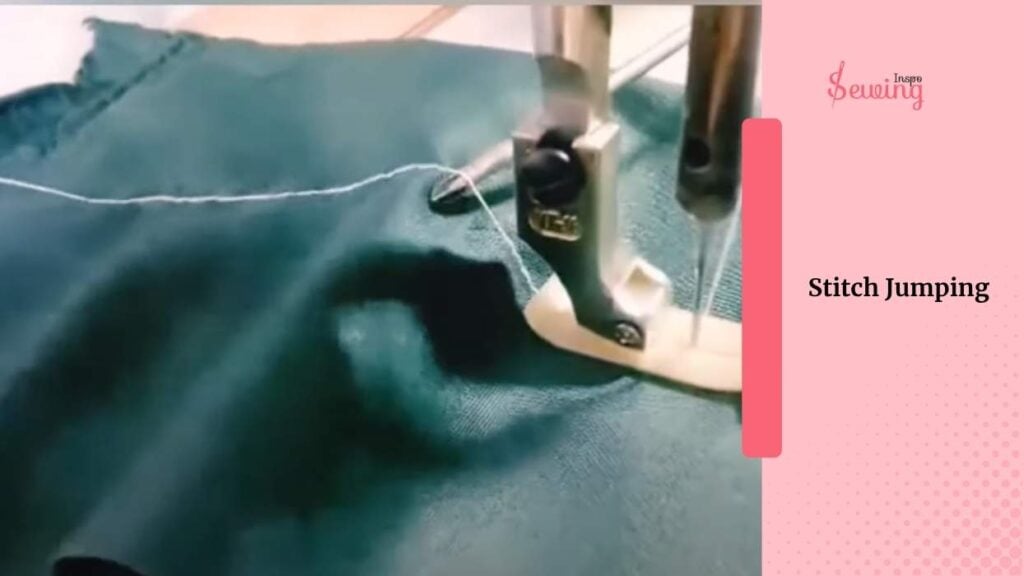
What Is Stitch Jumping?
Jump stitches in machine embroidery and quilting are the loose threads that form when the machine moves from one section of a design to another without stopping to cut or re-thread. They’re often part of the process, but trimming them afterward is key if you want a neat, professional-looking finish.
Why Are Sewing Machine Jumping Stitches?
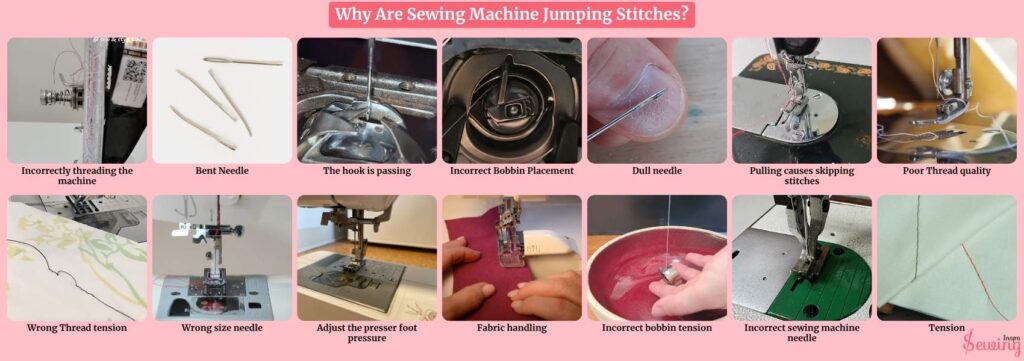
Skipping stitches is the most annoying issue with the sewing machine. It annoyed me so much when I first started using it, and apparently, there are more than a few reasons behind it.
Mostly, the jumping stitch happened because,
- Incorrectly threading the machine
- Bent Needle
- The hook is passing
- Incorrect Bobbin Placement
- Dull needle
- Pulling causes skipping stitches
- Poor Thread quality
- Wrong Thread tension
- Wrong size needle
- Adjust the presser foot pressure
- Fabric handling
- Incorrect bobbin tension
- Incorrect sewing machine needle
- Tension
Yes, there are 14 reasons this is annoying for any machine embroidery. But there are some ways around it for a skip stitch sewing machine.
How To Fix Skipped Stitches On A Sewing Machine?
Don’t hold your head and sit down worrying. I have some solutions for you, too.
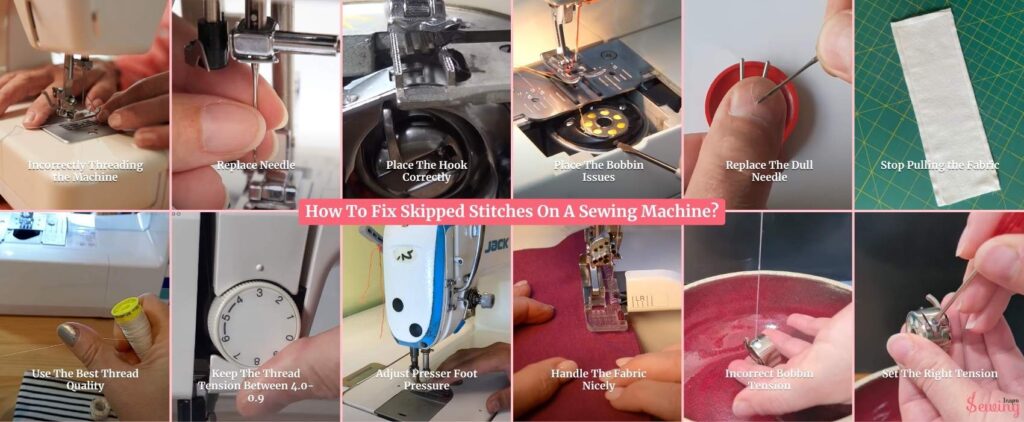
Incorrectly Threading the Machine
Incorrect threading is the main villain of thread jumping. Sometimes, after re-threading the machine from scratch, I realise I have missed a couple of important steps, which causes the jumping stitch. This is the most common for the sewing machine skipping stitches zig zag.
So to solve that,
I double-checked that the upper thread was placed correctly through all the tension discs and through the needle. Pulling the thread helped ensure that it was snug but not overly tight. It helped me a lot while doing the sewing machine overcast stitch.

Sometimes, the thread gets caught in places you don’t expect, which can affect the stitch formation. Re-threading solved the skipped stitch problem, and everything worked fine again. It solved the loose stitch issue, too.
Replace Needle To Stop The Stitch Jumping
I was shocked to find that my needle was slightly bent, even though it looked fine at first glance. Because of this, my stitch looks like a gathering stitch.
Once I replaced it with a new needle and made sure it was inserted correctly (flat side facing the back). The stitching improved drastically. I also paid extra attention to ensure I was using the right type of needle for the fabric. This helped me a lot to do an easy stitch.
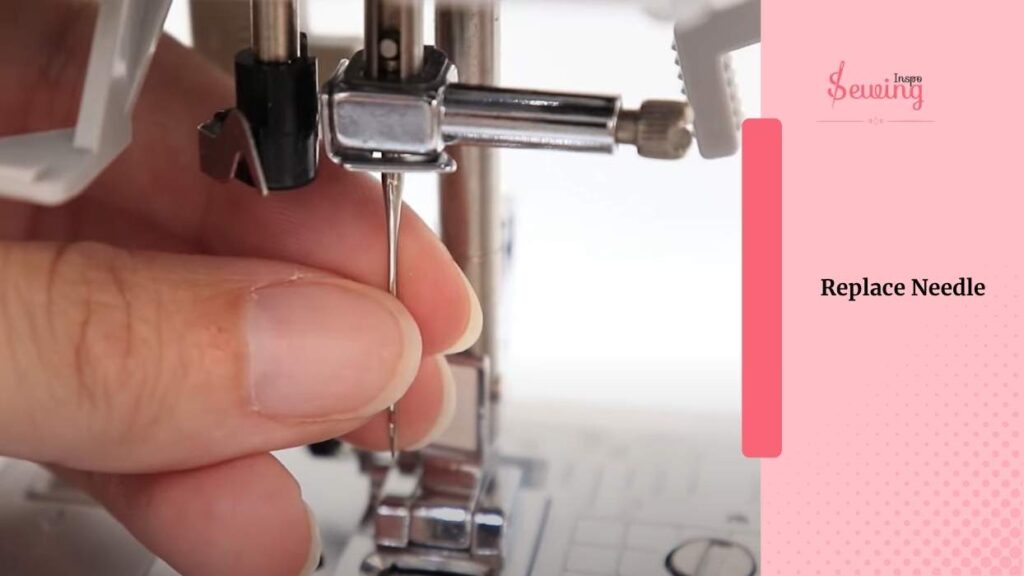
For example,
I used a universal needle, but a denim needle would’ve been a better choice for my thicker fabric. So, I changed to a universal size 80 needle. Changing the needle made a huge difference—there were no more skipped stitches or uneven stitches.
The wrong needle size is the main villain of this problem.
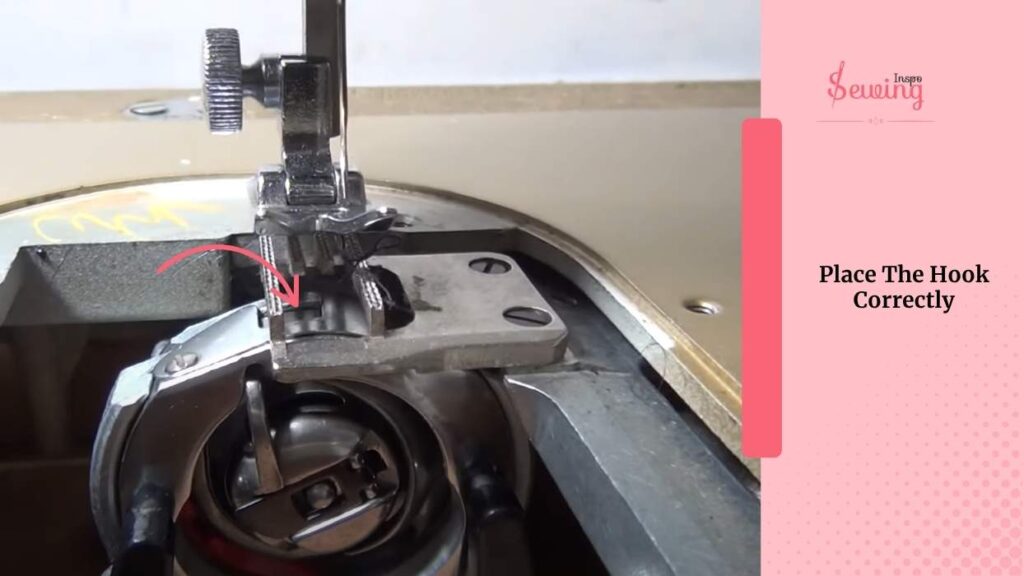
Place The Hook Correctly
I noticed the stitches weren’t forming properly, and the thread kept skipping. After checking, I realised the hook was missing the needle entirely! This was a timing issue between the hook and the needle.
I had to take the machine to a technician, as it needed a timing adjustment. The technician aligned the hook and needle timing perfectly, resolving the problem.
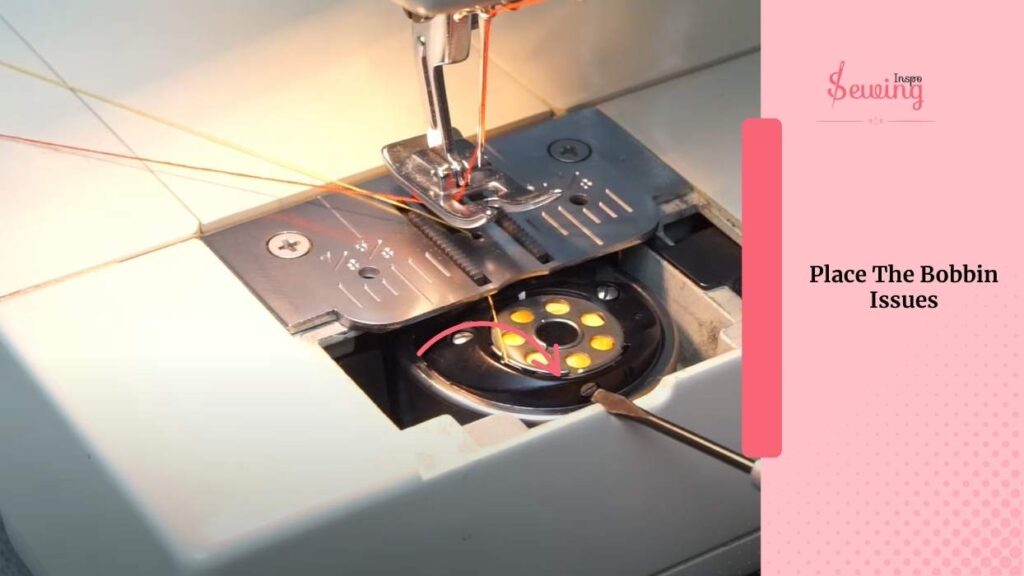
Place The Bobbin Issues
I found that the bobbin wasn’t winding evenly and wasn’t inserted correctly into the bobbin case. This caused the thread to bunch up, leading to sewing machine skipping stitches/ stitch jumping and shredding thread. Mainly machine timing play a lot of role here.
After re-winding the bobbin properly and ensuring it was seated snugly.
Everything started working smoothly again. I also made sure the bobbin was the right size for my machine. A mismatched bobbin can create all sorts of issues, and this one was definitely part of the problem.

That’s why the sewing machine skipping zig zag stitches happened.
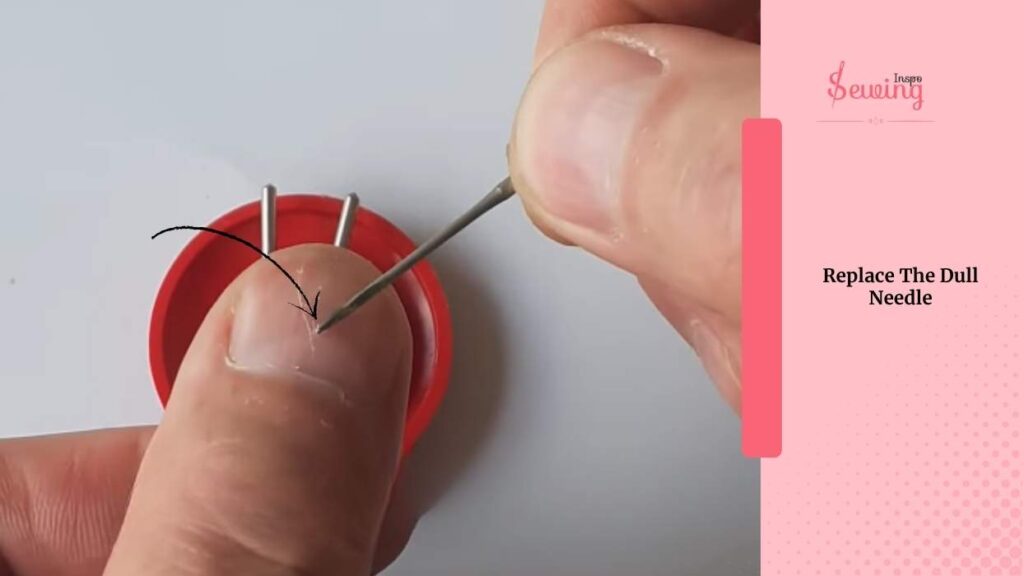
Replace The Dull Needle
I had been using a needle that had seen better days. It wasn’t completely bent, but it was dull, and that was enough to cause the machine to skip stitches.
I replaced the needle with a fresh one, and immediately, the stitches started forming properly.
A dull or damaged needle can greatly affect stitching quality. I always keep extra needles on hand to avoid issues like this!
Stop Pulling The Fabric
I had the habit of pulling the fabric as it fed through the machine, especially when I wanted to ensure it went through evenly. Follow the Thread Path rightly.
This ended up being a big mistake! After I stopped pulling the fabric and let the machine feed it naturally.
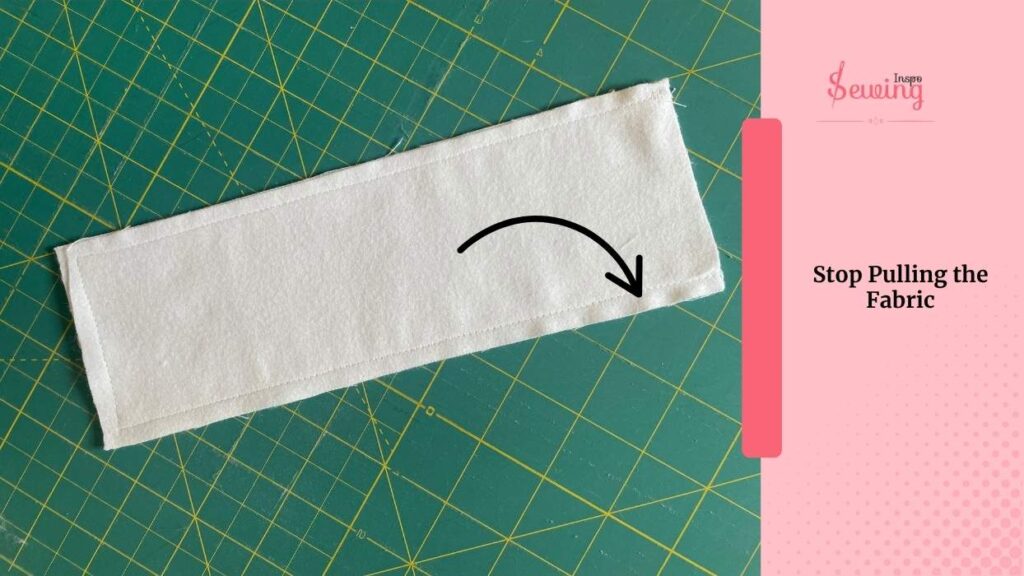
The stitches became much more consistent. It’s really tempting to assist the fabric, but I found that allowing the machine to do its job made a huge improvement.
Use The Best Thread Quality
At first, I didn’t think thread quality was an issue, but after switching to a higher-quality thread, I noticed a massive difference. My old thread kept breaking and getting tangled, which caused skipped stitches.
After switching to Gutermann or Madeira thread, stitching became much more reliable. I also made sure the thread was appropriate for the fabric type I was working with. This works best with baste stitch.

Keep The Thread Tension Between 4.0-0.9
I didn’t realise how important the tension was until I started adjusting it. The upper and lower thread tensions were either too tight or too loose, causing the thread to bunch up or not form proper stitches.
This will help create smooth, even stitches. The ideal tension setting can vary based on the fabric and thread you’re using.
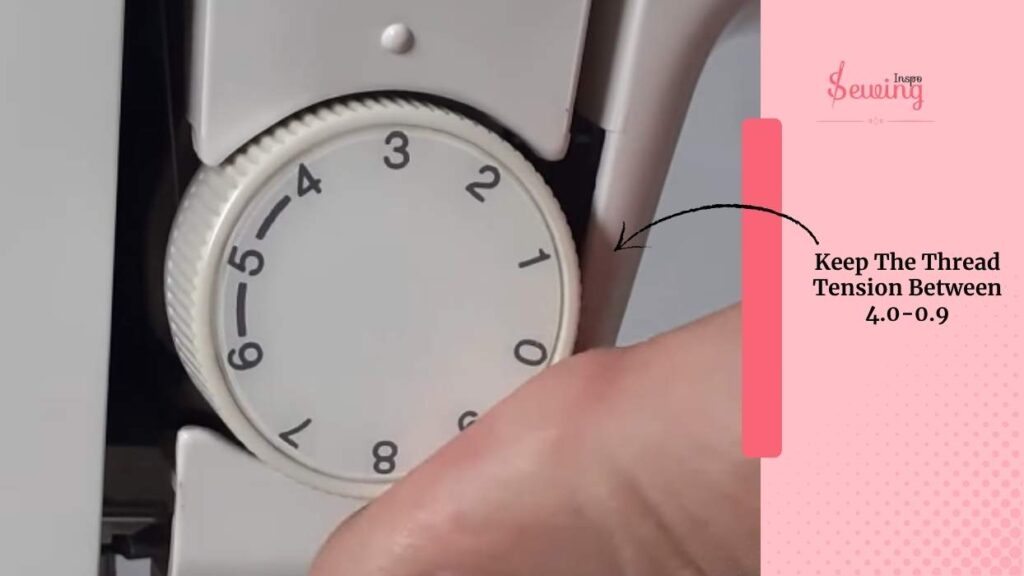
But as a general rule,
Starting around a 4.5 on a 0-9 dial is a good bet for straight stitching on most fabrics. But it’s better to test according to your fabric type. This works the best with backstitch, actually.
Adjust Presser Foot Pressure
Initially, I didn’t think the presser foot pressure had anything to do with skipped stitches, but after adjusting it, I realised how much of a difference it made.
For lightweight fabrics,
I decreased the pressure slightly, and for heavier fabrics, I increased it a bit. This adjustment helped my fabric feed more evenly and kept the stitches consistent without skipping.
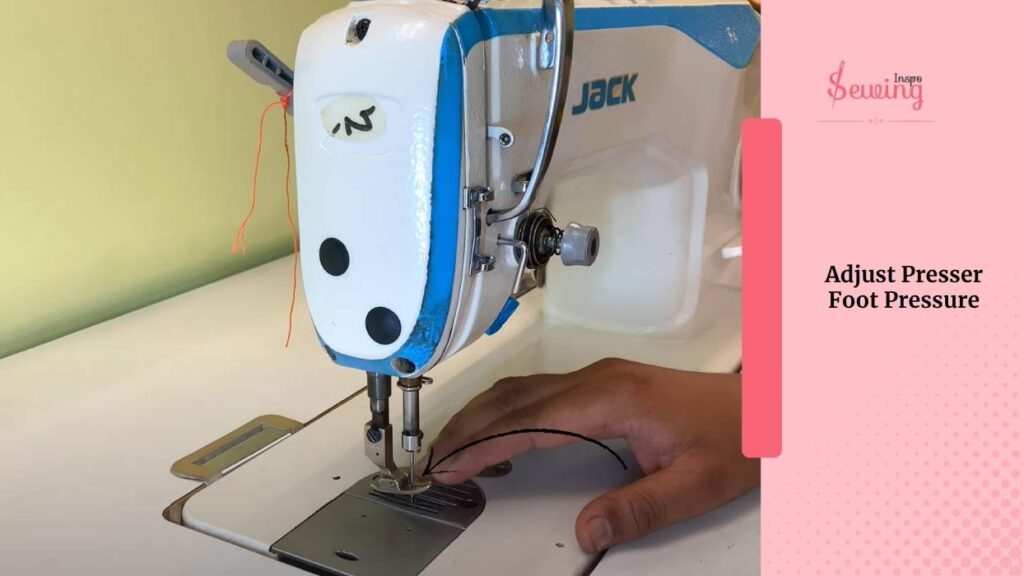
It’s definitely worth playing around with the presser foot pressure based on what you’re working with.
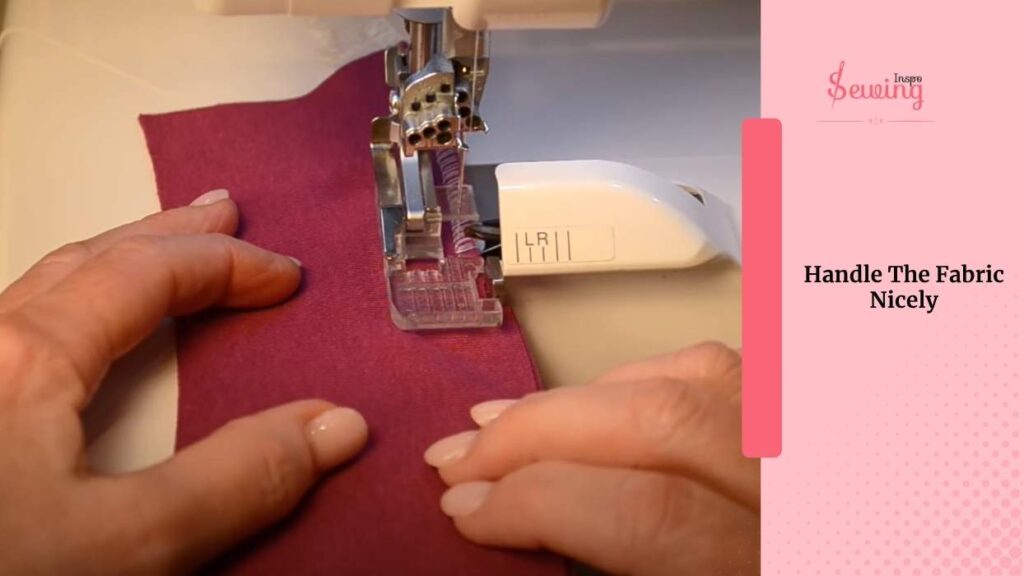
Handle The Fabric Nicely
I used to push the fabric through the machine, thinking I’d get it through faster. This was actually creating the skipped stitches! Once I stopped pushing and let the feed dogs pull the fabric through naturally, the stitches came out much more even.
Now, I make sure to hold the fabric gently. If I am working with multiple layers, I arrange them evenly. After that, I never had the jumping stitch issue.
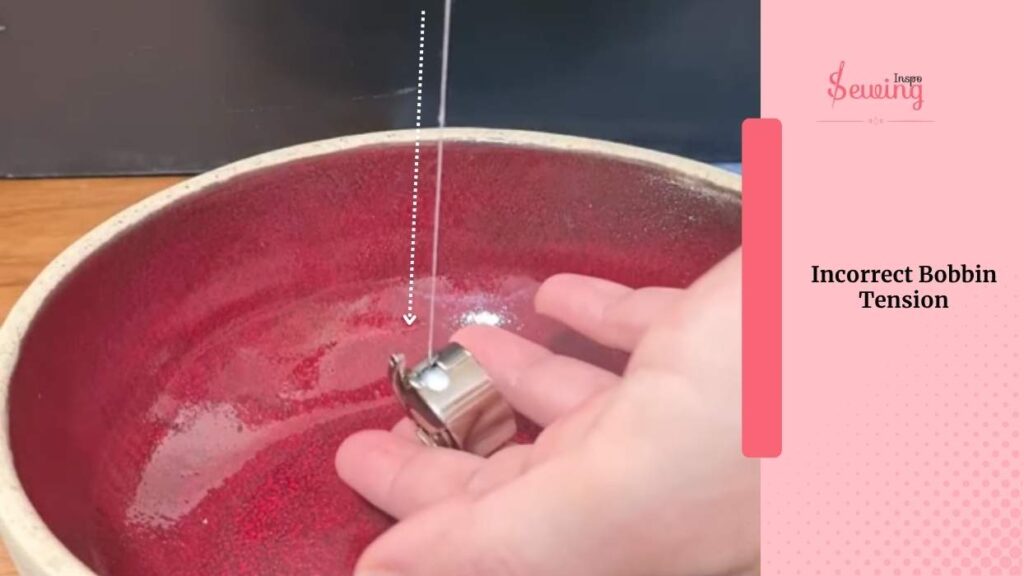
Incorrect Bobbin Tension
My bobbin tension was too tight, causing uneven stitching. After I adjusted the bobbin tension to a looser setting, the stitches started to form more evenly.
It’s important to check both the bobbin case and the top tension to ensure they’re balanced. Bobbin tension can be tricky, but everything should run smoothly once it’s dialled in.
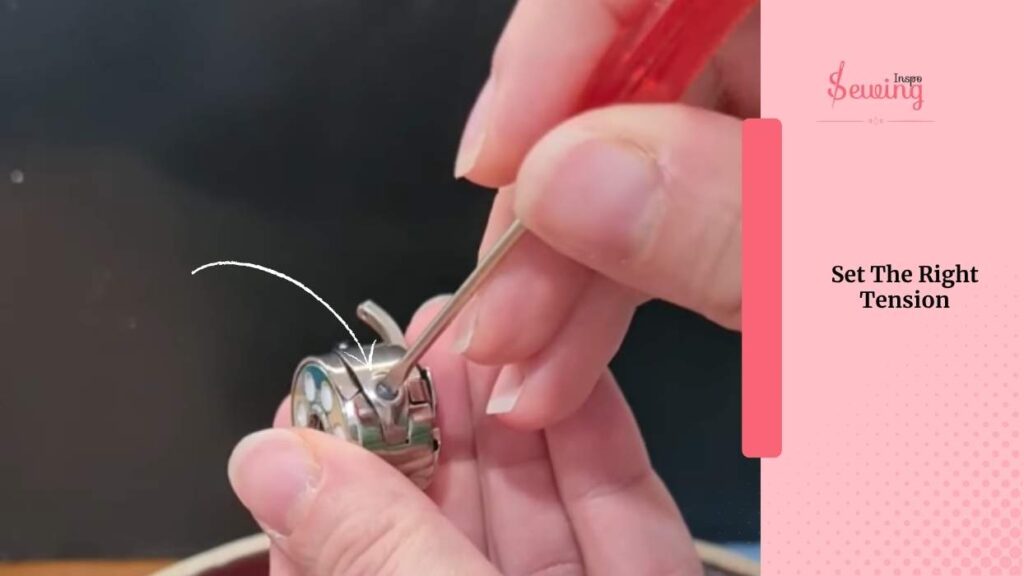
Set The Right Tension
After dealing with tension issues on my machine, I found that a slight adjustment to both the upper and lower tensions made a big difference. I was either getting too tight stitches, which were breaking, or too loose ones, which were causing skipped stitches.
So, I found the right balance of upper and lower tension to fix the issue. I made sure to test on a scrap piece of fabric first before starting my project.
Basically, right maintenance would have stop this sewing troubleshooting.
Frequently Asked Questions
Why is my sewing machine skipping stitches and breaking thread?
Skipped stitches and broken thread are usually caused by incorrect thread tension, a dull or bent needle, using the wrong thread, or improper threading. Check that your machine is threaded properly, use the right needle and thread for your fabric, and adjust the tension settings to ensure they are balanced for smooth stitching.
Why is my sewing machine skipping zig-zag stitches?
Skipping zig-zag stitches often occurs due to a dull or incorrect needle, improper tension, or the wrong needle type for the fabric. To prevent skipped stitches, make sure you’re using the right needle for your fabric, adjust your thread tension, and check that the machine’s timing is correct.
Got Your Solutions For Sewing Machine Jumping Stitches?
So, yes, that’s how you can get your sewing machine straight. No more struggle with the machine stitch anymore.Just stitch, no matter whether it’s satin stitch or overlock stitch.


Leave a Reply