The other day, I was watching one of my stitching experts work, and suddenly I noticed these little loops popping up in her stitches. Naturally, I blurted out, “Wait, what is that? Isn’t this some kind of machine stitch problem?”
She looked up, smiled knowingly, and said, “Oh, that’s a loop stitch.”
Now, in my head, I’m thinking, “How on earth does something that looks like a mistake come out looking so good?”
That’s when she said:
“If it happens by accident, yes. It’s a stitch issue. But if you do it intentionally, it’s a decorative touch. And guess what? You can even create it on purpose with a loop stitch sewing machine.”
I was like, ‘What!! How can you possibly do that?’ she proudly said,
Loop Stitch
To do a loop stitch on a regular sewing machine loosen the top tension so the upper thread forms loops on the underside of the fabric.
I was so amazed and shocked that she decided to show me practically the stitching process like slip stitch machine.
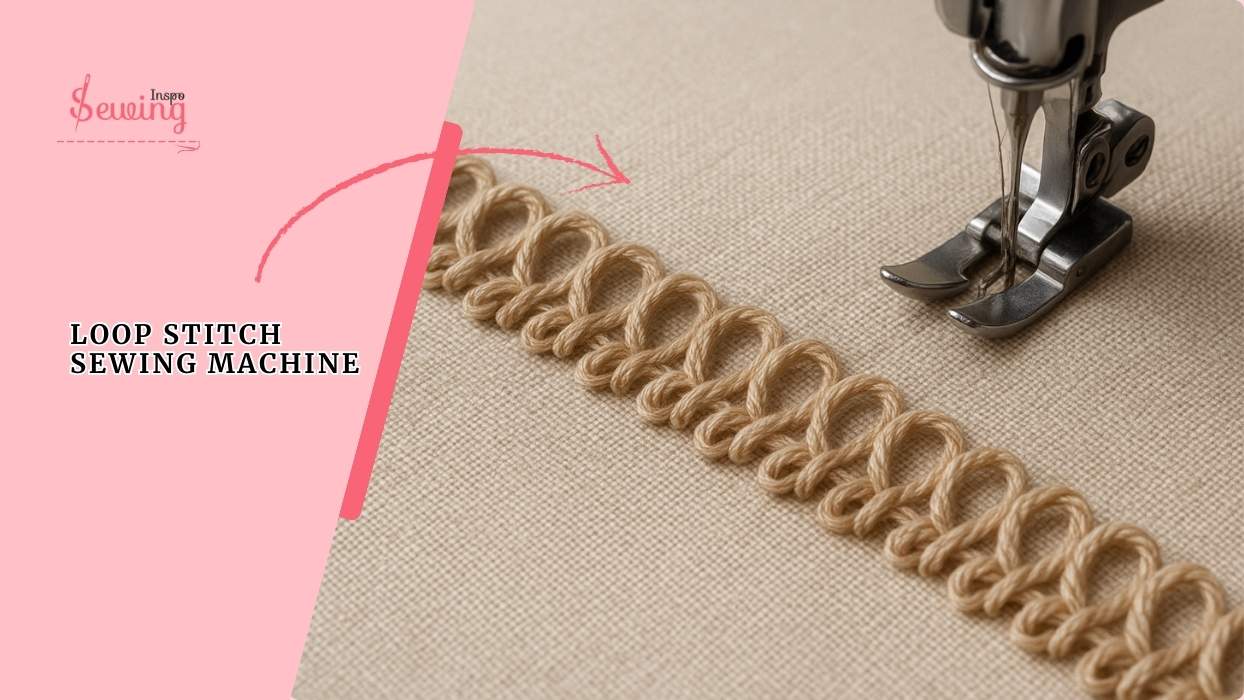
Table of Contents
Loop Stitch Sewing Machine Tutorial
To do a loop stitch on a sewing machine, follow the steps,
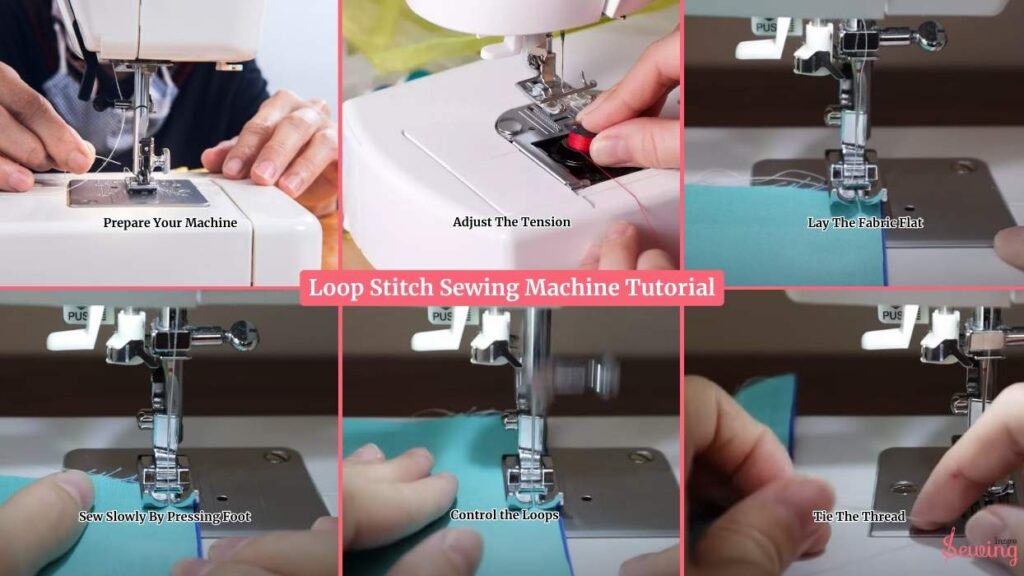
- Prepare Your Machine
- Adjust The Tension
- Lay The Fabric Flat
- Sew Slowly By Pressing Foot
- Control the Loops
- Tie The Thread
Prepare Your Machine For Loop Stitch
First things first, set up your machine so loops can actually form. Normally, a lockstitch machine uses two threads.
The top thread from the spool and the bottom thread from the bobbin. For a loop stitch, we’ll work only with the top thread.
- Place your thread spool on the machine and thread it as usual, through all the guides and tension discs. It will help you do sewing machine skipping stitches, too.
- Skip the bobbin entirely, leave the bobbin case empty.
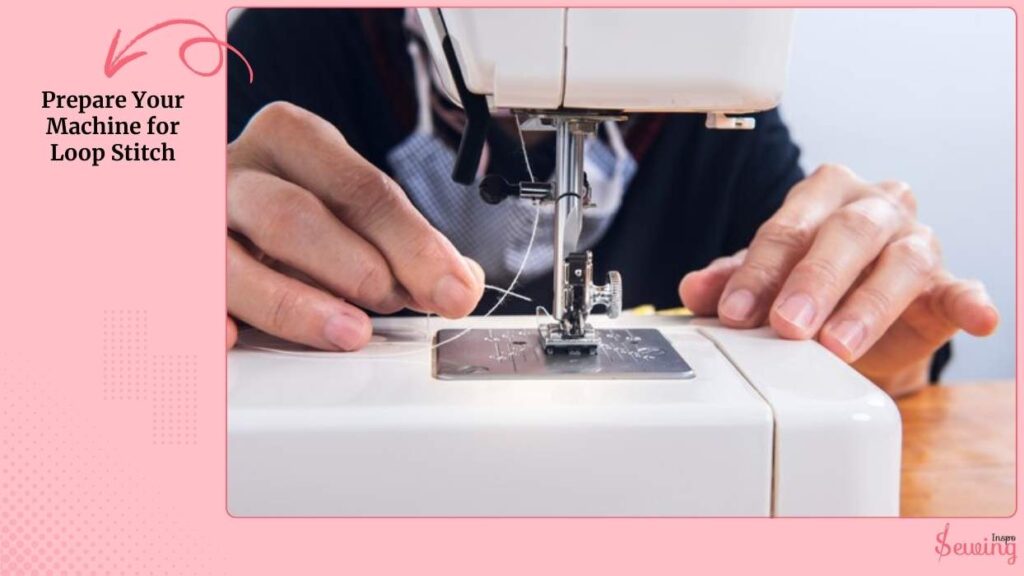
- Switch the stitch selector to straight stitch.
- Adjust your stitch length to 3–4 mm. Longer stitches make the loops clearer and prevent bunching.
This setup tricks the machine: without a bobbin, the needle thread has nothing to lock with. This is exactly how the loops are created. You can use a ladder stitch sewing machine to do the stitch, also.
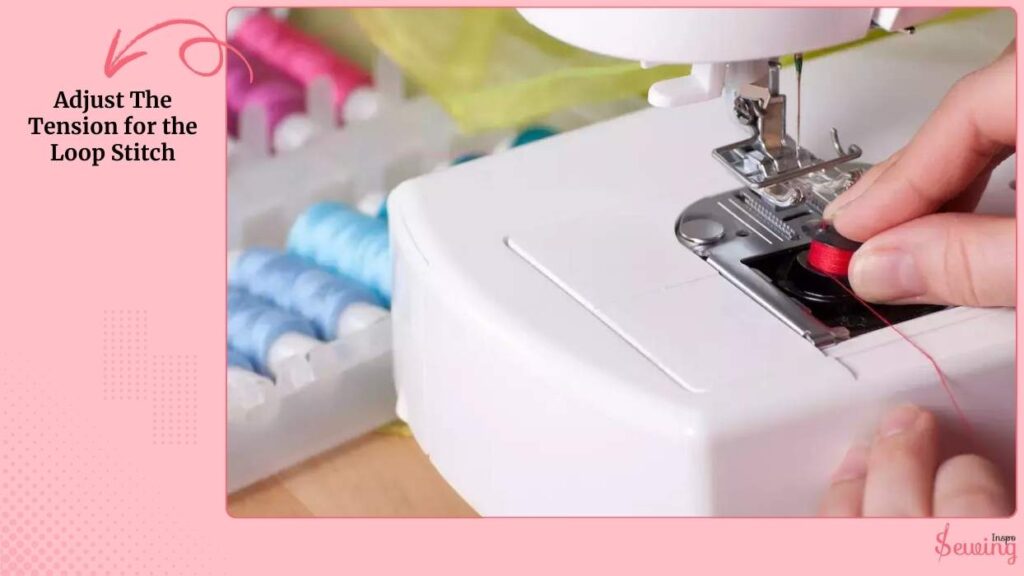
Adjust The Tension For The Loop Stitch
Tension is everything for this stitch. Too tight, and the thread won’t loop. Too loose, and it tangles. Locate the tension dial (usually on the front of your machine). Then, turn it down to a low setting, tension disks around 1 or 2.
Start with very low tension and test on scrap fabric. Gradually adjust until you see even, consistent loops forming. Every machine behaves a little differently, so testing is key. This kinda makes me think of a lockstitch sewing machine.
Lay The Fabric Flat Under The Presser Foot
Lay the fabric flat under the presser foot. Pull out 3–4 inches of thread from the needle so you have a tail. Lower the presser foot to hold the fabric firmly. I do it for uneven stitches too.
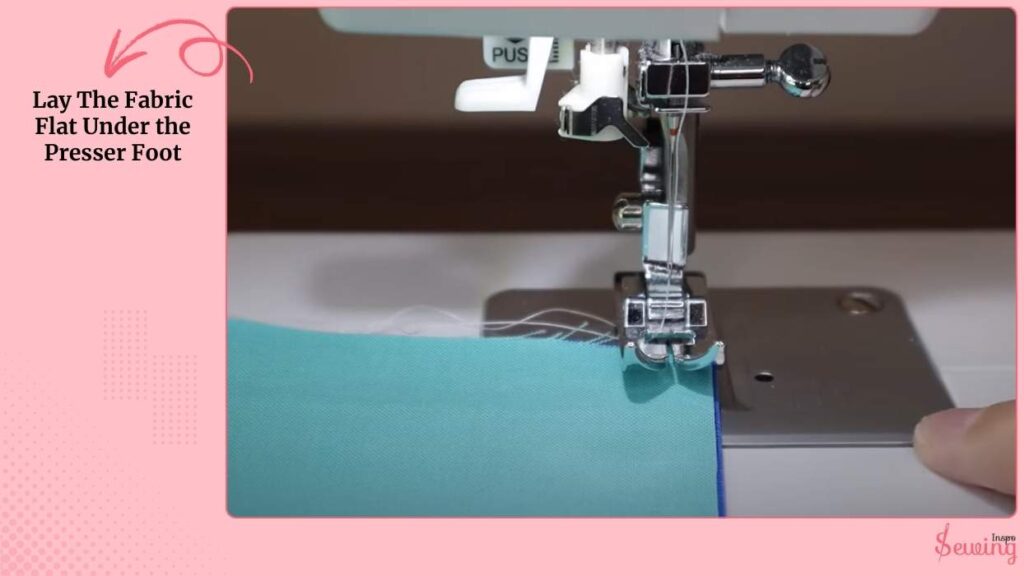
Tip: If your fabric is thin, use a stabilizer or scrap fabric underneath to keep it steady. It helps to do cross stitch on sewing machine.
Sew Slowly By Pressing The Foot Pedal
With no bobbin, the needle thread won’t lock. Instead, it forms loops underneath, unlike the overlock sewing machine.
Sew slowly by pressing the foot pedal. On top, your stitches will look normal. Flip the fabric, and there are your beautiful loops. It won’t be like a Sewing machine loose stitches on bottom Singer awkward.
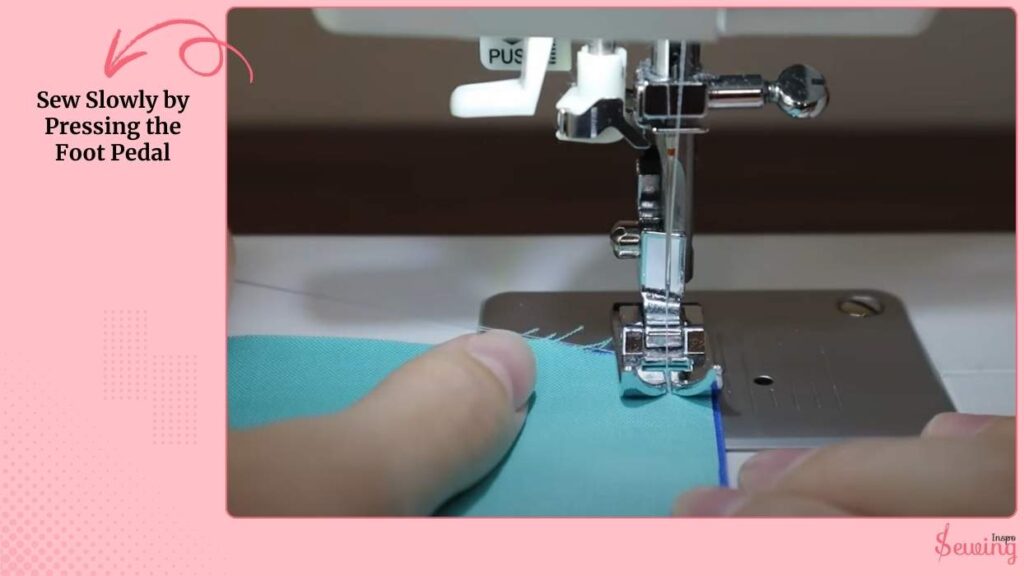
What’s happening:
The needle takes the thread down through the fabric. Normally, the hook grabs the bobbin thread to lock the stitch. Without a bobbin, the hook just releases the thread, leaving it hanging in loops.
Control the Loops Of Loop Stitch
The look of your loop stitch depends on tension and stitch length:
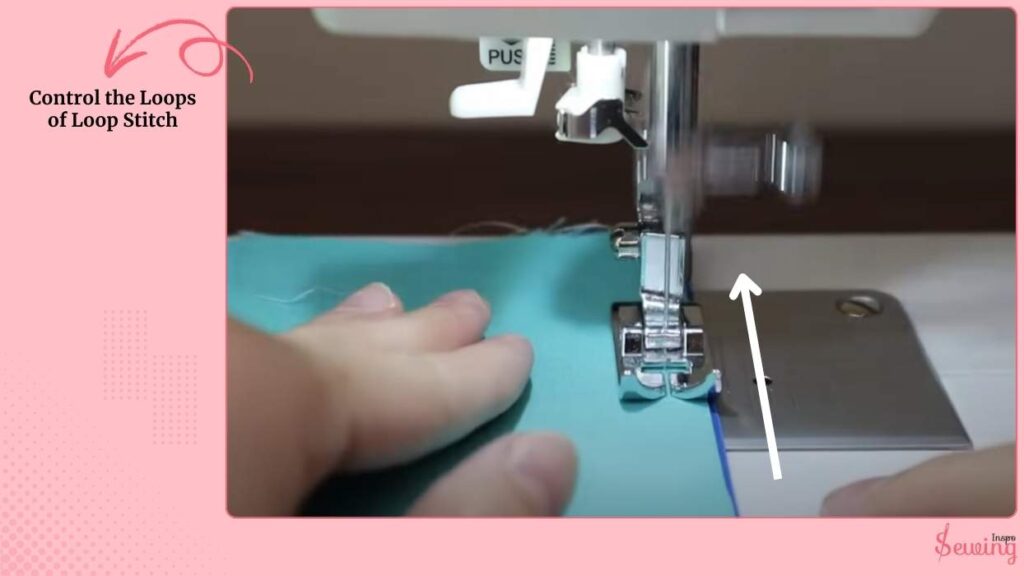
- Loops too tight? Loosen the tension more.
- Loops too big or messy? Slightly increase the tension.
- For embroidery-style loops, keep tension very low and stitch length longer.
- For neater loops, use medium tension with moderate stitch length. I use this for cutwork embroidery too.
Pro tip: Test on scrap fabric before stitching your real project. It saves a lot of unpicking later.
Tie The Thread Tail Into A Knot To Finish Loop Stitch
Loop stitches unravel easily, so you need to secure them properly. Raise the needle and presser foot when finished.
Pull the fabric gently, leaving a long thread tail. Tie the thread tail into a knot at the end of the seam.
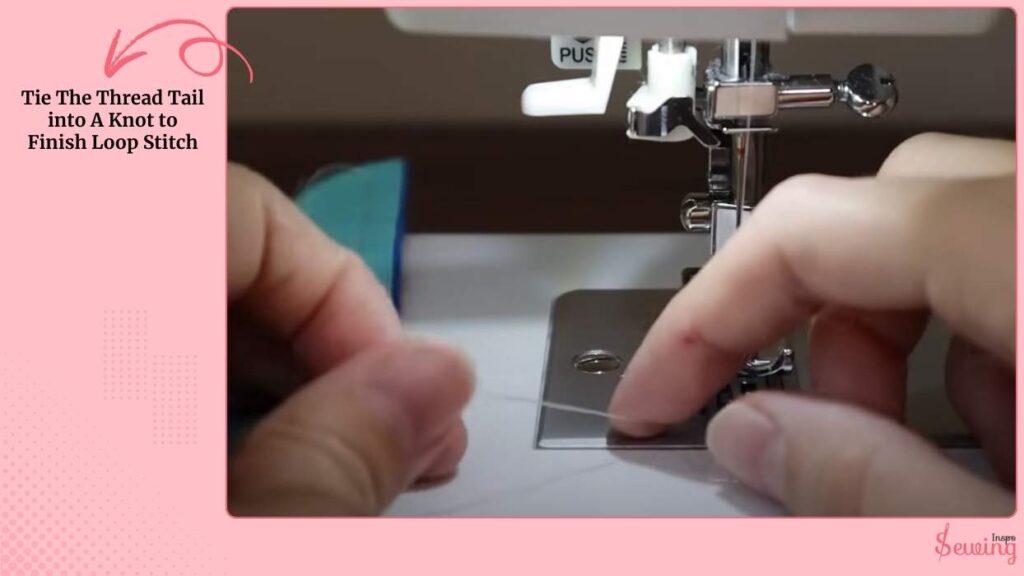
Optional: Weave the tail back through a few loops with a needle for extra security.
How To Fix Loop Stitch On Sewing Machine?
If you didn’t do the loop stitch purposely, but mistakenly. Now it’s ruining your fabric, so it’s an issue! And that means it needs to be fixed. Here is how I dealt with the problem,
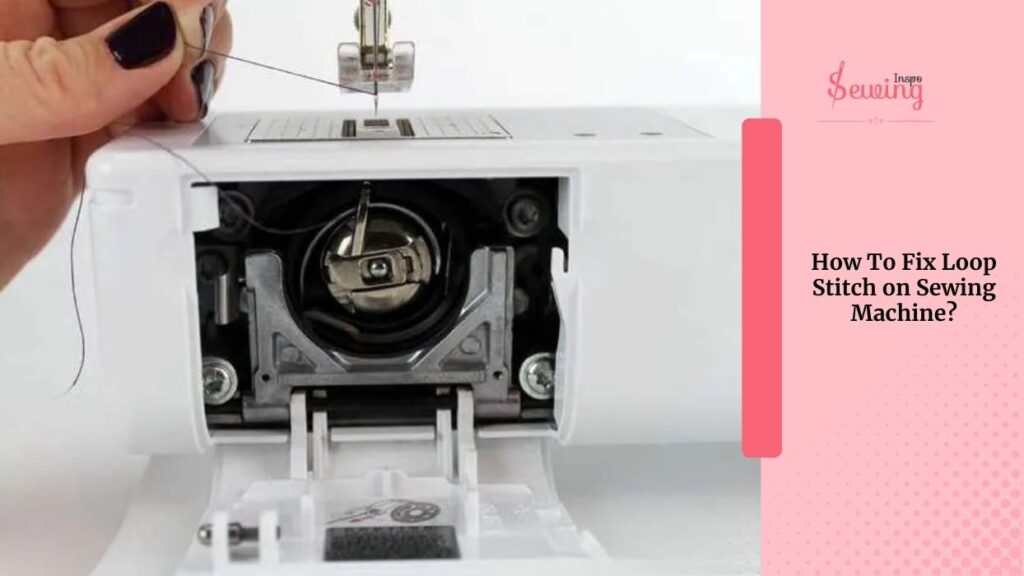
- Ensure the top thread is properly threaded through all guides and tension discs.
- Tighten or loosen the top thread tension; loops often appear if tension is too loose.
- Make sure the bobbin is in place and wound evenly.
- Match needle type and size to your fabric and thread weight.
- Remove lint or debris from the bobbin area and feed dogs.
That’s it, that’s it! That should to enough to fix the Brother sewing machine loops on the bottom too.
Frequently Asked Questions
Why is my sewing machine looping underneath?
Loops under the fabric typically occur when the top thread tension is too loose, the bobbin is inserted incorrectly, or the machine is mis-threaded. Adjusting tension and re-threading usually fixes it.
What is a loop of thread in sewing called?
A loop of thread formed on the underside of fabric is often called a loop stitch or bobbin loop, depending on the context and type of stitch.
Conclusion
Loop stitches are a fun and creative way to add texture and style to your sewing projects. With just a few adjustments to your machine and some practice on scrap fabric. You can master this decorative stitch and make your work truly stand out.


Leave a Reply