
If you’re just starting out with sewing, you’ll hear the term “locking stitch” pretty early on. It’s a simple but important sewing technique that helps secure the beginning and end of your stitches, so they don’t come undone after you finish sewing.
On most modern sewing machines,
Locking Stitch
There’s a locking stitch button (sometimes called a “tie-off” or “backtack” button). When you press it, the machine sews a few stitches in place forward, backward, or in one spot to “lock” the thread. It’s like tying a tiny knot with your machine instead of by hand.
A locking stitch sewing machine is helpful for:
- Sewing seams that won’t unravel
- Keeping your projects neat and strong
- Saving time (no need to backstitch manually!)
Sounds important to know, right? Ok, so let’s learn it together. So you don’t mix up lockstitch vs straight stitch sewing machine.
Table of Contents
What Is A Locking Stitch On A Sewing Machine?
A lock stitch sewing machine creates stitches by interlocking an upper thread with a lower thread right inside the fabric. This “locking” action is what makes the stitch strong and secure. It is stronger than a double overlock stitch.

It’s the most common type of stitch you’ll find used in both home sewing machines and industrial ones, because it holds up well and looks neat on both sides of the fabric, like edge stitching.
How Does Locking Stitch Sewing Machine For Beginners?
To do a lock stitch on a sewing machine, follow the steps,
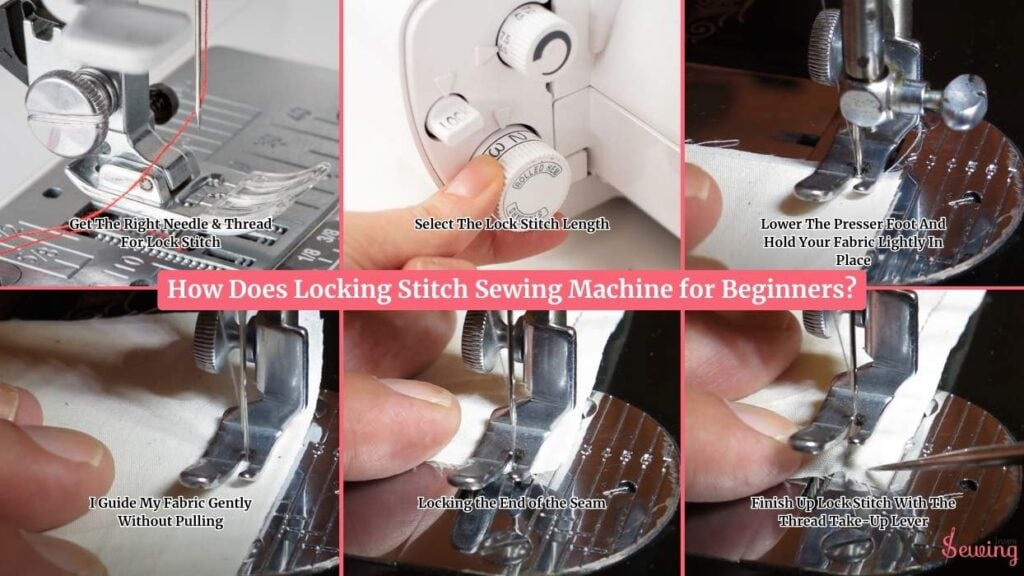
Get The Right Needle & Thread For Lock Stitch
I usually use a Universal 80/12 needle for medium-weight fabrics like cotton or linen. For lightweight fabrics (like voile or batiste), I switch to 70/10, and for heavier materials (like denim), I go for a 90/14.
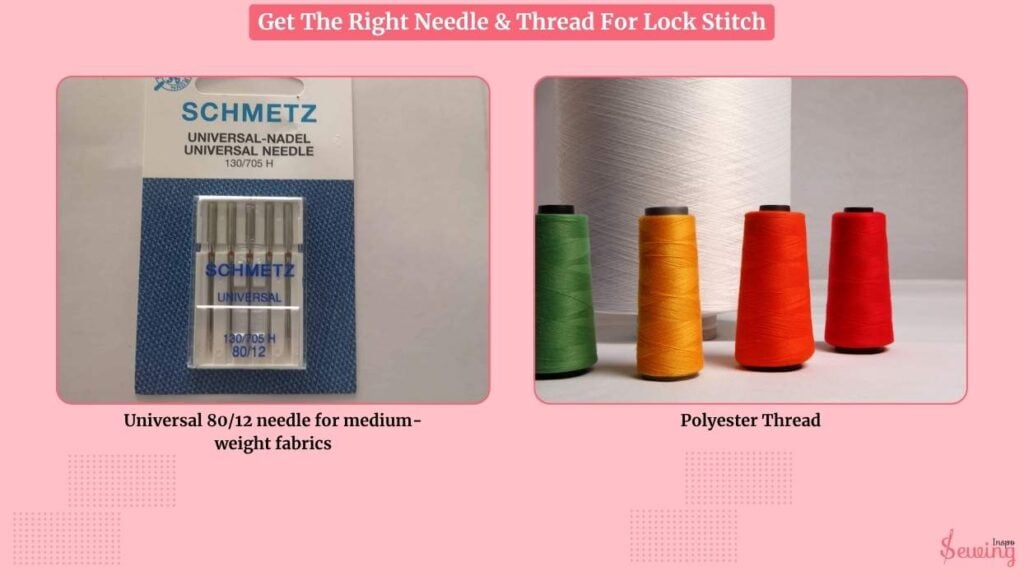
I go with a good-quality all-purpose polyester thread. It’s strong, doesn’t break easily, and works great with lock stitches.
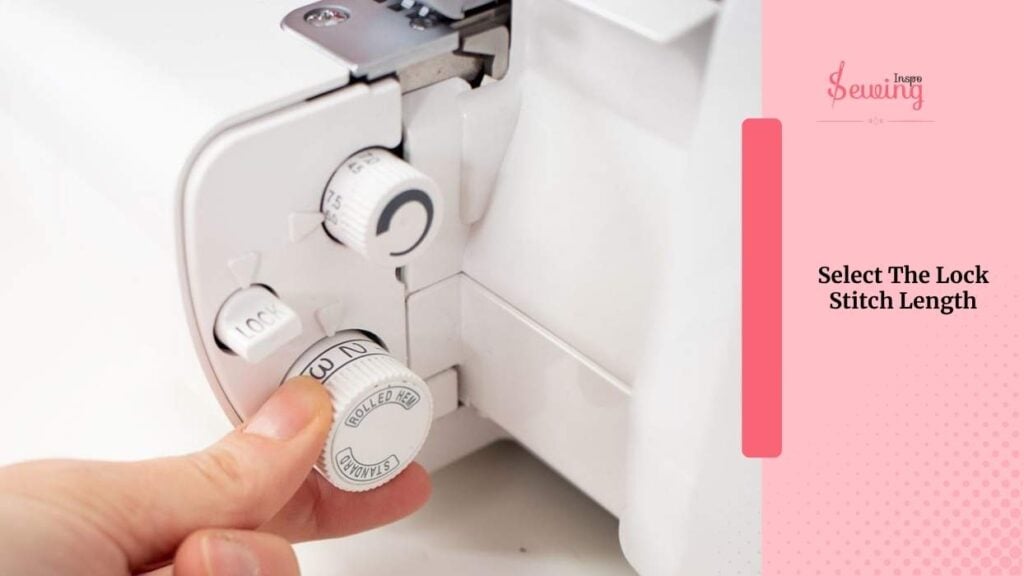
Select The Lock Stitch Length
I set my machine to a standard stitch length of 2.5mm. It’s the sweet spot, tight enough to hold the seam, but not so tight it puckers the fabric. Being too tight can cause a jump stitch issue.
Once everything’s threaded and ready, I place my fabric under the presser foot, lining the edge up with one of the seam allowance guides (like the ⅝” or 1cm line) on the needle plate. I use this needle for the satin stitch sewing machine, too.
Lower The Presser Foot And Hold Your Fabric Lightly In Place
Lower the presser foot and hold your fabric lightly in place. Sew forward 3 to 5 stitches. (This is just enough to anchor the thread.)
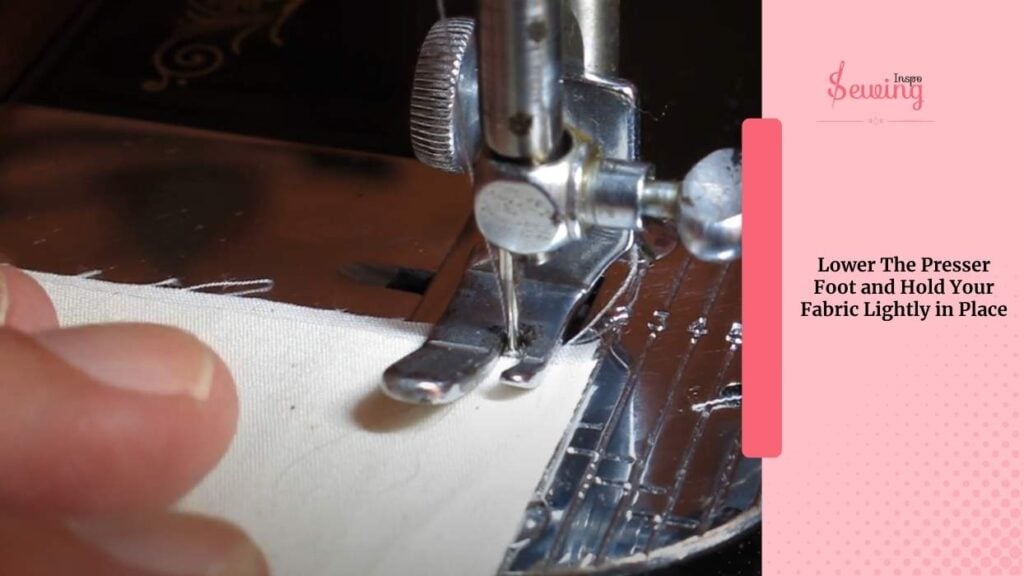
Hit the reverse button (or lever, depending on your machine), and sew backwards over those same 3 to 5 stitches. Release the reverse button and continue sewing forward along the seam as normal.
This back-and-forth creates a mini overlap of stitches. This is what “locks” the thread in place so it won’t unravel.
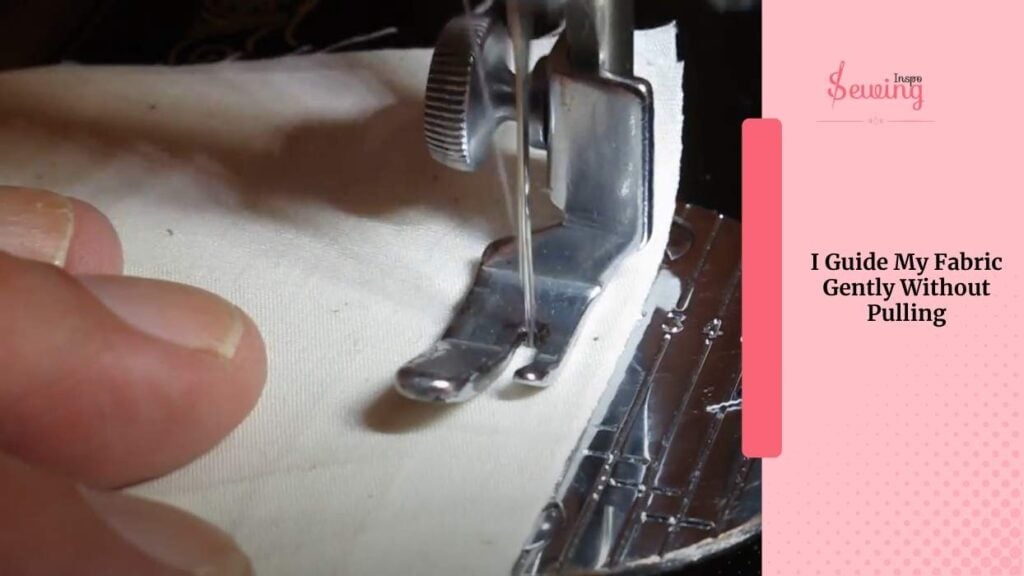
I Guide My Fabric Gently Without Pulling
I guide my fabric gently without pulling or pushing, letting the feed dogs do the work. I watch the edge of my fabric and keep it lined up with the seam guide on the needle plate for a straight line.
If I’m sewing something slippery (like silk), I’ll lower the stitch length slightly (maybe to 2.0mm), and if I’m topstitching, I might increase it to 3.0mm for better visibility. unlike top stitch sewing machine.
Locking the End of the Seam
When I near the end of the seam, about ½ inch from the edge. I stop and prepare to lock it off. Sew until you’re just before the fabric ends.
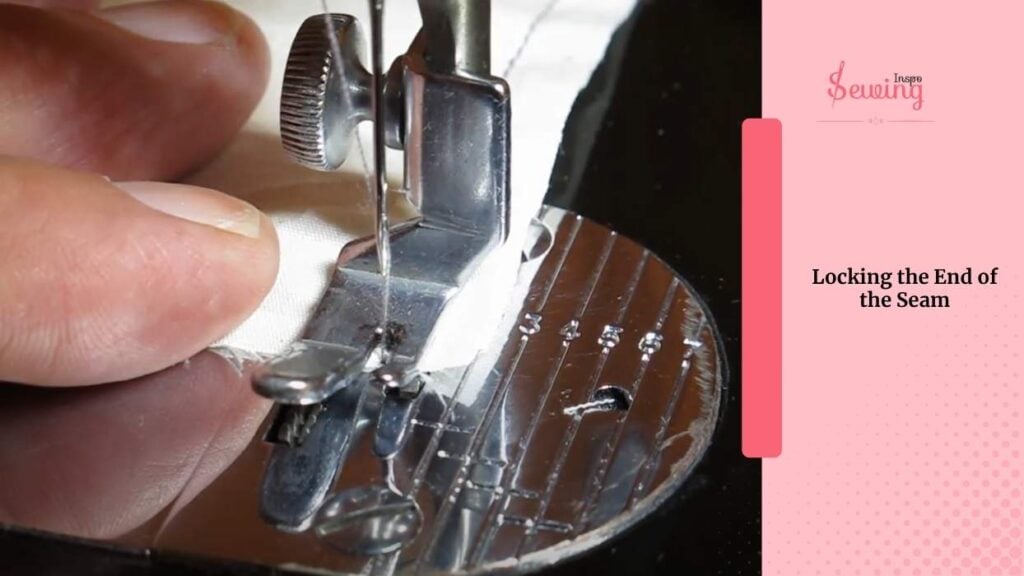
Hit the reverse button again and sew backwards 3–5 stitches. Release the button and sew forward right to the edge. Now, just like the beginning, the end of my seam is locked down securely.
Finish Up Lock Stitch With The Thread Take-Up Lever
I make sure the thread take-up lever is at the top (the little hook that moves up and down). If it’s not, the machine may not have fully formed the last stitch, and I might end up fighting with the thread.
Then, I lift the presser foot and gently pull the fabric out toward the back of the machine. Finally, I snip the threads, leaving about 2–3 inches of thread tail.
And that’s it! You got your lock stitch on your sewing machine.

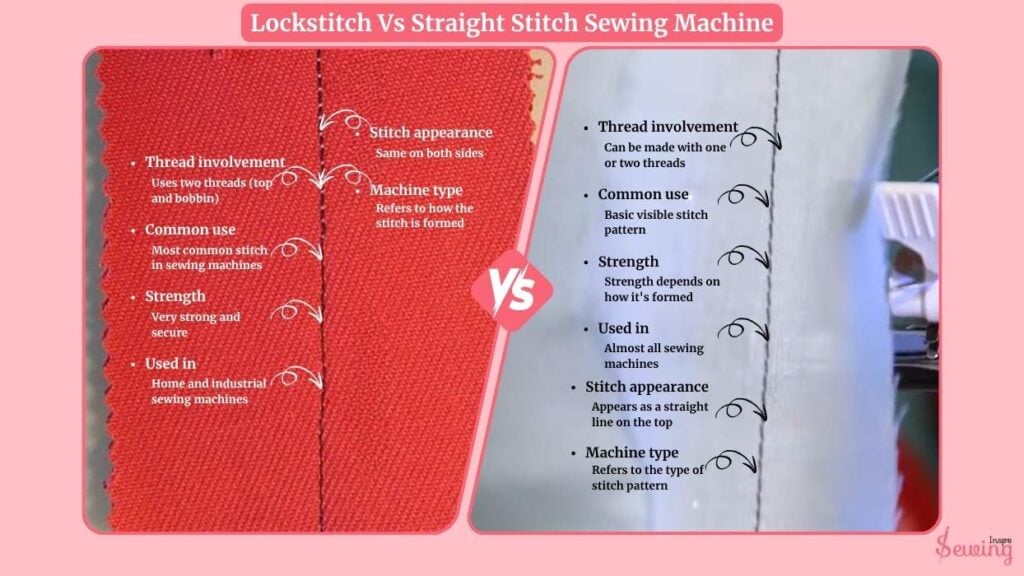
Lockstitch Vs Straight Stitch Sewing Machine
Some newbies actually mix both stitches. Cause it looks the same at first glance. But the reality is different.
A lockstitch is a type of stitch formed by two threads locking together, while a straight stitch is the actual stitch pattern.
But rather than that, there are a few more differences in era,
| Feature | Lockstitch | Straight Stitch |
| Thread involvement | Uses two threads (top and bobbin) | Can be made with one or two threads |
| Common use | Most common stitch in sewing machines | Basic visible stitch pattern |
| Strength | Very strong and secure | Strength depends on how it’s formed |
| Used in | Home and industrial sewing machines like an interlocking stitch. | Almost all sewing machines |
| Stitch appearance | Same on both sides | Appears as a straight line on the top |
| Machine type | Refers to how the stitch is formed | Refers to the type of stitch pattern |
Frequently Asked Questions
How many stitches do I need to lock with?
I usually go with 3 to 5 stitches forward and backward. That’s just enough to secure the seam without making it bulky.
Do all sewing machines have a lock stitch or reverse button?
Most modern machines do. If yours doesn’t have a reverse feature, you can manually turn the fabric around and sew back over those first few stitches to achieve the same effect.
Can I use a lock stitch on all fabrics?
Yes, but you might need to adjust your needle size and stitch length depending on the fabric. For example, light cotton likes a 70/10 needle and 2.0–2.5mm stitch length. Denim? Go with 90/14 and 3.0mm.
Final Thoughts
Locking your stitches might seem small, but it makes a big difference. It keeps your seams from unravelling and gives your projects a clean, strong finish. Once you get the hang of it, it becomes second nature. Just a quick step that makes everything last longer.


Leave a Reply