
Okay, so the first time I saw the honeycomb stitch, I was like—wow, that looks fancy! The honeycomb looked to me. You know the kind that looks complicated but gives the fabric a cool, gathered effect? Yeah, that one.
So naturally, I had to try it. I did, and it turned out to be so easy, I mean you just gotta,
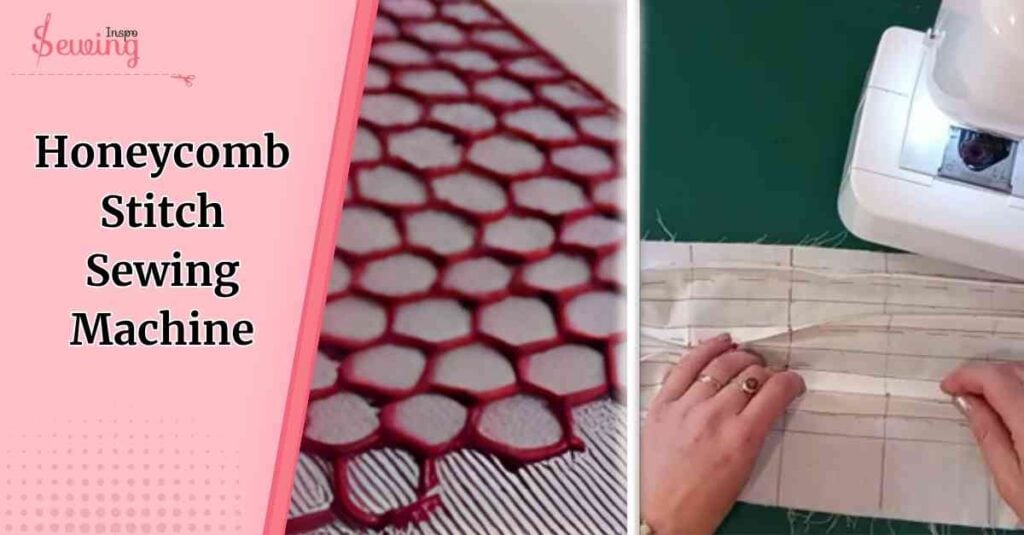
Honeycomb Stitch
To do a honeycomb stitch on a sewing machine, select the honeycomb stitch setting, use a ballpoint needle and stretch thread, and sew slowly on stretch fabric for best results.
It looks so stunning. So I decided to note it down for Sewing Inspo readers.

Table of Contents
Can All Machines Do A Honeycomb Stitch?
Not all sewing machines can do a honeycomb stitch. And I found that out the hard way when I tried looking for it on my old basic model. 😅
You’ll usually need a computerized or advanced mechanical sewing machine that has built-in decorative stitches. The honeycomb stitch often appears as a zigzag with crossing lines or is sometimes simply labelled by name in the stitch menu.

So, if your machine has multiple stretch or decorative stitch options, refer to the manual or stitch chart. It might be hiding there. Sometimes it’s also used as a catch stitch sewing machine, so also do a check on that.
And if it’s not?
Don’t worry, you can still mimic the effect using a triple zigzag stitch on some machines. But that will take some trick.
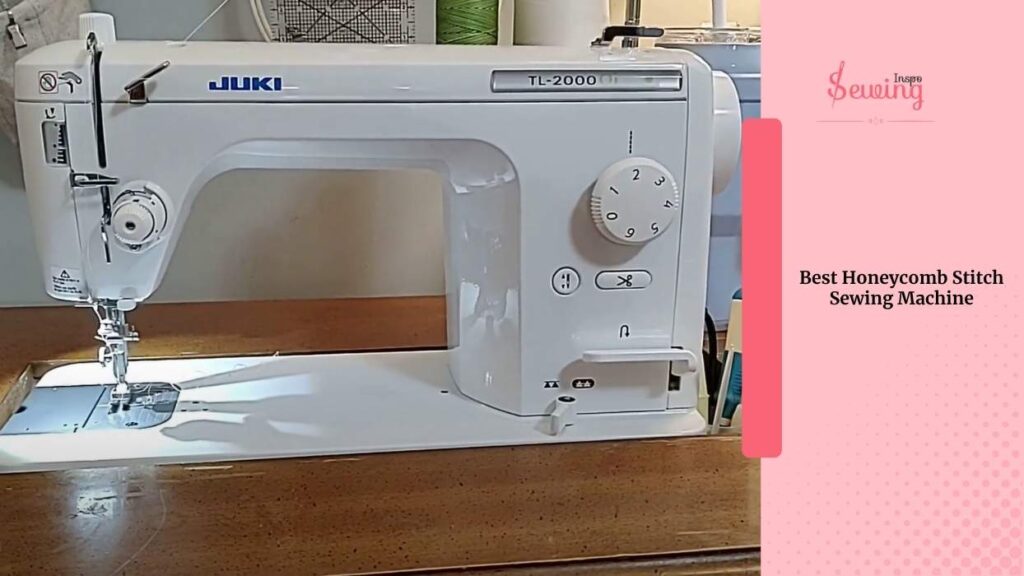
Best Honeycomb Stitch Sewing Machine
Wait! Don’t feel lost if you don’t find a honeycomb on your machine. Just buy one if you don’t wanna go through the hassle. I look for a machine that handles long straight stitches and gives me good control over fabric movement.
Most machines don’t come with a built-in “honeycomb stitch,” But that’s okay. You really just need one with a reliable straight stitch and a decent range of stitch settings. If it can manage lightweight fabrics and stitch consistently, you’re all set for that gathered, stretchy honeycomb effect!
Some Honeycomb Stitch Sewing Machine
The texture looks fancy but is super practical once you get the hang of it. Here’s what I’ve learned from using different machines that handle honeycomb stitching beautifully:
- Brother CS7000X
- Janome 4120QDC
- Singer Quantum Stylist 9960
- Bernina 335
I usually set my stitch width around 3.5 and length between 2–3, depending on the fabric stretch. Once you try it, you can Computerized sewing machine. You’ll see how that little honeycomb texture can instantly make your projects look professionally finished.
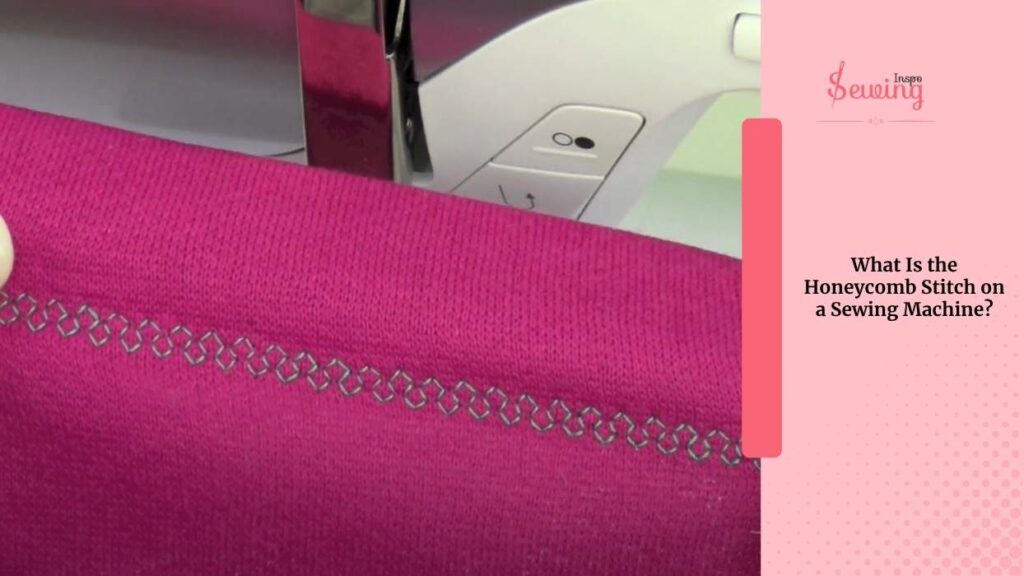
What Is The Honeycomb Stitch On A Sewing Machine?
The honeycomb stitch resembles its name a pattern of small, interlocking hexagon-like shapes, similar to a honeycomb. It’s usually made using a zigzag motion where the Ball‐point needle moves side to side in a repeated, tight loop. This is more visible than a chainstitch embroidery machine.
What Is Honeycomb Stitch Used For?
The honeycomb stitch sewing is mainly used in smocking to create stretchy, decorative gathers on fabric. It’s commonly seen in children’s clothing, vintage dresses, and heirloom sewing. This kinda gives of cutwork machine embroidery designs look.
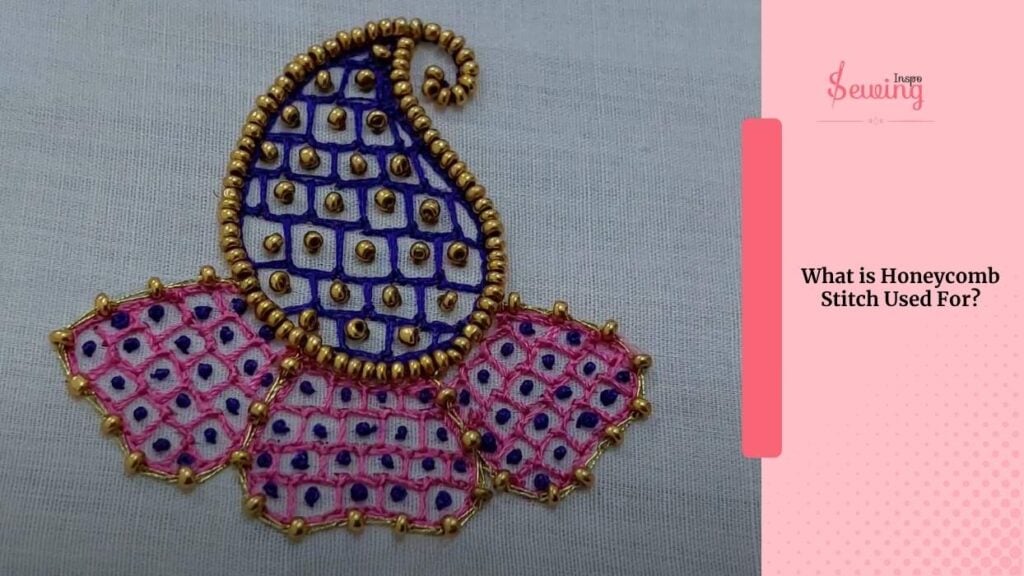
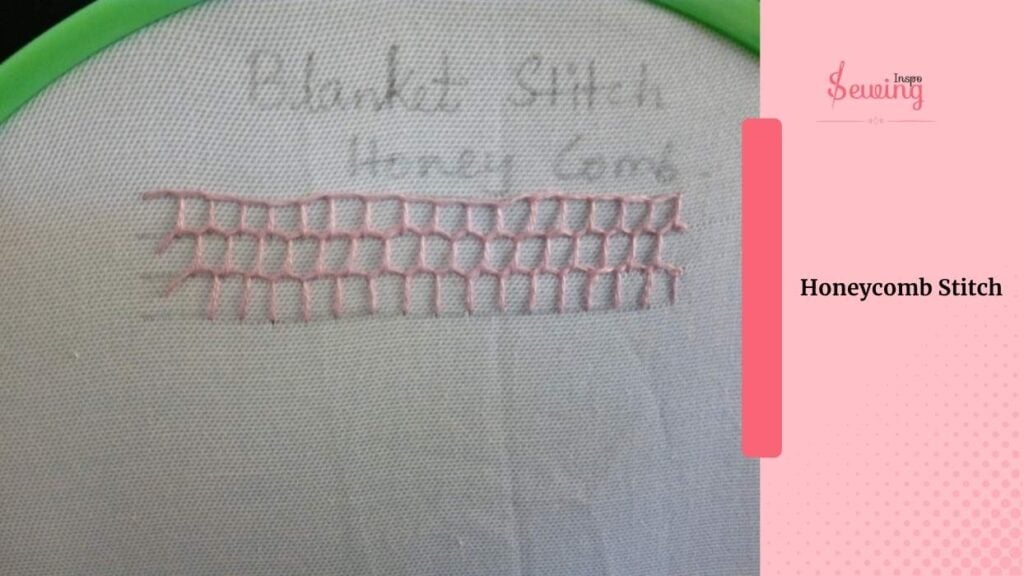
The stitch forms a repeating diamond or hexagonal pattern, resembling a honeycomb. It adds both texture and visual interest to a sewing project.
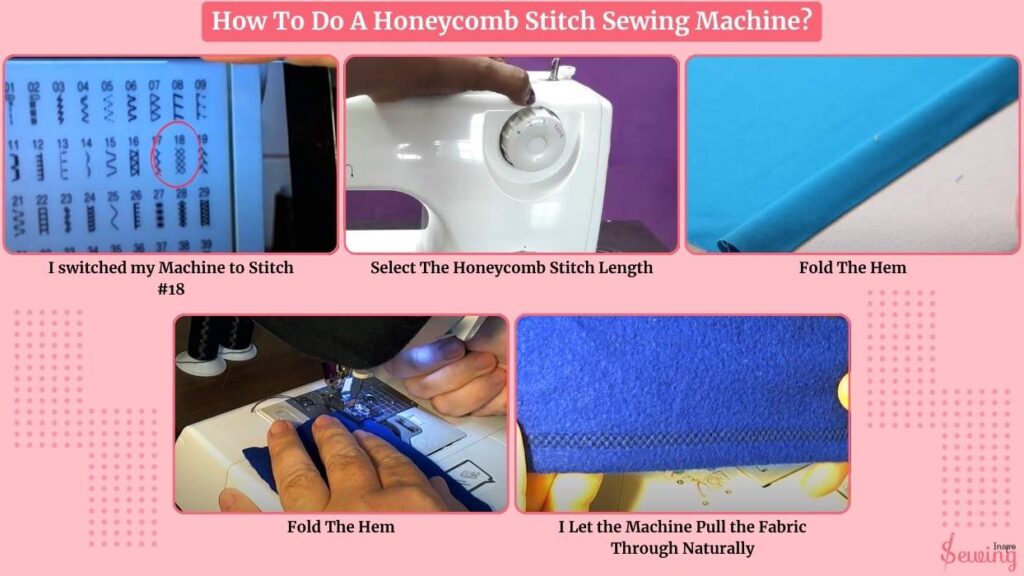
How To Do A Honeycomb Stitch Sewing Machine?
To do a honeycomb stitch on a sewing machine, follow the steps,
Honeycomb Stitch Sewing Machine Tools
When I’m doing a honeycomb stitch on my sewing machine, having the right tools makes all the difference. I always keep:
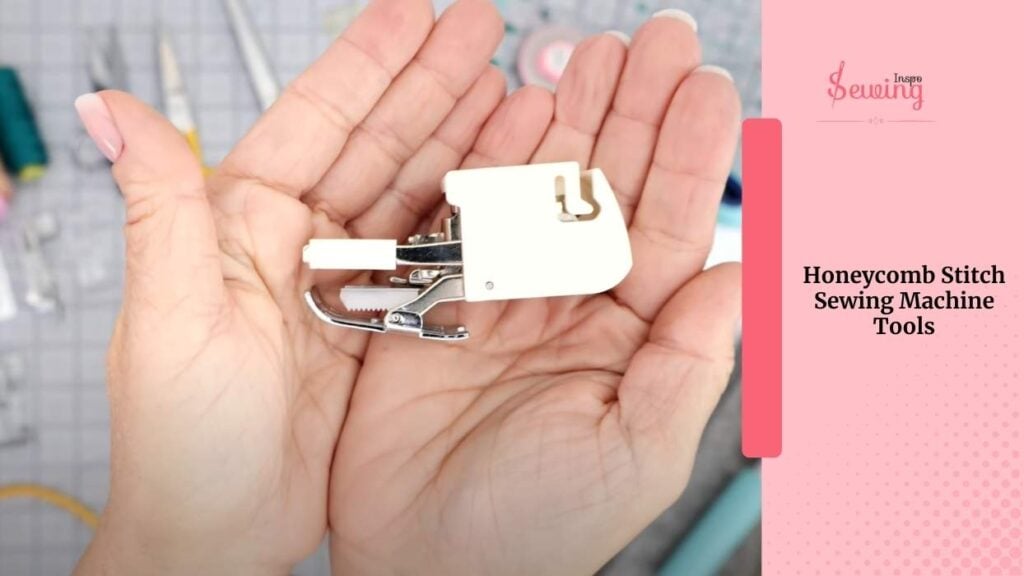
- Honeycomb presser foot
- Twin needles or specialized needles
- Matching thread
- Fabric stabilizer or interfacing
With these tools ready, creating a precise and attractive honeycomb stitch becomes much smoother and more fun, like a coverstitch machine.
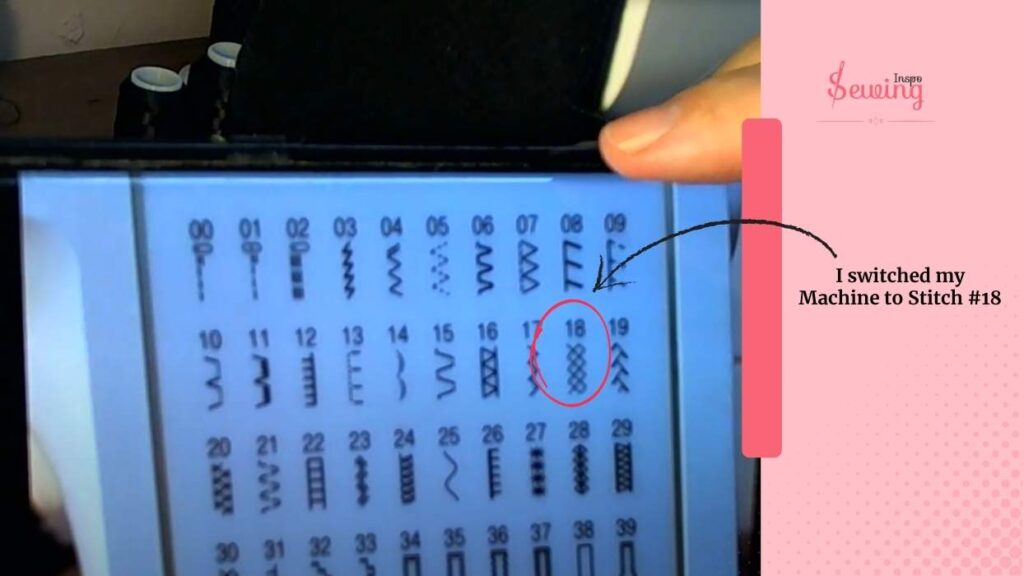
I switched my Machine To Stitch #18
I switch my machine to Stitch #18, which is the honeycomb stitch. This one’s got such a neat, dimensional look. It’s like little zigzags stacked side by side. So that it looks like needlework for dresses with honeycomb pattern.
But they criss-cross in a way that gives you this tight, stretchy weave. Then
I use a ballpoint needle (Size 75/11 or 80/12). Since I’m working with fleece, I want something that glides between the fibers instead of piercing them like a sharp needle would
Select The Honeycomb Stitch Length
Before I even hit the pedal, I make a few important adjustments to get that perfect balance of stretch and definition:
I set it to 6 mm to get that nice, wide coverage across the hem. You can go narrower, but 6 mm gives that professional finish for honeycomb stitching.
Then,
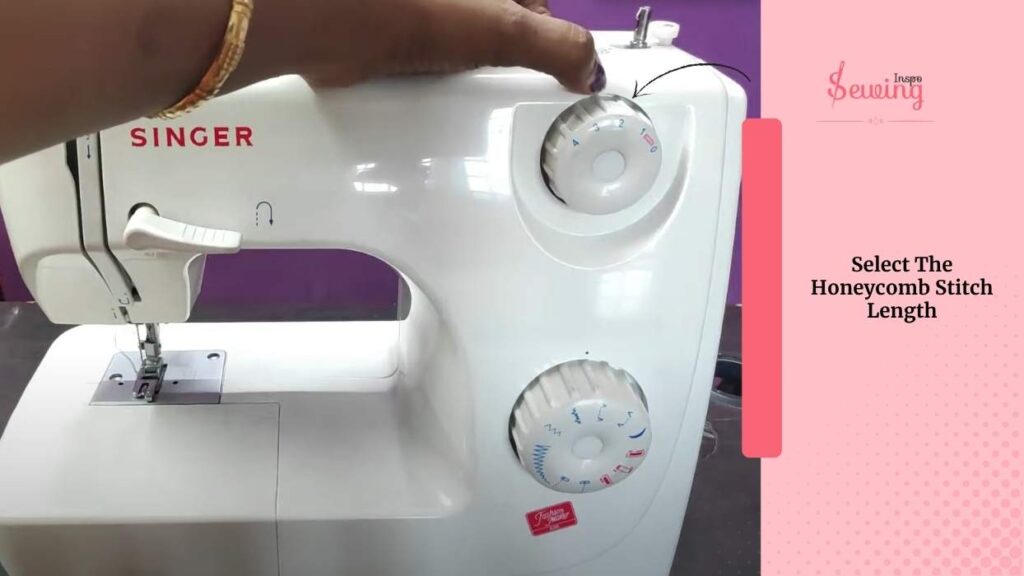
I go for 2 mm. That keeps the stitches nice and close together. It is great for stretching and for locking in the edge securely.
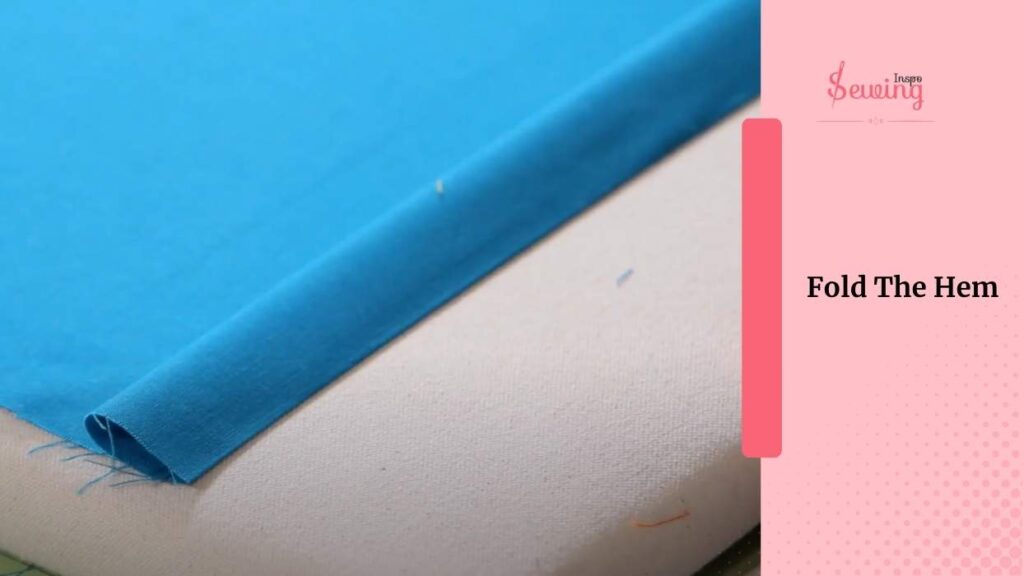
Fold The Hem
For the actual hem, I usually go with a 1-inch fold. I’m doing it in fleece, so I don’t stress too much.
Anything from ½ inch to 1¼ inches works fine depending on the look I want. Press it lightly so it stays in place, and then slide it under the presser foot.
I like to use a universal Decorative presser foot. But if your machine comes with a decorative stitch foot, that’s even better. It has a groove underneath that helps feed bulkier stitches without snagging.
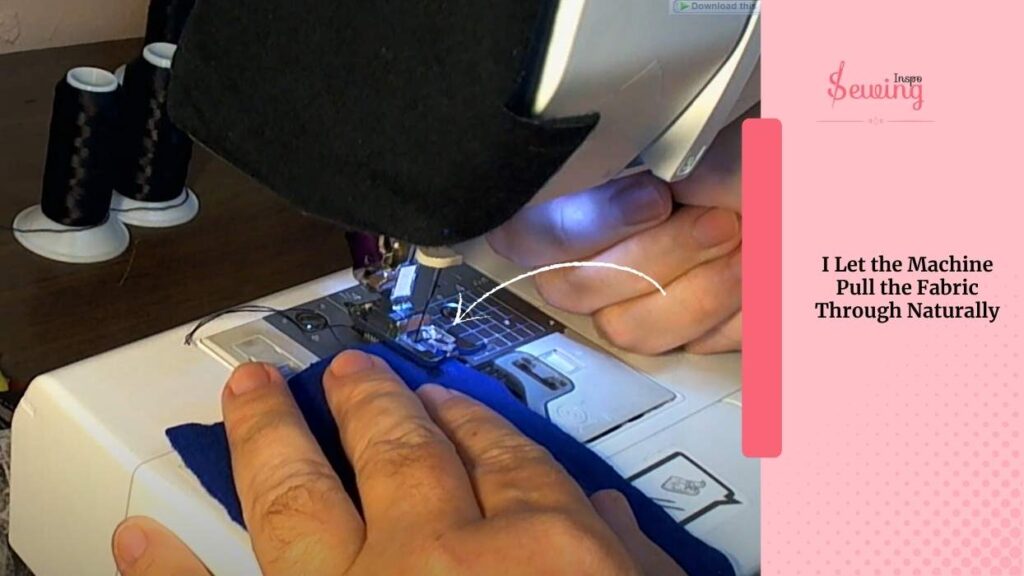
I Let The Machine Pull The Fabric Through Naturally.
I don’t rush. I let the machine pull the fabric through naturally. I’m not yanking or pushing.
Just gently guiding it along the hem edge. The honeycomb stitch takes a little longer to sew due to its layered movement, but the result is truly worth the wait!
As it seems, you can actually see the stitch form, kind of a soft, braided pattern that hugs the fabric. It holds the hem down firmly without making it stiff, and better yet, it stretches with the fleece.
No popped seams, no stiffness, just a flexible, polished edge that looks almost like a commercial finish. Once I reach the end, I backstitch just a couple of stitches to secure it, then trim the threads.
Boom—done. And it looks like I bought it off a rack. 🙌

Tips from my experience:
I usually stop every few inches just to double-check that everything is feeding smoothly, especially when working with thick fleece or seams.
If you’re still unsure about anything, or need a few steps, then watch this video tutorial.
Sewing method, Honeycomb hem on fleece!
Honeycomb Smocking Pattern
A honeycomb smocking pattern is a classic way to create textured, stretchy designs on fabric, often used on cuffs, bodices, and decorative panels. The pattern gets its name from the small, diamond-shaped “cells” that form, resembling a honeycomb.
How honeycomb smocking pattern works:
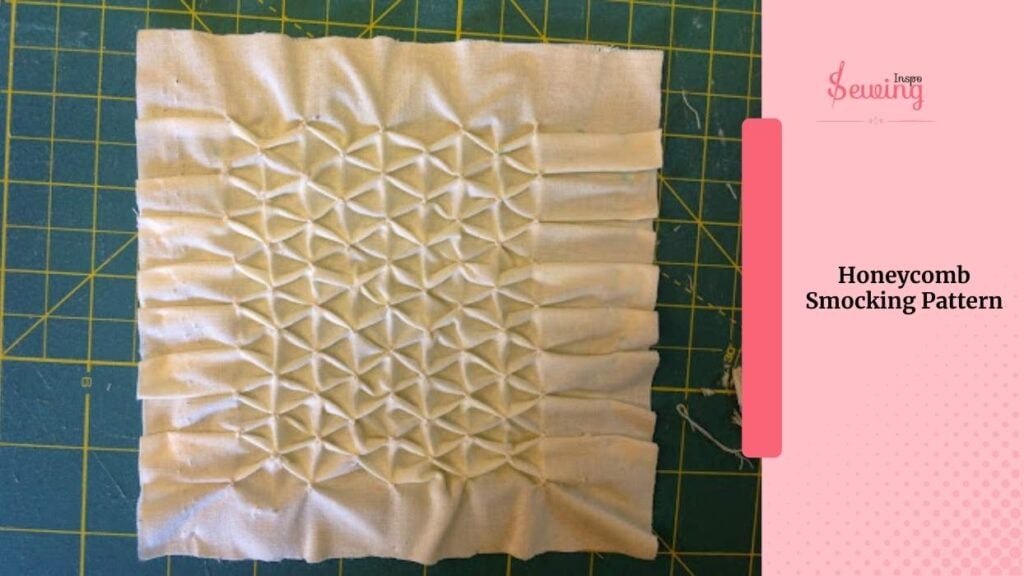
- Fabric is marked with evenly spaced dots or a grid.
- Threads are stitched through these points in a specific crisscross sequence.
- When pulled, the threads gather the fabric into a honeycomb-like texture.
Frequently Asked Questions
What kind of needle and thread should I use for the honeycomb stitch?
If you’re sewing on stretch fabrics like fleece or jersey, I recommend a ballpoint or stretch needle (size 75/11 or 80/12) and polyester thread for a flexible, clean finish.
Is the honeycomb stitch good for stretch fabrics?
Yes! The stitch has natural give, so it works great on knits and fleece where you need a seam that moves with the fabric.
Can I use a honeycomb stitch for hemming?
Yes, you can use it to hem fleece garments. It gives a professional finish and looks nicer than a plain zigzag or even the reverse side of a coverstitch!
Warp Up
That’s how you can do honeycomb stitch sewing machine!
It actually gives the real honeycomb vibe, which is why I love it.
Did you try it yet? If yes, then feel free to share it with us.


Leave a Reply