
I thought a zigzag stitch and a cross stitch were basically the same thing. After all, they both crisscross the fabric, right?
But once I sat at my machine, I quickly realized they’re completely different. They basically differ in like-
Cross Stitch On Machine
The zigzag stitch is that trusty friend who moves side to side in neat little V shapes. The cross stitch makes tiny Xs across the fabric.
Not all sewing machines can do it. However, on modern sewing machines, there’s often a decorative “cross stitch” setting that mimics this look.
So while they may look like cousins at first glance, zigzag and cross stitch each bring their own personality and purpose to your sewing projects.
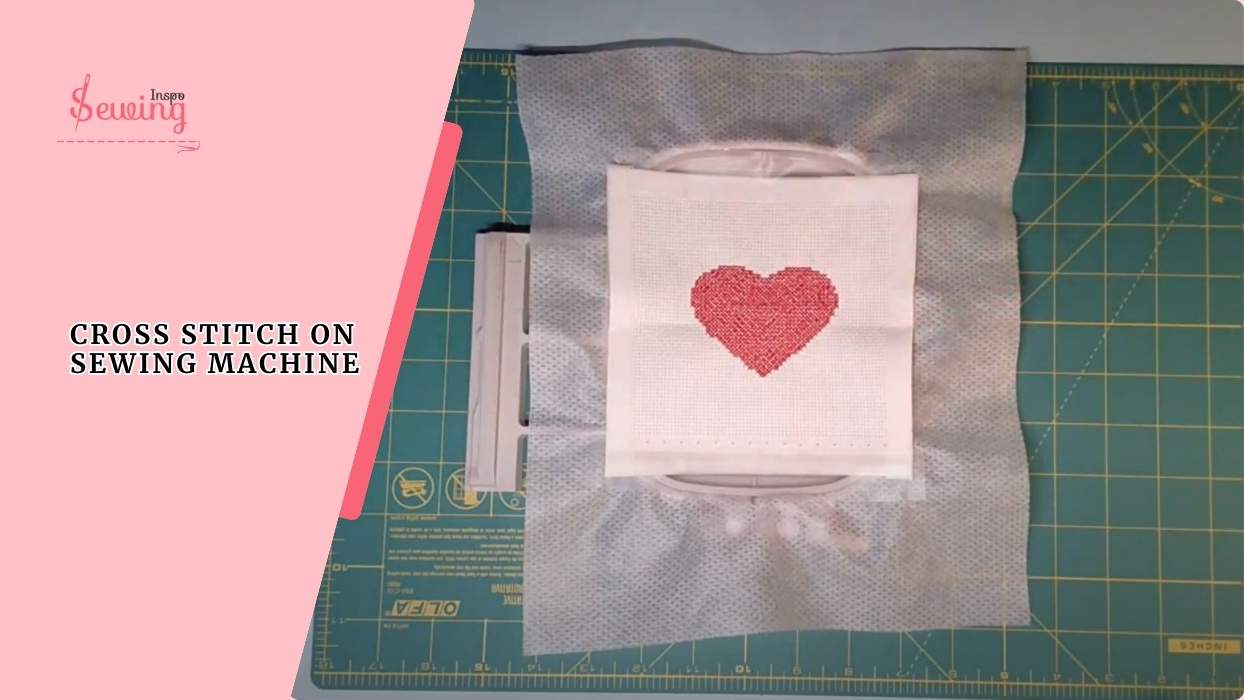
Table of Contents
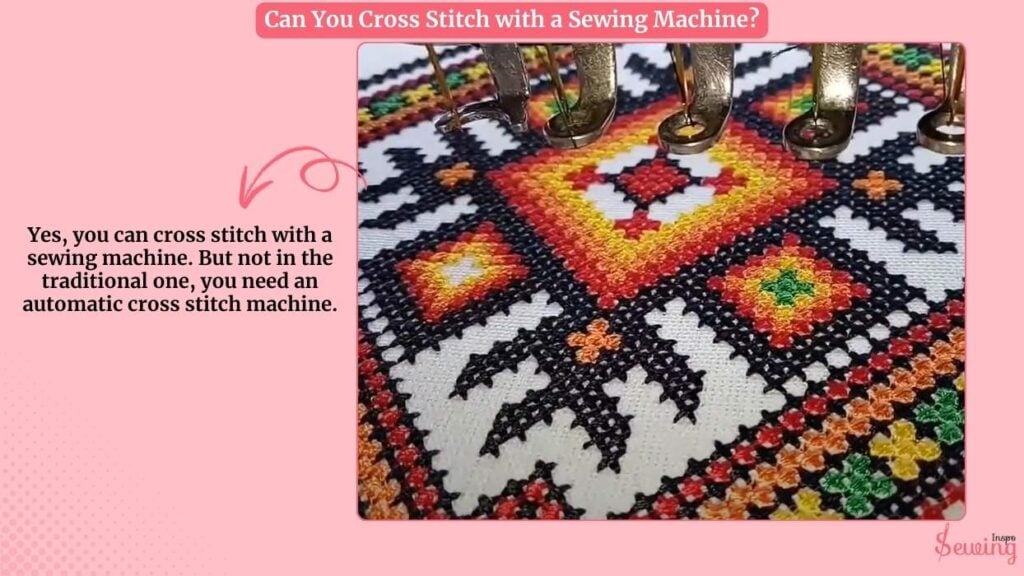
Can You Cross Stitch With A Sewing Machine?
Yes, you can cross stitch with a sewing machine. But not in the traditional one, you need an automatic cross stitch machine.
Most modern sewing machines come with a decorative cross stitch setting that automatically stitches little “X” shapes into your fabric. It’s quicker and more uniform than hand cross stitch.
However, it doesn’t achieve the same textured, handmade look.
So, if you’re after speed and consistency, the machine can handle it. However, if you want that authentic, dimensional cross-stitch charm, hand stitching still wins.
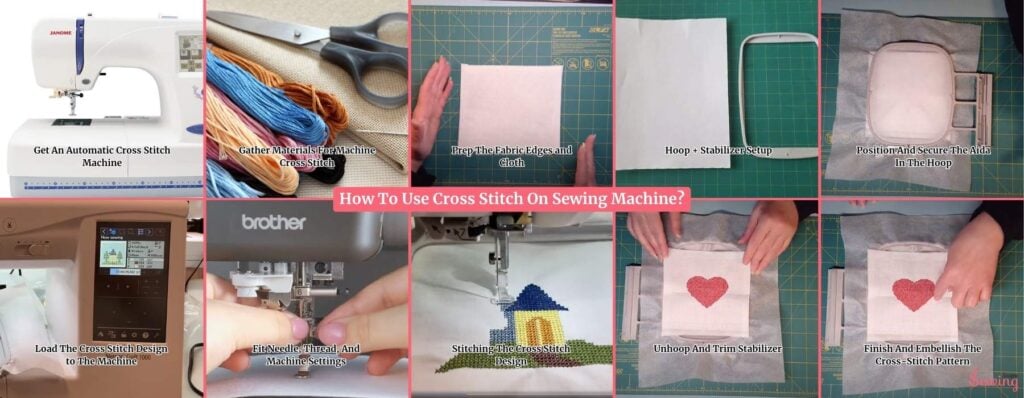
How To Use Cross Stitch On Sewing Machine?
To do cross stitch on a sewing machine, follow the below 9 steps below-
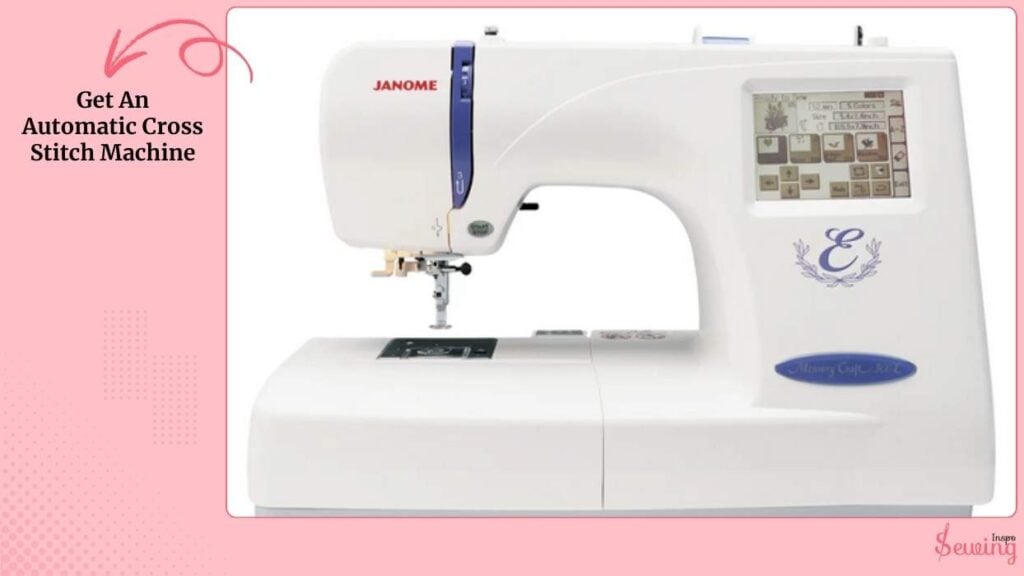
Get An Automatic Cross Stitch Machine
An automatic cross stitch machine saves you time, energy, and effort. You dont have to stitch for weeks, the machine finishes your design in hours.
It gives you perfect, even stitches every time, lets you load or pick from digital patterns, and spares your eyes and fingers from the strain of traditional hand stitching.
That’s why it is clever to get an automatic cross-stitch machine.
Gather Materials For Machine Cross Stitch
I grab an 18-count Aida cloth. However, it is recommended to give a hand-stitched look, using a 4×4 hoop or larger if your design requires it.
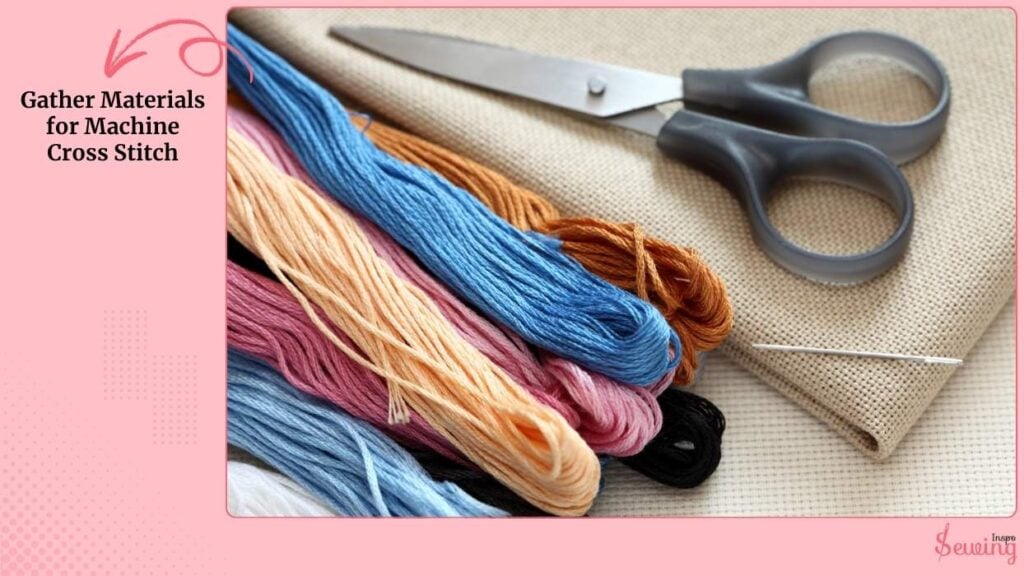
I use 40-weight embroidery thread, a 75/11 sharp embroidery needle, poly/no-show mesh stabilizer, and embroidery tape to prepare to zigzag the edges.
I also have my USB stick or wireless setup ready to transfer designs to the machine.
Prep The Fabric Edges And Cloth
I cut my Aida to size and finish the raw edges so they don’t fray while stitching.
I either stick embroidery tape around the edges or do a light zigzag stitch. I iron the Aida first.
It softens and makes the cloth more malleable, and I choose a cloth color (cream/neutral is great if you want a vintage, hand-stitched look).

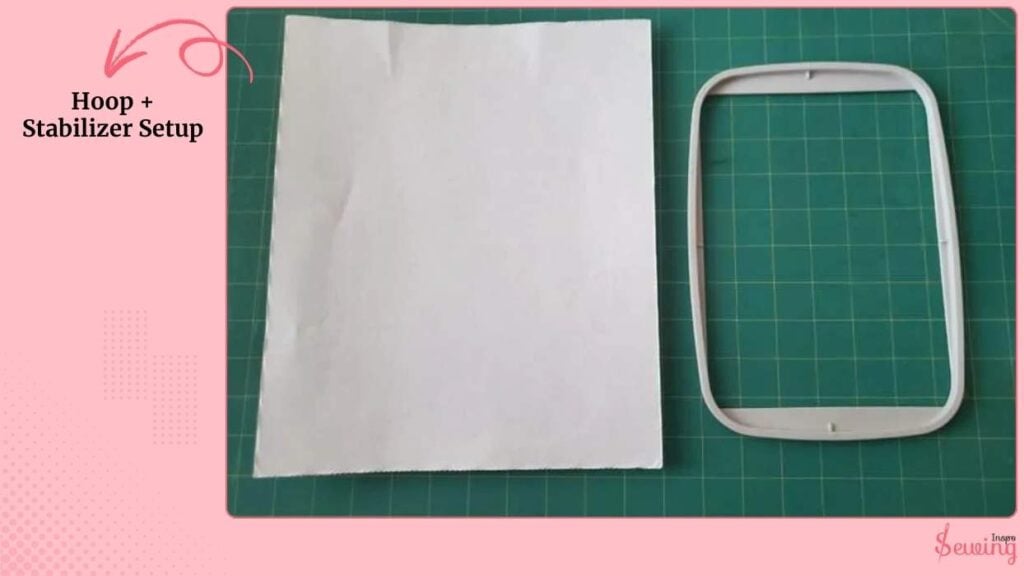
Hoop + Stabilizer Setup
I hoop my stabilizer and optionally attach the Aida by taping the top and bottom edges rather than fully tightening it into the hoop.
This avoids hoop-burn on the Aida and gives a bit of movement for perfect alignment. For small designs I use a 4×4 hoop; for bigger work I stitch in blocks or re-hoop as needed.
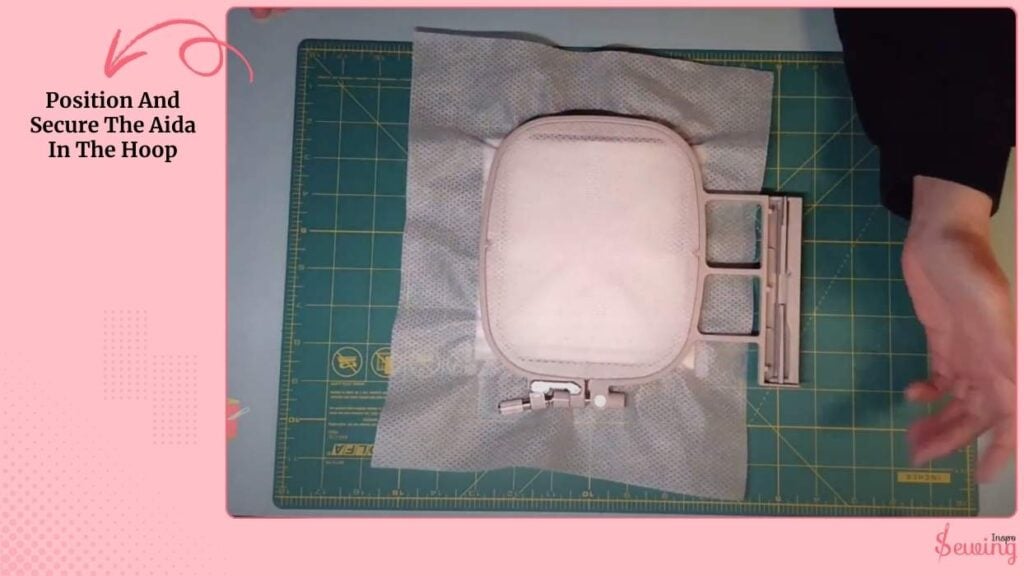
Position And Secure The Aida In The Hoop
I place the prepared Aida into the hoop area and tape the top and bottom with extra narrow tape to hold it flat against the stabilizer.
If the design is fully inside a small hoop, I can hoop normally, but for designs near the edge, I prefer taping so nothing stretches oddly.
Load The Crosstitch Design To The Machine
I choose or create the design (cross-stitch files or converted clip art) and load it to the machine via USB or wirelessly.
If I want text (name/date), I use the machine fonts or add it in software before saving the file. I always check the design size against my hoop and Aida count.

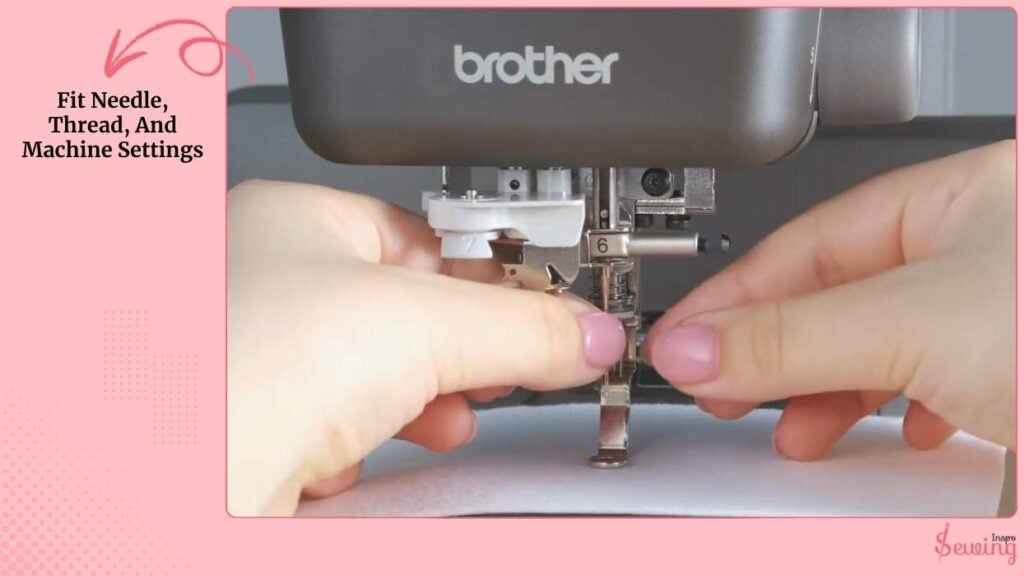
Fit Needle, Thread, And Machine Settings
I thread the machine with 40-wt embroidery thread and fit a 75/11 sharp embroidery needle.
I set my stitch speed moderately (you can run faster once you’re confident) and ensure my bobbin is full. For Aida, I keep the tension and density settings conservative.
Test first on a scrap.
Stitching The Cross Stitch Design
I start the machine and watch the first few passes.
For reference, a small 4×4 heart crosstitch design at 600 stitches/min took about 8 minutes to stitch out. If you run it at 700 spm, it runs closer to 7 minutes.
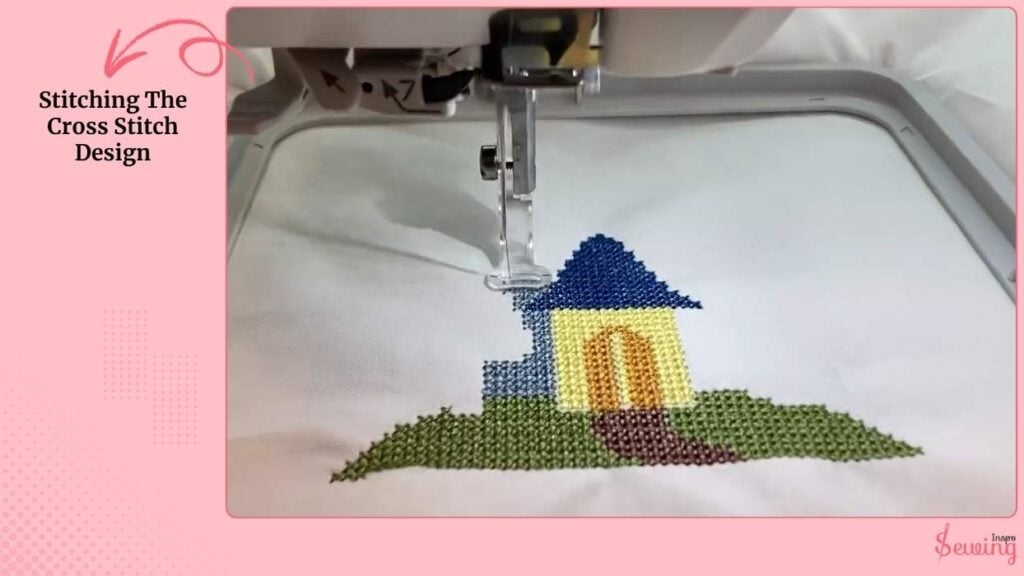
So expect a few minutes for small blocks. I keep an eye on hoop alignment and thread breaks; if anything looks off, I stop and fix it. That’s the beauty of machine stitches.
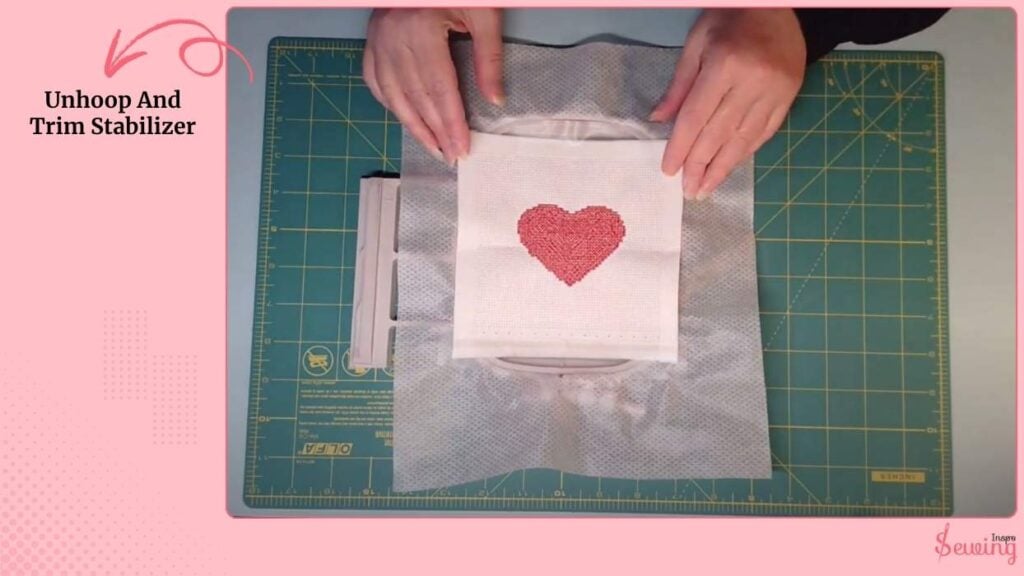
Unhoop And Trim Stabilizer
Once the stitchout is finished, I remove the hoop, carefully trim the stabilizer leaving a small margin, and for permanent stability, I may leave a bit of poly mesh in place.
I trim the Aida close to the design with appliqué scissors if I plan to appliqué it later.
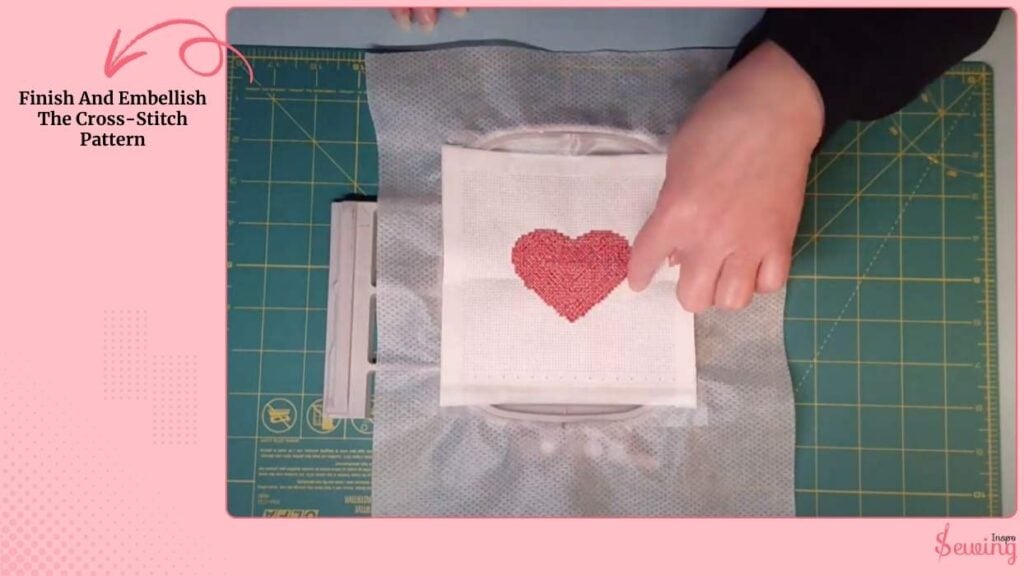
Finish And Embellish The Cross-Stitch Pattern
I can add a fabric border, lace, or quilt-block frame around the stitched block, or stitch it into a quilt label, mat, or mini pillow.
If I want to add names/dates I either stitch them during the machine run or use the machine’s lettering feature afterward. or use lock stitch sewing machine.
Cross Stitch Machine Embroidery Designs Free Download
Frequently asked questions
What fabric is best for machine cross stitch?
Aida cloth is the most popular, especially 18-count, because it closely mimics the look of hand cross stitch. But you can also stitch on quilting cottons if you prefer.
Do I need special thread?
You’ll want to use 40-weight embroidery thread (polyester or rayon). It gives the right sheen and durability for cross stitch designs on the machine.
Which needle works best?
A 75/11 sharp embroidery needle works better than a ballpoint. It punctures Aida cleanly and avoids loopy or uneven stitches.
Final Tips And Care
I always test markers, stabilizers, and thread colors on scrap first. So, press the finished piece gently and keep spare bobbins and needles ready.
If you want that “handmade” look, 18-count Aida + moderate stitch density will give you that vintage charm while saving tons of time with the machine.


Leave a Reply