
After the singer machine class, I got 100 more requests for the other machine demonstration. 😑 Of course, I can’t demonstrate all. So I had to pick one which is most asked.
After analysing all, I picked the brother sewing machine. Because it is the most talked-about one. So basically,
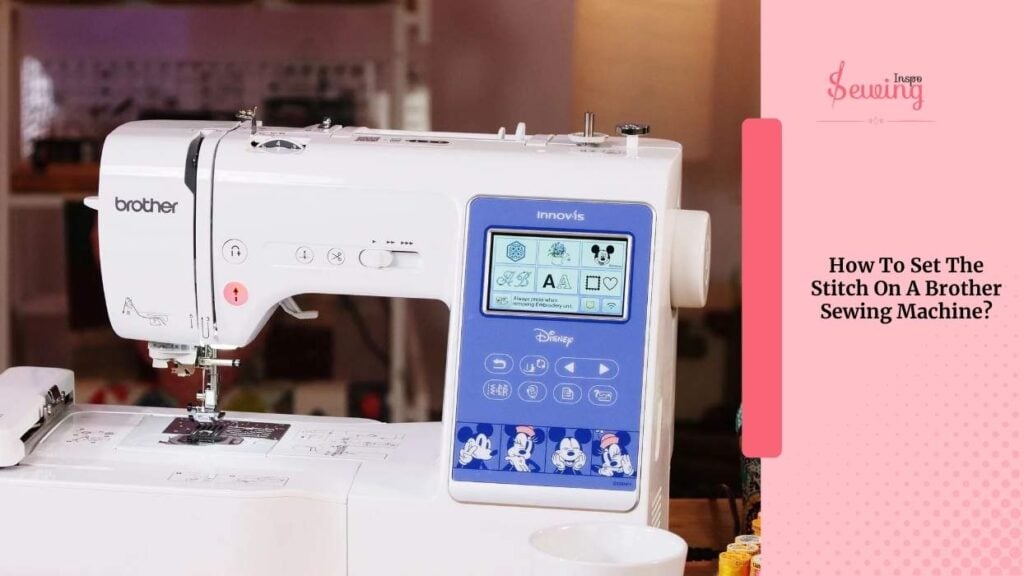
Brother Sewing Stitches
To use a Brother sewing machine stitches, select your desired stitch using the stitch selector, adjust length and width, thread the machine, then sew while guiding the fabric evenly.
Ok, but how to set the stitch on a Brother sewing machine? I knew this was coming, so here is the full demonstration.
Table of Contents
Brother Sewing Machine Stitch Settings
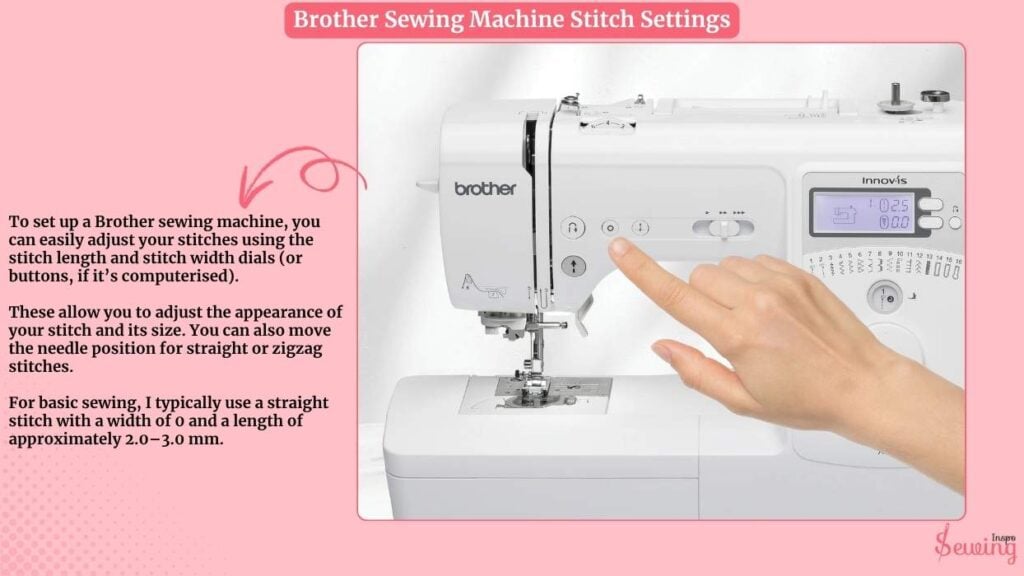
To set up a Brother sewing machine, you can easily adjust your stitches using the stitch length and stitch width dials (or buttons, if it’s computerised).
These allow you to adjust the appearance of your stitch and its size. You can also move the needle position for straight or zigzag stitches. You can also do a picot stitch on it.
For basic sewing, I typically use a straight stitch with a width of 0 and a length of approximately 2.0–3.0 mm.
That’s kind of the sweet spot for most fabrics. However, if I’m working on something fancy or decorative, I’ll experiment with wider stitches and varying lengths until it looks just right. Always test it out on a fabric scrap first—it saves a lot of frustration later!
Adjusting Stitch Length
This controls the length of each stitch.
- On dial machines: Just turn the stitch length dial. The higher the number, the longer your stitches.
- On computerised models: Use the “+” or “–” buttons on the screen to adjust the stitch length. That’s why it is considered as best sewing machine for quilting.
Adjusting Stitch Width
This setting controls the needle’s side-to-side movement during zigzag stitches. Use the width dial or buttons to adjust the zigzag to a wider or narrower setting.
Changing Needle Position
This lets you move the needle to the left (L), middle (M), or right (R).
- I usually keep it in the middle for regular sewing or twin-needle stitching.
- Shifting it left or right helps when you need to sew close to an edge or topstitch precisely.
It’s all about experimenting a little. Once you get a feel for how the length, width, and needle position work together, you can customize your stitches for just about any project.
How To Use The Brother Sewing Machine Stitches?
To use a brother sewing machine, follow the steps,

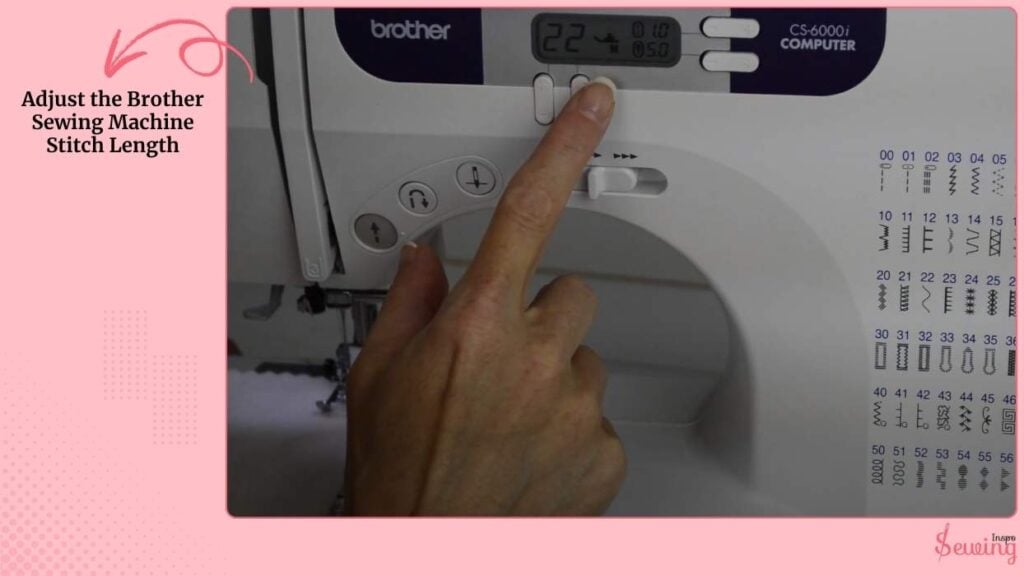
Adjust the Brother Sewing Machine Stitch Length
To adjust the stitch length on a Brother sewing machine, simply use the stitch length dial or the +/- buttons on your model. Easy right? That’s why i considered it one of the good sewing machine for beginners too.
Turning to a higher number gives you longer stitches, while lower numbers create shorter, stronger stitches (measured in millimeters). Use longer stitches for basting or gathering, and shorter stitches for durable seams that hold up over time.
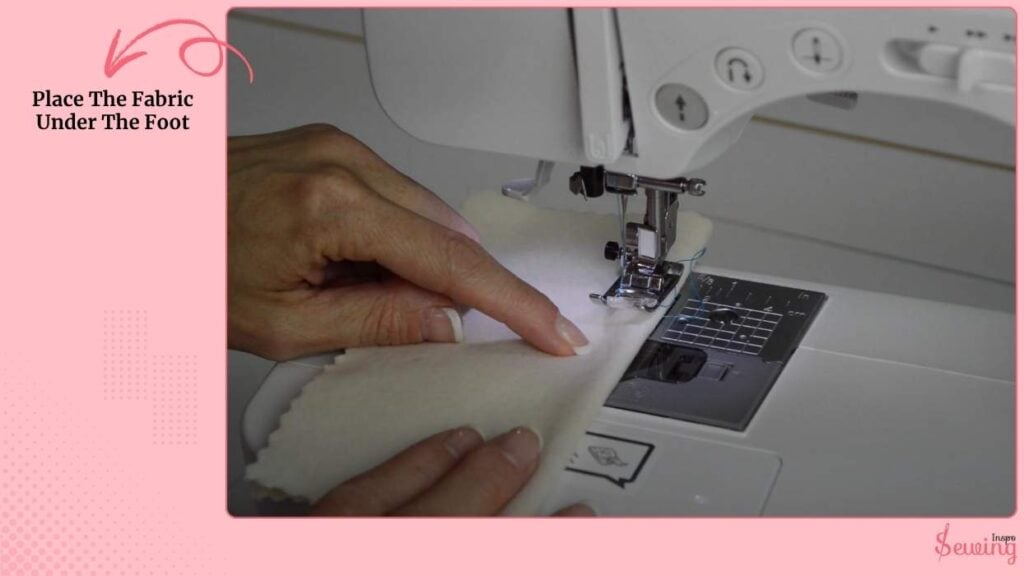
Place The Fabric Under The Foot
Place your fabric flat under the presser foot. You need to make sure the edge lines up with one of the seam guides on your needle plate. It will help keep your seam straight. Lower the presser foot gently to hold the fabric in place.
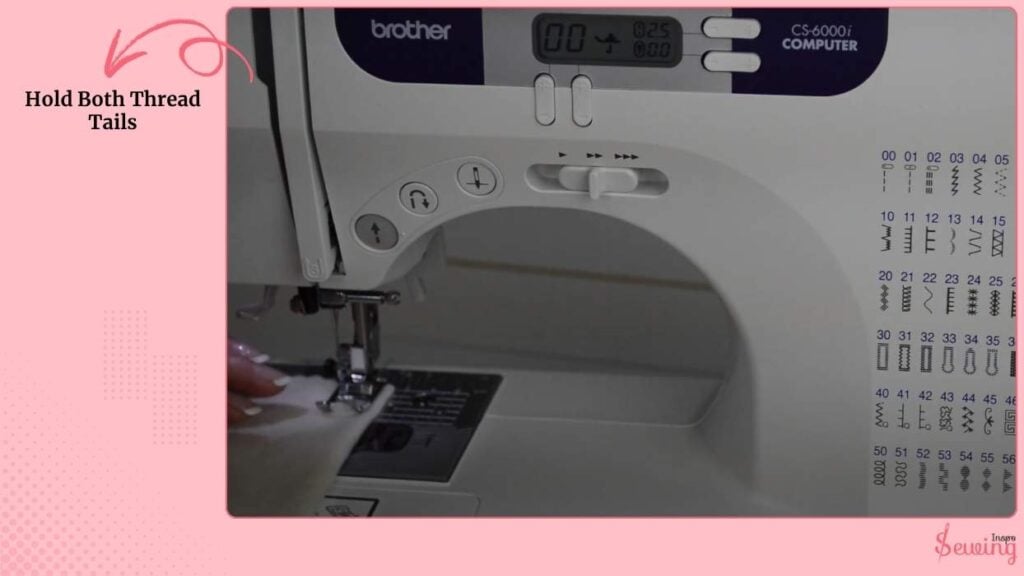
Hold Both Thread Tails
Hold both thread tails (top and bobbin) lightly behind the needle with your left hand. This prevents them from getting tangled or pulled into the machine. This thing trubble me on the coverstitch sewing machine too. That’s why i keep this thing clear.
Then, press the foot pedal slowly to start sewing. The machine will begin stitching smoothly. You don’t need to pull or push the fabric.
The feed dogs, those little teeth under the presser foot, automatically move the fabric forward for you. I do this for the topstitch machine, too.
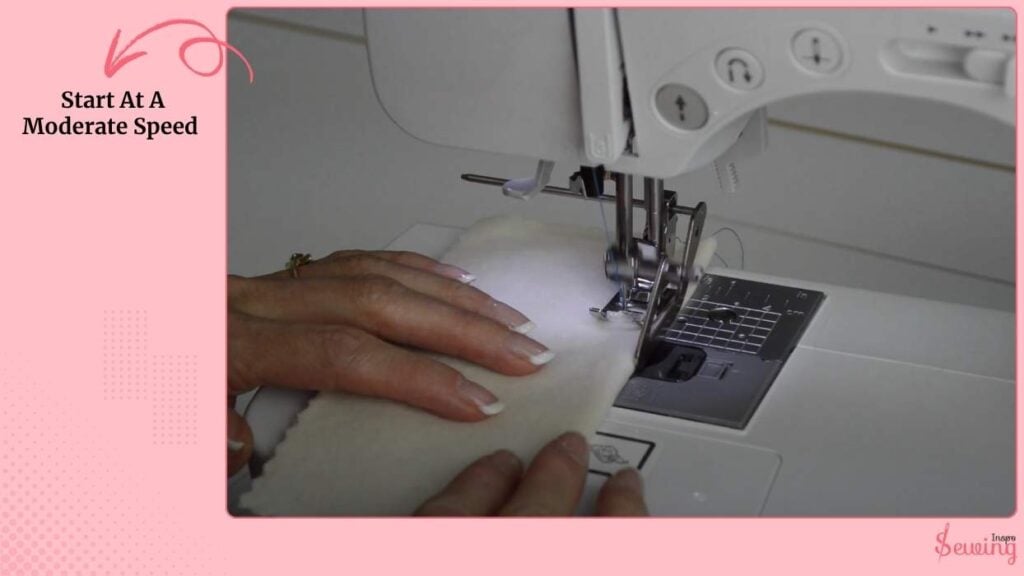
Start At A Moderate Speed
Start at a moderate speed, and once you’re confident everything is running smoothly, you can sew faster. If your machine has a speed control slider, keep it on “medium” until you get the feel of it.
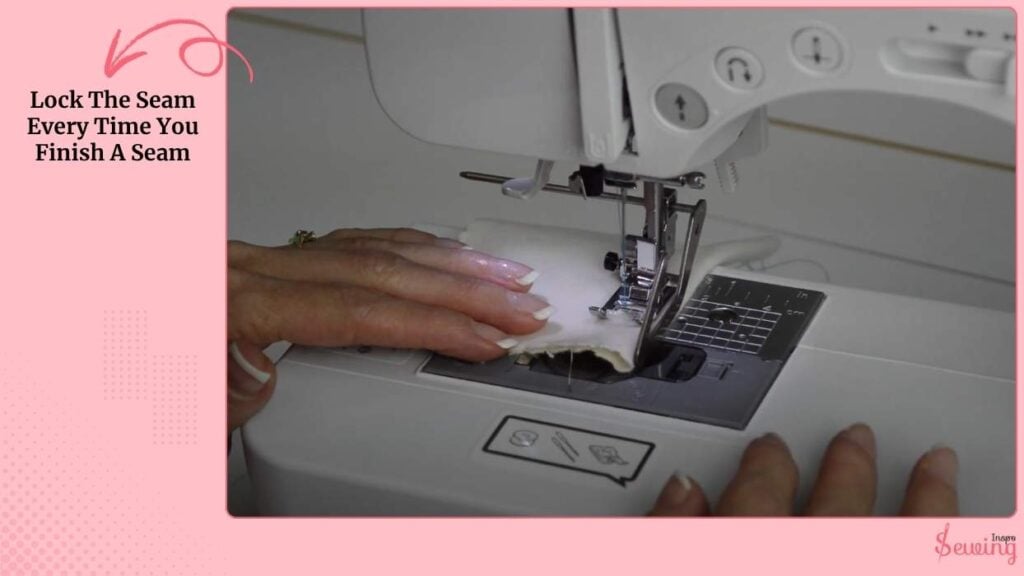
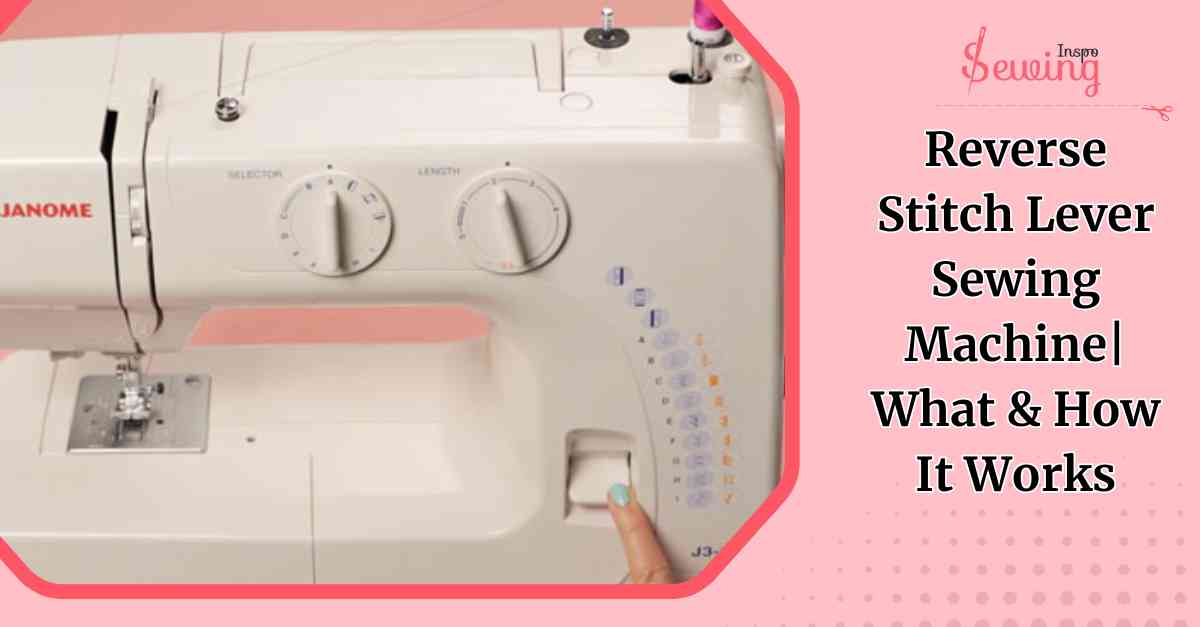
Lock The Seam Every Time You Finish A Seam
Every time you start or finish sewing a seam, you’ll want to “lock” it. This keeps your stitches from unravelling later.
To do that, simply use the reverse lever (or the reverse stitch button, depending on your Brother model).
Here’s how,
sew forward about 3–4 stitches, press and hold the reverse lever, sew backward a few stitches, then release it and continue sewing forward again. Do the same at the end of your seam.
Some Brother machines also have a needle-up/down button that helps you stop stitching neatly at corners. Using these controls gives your project a more professional finish and stronger seams.
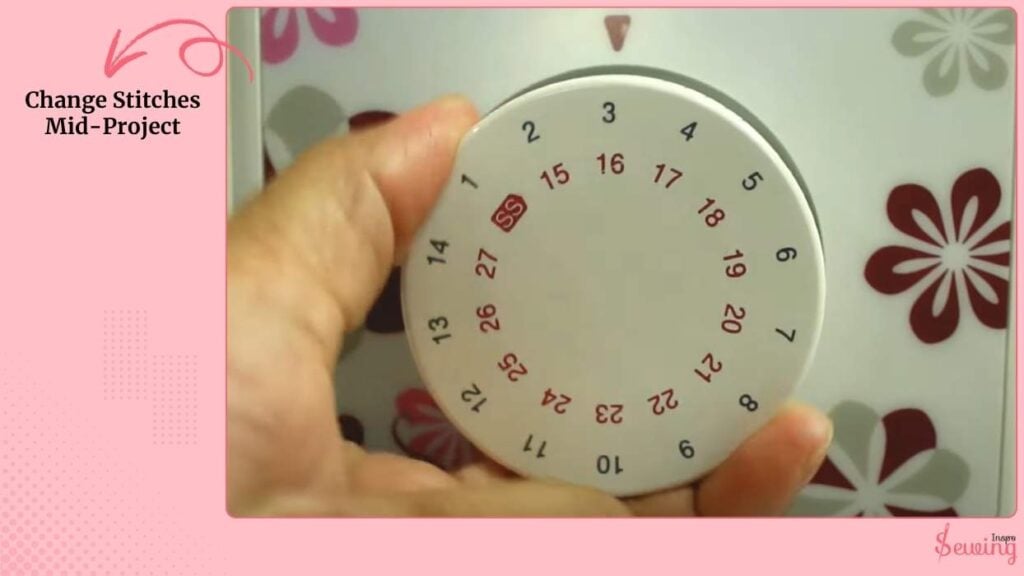
Change Stitches Mid-Project
If you’re switching from a straight stitch to a zigzag or decorative pattern mid-project, no problem!
Just stop sewing with the needle still in the fabric (this keeps your place). Then, raise the presser foot.
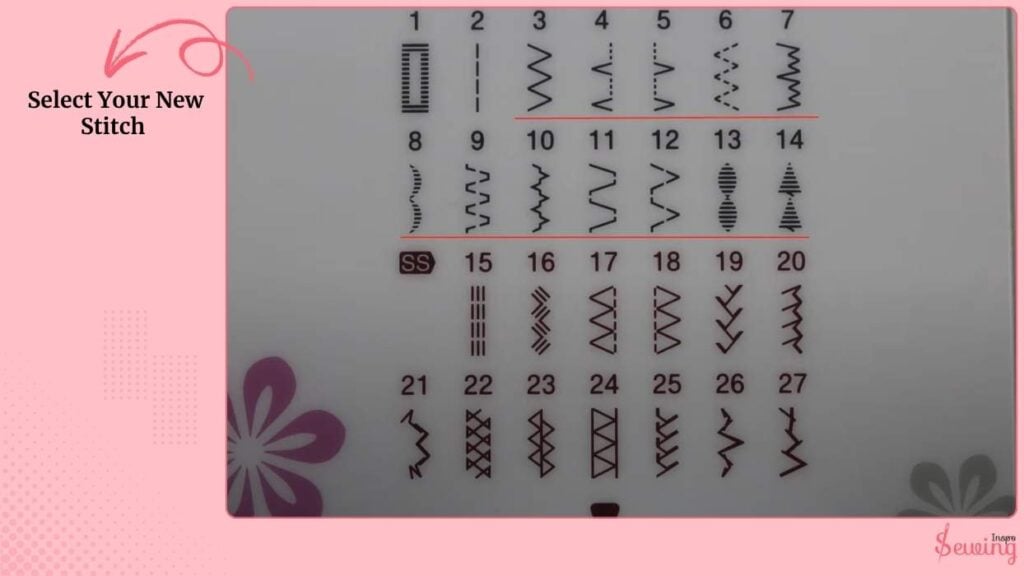
Select Your New Stitch
Next, select your new stitch on the stitch selector or digital screen. Adjust the stitch length and width based on your fabric type.
For example, a wider zigzag works great for edging, while a shorter length gives tighter stitches.
If the new stitch requires a different presser foot (like switching from a straight stitch foot to a zigzag foot), go ahead and change it.
Ensure your machine is turned off before removing or attaching a new foot for safety. That’s why you can also use it for a brother sewing machine stretch stitch.
Once you’re done, test the stitch on a scrap piece of the same fabric to make sure it looks right before continuing on your project.
Stop With The Needle In Its Highest Position
When you’re done sewing, stop with the needle in its highest position and lift the presser foot.
Gently pull the fabric back and away from the machine. Don’t tug too hard. Cut the threads using the built-in thread cutter on the side of the machine, or use a small pair of sewing scissors for a neat finish.
If your Brother model has an automatic thread cutter then press that button. It trims both the upper and bobbin threads instantly. After trimming, check that your seam looks even and locked at both ends.
Finally, give your project a quick press with an iron. It helps set the stitches and makes everything look crisp and professional.

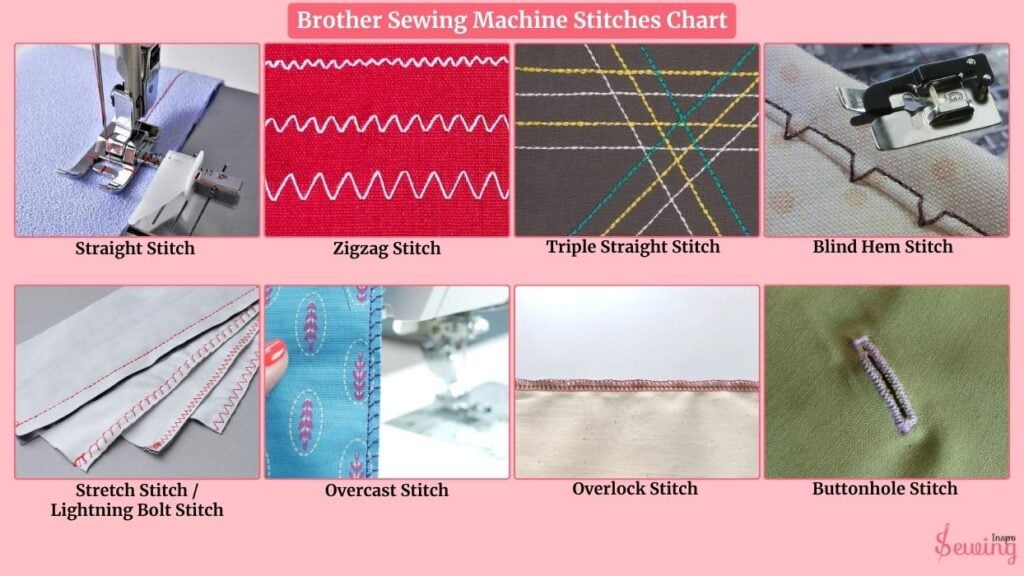
Brother Sewing Machine Stitches Chart
Brother sewing machines come loaded with a variety of stitches from simple straight lines to decorative patterns. It is designed for different fabrics and sewing needs. But most commonly found stitches are-
- Straight Stitch
- Zigzag Stitch
- Triple Straight Stitch
- Blind Hem Stitch
- Stretch Stitch / Lightning Bolt Stitch
- Overcast Stitch
- Overlock Stitch
- Buttonhole Stitch
You just need to figure out the brother sewing machine stitch symbols. Then you are good to go.
Most Brother sewing machines label stitches by number on the front panel or display screen. Simply turn the stitch selector dial (or use the touchscreen on digital models) to pick your stitch. Then adjust the length, width, and tension as needed.
Always test on a fabric scrap before sewing your project!
Brother Sewing Machine Stitches Pdf
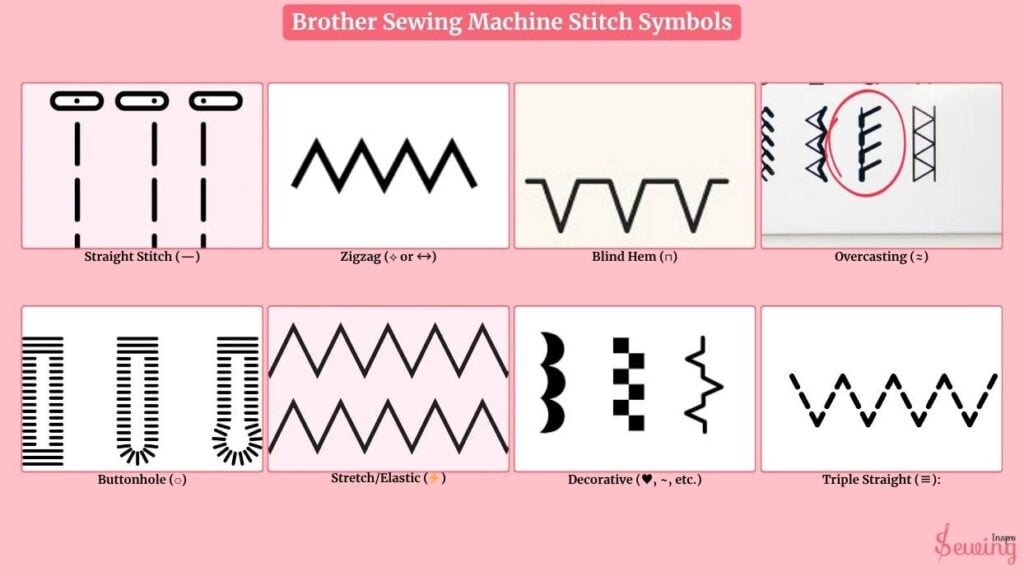
Brother Sewing Machine Stitch Symbols
Brother sewing machine stitch symbols are visual icons displayed on the machine’s screen or listed in the manual, with each symbol representing a specific stitch or stitch feature. However, different stitches have different kinds of symbols. Here is what a common stitch looks like in machine-
- Straight Stitch (—)
- Zigzag (⟡ or ↔)
- Blind Hem (⊓)
- Overcasting (≈)
- Buttonhole (⎔)
- Stretch/Elastic (⚡)
- Decorative (♥, ~, etc.)
- Triple Straight (≡):
Symbols are usually numbered on the dial or chart. The number corresponds to the stitch in your manual. Some model has a reverse lever button too. So you can do back stitch too.
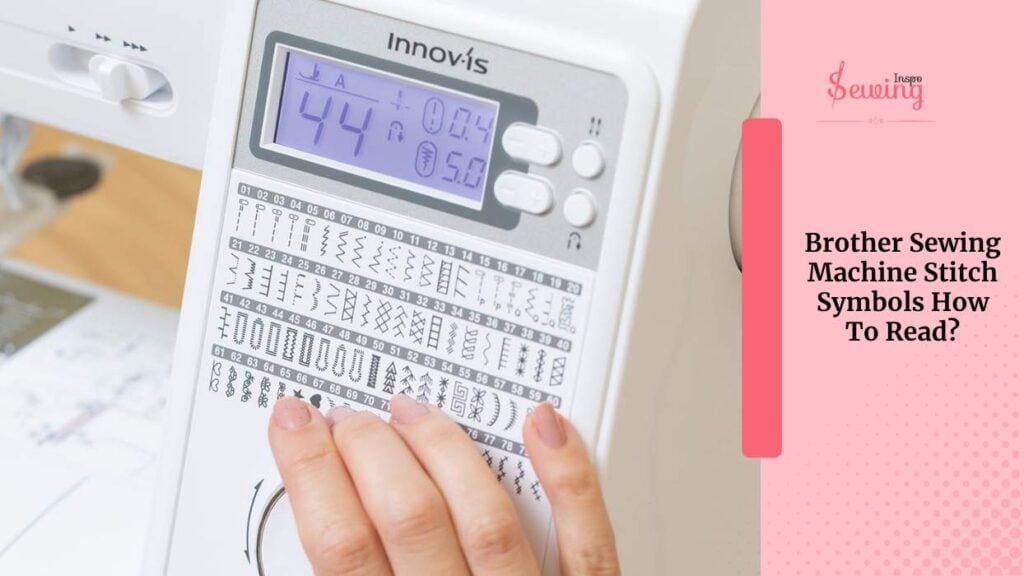
Brother Sewing Machine Stitch Symbols How To Read?
Reading stitch symbols on a Brother sewing machine is simpler than it looks once you get the hang of it. It’s like a quick map showing you what the machine will do.
- Straight stitch: Usually a simple line
- Zigzag stitch: A line with little peaks and valleys
- Buttonhole stitch: Looks like a rectangle or series of bars
- Decorative stitches: Often funky shapes or loops
- Overcast stitch: Curvy line hugging the edge
Quick tip: Always check your machine’s stitch chart. It shows the symbol, the number, and recommended settings, such as stitch length and width.
Once you know a few basics, you can read them at a glance and pick the right stitch for your project without guessing.
How To Set The Stitch On A Brother Sewing Machine?
Setting the stitch on a Brother sewing machine is pretty simple once you know the steps. First, make sure your machine is switched on, the needle is in its highest position, and the presser foot is raised . This makes selecting and adjusting stitches much easier.
Next, choose the stitch you want:
- Manual dial models: Turn the stitch selector dial to the number or symbol that matches your desired stitch.
- Digital/touchscreen models: Scroll or tap the stitch on the display to select it.
Once the stitch type is chosen, adjust the stitch length and stitch width:
- Stitch length: Use the stitch length dial or +/- buttons. Longer stitches are ideal for basting, gathering, or sewing lightweight fabrics, while shorter stitches create stronger seams for durability.
- Stitch width: For zigzag and decorative stitches, adjust the width to suit your fabric and project. Wider stitches are good for finishing edges, narrow stitches for precision work like appliqué.
Don’t forget to pick the right presser foot for your stitch:
- General-purpose foot for straight or zigzag stitches
- Buttonhole foot for automatic buttonholes
- Overcasting or decorative feet for special stitches
And you are done. You brother machine is ready for sewing.
Wondering what is a chain stitch sewing machine? Then give it a read.
Faq
What’s the difference between stitch length and width?
Length controls how long each stitch is (short = strong seams, long = basting), while width adjusts how wide stitches like zigzag or decorative stitches appear.
Do I need different presser feet for different stitches?
Yes. Straight and zigzag stitches usually use the general-purpose foot, while buttonholes, overcasting, and decorative stitches require their specific feet.
Should I test stitches before sewing my project?
Absolutely! Always try on a scrap fabric to ensure your length, width, and tension are correct.
Warp up
Setting the stitch on a Brother sewing machine is simple once you understand the basics. Pick your stitch, adjust the length and width, use the right presser foot, and always test on scrap fabric.
With a little practice, you’ll be able to sew clean, professional-looking seams and creative decorative stitches with confidence.

Leave a Reply