
A basting stitch is a tacking stitch on a sewing machine. It is also used for temporary purposes. You do a baste stitch whenever you want to hold 2 fabrics together. But how, you may ask.
Well, a baste stitch sewing machine is easy too. You just gotta do,
Baste Machine
Set your sewing machine to the longest straight stitch length (usually 4–5 mm) and sew without backstitching to create a basting stitch.
Not enough info? I know. So let’s go. Let’s feed you with more info about the basting sewing machine.Let’s see how to basting stitch.

Table of Contents
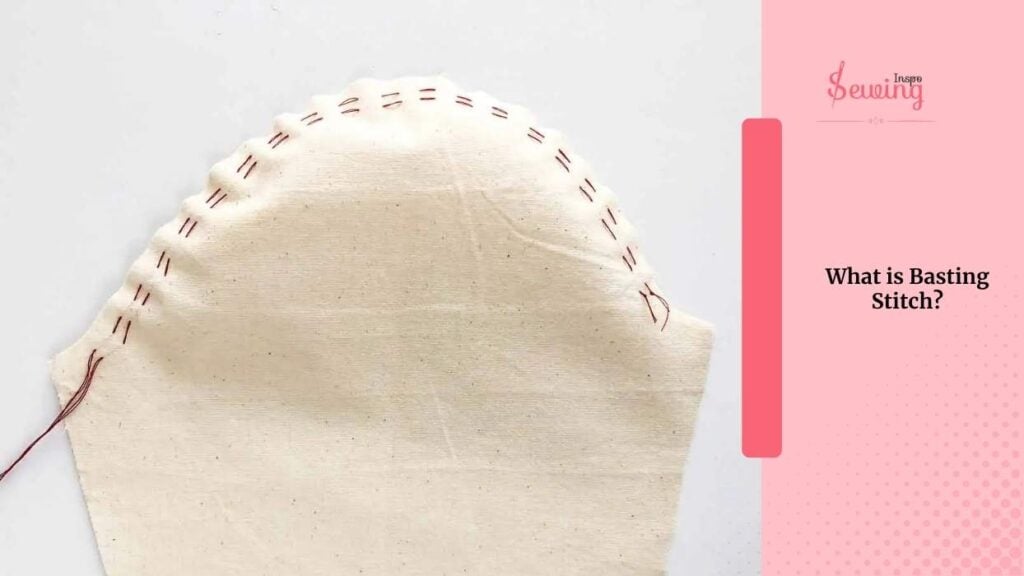
What Is Basting Stitch?
A basting stitch is a long, temporary stitch used to hold fabric pieces together before final sewing. It’s usually looser and longer than regular stitches.
So, it can be easily removed once the permanent seam is in place. But yes, doing it on a machine is a little different than basting stitch by hand.
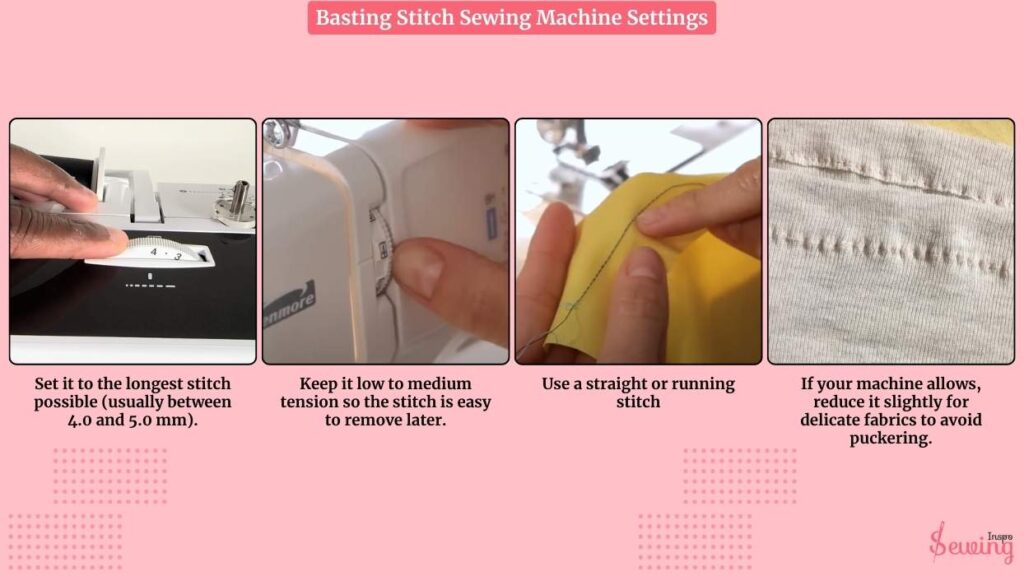
Basting Stitch Sewing Machine Settings
A basting stitch is a long, loose stitch that temporarily holds fabric in place, like pinning, but with thread. It’s helpful for fitting, gathering, or holding tricky layers before final stitching.
But to achieve that, you must set up the machine correctly.
Here is how, to set up a basting stitch sewing machine.
- Set it to the longest stitch possible (usually between 4.0 and 5.0 mm).
- Keep it low to medium tension so the stitch is easy to remove later. It helps with all the different sewing machine stitches.
- Use a straight or running stitch
- If your machine allows, reduce it slightly for delicate fabrics to avoid puckering.
No matter what try to keep basting stitch sewing machine settings right. Cause wrong setting can messed up the stitch.
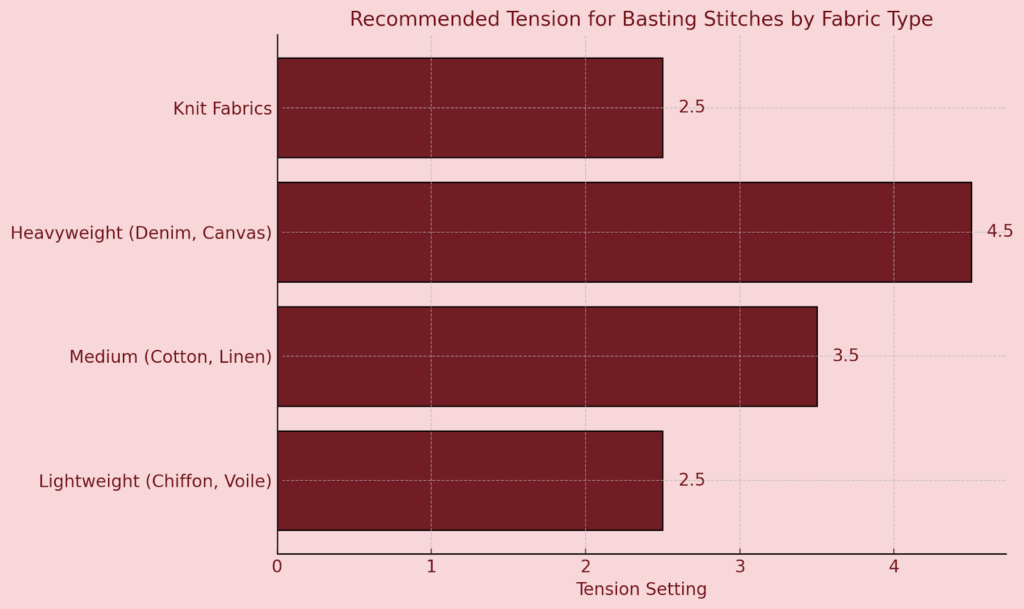
What Tension Should A Basting Stitch Be On A Sewing Machine?
For a basting stitch, your tension should usually be set to low or medium, typically between 2 and 4 on most sewing machines. This is the best kind of tension for basting stitch.
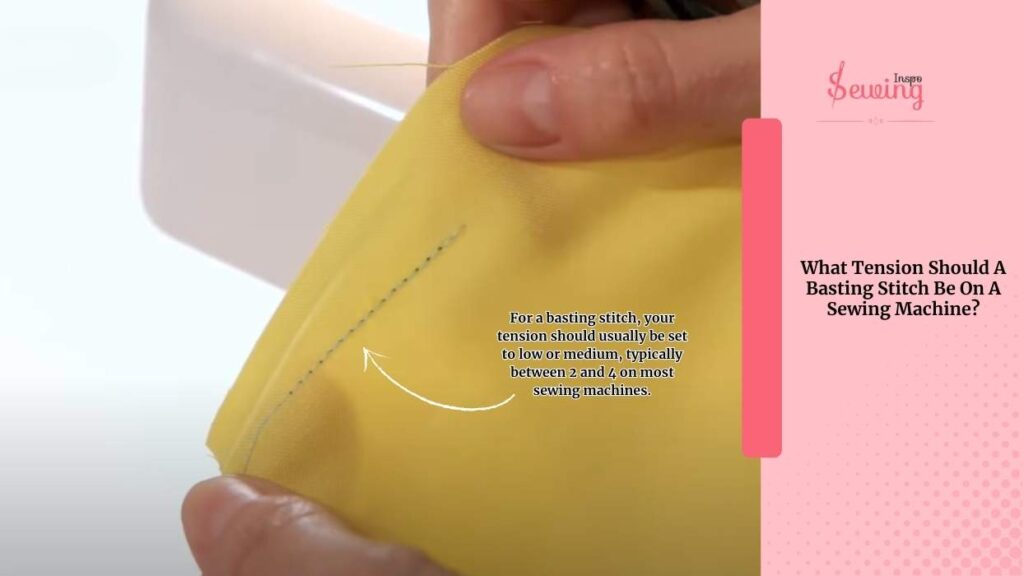
The goal is to keep the stitches loose enough to easily remove them later but not so loose that they fall out before you’ve sewn the final seam. This can also be used as a gathering stitch on the sewing machine.
But,
If you’re working with slippery or delicate fabric, go toward the lower end of that range. You might need to bump it up for thicker fabrics so the stitch holds better without pulling tight.
Here is a glance at what I am doing about it,
What Is The Machine Stitch Length Used For Basting?
For basting on a sewing machine, the stitch length should be set to the longest possible setting, usually around 4.0 to 5.0 mm on most machines. This is the perfect length for basting stitch on sewing machine.
If you ask me, then,
I prefer a 4.5 mm long baste stitch. This length is perfect for joining fabric pieces and is strong enough to hold it together. I use this stitch length for quilting stitches, too.
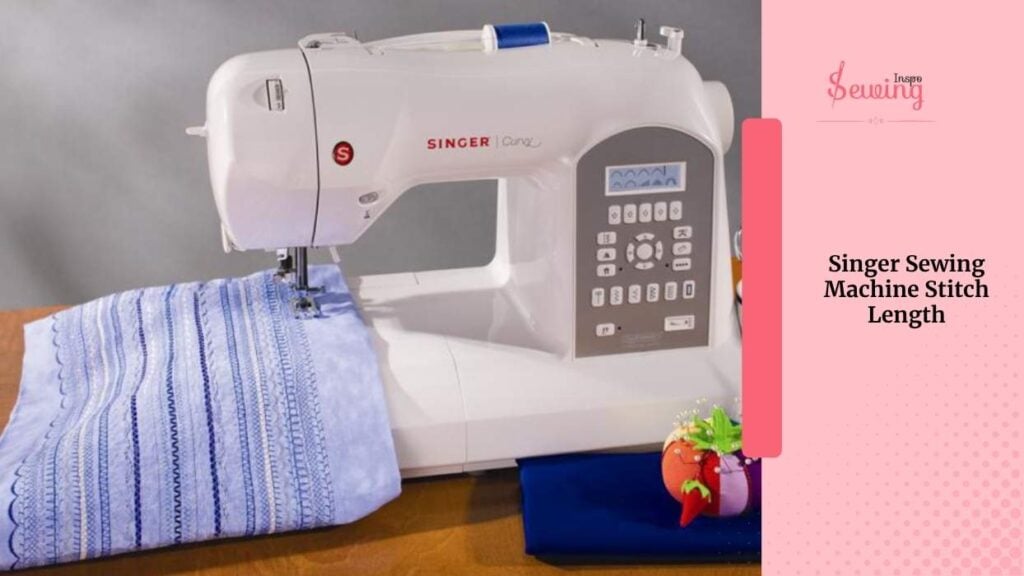
But if you are wondering singer sewing machine stitch length then set it around 2 mm.
Basting Stitch Sewing Machine Settings
To sew a basting stitch, set your sewing machine to the straight stitch and lengthen the stitch to its maximum, usually around 4.0–5.0 mm (or setting “5”).
Optionally, lower the upper thread tension to 2 or 3 to make the stitches easier to remove, though this isn’t always required. For best results, use a contrasting thread and avoid backstitching at the start or end of the seam.

How To Do Basting Stitch On Sewing Machine?
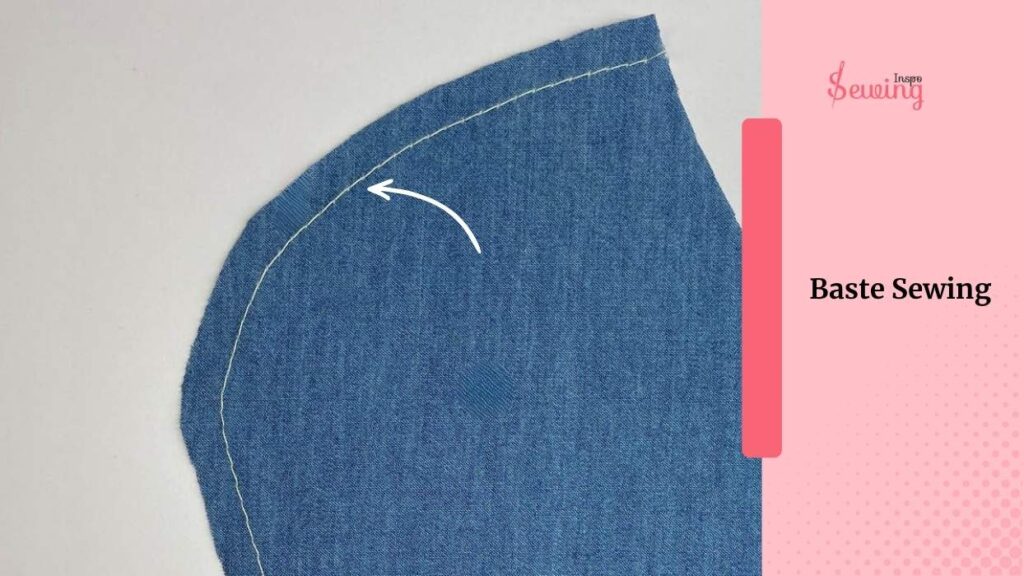
Baste stitching on a sewing machine is easy once you know all the settings. So, I set up the machine and got to stitching. Let’s do baste sewing partially.
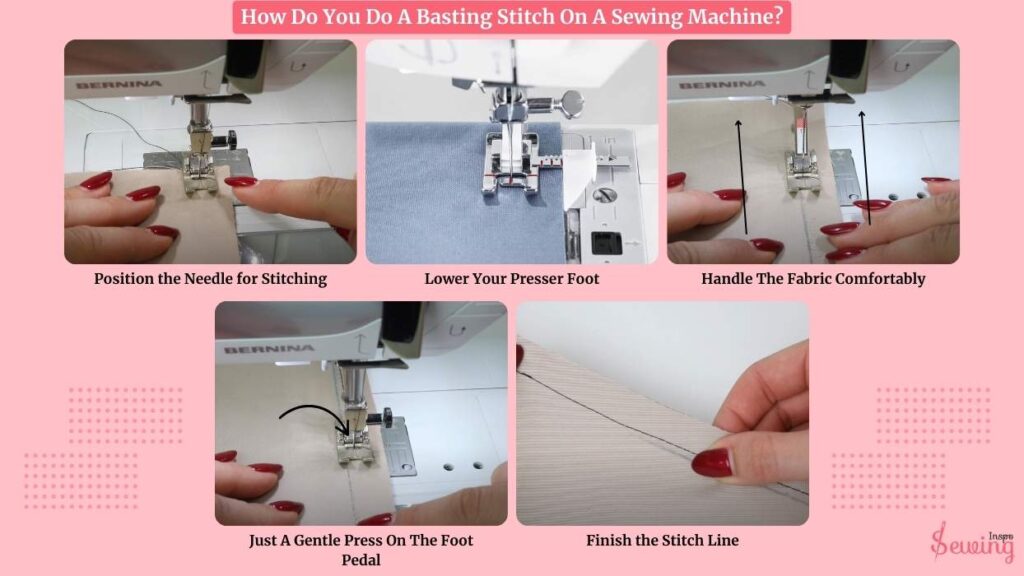
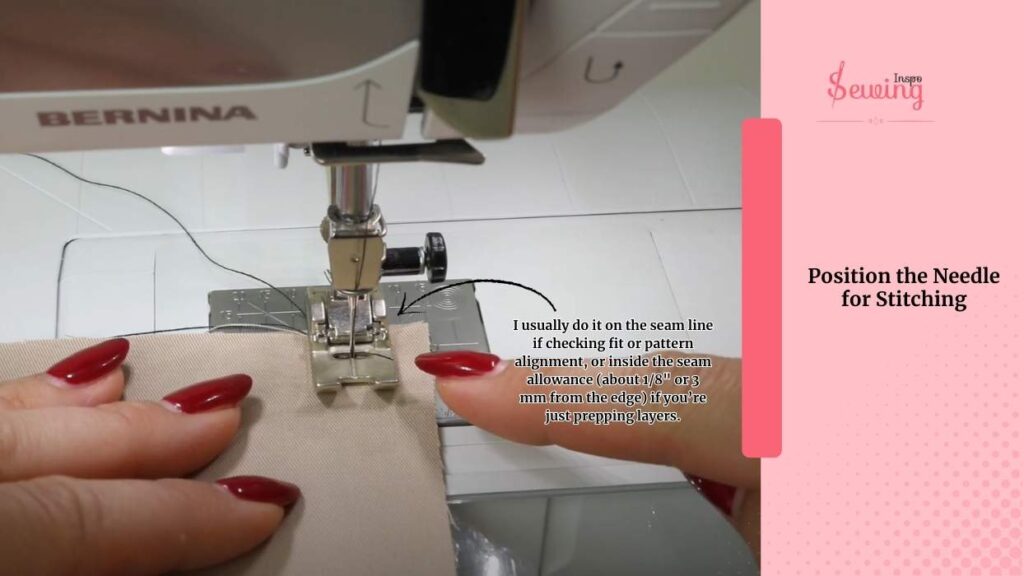
Position the Needle for Stitching
Decide where to place the basting line.
I usually do it on the seam line if checking fit or pattern alignment, or inside the seam allowance (about 1/8″ or 3 mm from the edge) if you’re just prepping layers.
Use the Needle Plate Guides
I normally use the guidelines on your needle plate. They’re often marked in inches or cm to keep the straight line. This helped me do an overlock stitch, too.
- Example: For a 1/4″ basting line, keep your fabric edge on the 1/4″ guide line. This will help you with hand basting, too.
Or Draw a Temporary Line:
If you need a basting line somewhere not aligned with your seam allowance, mark it using:
- Chalk
- Washable fabric pen
- Tailor’s pencil
Mark on the wrong side if possible, especially with delicate or light-colored fabric layer.
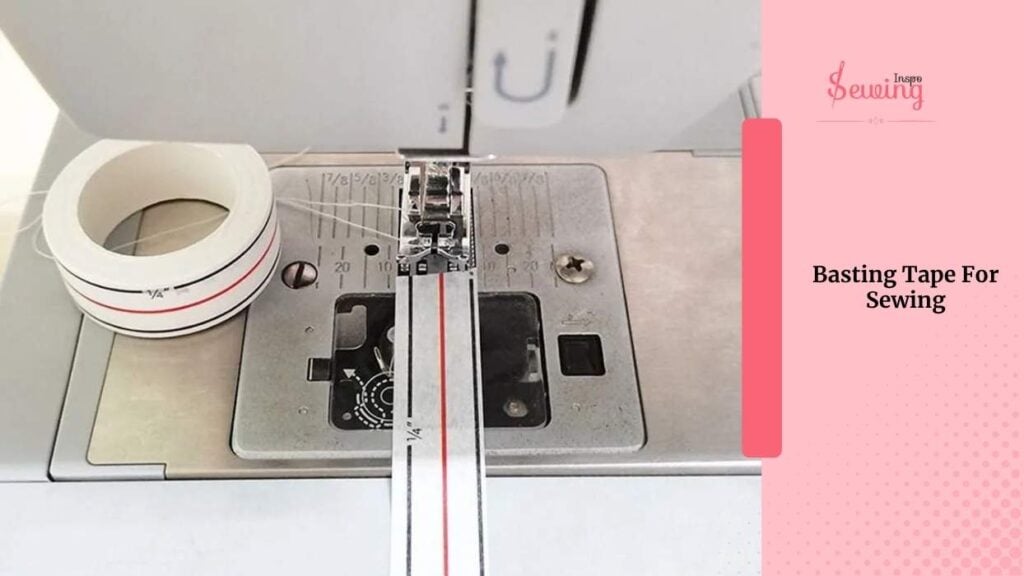
Basting Tape For Sewing
I got a comment from stitchers that they are struggling to keep the edge together. So if you are one of them, then try using basting tape.
Basting tape is a double-sided adhesive tape used to temporarily hold fabric layers together without pins or stitching. It’s perfect for tricky areas like hems, appliqués.
Also, the tape is easy to remove or wash away. So you don’t have to worry about the hassle.
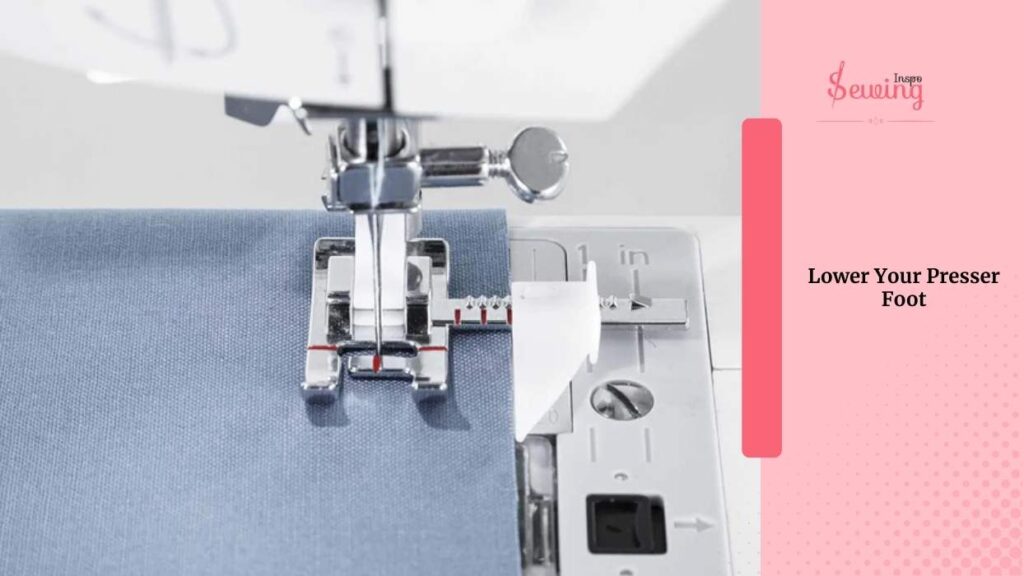
Lower Your Presser Foot
First thing: lower your presser foot.
It’s easy to forget, but super important. If the presser foot isn’t down, your fabric won’t feed through properly, and the tension will be all over the place. This would help you do the edge stitch, too.
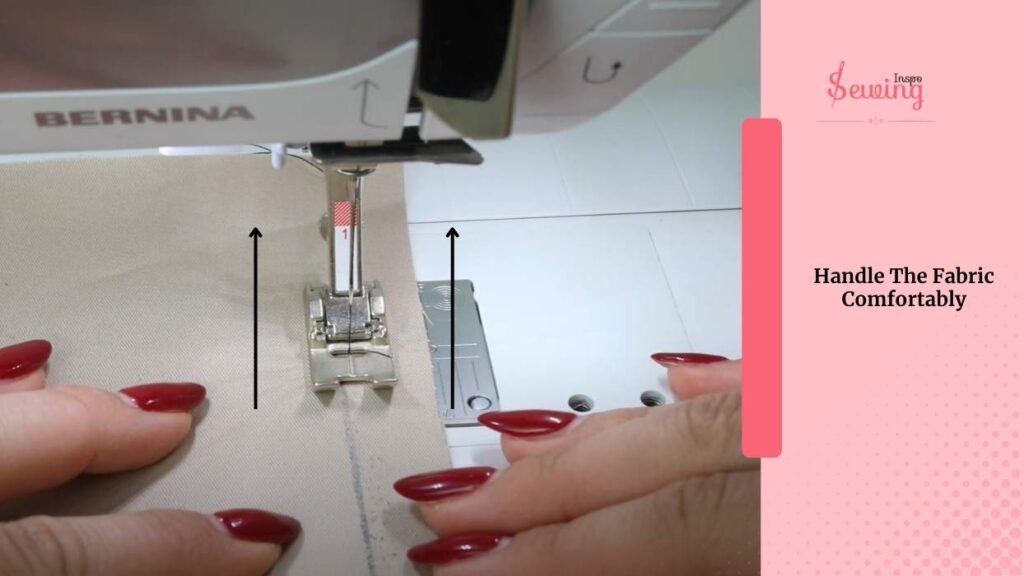
Handle The Fabric Comfortably
Now, gently place your hands on the fabric, one on each side of the presser foot. Do not grip or pull; just rest them there so you can guide it.
Think of it like steering, not pushing. The feed dogs (those little teeth under the presser foot) will move the fabric for you. Let them do the work.
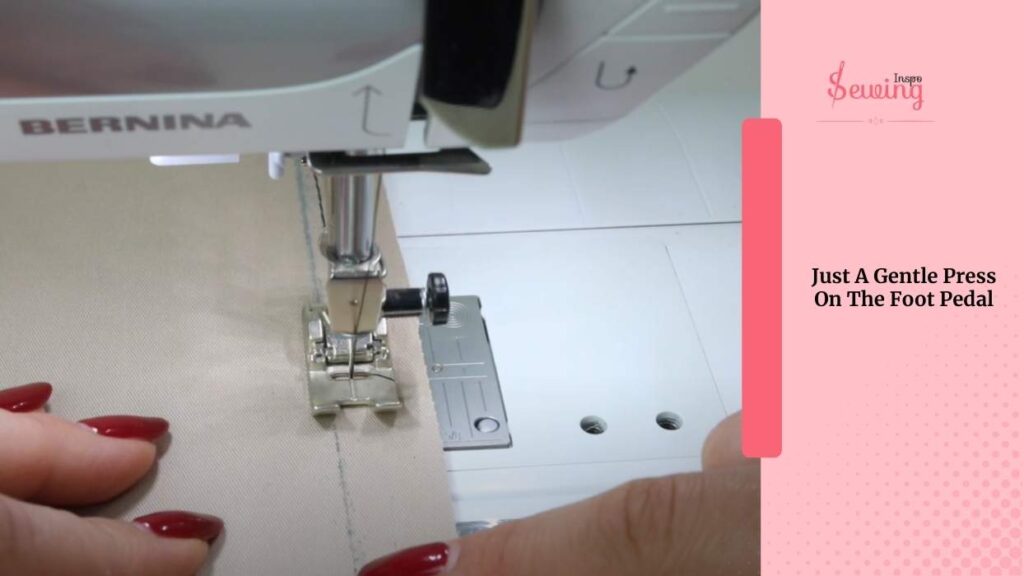
Just A Gentle Press On The Foot Pedal For The Perfect Baste Sewing
Go ahead and start sewing slowly—just a gentle press on the foot pedal—no need to rush. You want to keep everything under control, especially if you’re working with a slippery fabric or multiple layers.
As the fabric starts feeding through,
Watch it follow your guideline or chalk mark. You’ll be surprised how easy it is for the fabric to wander, especially if you look away. So just keep your eyes on that line and adjust slightly as you go.
And hey, don’t be afraid to pause!
If you notice the fabric is starting to shift, or maybe one layer is creeping ahead of the other, stop. Lift the presser foot (with the needle still in the fabric). It will straighten things out and lower it before continuing. It’s totally normal to stop and adjust, especially when you’re first learning.
Finish the Stitch Line
At the end of the line, you can. Do another short backstitch if needed for strength. But since it is a temporary stitch. It’s clever not to. Cause you don’t want to make it permanent like a zigzag stitch.
That’s why,
I usually just leave long tails (about 4–5″) and don’t backstitch for easy removal.
Why? Well because,
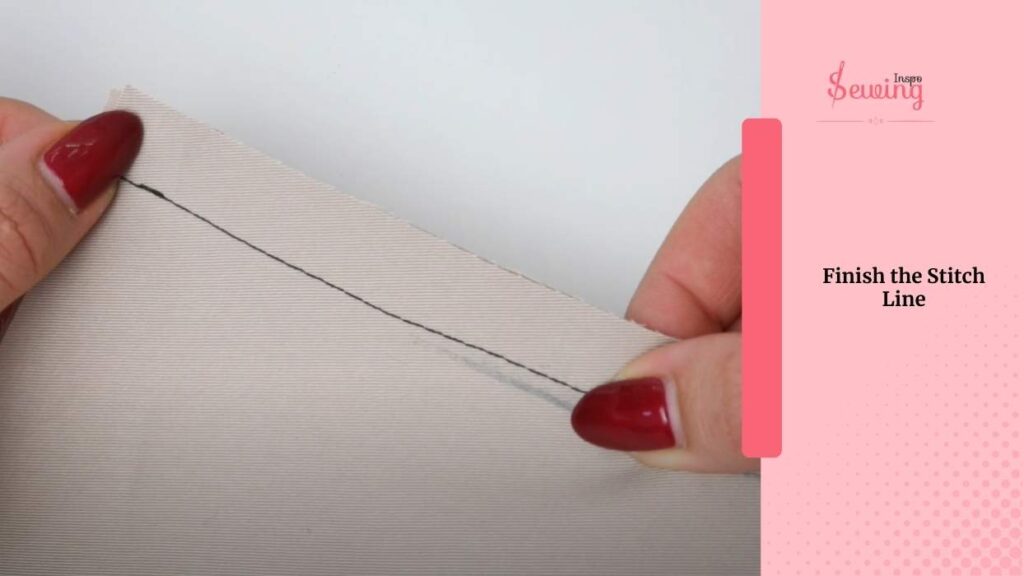
Long thread tails make it easy to pull the stitches out without snipping every few inches.
Frequently Asked Questions
Do I backstitch at the start and end?
No. Don’t backstitch when basting, unless you want the stitch to stay in place longer. Skipping the backstitch makes it easier to pull the threads out later.
Can I baste stitch through multiple layers?
Yes! Basting works through two or more layers—go slowly if you’re working with thick or slippery fabrics.
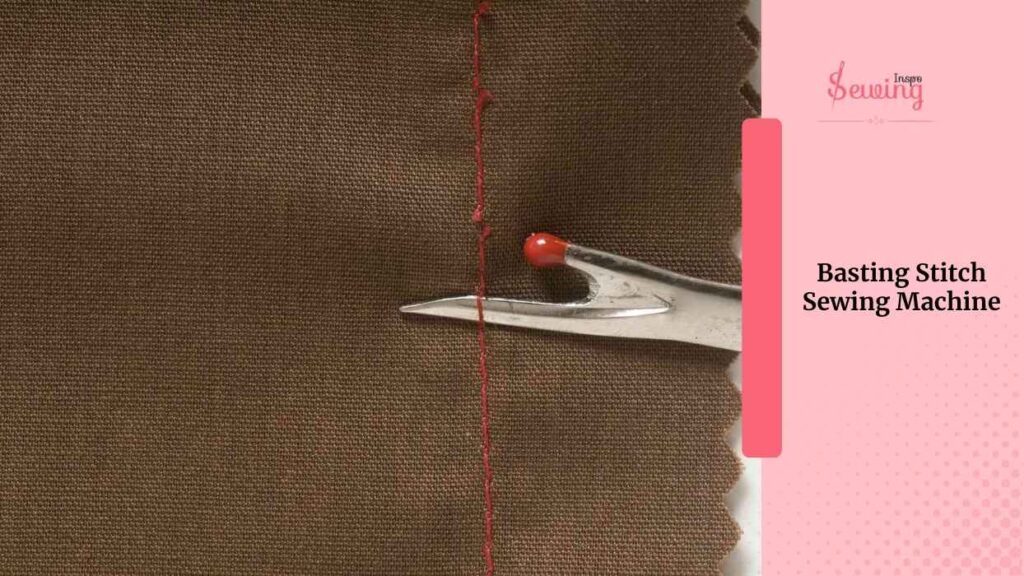
How do I remove a machine baste stitch?
Use a seam ripper or gently pull the thread from the fabric’s back side. The long stitch length helps it come out easily cause it is not as complicated as the satin stitch.
Is basting the same as tacking?
Almost. Basting is a temporary long stitch, while tacking usually refers to short stitches sewn in place to hold areas like pleats or lining, often permanently.
Now It’s Your Turn To Do Baste Stitch Sewing Machine
I taught you how to do a baste stitch on a sewing machine.
Now try it out and send your experience with sewinginspo.


Leave a Reply