
“A stitch that looks like a little bar… almost like the threads are all gathered tightly together. What is that?” one of my students asked, pointing at her work.
I smiled. “Ah, that’s a bartack machine stitch! There to reinforce edges or lock a seam in place so it won’t budge. This basically gives extra security to all types of machine stitches”
Her eyes lit up. “Can I do that on a machine?”
“Absolutely,” I said.
Bartack Machine
To bartack on a sewing machine, set it to a short zigzag stitch and sew back and forth over the same spot to reinforce the area.
She looks so amazed that I decide to take a class on this topic.
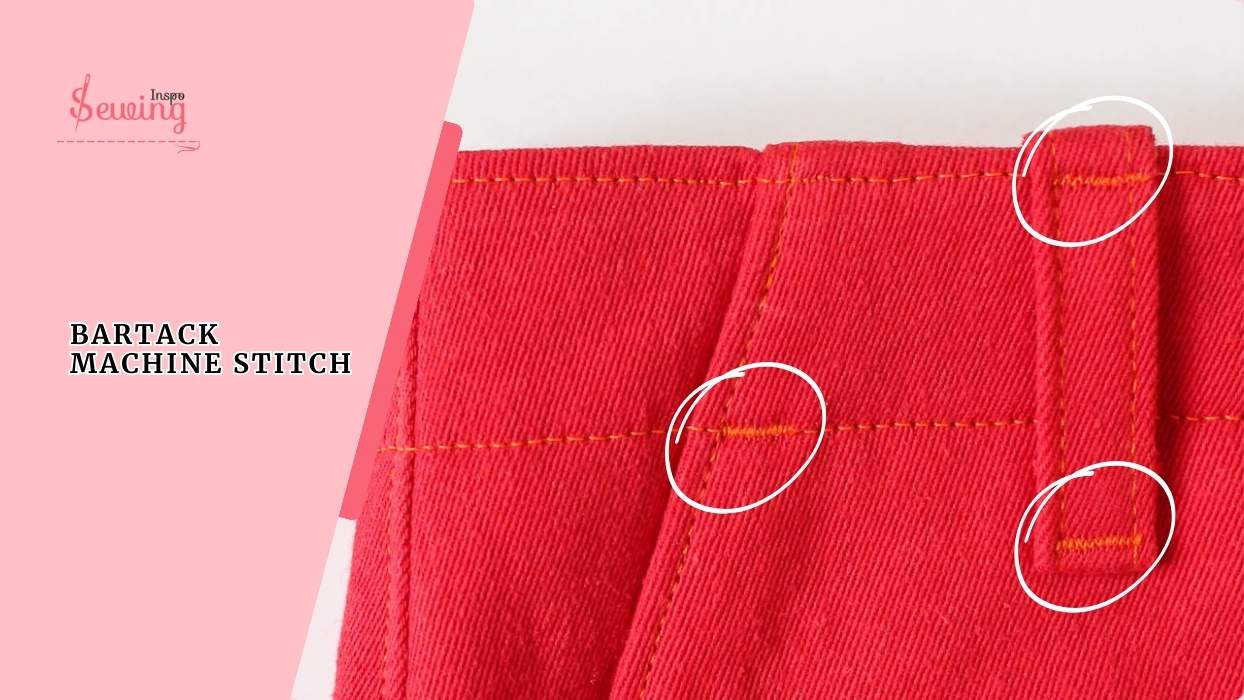
Table of Contents
Project overview:
| Machine Type | Time Needed | Tools Needed |
| Any Sewing Machine With Zig zag stitch Setting | 1–2 minutes per bar tack | Foot F, thread, fabric, scissors |
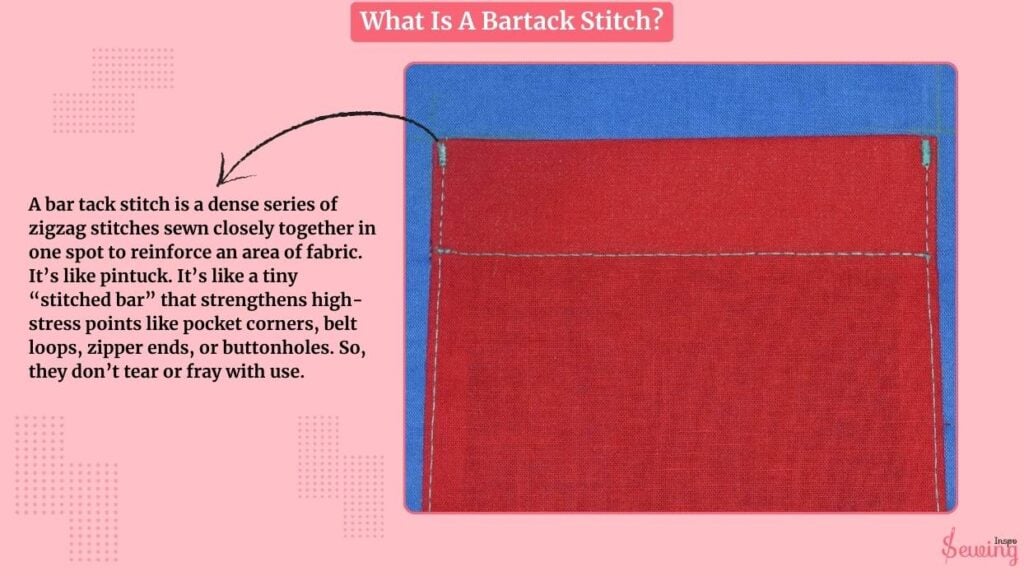
What Is A Bartack Stitch?
A bar tack stitch is a dense series of zigzag stitches sewn closely together in one spot to reinforce an area of fabric. It’s like pintuck. It’s like a tiny “stitched bar” that strengthens high-stress points like pocket corners, belt loops, zipper ends, or buttonholes. So, they don’t tear or fray with use.
Any sewing machine can do this stitch but you can also find Bartack Sewing Machine in the market.
How To Sew A Bartack Machine Stitch?
To sew a bartack stitch on a sewing machine, follow the steps below,
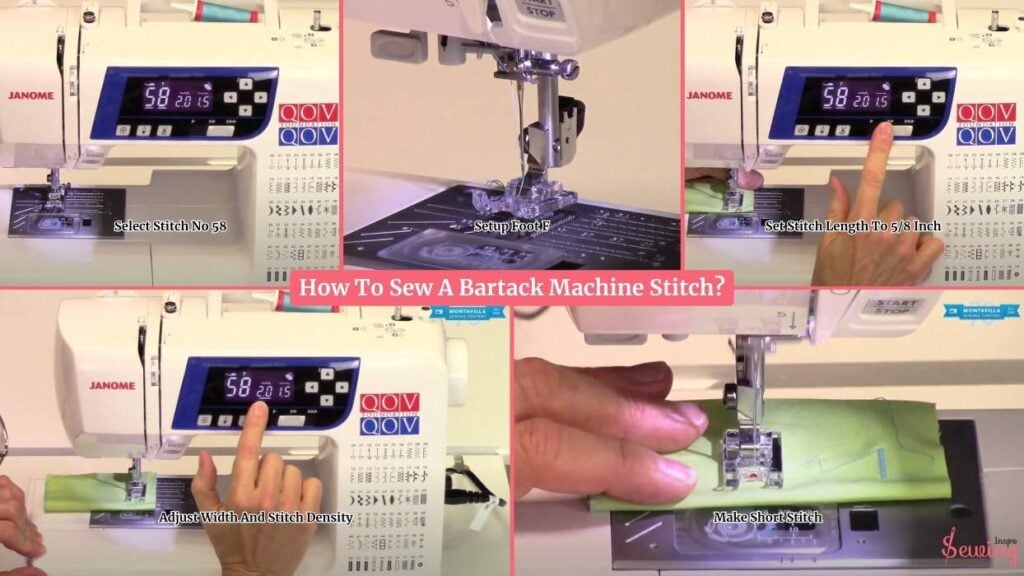
- Select Stitch No 58
- Setup Foot F
- Set Stitch Length To 5/8 Inch
- Adjust Width And Stitch Density
- Make Short Stitch
Choose the Stitch 58 Or Zigzag
I am using a Janome machine, so I pick stitch number 58. That’s the one that’s designed for bar tacks. If you are using another machine, then press the zigzag stitch symbol.
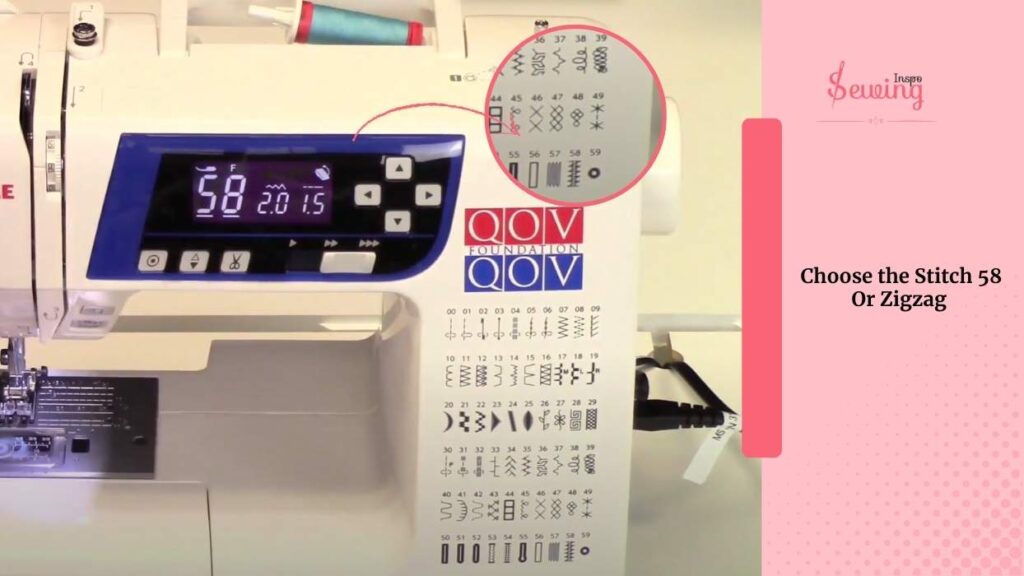
If your machine looks slightly different, no worries. Any Janome with a built-in bar tack works the same way. The controls might just be in a different spot.
Set Up Foot For Bartack Stitch
Your standard foot (foot A) won’t cut it here. You’ll need foot F, which can be found in your accessory tray. It has a groove at the bottom to handle all those dense stitches that make up a bar tack.
Bar tacks pack a lot of stitches in a small area. So, this foot helps the fabric flow smoothly without bunching & makes the perfect embroidery.
Pop it on, thread your machine, and you’re ready to go.

Set Bar Tack Length
The bar tack starts at one end, goes backwards, then forwards, forming a tight zigzag. It’s like locking the stitches in place at the beginning, then filling in the bar with dense zigzags.
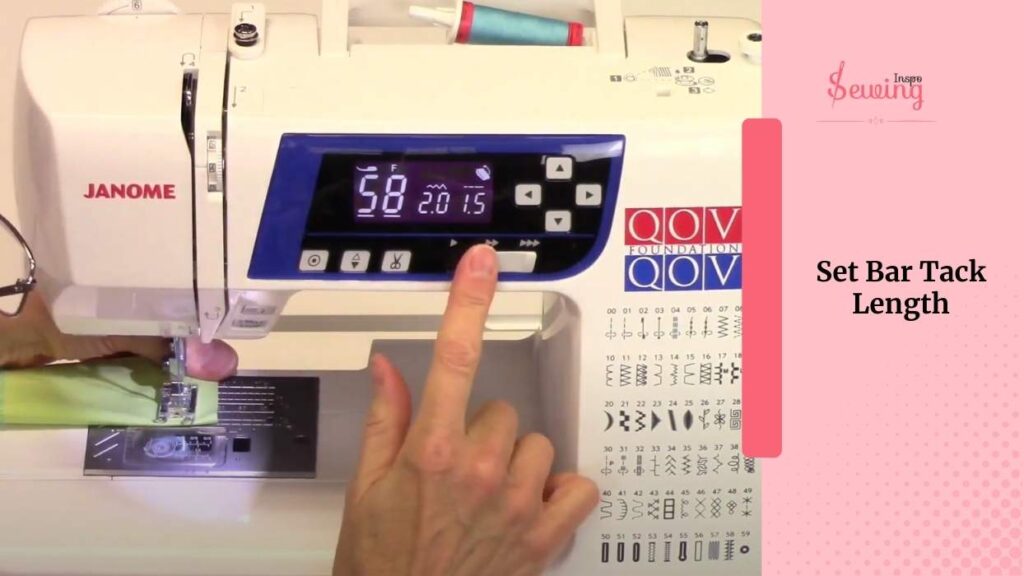
It’s usually about 5/8 inch long by default, but we’ll talk about how to make it shorter or wider in a minute.
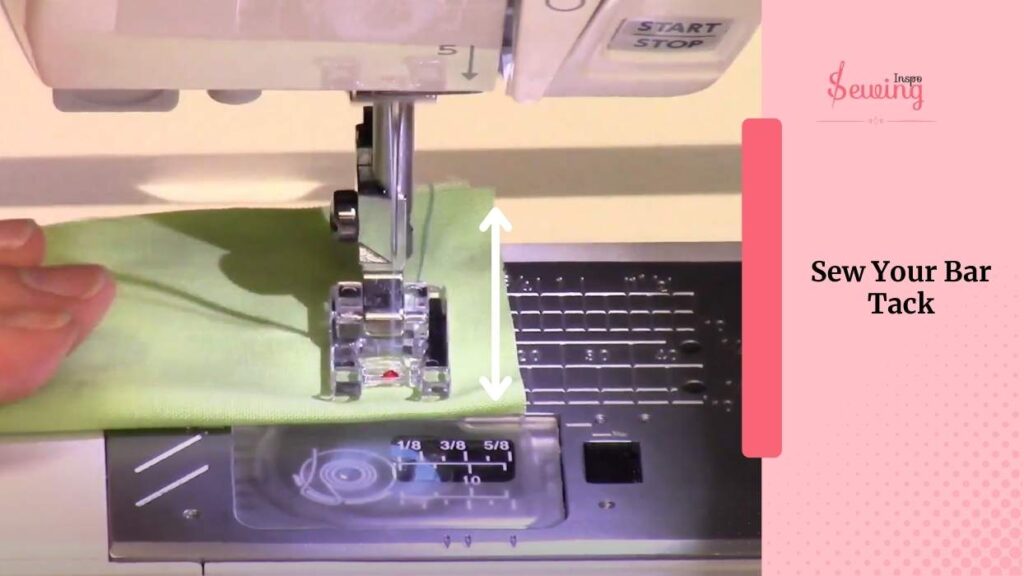
Sew Your Bar Tack
Place your fabric under the foot. Lower your foot and position your thread.
Start sewing. Your machine will perform a locking stitch, then move backwards and forward to complete the bar.
You’ll hear some little beeps. That’s your machine letting you know it’s finished.
Adjust the Stitch Width and Stitch Density Of Your Bar Tack
With bar tacks, you can adjust width and stitch density to fit your project. Move the cursor to adjust the bar tack’s width.
A good default width is about 5/8 inch, which works for most bartack fabrics.
Wider tacks are for thick seams or when you want them to stand out. Narrower tacks are better for small details or delicate fabrics.
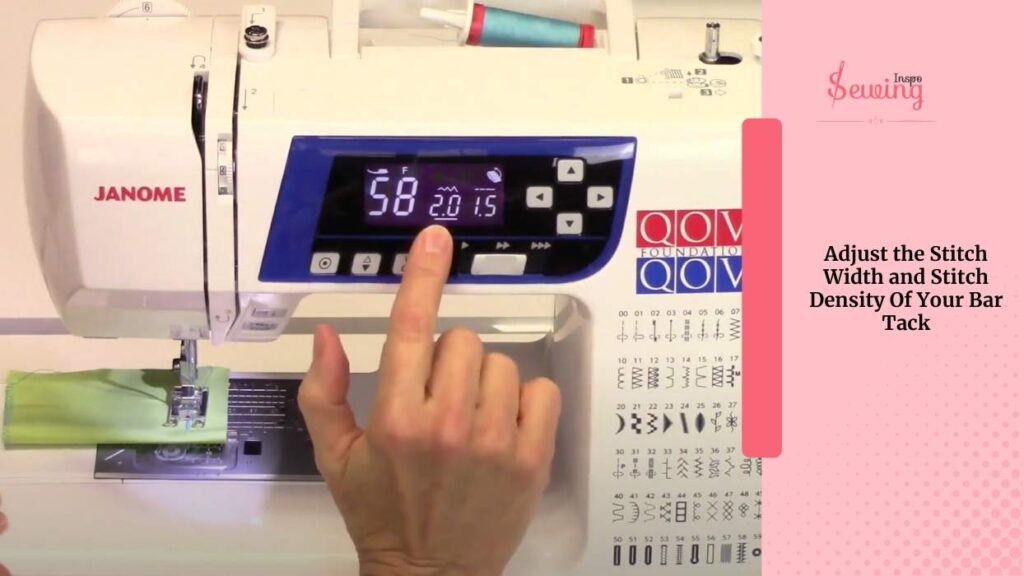
For stitch density, adjust the stitch length.
A very short stitch length, around 0.3–0.5 mm. This is key to making a dense, strong bar tack. This range is a good starting point.
Longer stitches make a looser tack, which is better for lighter fabrics. Adjust both settings to make the bar tack just right for your fabric and seam.
Make a Shorter Bar Tack
If you want a bar tack shorter than the default:
- Before you start sewing, exit stitch 58 and then re-enter it.
- Sew just a few stitches backwards\back stitch (like 3–4).
- Hit the reverse button. This creates a shorter bar tack, about 1/4 inch.
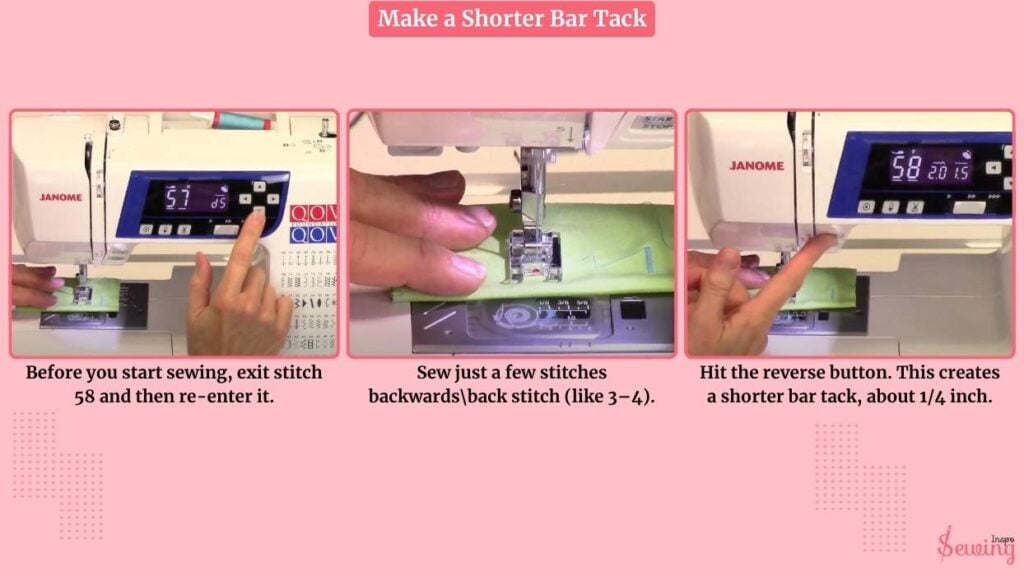
The point at which you press the button determines the final length, so experiment a bit to get it just right. And that’s it, your bartack stitch is done. If you don’t want something permanent like this, then do uneven stitches.
Bartack Machine Stitch Class
If you are still confused about the bar tack stitch machine, then watch this video
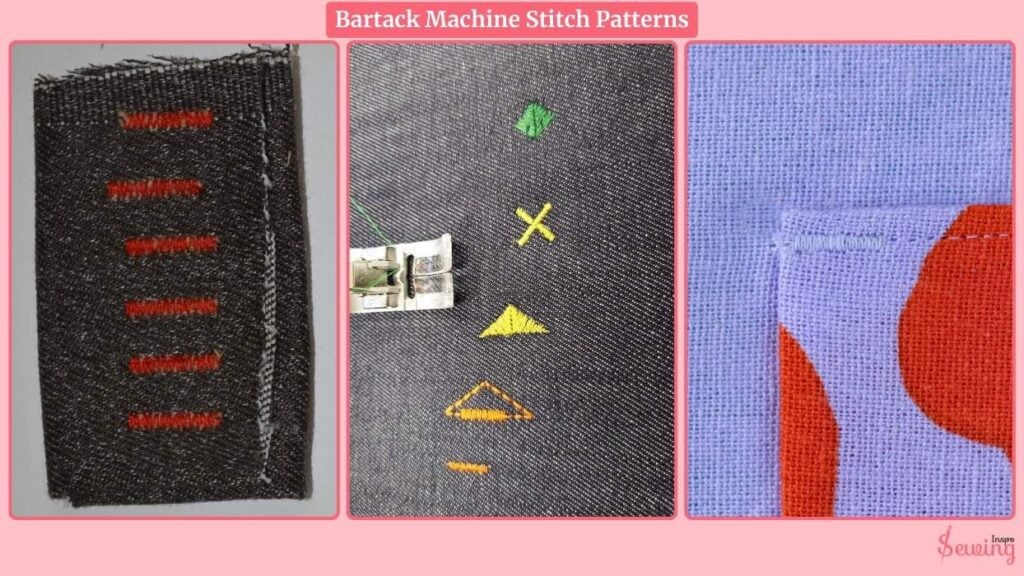
Bartack Machine Stitch Patterns
You can use this stitch for decorative purposes, too. Here are a few ideas you can use.
Frequently Asked Questions
What is a bar tack sewing machine used for?
A bar tack stitch is used to reinforce areas of fabric that get a lot of stress, like pocket edges, belt loops, or buttonholes. It keeps seams strong and prevents them from coming apart.
What does a bar tack stitch look like?
It looks like a tight, dense zigzag or small rectangle of stitches. It’s compact, strong, and usually runs perpendicular to a seam or opening.
What setting do you use for a bar tack?
On most Janome machines, use stitch number 58 with foot F. For a strong, dense bar tack, use a stitch length of 0.3–0.5 mm and a width of about 5/8 inch. Adjust as needed for fabric thickness.
Final Thought
And that’s it! Making bar tacks might seem tricky at first. But once you know the steps, it’s actually pretty satisfying. Just remember your foot, stitch number, and settings.
Give it a try on some scrap fabric first, and soon you’ll be adding neat, strong bar tacks to all your projects.
Easy and stress-free.Happy sewing!


Leave a Reply