
I visited my grandma’s house that day, just like any other lazy afternoon—but then something caught my eye. A piece of fabric lay on her table, and on it was a beautiful line of stitches that looked like tiny links in a chain. 🤔
“Grandma, what’s this?” I asked, completely intrigued.
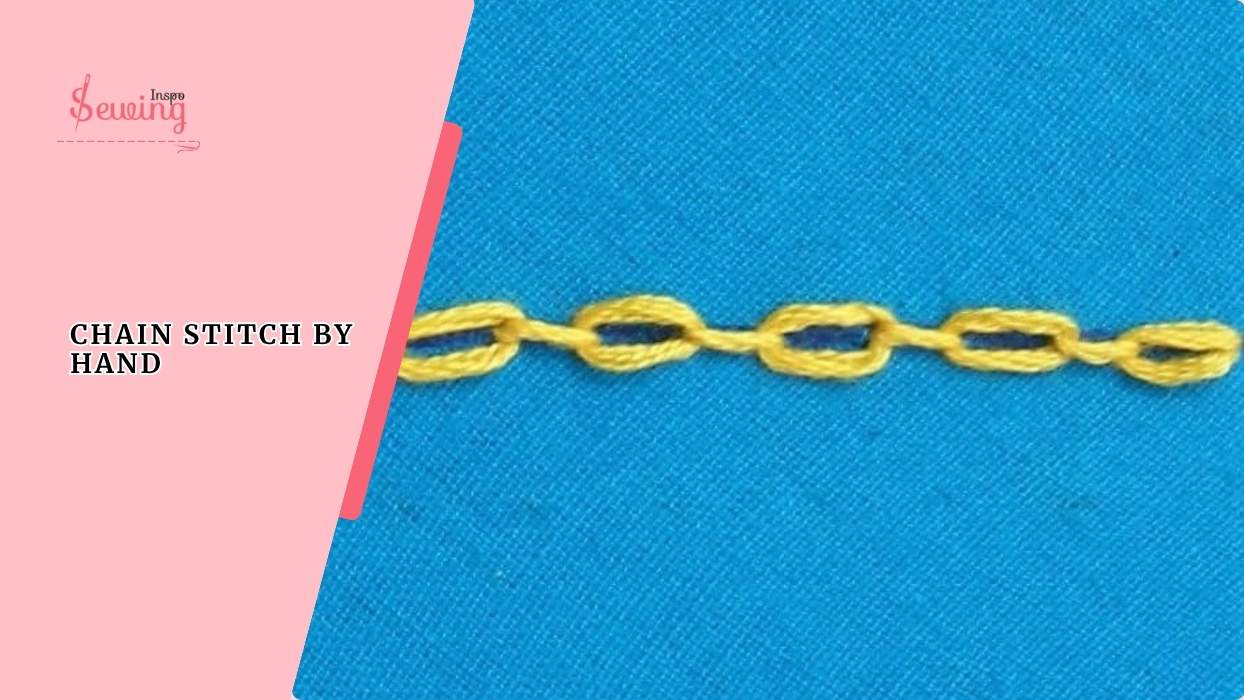
She smiled, the way only grandmas do, and said, “Ah, that’s called a chain stitch sewing.”
“Chain stitch?” I echoed, already hooked. “How do you sew chain stitches by hand? This looks so awesome!”
Without missing a beat, Grandma grabbed an embroidery needle and a scrap of fabric. “Come here,” she said. “Let me show you.”
She threaded the needle, pulled it up through the fabric, and began—
chain stitch
“To do chainstitch by hand, pull the needle up through the fabric, make a loop by going back down close to the same point, then bring the needle back up through that loop. That’s how you form these little chain links, one after another.”
But just as I leaned in to try it myself, she held up a finger and said, “Wait! Before you dive in and start stitching away, there’s more to this than meets the eye. Let me really teach you how to chain stitch by hand.” She began showing me chain stitch step by step.
Table of Contents
What Is A Chain Stitch?
A chain stitch is a stitch that forms a series of looped stitches—each one linking into the next, creating a chain-like pattern on your fabric. That’s why it got its name. It’s one of the interesting kinds of hand stitches.
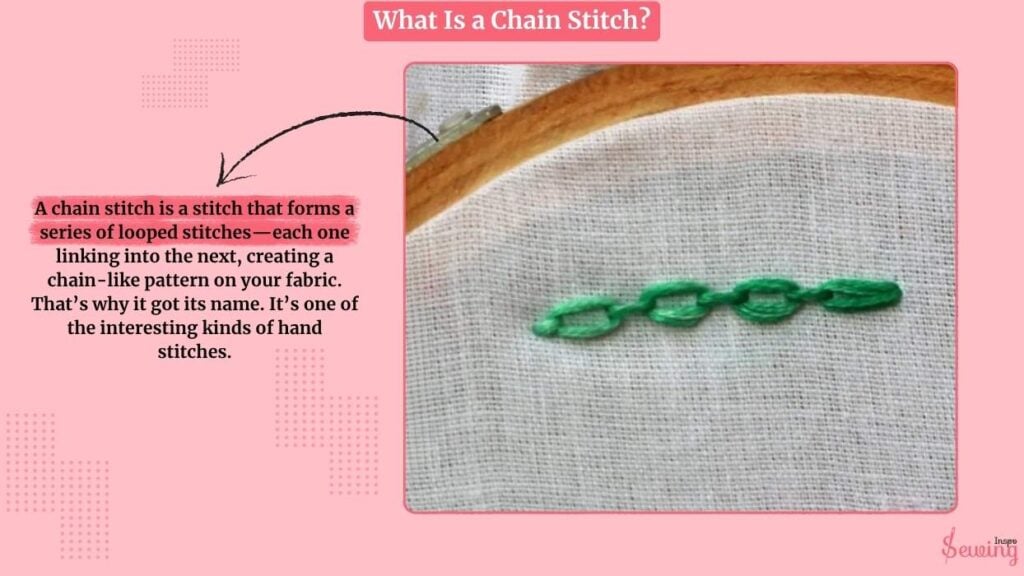
The beauty of the chain stitch is in its versatility: you can keep it tight and neat for fine detail, or loosen the loops for a bold, textured effect. Essentially, you can use it as you see fit.
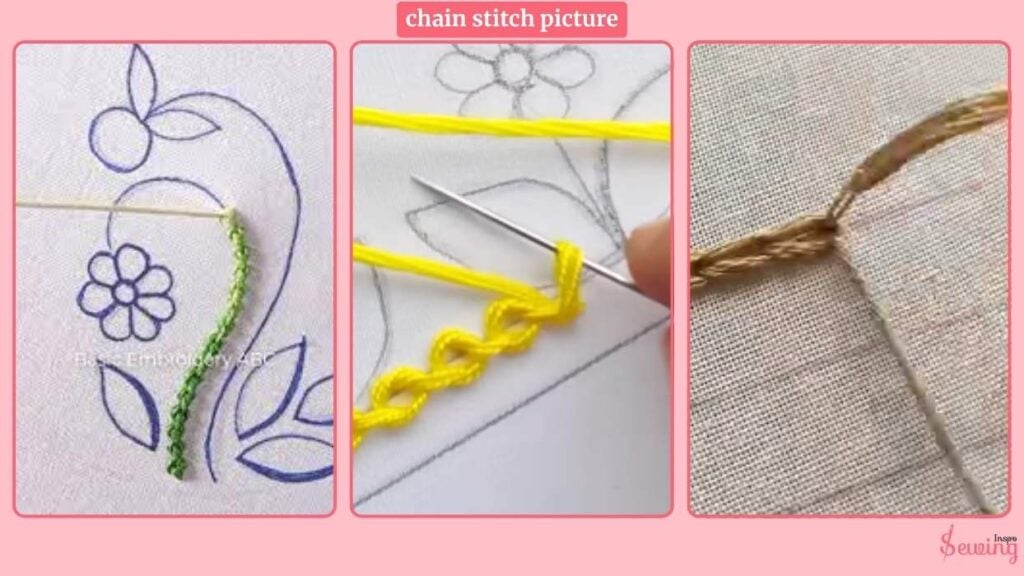
Chain Stitch Picture
If you have never seen this stitch before, then here is a look,
Chain Stitch Embroidery Name
In embroidery, the chain stitch is also known as the tambour stitch or point de chaînette (its French name).
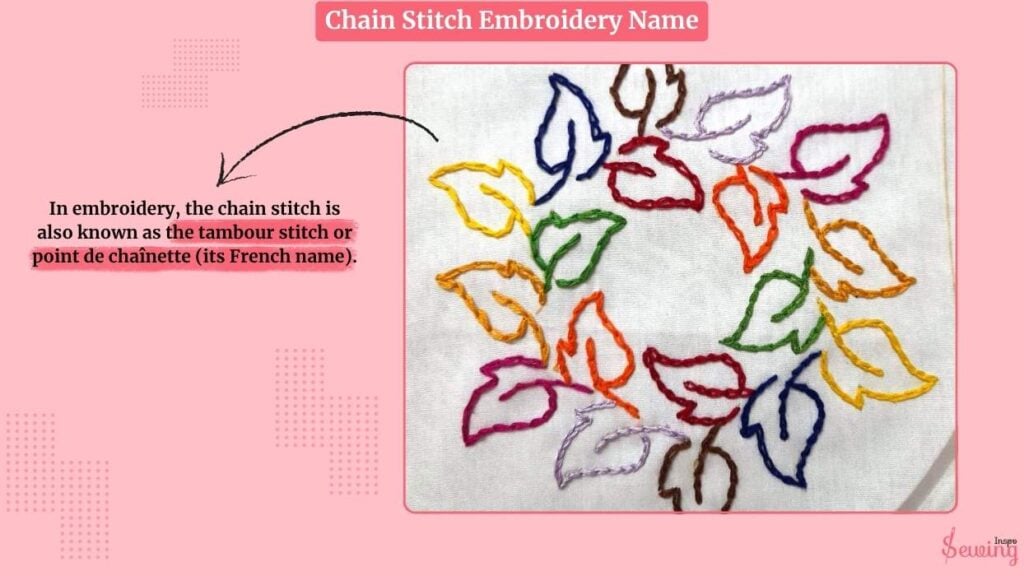
Depending on the variation,
You might hear it called a detached chain stitch, reverse chain stitch, or even a broad chain stitch or open chain stitch, especially when it’s used for decorative lettering. Each variation adds its own unique twist to this classic looping technique.
How To Sew Chain Stitch By Hand Without A Machine?
To do a chain stitch by hand, you need to follow 7 steps.
- Thread your needle
- Make A Small Straight stitch
- Take The Needle And reinsert it in the same hole
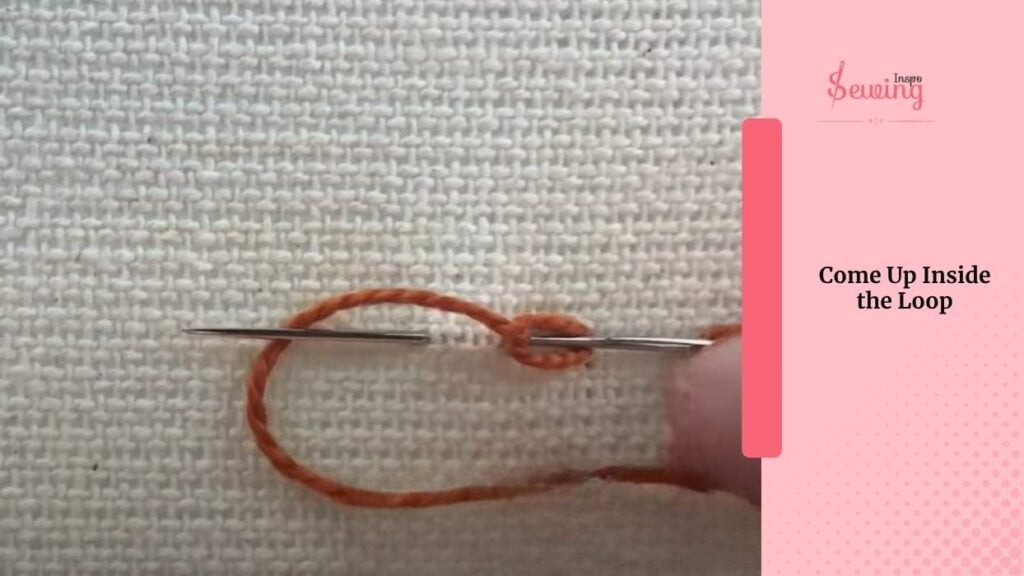
- Come Up Inside the Loop
- Repeat to Make the Chains
- Keep Your stitch even
- End Chain Stitch With a knot

Thread Your Needle & Put The Fabric On The Embroidery Hoop
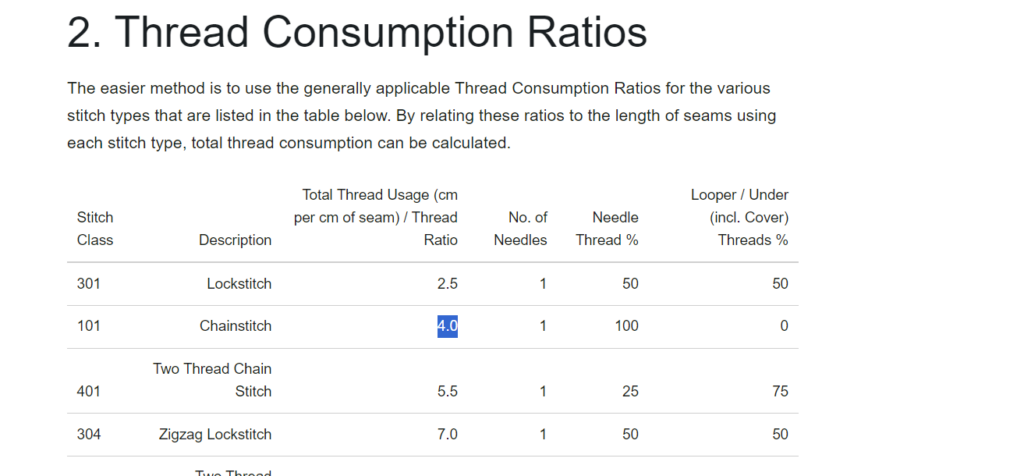
First, thread your needle with a 4.0 chain stitch thread ratio using colour thread or embroidery floss. If you want a stronger hand stitch that will last for over year, then opt for a 5.5:1 thread ratio.
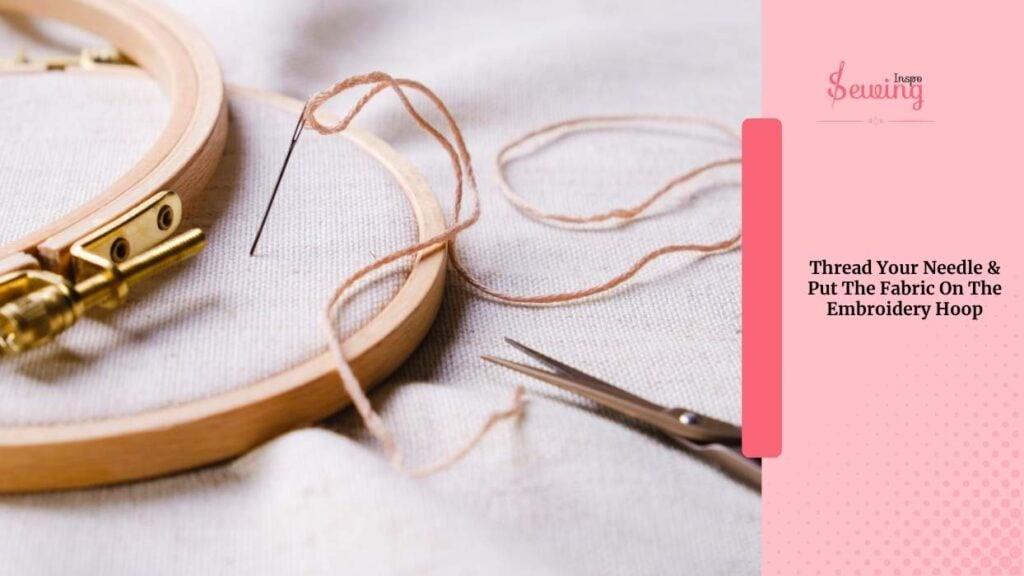
Next stop is the embroidery hoop. This is optional but helpful for a beginner stitcher. Grandma said this and then gave me a measurement.
For chain stitch, you need embroidery about 4 inches by 4 inches. These are good for detailed designs, but you can also use a range from 5 inches by 7 inches to 8 inches by 12 inches. That’s the perfect size for chain link stitch by hand.
If you ask my preference, then,
-I usually use an embroidery hoop 5 inches by 9 inches for chain stitching. 😁
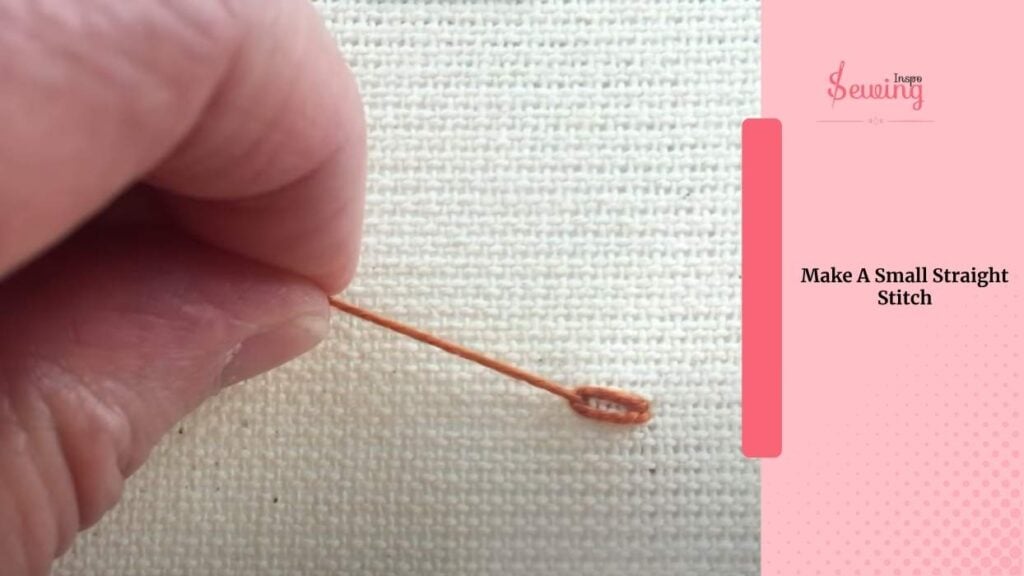
Make A Small Straight Stitch
Then, you just make a small, straight stitch on your fabric. Keep it no bigger than a quarter(0.25) inch. This initial stitch will help anchor everything else you do.
Now that your thread is up on the right side of the fabric, pop the needle back down at point.
Take The Needle And Reinsert It Into The Same Hole
Now, you’ll create a little loop. Take the needle and reinsert it into the same hole (or one adjacent to it—either works). But wait!
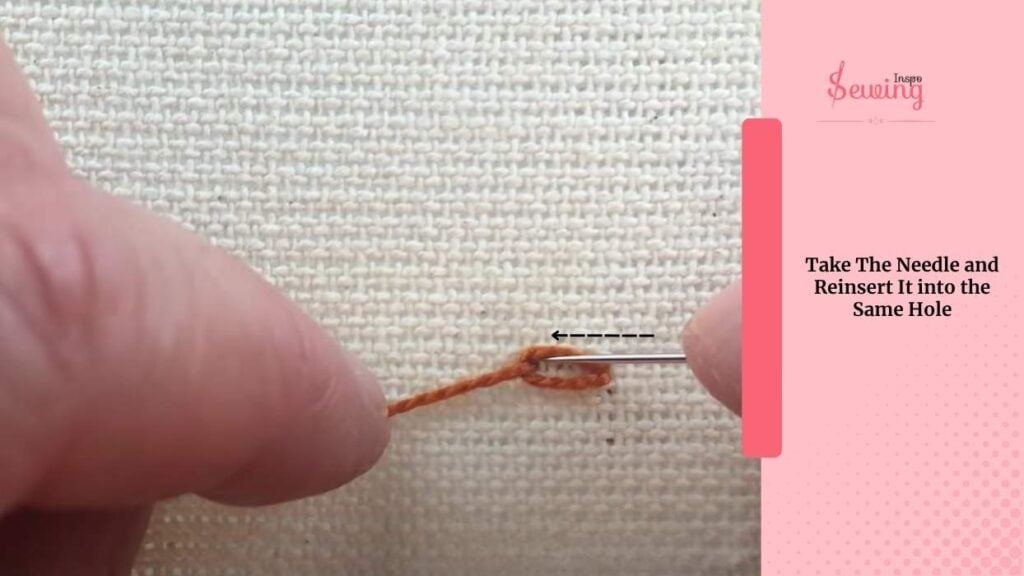
Don’t pull the thread all the way through. Leave a loop of thread sitting on top of the fabric.
Come Up Inside the Loop
Bring your needle up through the fabric again inside that loop you just left. The point where you come up should be a short distance forward. This determines your stitch length.
You can also adjust the size of the loop by changing the number of chains you make. Typically, patterns start with a loop made of 4 chains, and then around 8 to 12 basic embroidery stitches are worked into it.
How many stitches do you do, Grandma?
I do 10 stitches for my chain stitch project. This is helpful for embroidery stitches 😊
Make sure the working thread (the one attached to the needle) stays under your needle tip as you pull it through. That’s what makes the chain “lock” into place.
Repeat to Make the Chain
You’ve got your first loop—yay! Now, go down into the same hole again (or right next to the last exit point), and bring the needle back up a little forward, just like before. But maintain a dissent gap.
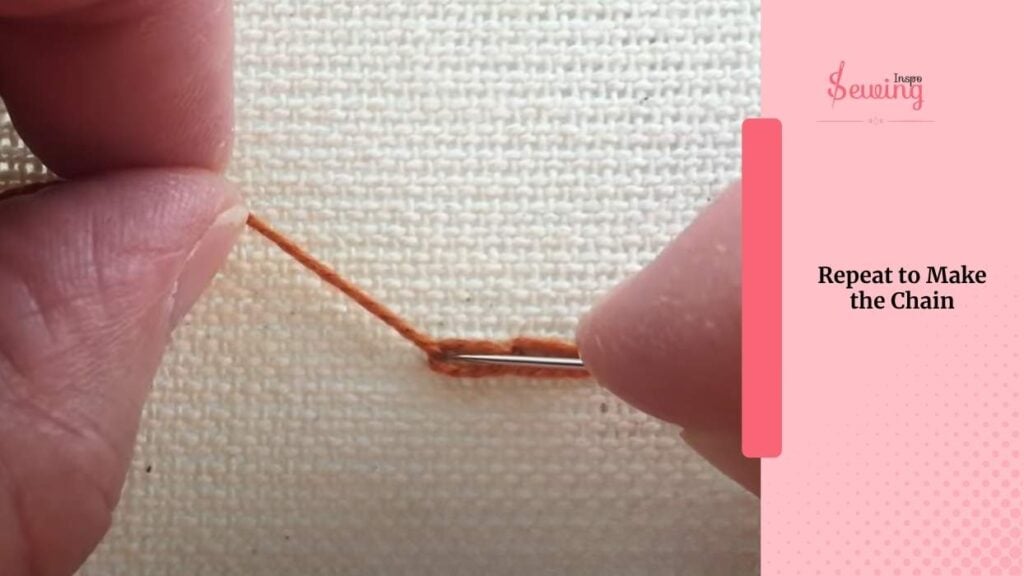
If you’re just practising, then about ¼ inch (6mm) from 1 chain to another chain is perfect for chain stitch.
And again—make sure the needle catches the thread loop. Pull through slowly to keep it neat.
Keep repeating this process to build a lovely linked chain. The more you do it, the more rhythmic and relaxing it feels!
Keep Your Chain Stitches Even
Grandma always said, “The hardest part? Getting each stitch the same length.” And she was right. Sometimes your loops might cross, twist, or look a bit uneven—that’s totally normal at first. Don’t stress. It gets better with practice!
The key is to maintain consistent spacing.
Most stitchers go for a length between 2.0 and 3.0 mm for chain stitch. But if you’re aiming for a more delicate, detailed look, try shortening your stitch to around 1.8 to 2.2 mm. Then 2.5 to 3.5 mm might suit you better for a bolder look.
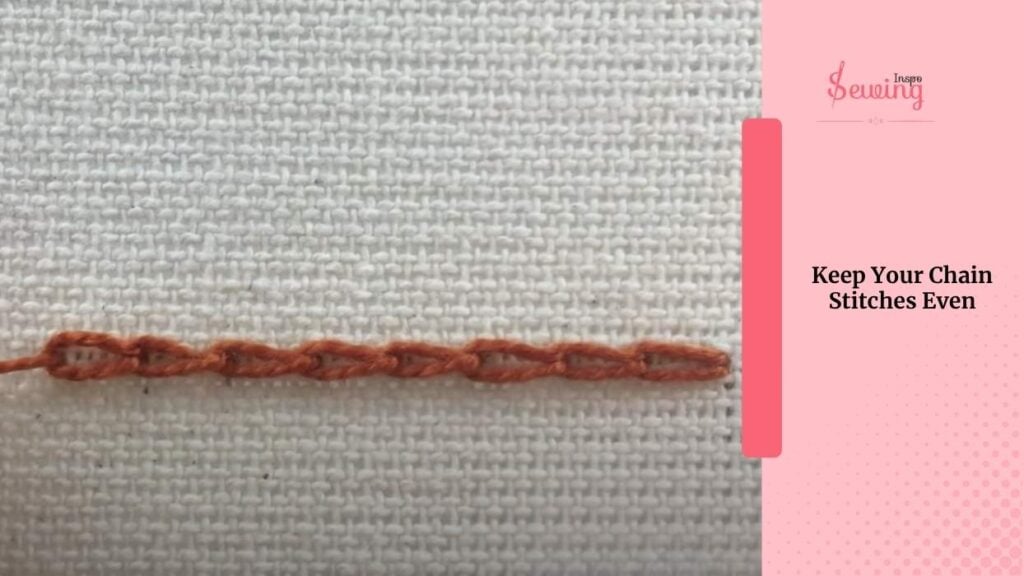
Basically, it all depends on your style and the variation of chain stitch you’re using. Gently guide the loops with your fingers as you go, and let your rhythm find you. Your chain will be looking neat and lovely in no time.
End Chain Stitch With A Thread Knot
Great! You have reached the end of the chain stitch. Now,
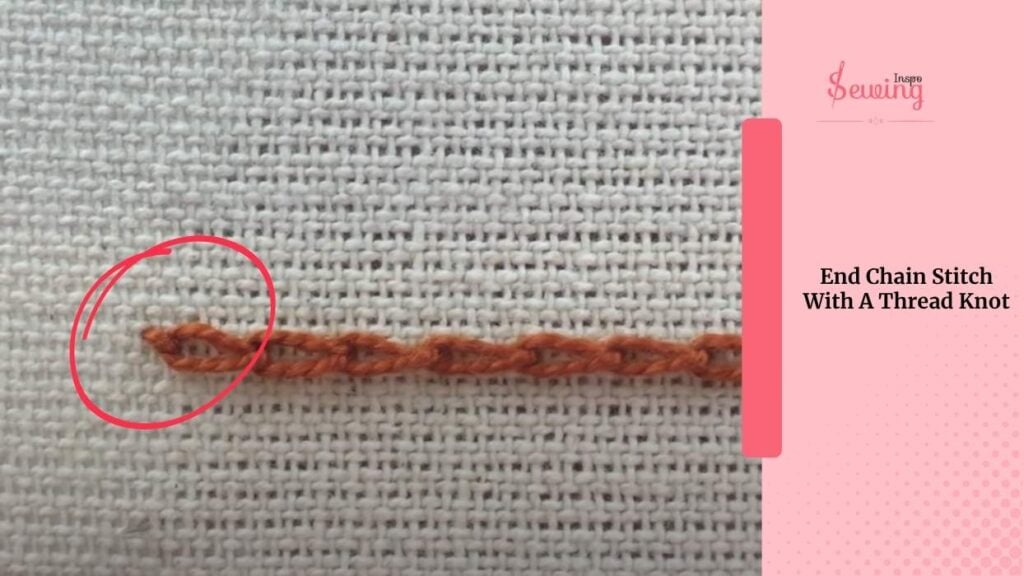
To end chainstitch, you have to create a small loop with the thread. Just like while doing the pick stitch. Pass the needle at 90 degrees through this loop and gently pull to secure it.
Then, insert the needle into the fabric near the end of the last stitch and bring it out a short distance away. Pull the thread through to form a small knot.
You can apply those stitches in overcast stitches by hand too. Trim any excess thread close to the fabric. This will neatly secure the end of the chain stitch.
If you feel you need to watch it practically, then watch this video.
Chain Stitch Tutorial by Amy McClellan!
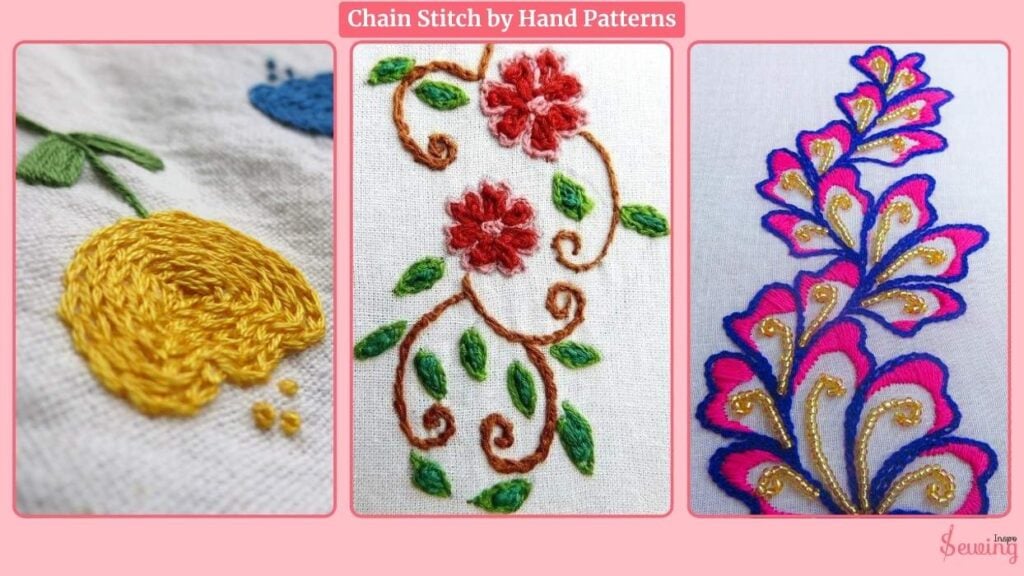
Chain Stitch By Hand Patterns
Chainstitch is an interesting stitch to bring out embroidery on fabric. I tried it myself after my grandma taught me this. Here, have a look.
Chain Stitch Embroidery Letter
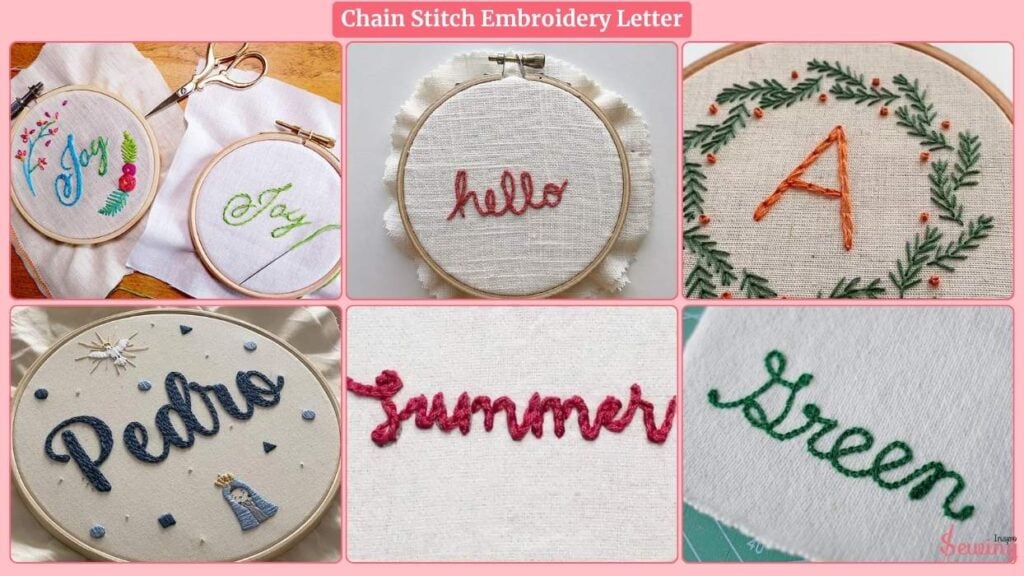
I didn’t just stop by in patterns. I even tried it on different letters. See,
Another Way To Chain Stitch
Grandma showed me a simple way to trend stitch. However, upon researching, I discovered additional methods. Among them, I find these two very eye-catching. So i tried it,
Reverse Chain Stitch By Hand
Reverse chain stitch is like the classic chain stitch,but worked backward! It gives a knitted look, is faster to stitch, and surprisingly easy to learn once you get the hang of it. Here is how i do it,
- Bring the needle up through the fabric and hold your floss with gentle tension.
- Insert the needle just left of the starting point. Leave a small loop (don’t pull it through).
Bring the needle up 5mm ahead, pass it under the loop, and pull gently to secure.

- Insert needle above the previous anchor, form another loop, pull it up through the loop, and anchor again.
- End with one final straight stitch to lock everything in place and tie off underneath.
Detached Chain Stitch
A detached chain stitch is basically a chain stitch that is not connected to the fabric. That’s how it got its name. Here is how it’s done,
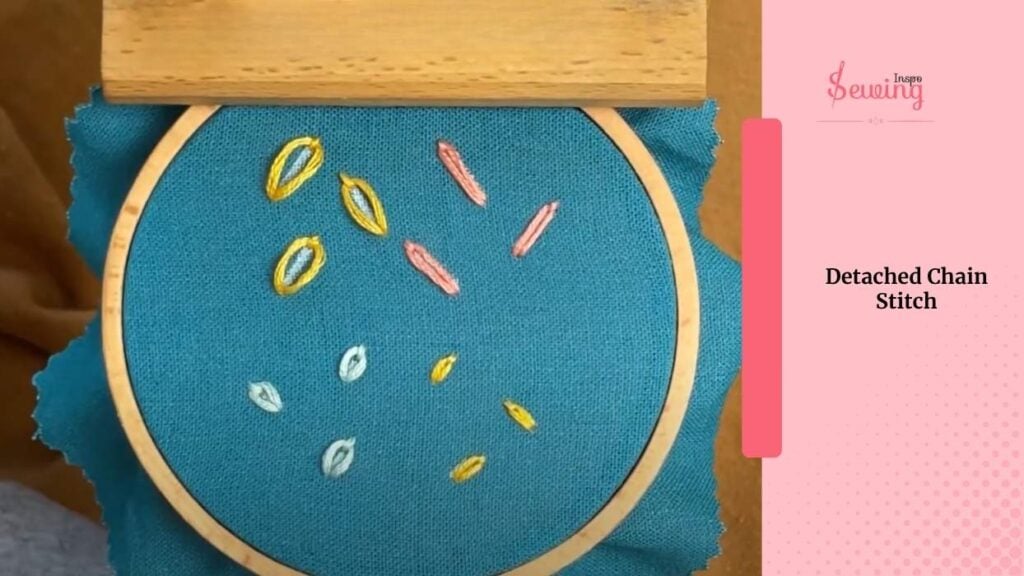
- Use a size 6 needle with 12 wt Aurifil thread. Make sure the fabric is taut in the hoop.
Begin by raising the needle at the base of the petal. - Insert the needle just a thread or two away from the starting point.
- But don’t pull the thread through—let it form a 1–2mm loop.
- Bring the needle up through the fabric at the petal tip (¼–½ inch away), catching the loop to form the almond shape.
- Add a tiny straight stitch over the top of the loop to hold it in place without flattening it.
Cable Chain Stitch
Cable Chain Stitch is a stitch that is rope-like effect by linking small loops together in a closely packed, overlapping pattern. That’s creating a cable chain effect & that’s where it gets its name. Here is how you can do it,
- Bring the needle up through the fabric at the starting point
- anchoring the stitch without pulling the thread tight.
- Hold the thread and wrap it once counterclockwise around the needle to form a loop.
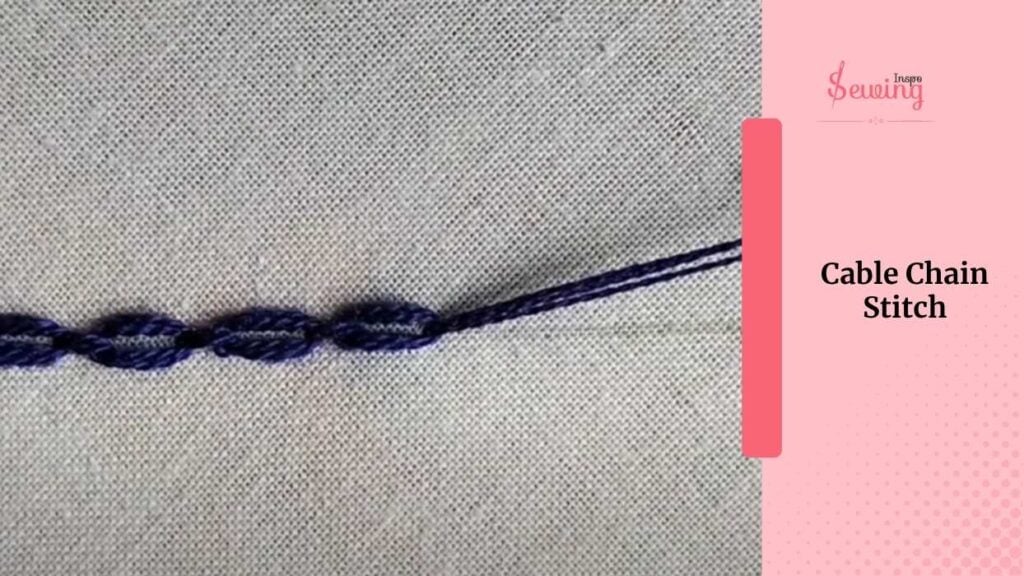
- Insert the needle back at the starting point.
- Then bring it out about 1 inch away along the stitch line to create the cable effect (spacing can be adjusted).
- Wrap the thread around the needle again and gently pull it through to create the twisted cable look.
Repeat these steps to create a continuous cable chain stitch pattern.
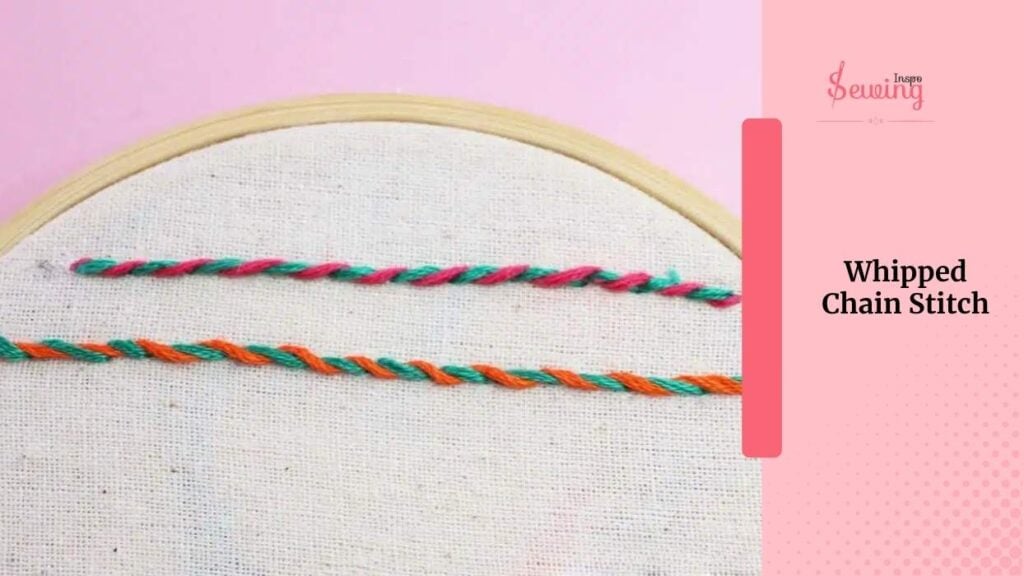
Whipped Chain Stitch
This is a simplified version of the basic chain stitch. It gives a really interesting texture to hand embroidery. Here is how I made it work,
- Use a 6-inch hoop for better control.
- Make a neat row of basic chain stitches
- Bring the needle up next to your first chain stitch (don’t poke fabric again).
- Slide the needle under each chain loop from bottom to top.
- Keep sliding through each loop gently—no piercing, just wrapping.
- Slide under the last loop and tuck the thread into the fabric beside it.
- Lightly pull to smooth the twist.
A rope-like twist between the two rows—textured, decorative, and beautiful!
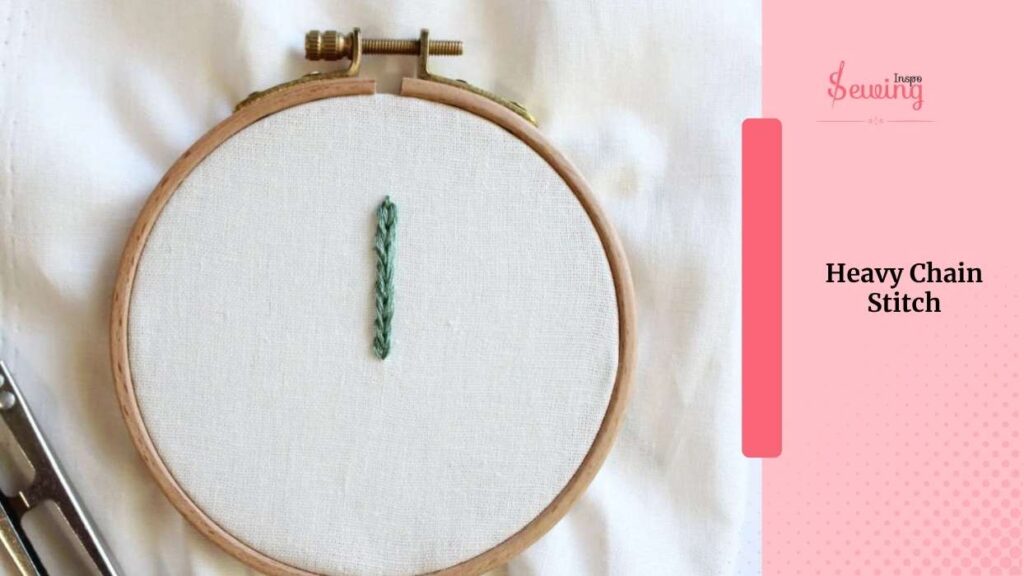
Heavy Chain Stitch
Heavy chain stitch is like the bold, chunky cousin of the regular chain stitch. This is why it’s also called thick chain stitch. Here is how it work,
- Come up through the fabric.
- Make a small straight stitch to anchor the first chain.
- Come up 6–7mm ahead.
- Slide needle under the straight stitch without piercing fabric.
- Go back down the same hole. Pull to form a snug loop.
- Come up a bit ahead.
- Slide under the last anchor stitch.
- Go back down the same hole to form next loop.
- After 2–3 chains, start sliding the needle under two previous chains.
- Always return to the same hole after each loop.
- Repeat: come up ahead → slide under last two chains → go back down.
- This creates the braided, raised look.
- At the end, pass under the last two chains one last time.
- Return to the hole, pull gently to neaten. Done!
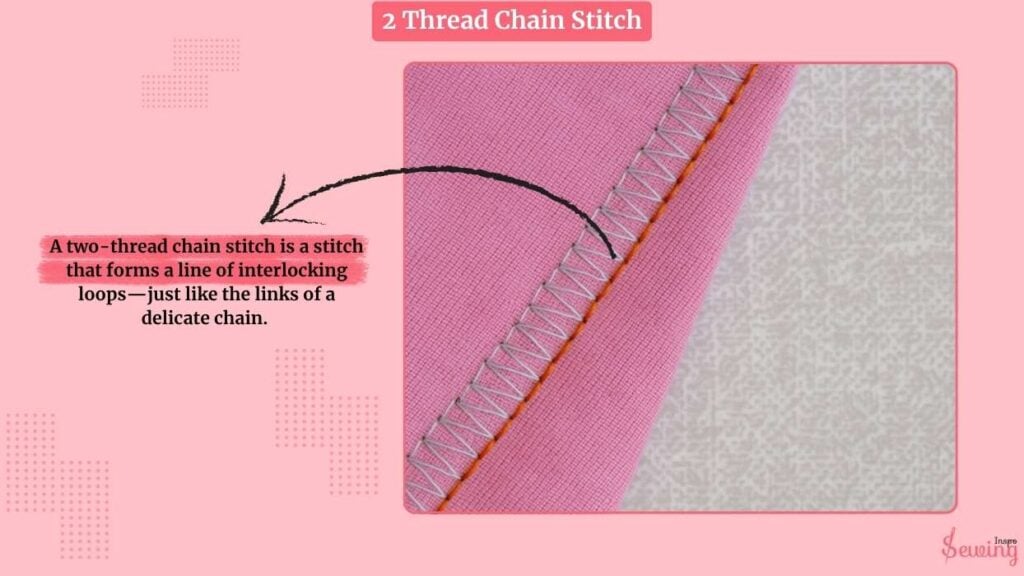
2 Thread Chain Stitch
A two-thread chain stitch is a stitch that forms a line of interlocking loops, just like the links of a delicate chain. It’s loved for its elegant, textured look and is commonly used to outline shapes or add detail to designs.
- Bring your needle up through the fabric at your starting point. This is where your first chain loop will begin.
- Insert the needle back into the same hole (or very close to it
- Move forward about a stitch length, then bring your needle up through the fabric again. But this time, come up inside the loop you just left.
- Gently pull the needle and thread all the way through, tightening the loop until it forms a neat link.
- Repeat the process: go back down in the same hole as the last stitch, leave a loop, come up a stitch-length forward inside the loop, and pull to tighten.
- Each repeat adds another “link” to the chain.
This stitch may look fancy, but once you get the rhythm, it’s surprisingly simple—and incredibly satisfying to watch those little loops come to life! Want me to add illustrations or a tip section next?
Frequently asked questions
What is the difference between a lockstitch and a chain stitch?
A lockstitch uses two threads (top and bottom) that interlock inside the fabric, creating a secure and durable stitch—this is common in sewing machines. In contrast, a chain stitch uses a single thread that loops into itself, forming a chain-like pattern.
How is a chain stitch different from other types of stitches?
Unlike straight or backstitches that are simple lines, a chain stitch forms linked loops, giving it a raised, textured appearance. It’s especially popular in embroidery because it adds decorative flair and flexibility that flat stitches don’t provide.
What is the disadvantage of a chain stitch?
The main downside of chainstitch is that it can easily unravel if the final stitch isn’t secured with a knot or catch stitch. Also, it’s not as strong as lockstitch for heavy-duty seams, making it more suitable for decorative work than functional sewing.
Wrap Up
So, I have taught you how to sew chain stitch by hand.
Now it’s time for your chain stitch!
Buggle up and start your project, and let us know what you have done with this simple stitch.


Leave a Reply