
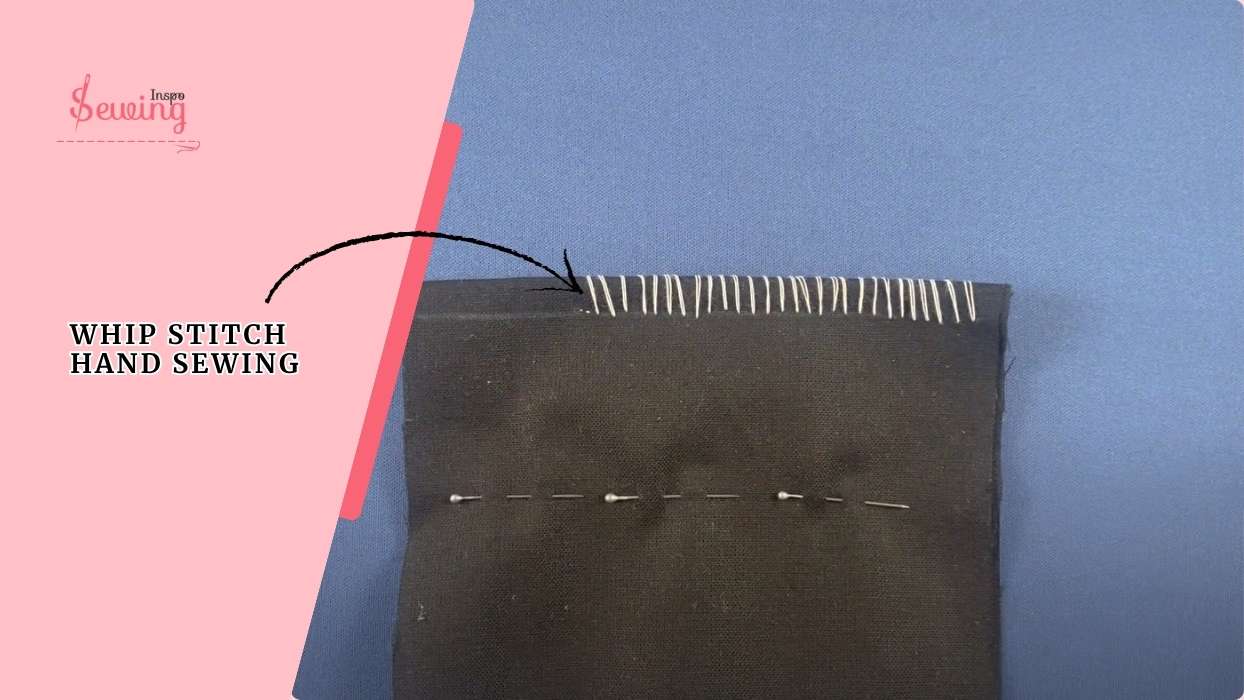
I came to Grandma’s house and saw some stitches looking like overcast and blanket stitches. 🤔 I asked her what it is. She said this is whip stitch. Whipstitch kind of looks like a blanket stitch but it is mostly invisible.
Umm! Tell me how to whip stitch hand sewing then?
She said well-
Whip Stitch
To whip stitch by hand, simply sew over the edge of two pieces of fabric with a needle and thread in a spiral pattern, creating evenly spaced diagonal stitches.
Let’s discuss more about it and get to know this types of stitches a little bit more. Let’s learn how to whip stitch a hem.
A glance at what Grandma taught me:
- Tie a knot at the end of the thread like a looped running stitch.
- Ensure the needle is perpendicular (90° angle).
- Tuck visible knots into the seam or trim them close for a clean finish.
Table of Contents
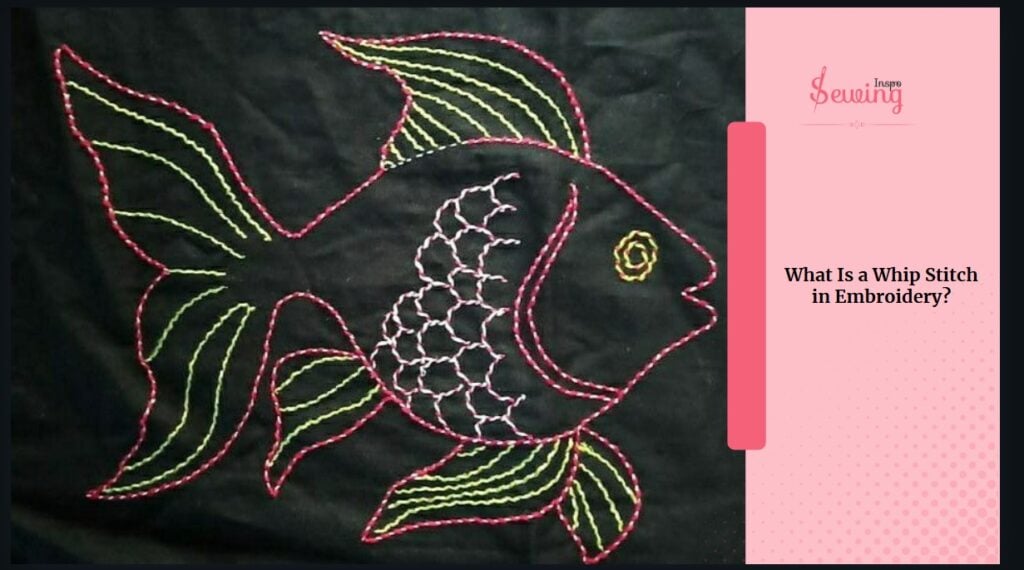
What Is A Whip Stitch In Embroidery?
A whip stitch is a stitch in which you loop the thread over the edge of the fabric in a circle motion to join two pieces or to finish raw edges. It basically whips the fabric with thread.
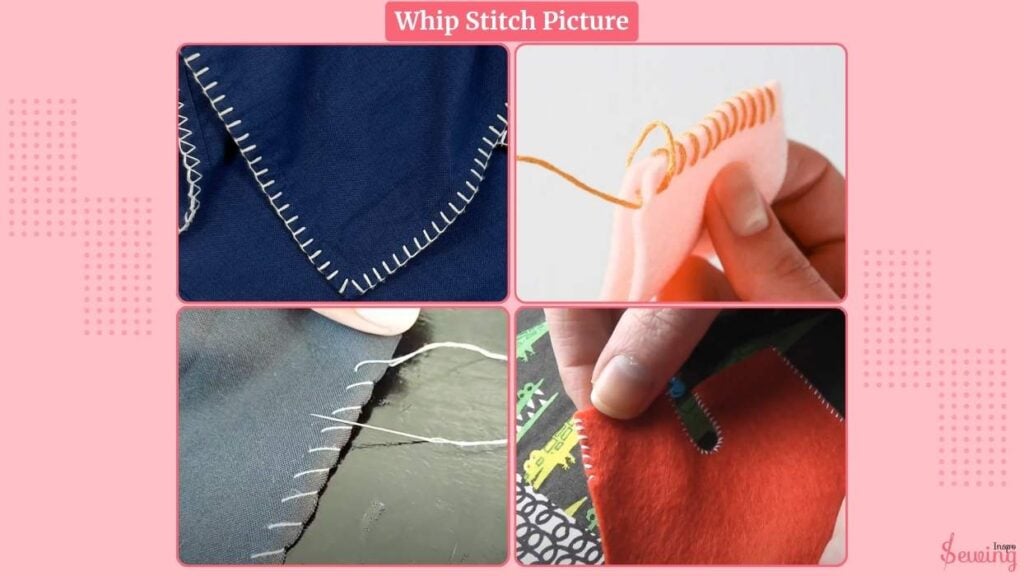
Whip Stitch Picture
I know that even if I write 1,000 words explaining their looks, some things will surely slip through your mind. Or you won’t exactly understand what I’m talking about. So here are some pictures of the whip stitch. You won’t be confused this with slip stitch, for sure.
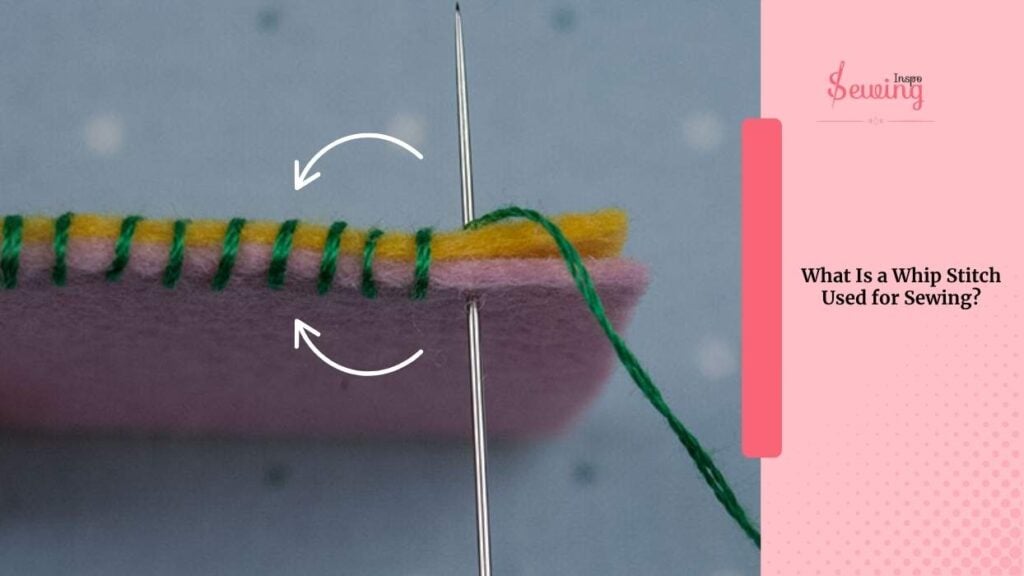
What Is A Whip Stitch Used For Sewing?
A whip stitch is ideal when sewing two fabric edges together. I mostly use it when I need to close a hole or finish a seam. It’s mostly used for hemming, patching holes, or even sewing stuffed toys shut. This can be a good alternative to saddle stitching.
How To Whip Stitch By Hand?
To do a whip stitch, follow the steps below,
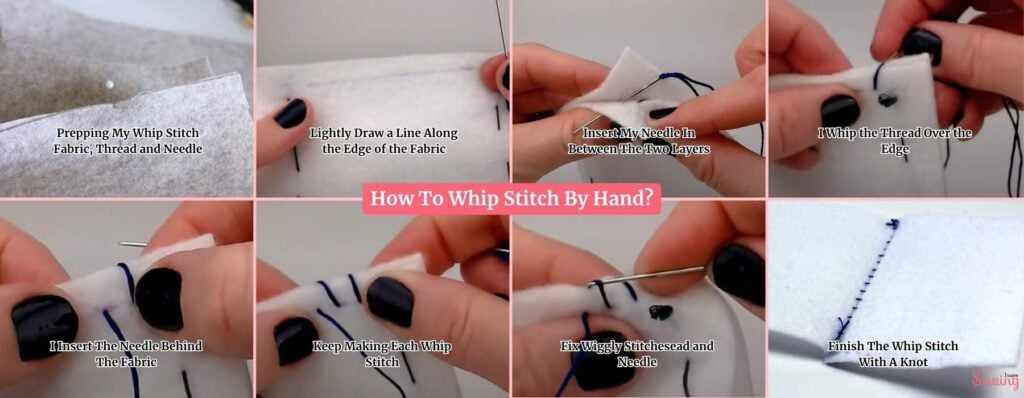
Prepping My Whip Stitch Fabric, Thread And Needle
Alright, I’ve got my two pieces of fabric—felt is perfect for this because it doesn’t fray and holds the stitches nicely. And I got a thread size that is 2.5 times the length to be sewn, or possibly more. That’s perfect for hiding the knot so it doesn’t show on the outside.
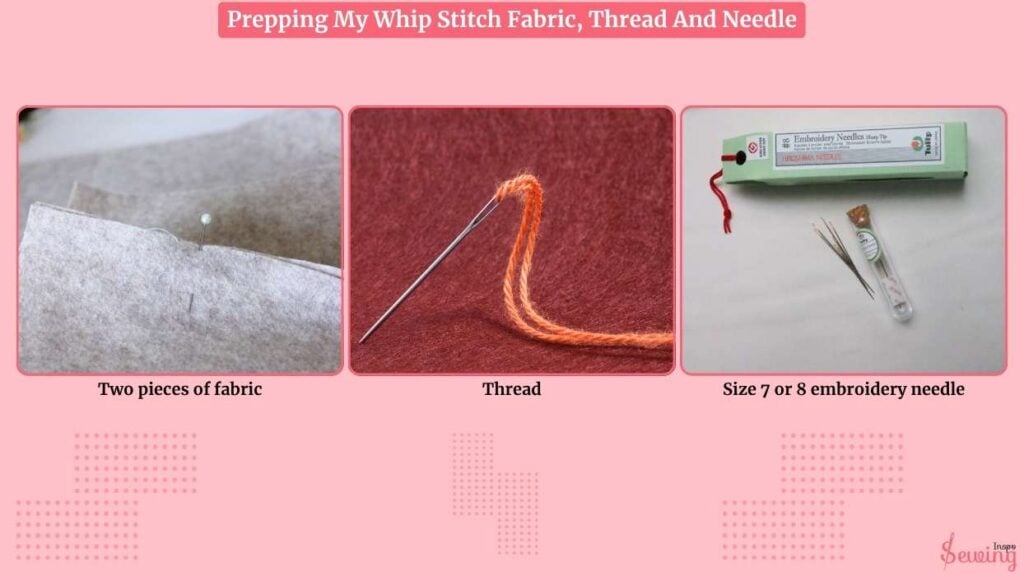
Then I’ve got the right needle, because trust me, it makes a difference! Like using right needle makes correct half loop top stitch.
For whip stitching, a size 7 or 8 embroidery needle (also known as a crewel needle) works well. These have a long eye, which makes threading super easy.
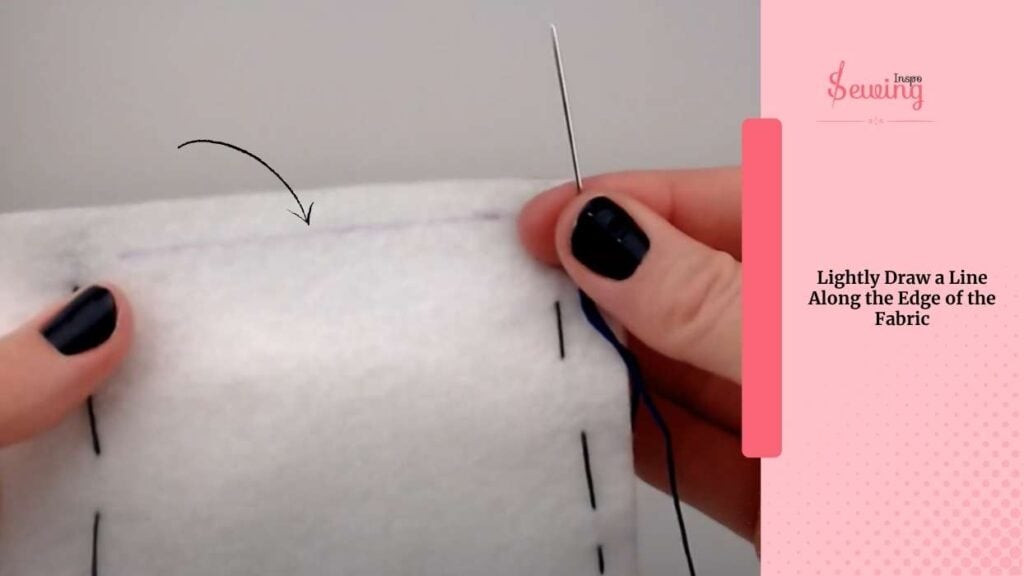
Lightly Draw A Line Along The Edge Of The Fabric
Now, to keep my stitches straight, I lightly draw a line along the edge of the fabric, about 1/8 to 1/4 inch in from the edge. If I want consistent spacing, I could mark little dots on the line every 1/4 inch or so.
But today I’m just eyeballing it. Some people even mark their finger or use a tiny piece of cardboard as a guide for spacing.
Insert My Needle In Between The Two Layers
So I start by inserting my needle in between the two layers, close to where I want my first stitch to begin.
Push the sewing needle over the raw edges to the right side, either straight across or at a diagonal about 3/8” away, depending on your chosen method. Insert your needle ¼” from the raw edge, like doing tacking stitch.

This way, the knot stays sandwiched inside the two layers—nice and hidden.
I Whip The Thread Over The Edge
I whip the thread over the edge of the fabric and bring the needle through again from the back to the front.
If I want to be extra precise, I can mark this line at regular intervals, say, every 3/8 inch or so. That spacing looks clean and gives the stitch room to show without crowding.
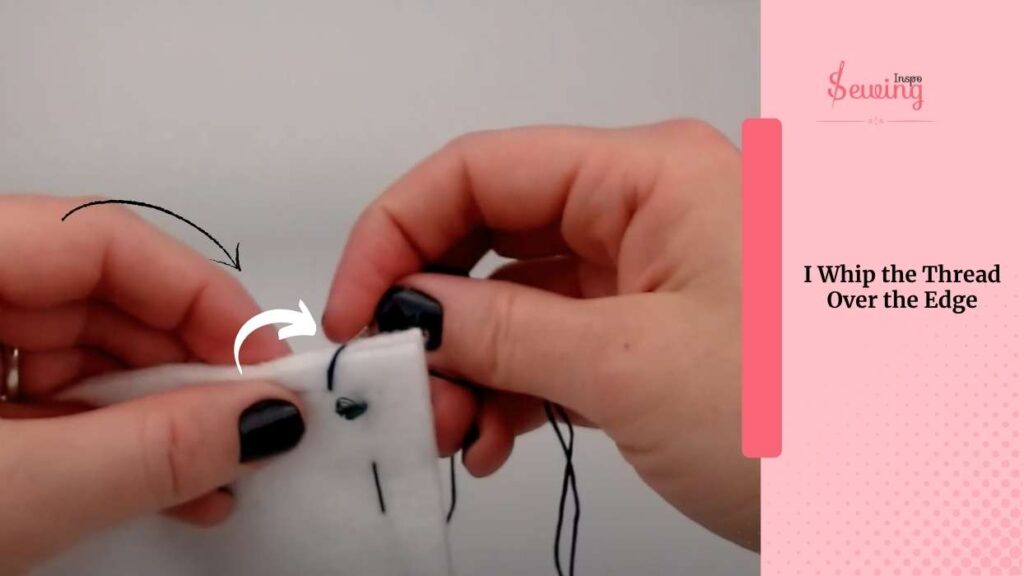
Super simple, but surprisingly effective! Others use a piece of cardboard cut to the right spacing and just move it along as they go.
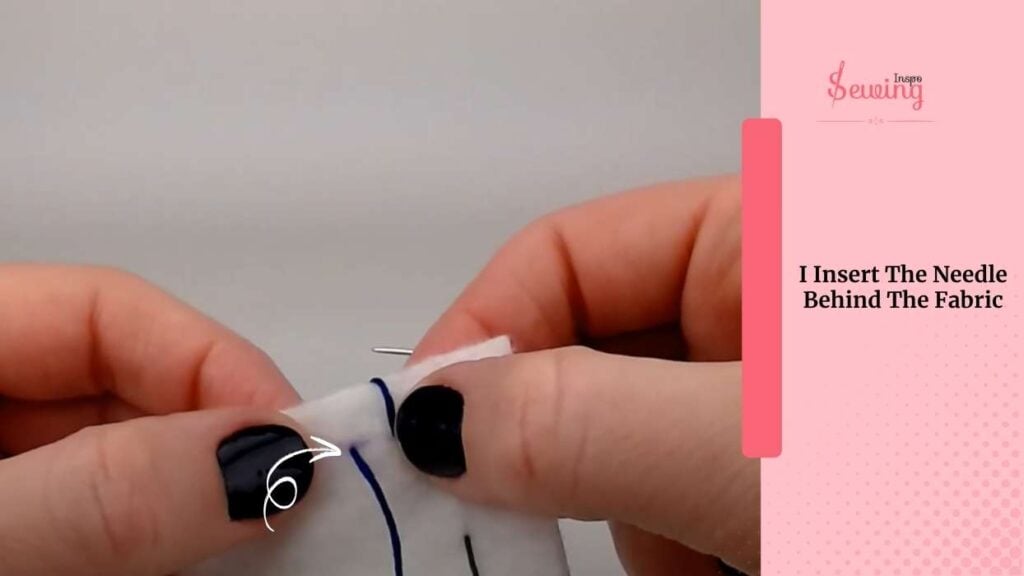
I Insert The Needle Behind The Fabric
I insert the needle behind the fabric edge and bring it up and through to the front again, a tiny space to the side of my first entry point, following that guideline I drew. Each time, my thread loops over the fabric edge.
It’s wrapping the edge, as if I were binding it up.
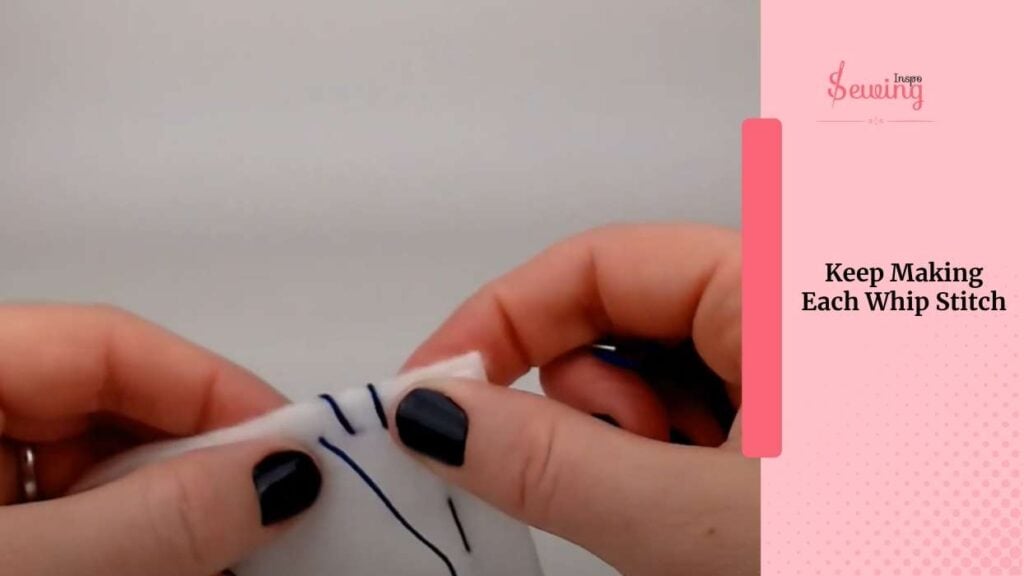
Keep Making Each Whip Stitch
Now I’m settling into a rhythm. For every new stitch, I take the needle from the back of the fabric (bottom layer) and bring it through to the front, making sure it pops out on the line or very close to it.
What’s important here is consistency and maintaining the right length of whip stitch-
Typically, whip stitches are about ¼ to ⅛ inch long (0.3 cm to 0.6 cm). But the spacing between stitches should match the size of your project. Small projects need small stitches, and larger projects can handle bigger ones. Just remember that if your stitches are too far apart, the stuffing in felt crafts may start to come out.
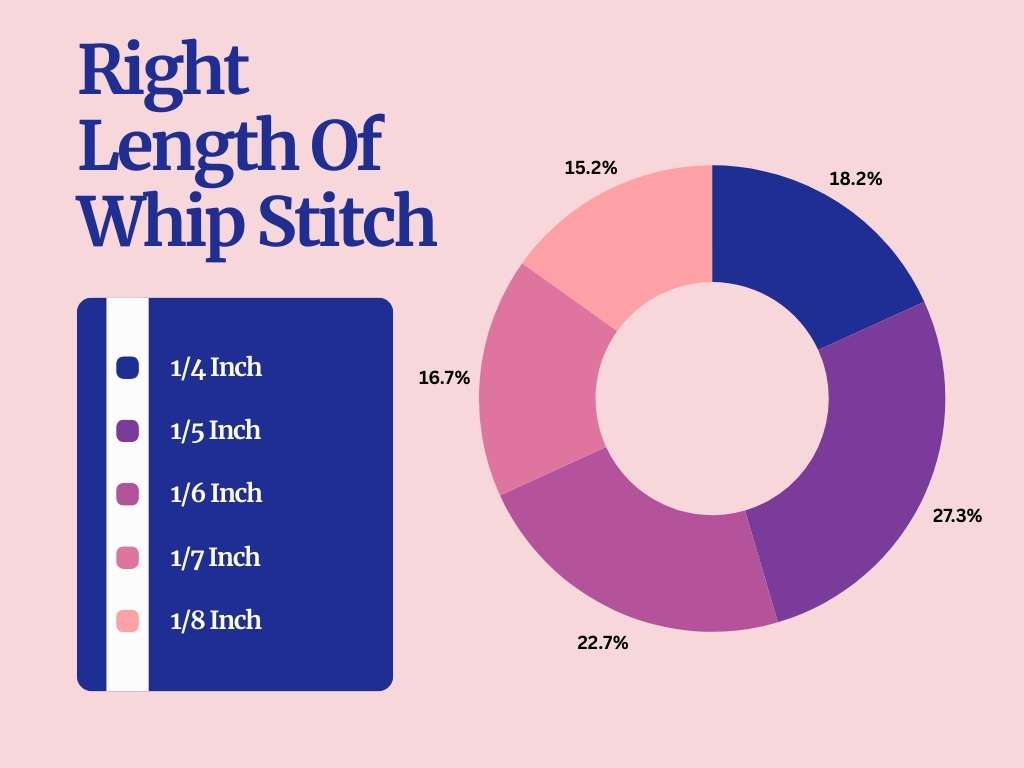
⅕ inch is the perfect length of whip stitch.
As you continue, ensure your needle remains perpendicular. Secure your thread, then take a small bite out of your fabric, about two or three threads, and keep going with the stitch for sewing. You do use the back stitch technique here.
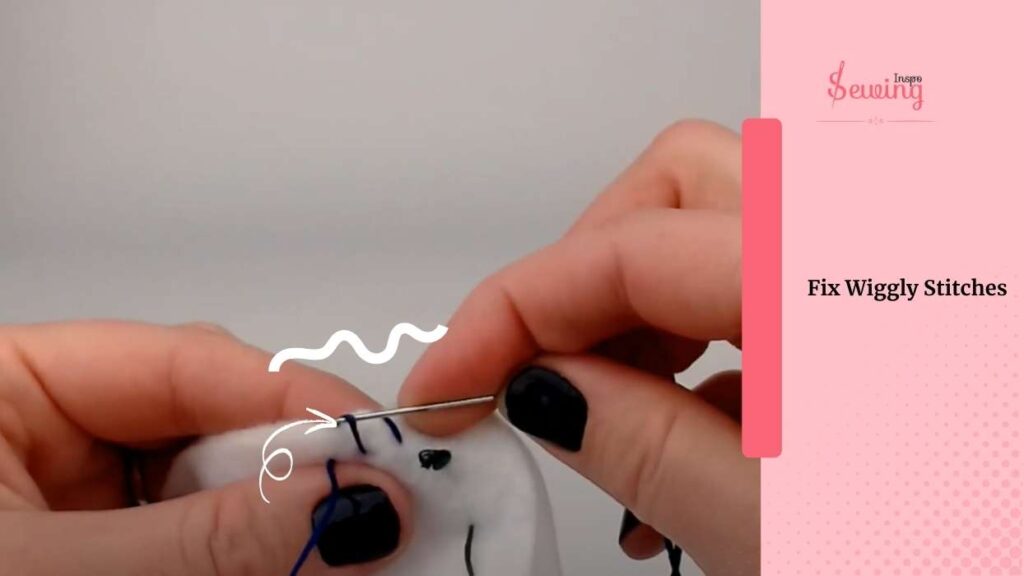
Fix Wiggly Stitches
Sometimes the stitch lands a little off—maybe it’s looser than the others or didn’t sit quite right. No problem!
I can just gently tug the thread or adjust it with my needle tip until it looks neat again.
If I totally mess one up, it’s easy to undo it and redo just that part—another reason I love this stitch for visible edges or hand-finishing projects.
Finish The Whip Stitch With A Knot.
Once I’m done stitching all the way around or across the area I’m sewing, I need to secure the thread using the tie-off method.
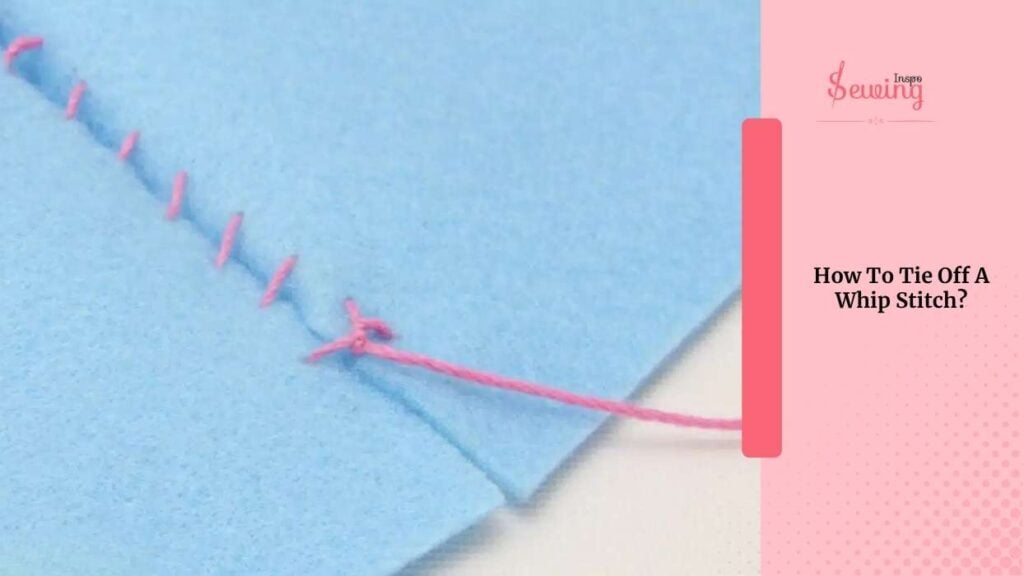
Well, So How To Tie Off A Whip Stitch?
To tie off a whip stitch, I tuck the needle through the last loop I made and pull it tight to create a small knot. Then I slide the needle into the fabric layers again, just like at the start, and guide it between the two layers for about an inch.
I snip the thread close, and boom—the tail disappears inside, no loose ends showing like ladder stitch.
Now my whip stitch is not only strong and tidy, but it also looks great from both sides!
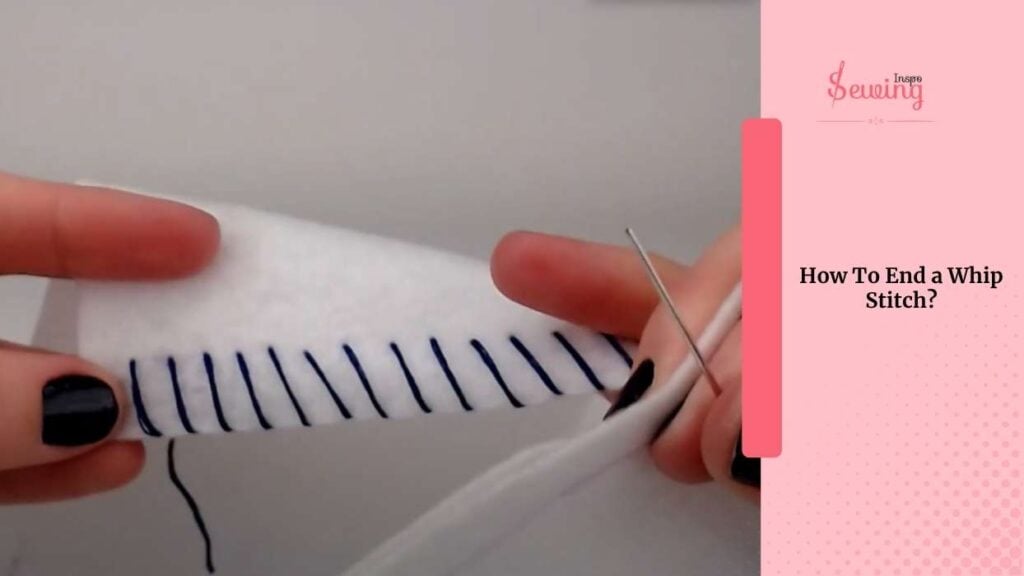
How To End A Whip Stitch?
Another way to end a whip stitch without tying off a whip stitch is to secure the thread by weaving it through the last few stitches. After your final stitch, slip the needle under 3–4 of the previous whip stitches along the edge, pulling the thread snug.
Then, tuck the needle between the fabric layers, if possible, and trim the thread so that the end is hidden with no visible knot and it stays in place.
How To Whip Stitch Left Handed?
If you’re left-handed, no worries, just reverse the direction of the stitch!
Instead of stitching from right to left (like right-handers do), you’ll go left to right. Hold your fabric so the edge you’re stitching runs left to right in front of you.
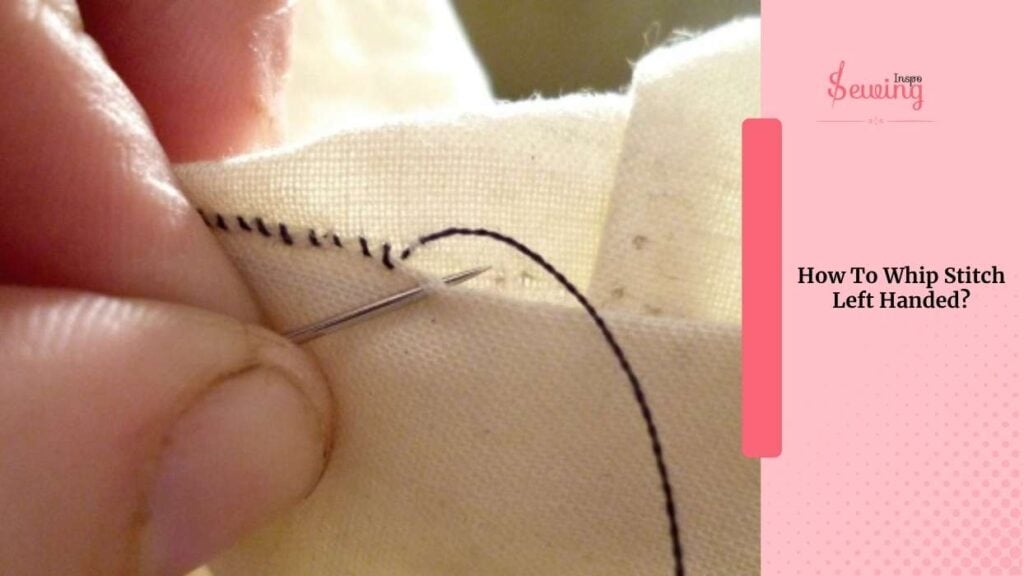
Bring your needle from the back to the front, looping over the edge, and keep working in that direction. The motion is the same, just flipped! Everything else stays the same: spacing, tension, and finishing steps.
Wanna learn more joining stitch like this then read how to sew a lock stitch by hand.
Frequently asked questions
Is Mattress Stitch The Same As Whip Stitch?
No, mattress stitch and whip stitch are different sewing techniques used for distinct purposes. Mattress stitch is commonly used in sewing and knitting to join two pieces of fabric or knitted panels with nearly invisible seams.
What Is The Difference Between A Whip Stitch And A Blanket Stitch?
The main difference between a whip stitch and a blanket stitch lies in their purpose and appearance. A whip stitch is used to join fabric or finish edges with diagonal stitches that loop over the fabric edge. It’s straightforward and functional. A blanket stitch is a decorative technique primarily used for edging fabrics or felt.
Now It’s Your Turn
So I show you how to whip stitch hand sewing. Now it’s your turn to try it out and share with us whether you succeed. And if you got stuck, feel free to reach out to sewing inspo.


Leave a Reply