
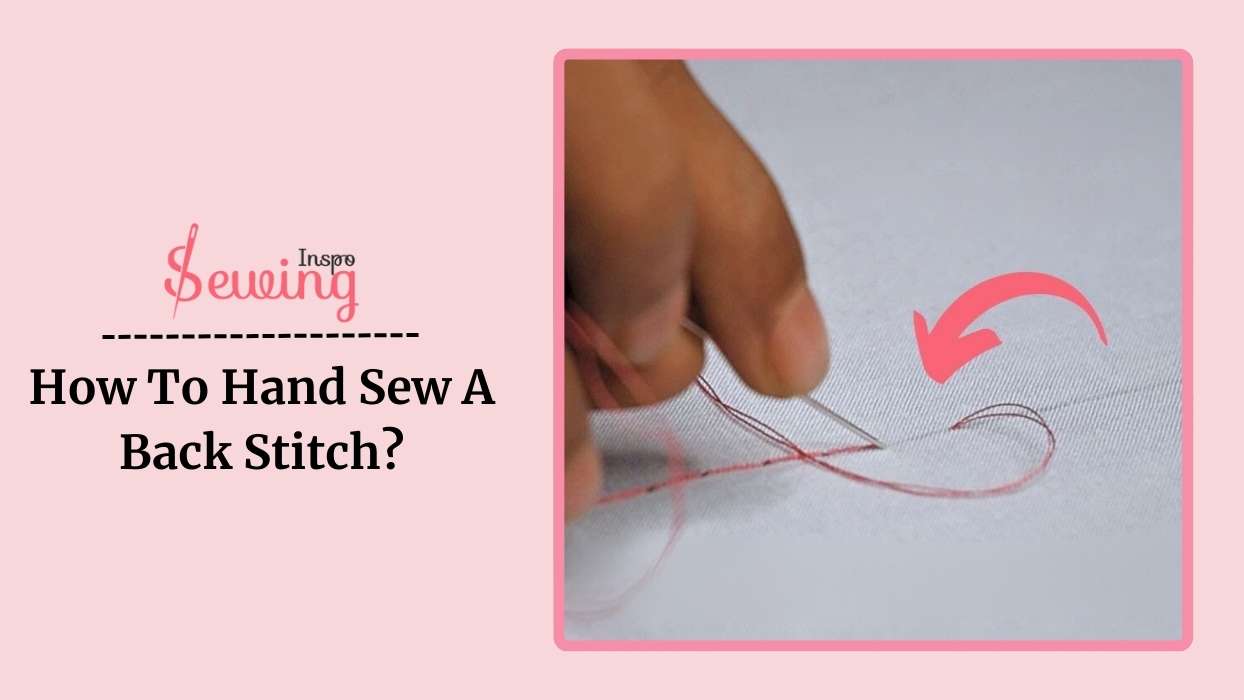
I was noting all types of stitches for my sewing book. That’s when I found out that the backstitch is the strongest hand sewing stitch.
But I wasn’t convinced about it 🤔 cause it kinda looks like Straight Stitch, so how can it be strongest? 😒

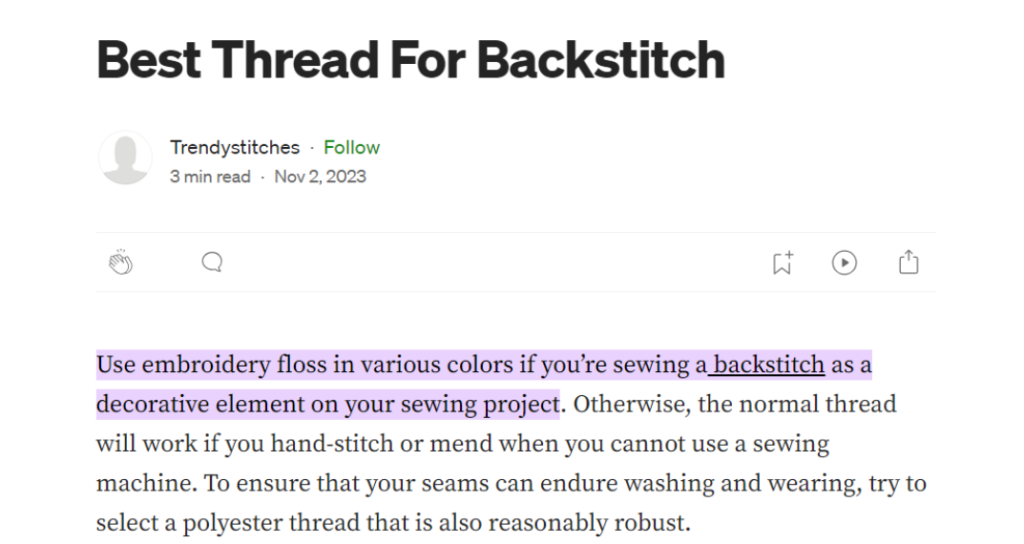
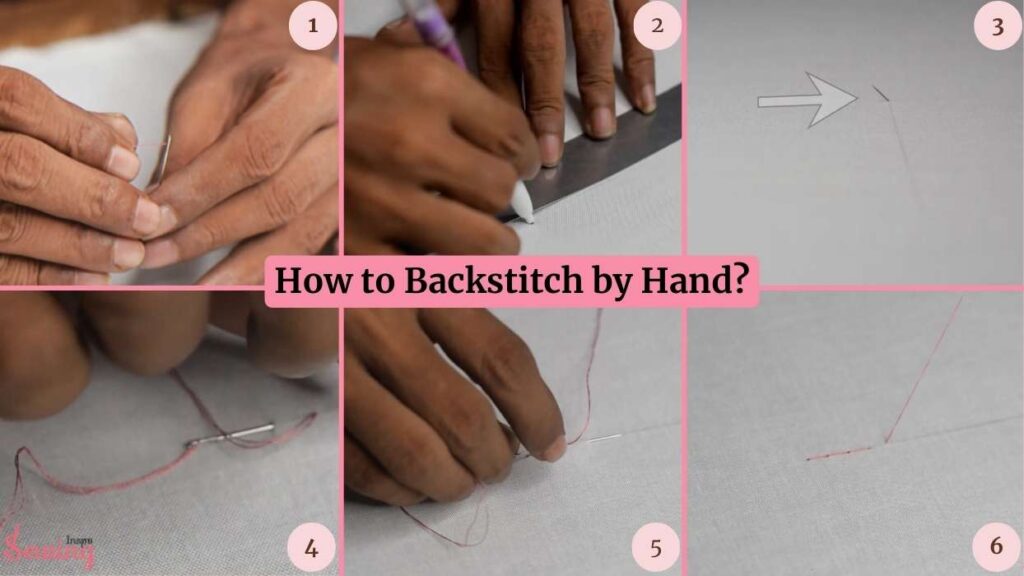
So, I decided to give it a try and see for myself. So, I thread my 1.25-inch needle to do backhand stitch. It’s also perfect to end stitch.
I’m using 6 stands of embroidery floss thread for the backstitch. You can even use 0.6 or 0.8 poly thread for back stitch hand sewing, too. I got everything so let’s start with back stitch steps.
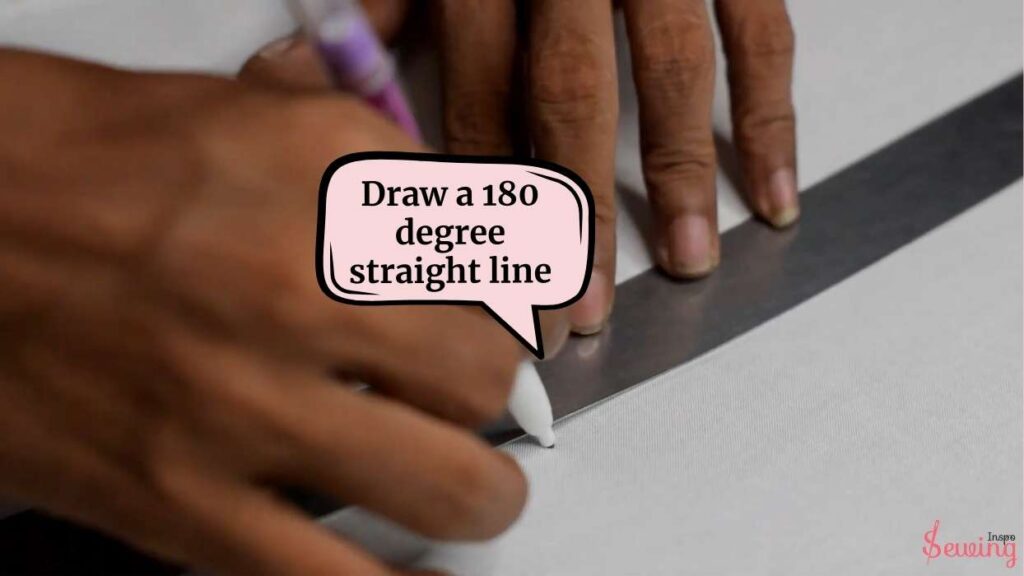
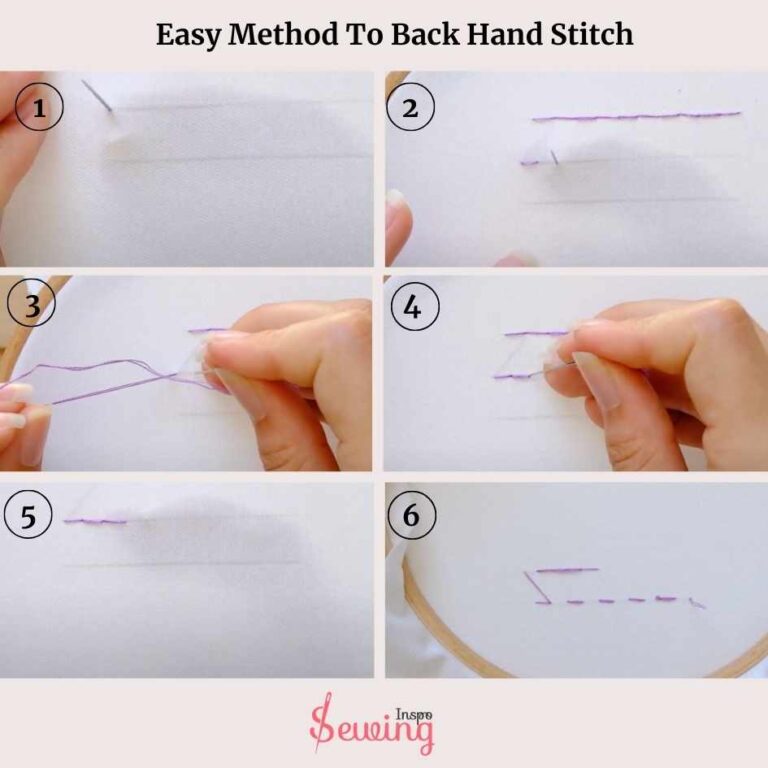
Then, I grab a piece of cotton fabric and draw a 180 degree straight line. Drawing a line isn’t necessary. But I did it to maintain the right length of the backstitch. I even use this trick in saddle stitch leather.
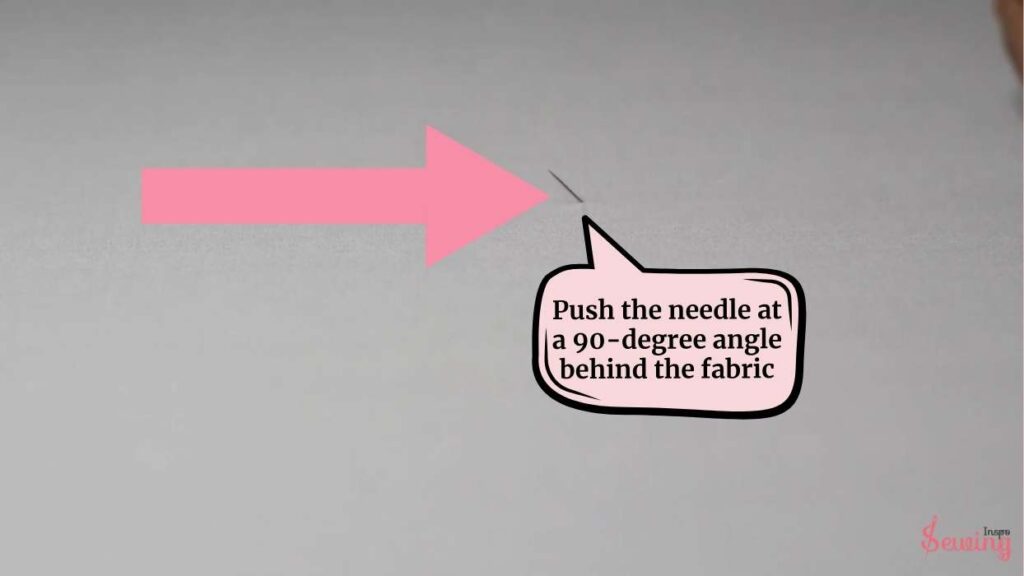
To do the stitch, I push the needle at a 90-degree angle behind the fabric. Push the needle through ½ inch. And pull it all the way through to the back. This is my first stitch. Just like I did it in hand sew buttonhole.
I’m not doing the backstitch to make any fancy patterns, but I need to maintain the right gap to get the strongest stitch.
To do that,
I maintain a half-inch space between stitches. From the point I made, I pushed the needle back up through the fabric, maintaining that gap. For this backstitch hand sewing, I usually keep the length of the stitches around 4–6mm, so a half-inch space works perfectly. If you maximize the length a little, then it becomes a prick stitch by hand.
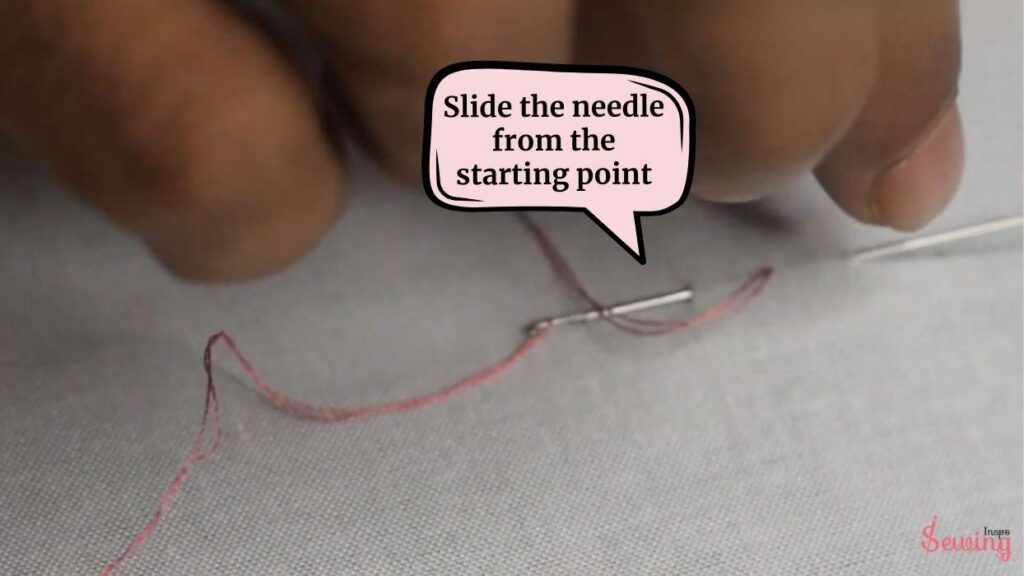
Keeping that in mind, I slide the needle from the starting point through the 1st stitch & 4mm above, too. Like this 👇 That loop makes backstitch the strongest hand stitch than any other. That’s why it is use to mimic machine stitch.
I repeat this process to complete the full backstitch by hand. Keeping each stitch the same length and maintaining a consistent gap. It’s a simple process, not so complicated as blanket stitch by hand or saddle stitch.
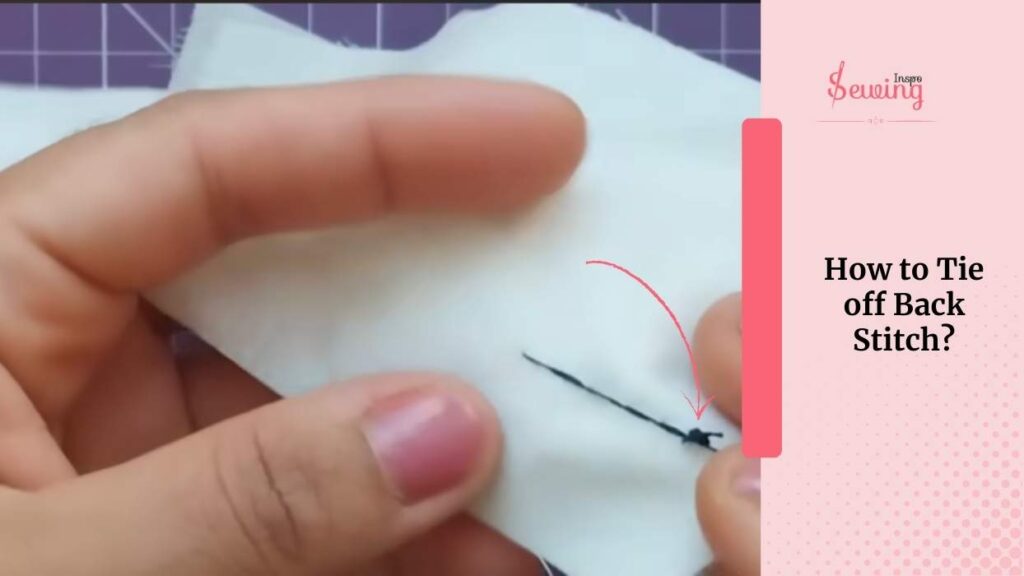
So, how to end a backstitch?
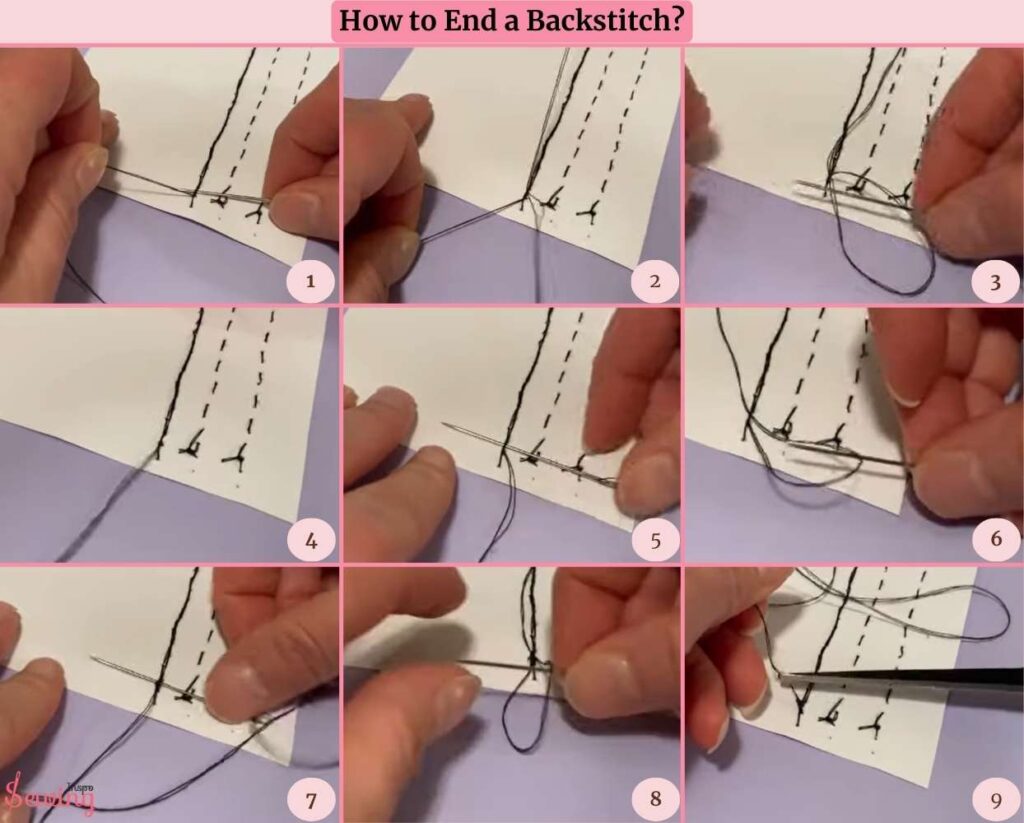
To end my backstitch, I return to the last completed stitch and slide my needle under it. As I pull the thread through, I create a small loop. Then pass the needle through that loop in the same direction.
I pull it tight to secure it and repeat this process 2\3 times to ensure it’s secure. Finally, I trim any excess thread, and my backstitch is finished!
That’s it! That’s how to backstitch by hand. At first, I wasn’t convinced why it is the strongest stitch for hand sewing. But now I get it. The thread looping over the fabric makes the backstitch the strongest stitch.
Since I learned how to Hand sew A back stitch, I did whenever I needed something to secure rather than doing a tacking stitch. It holds the fabric the way you want.
And while experimenting surprisingly, I even found some alternative ways to do backstitch. Here is how-
As usual, I push my needle through the fabric to make the first stitch. Then, instead of pushing the needle through from the back, I bring it out from the right side of the fabric. This is the key difference in this technique.
I move forward by the same stitch length, then return to the hole I made with the previous stitch. This creates a solid line on the front and a covered surface on the back. I continue this pattern stitch forward, then back to the last hole.

I adjust my stitching as needed, sometimes pulling the thread through after a few stitches or returning to the closest hole each time.
That’s how you can change the technique depending on the types of backstich and your embroidery stitch needs.
How To Tie Off Back Stitch?
After you reach the end, you need to tie it off nicely. So that your backstitch stay still. Here is how to do it,
- Repeat the last stitch 2–3 times to secure the end.
- Pull the thread to make a small loop, pass the needle through the loop, and pull tight to form a knot.
- Use sharp scissors to trim the thread close to the knot.
- Cut a 15–20 inch thread (adjust based on your project size).
Twist the thread around your finger, roll it off, and tighten to make a knot at the end.
Fold the thread in half and pass the loop through the needle’s eye for neater stitching.
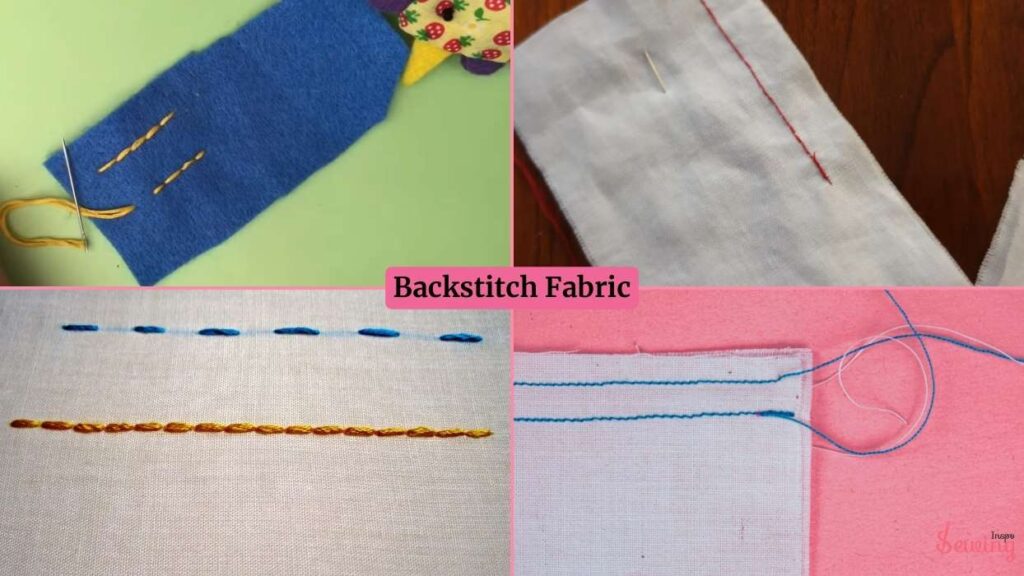
It’s easy to use and works on almost every kind of fabric. But if you still want a list, then here is a backstitch fabric list-
- Woven Cotton
- Hapa Fabric
- Wonder Ground Fabric
- Soflo Fabric
- Whimsical Fabrics
Watch Back Stitch Tutorial. If you need clarification on anything, then watch my video tutorial. I have shown the steps visually and easily. Anyone from beginners to experts can learn from it.
How To Do Back Stitch Hand Embroidery Beginner To Advance Tutorial


Leave a Reply