
One of my favorite t-shirts ended up with what I like to call a “sunburn.” Over time, the fabric got weaker from constant sunlight, sweat, and repeated washing.
Cotton, especially, tends to thin out when exposed to UV rays, and eventually the fibers break down.
The result?
A tiny circular hole right in the middle of my shirt.
At first, I thought that was the end of it. I was ready to throw it out. That’s when Grandma comes in and says, ‘No, just sew the hole & it will be like new.’ I asked, confused, how to sew a circle hole by hand?
She said it is easy.
Circle Hole
To sew a circle hole by hand, secure the edges with small whip stitches, then carefully close the gap using tight, even stitches that follow the curve.
After hearing her say, I realize sewing circle holes by hand is a little different from fixing a straight tear. It requires working in small, curved stitches that blend into the fabric. So I went on trying it by myself.
Table of Contents
What Causes A Circle Hole In Fabric?
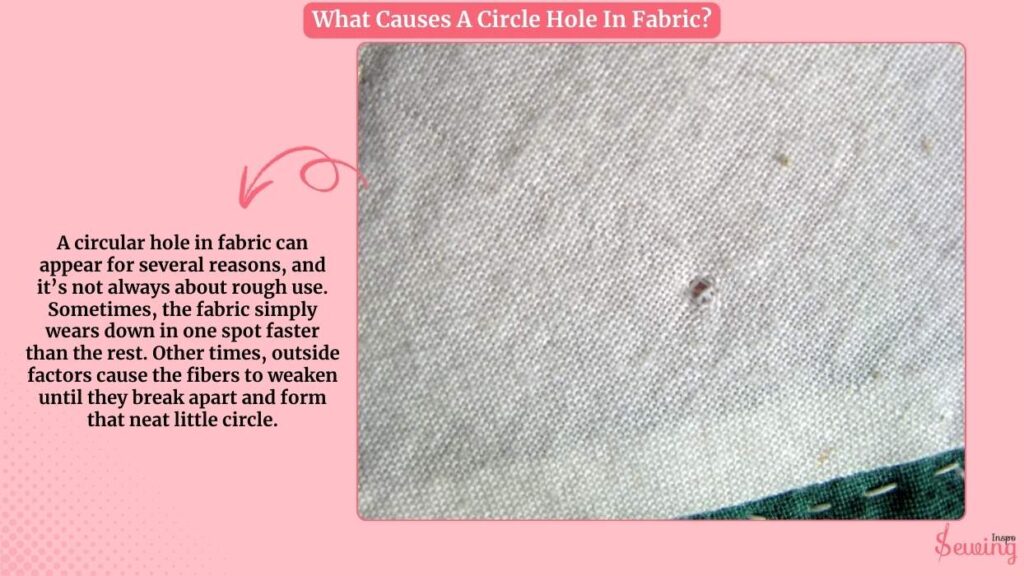
A circular hole in fabric can appear for several reasons, and it’s not always about rough use. Sometimes, the fabric simply wears down in one spot faster than the rest. Other times, outside factors cause the fibers to weaken until they break apart and form that neat little circle.
Here are the most common causes:
- Sun damage
- Friction and wear
- Washing and drying
- Insects
- Fabric quality
So, if you notice a perfect little hole in your favorite shirt, it’s usually your fabric’s way of saying, “I’ve been through a lot!”
Types Of Circule Holes In Fabric
Not all circle holes in fabric are the same. The way the hole looks can actually tell you a lot about what caused it. Some are clean and neat, while others look frayed and messy. Knowing the type of hole helps you decide how to sew up a hole in clothes.
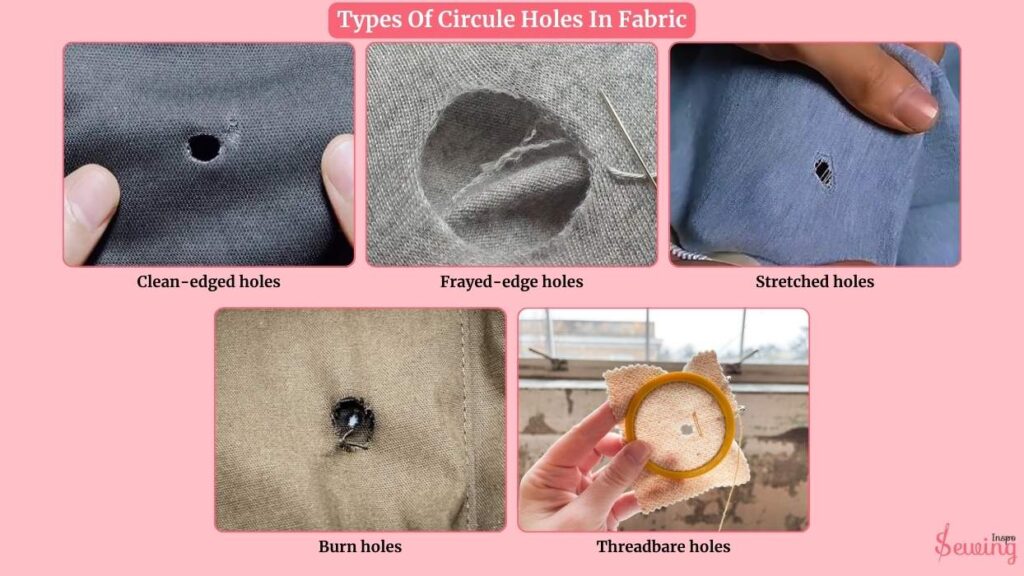
Here are the main types of circular holes you might find:
| Type of Hole | How It Looks | Common Causes |
| Clean-edged holes | Neat edges, little to no fraying | Insects (moths), sharp objects |
| Frayed-edge holes | Fuzzy, uneven edges with loose threads | Washing, sunlight, everyday wear |
| Stretched holes | Wide opening with pulled or loose threads | Fabric overstretching (knees, elbows, seams) |
| Burn holes | Crisp or scorched edges, stiff fabric around hole | Heat exposure, ironing accidents, chemicals |
| Threadbare holes | Soft, thinning fabric that eventually opens up | Long-term wear, friction in high-use areas |
Each type needs a slightly different approach when sewing, but all of them can be fixed if caught early. Now that you know what type of hole you got. So now let’s get into fixing it.
How To Sew A Circle Hole By Hand?
Not every circle hole is the same, and the way I repair them depends on the type. Over time, I’ve learned to “read” the fabric. Its edges, texture, and wear pattern tell me exactly what approach will work best. Here’s how I usually fix the sunburn:
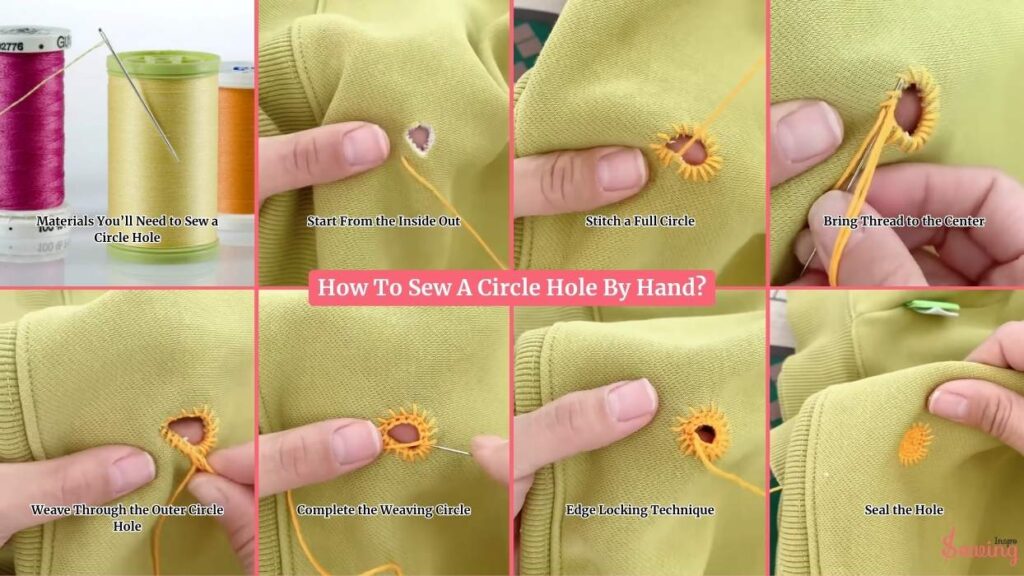
Materials You’ll Need To Sew a Circle Hole
Before jumping into fixes gather those tools,
- Thread: Match the fabric color for an invisible fix, or use a contrasting color for a creative sunburst effect. For lightweight fabrics, I use 60 wt cotton or polyester thread; for medium-weight fabrics, 40 wt works well.
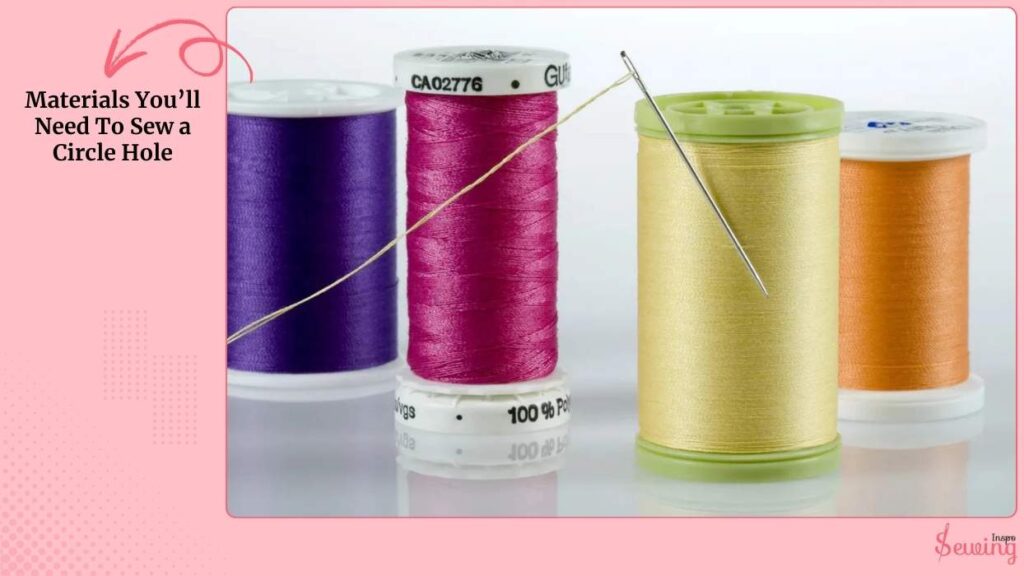
- Needle:
- Light fabrics use a Sharps needle size 9–11
- Medium fabrics use a Sharps needle size 7–9
- Heavy fabrics (denim, leather) use a Darning or embroidery needle, size 5–7
- Scissors: Small embroidery scissors for trimming loose threads.
- Optional: Thimble for thicker fabrics, and pins to hold the area flat.
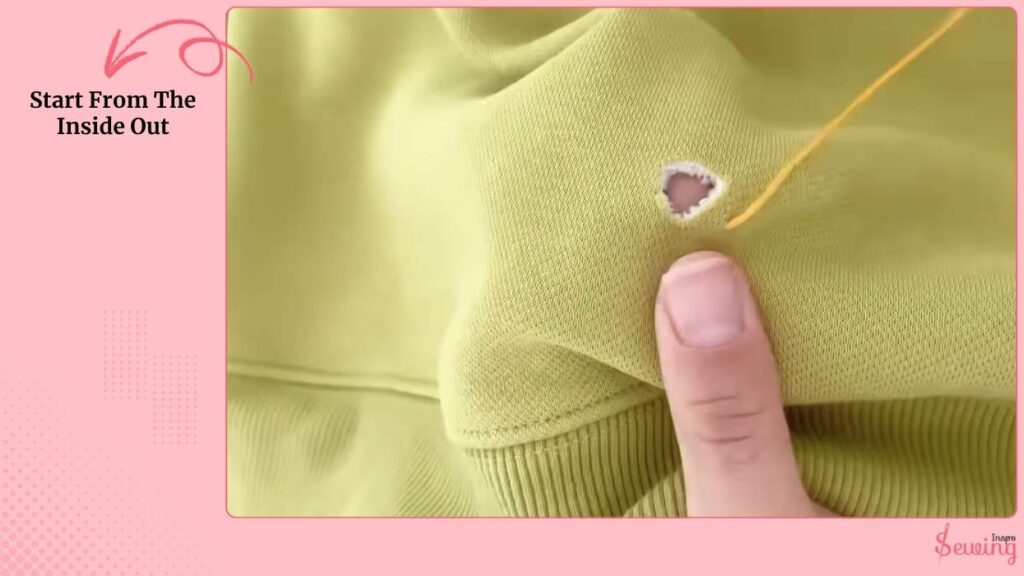
Start From The Inside Out
Bring your needle from the inside of the fabric out through the edge of the hole. This keeps knots and excess thread hidden on the inside for a cleaner finish.
Stitch a Full Circle
Sew evenly around the hole, keeping spacing consistent. Hold at about 45°, entering the fabric just outside the hole.
But
This is where thread choice matters. Pick a colour that matches the colour to make the repair blend in, while a complementary colour can add a decorative “sunburst” effect.

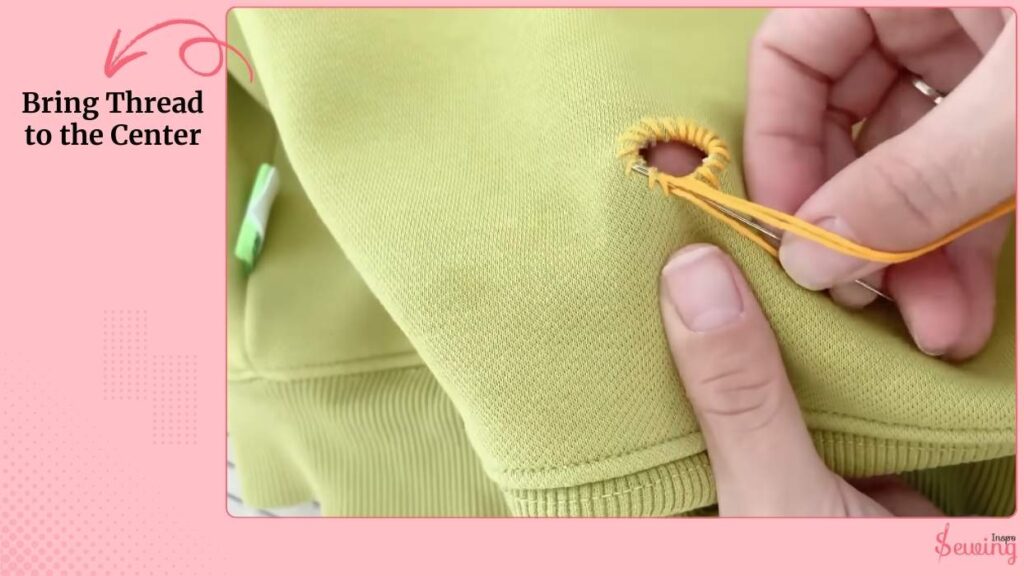
Bring Thread To The Center
Once your circular stitches are complete, guide the needle toward the center of the hole. This sets you up for the weaving stage. Just like sewing canvas together.
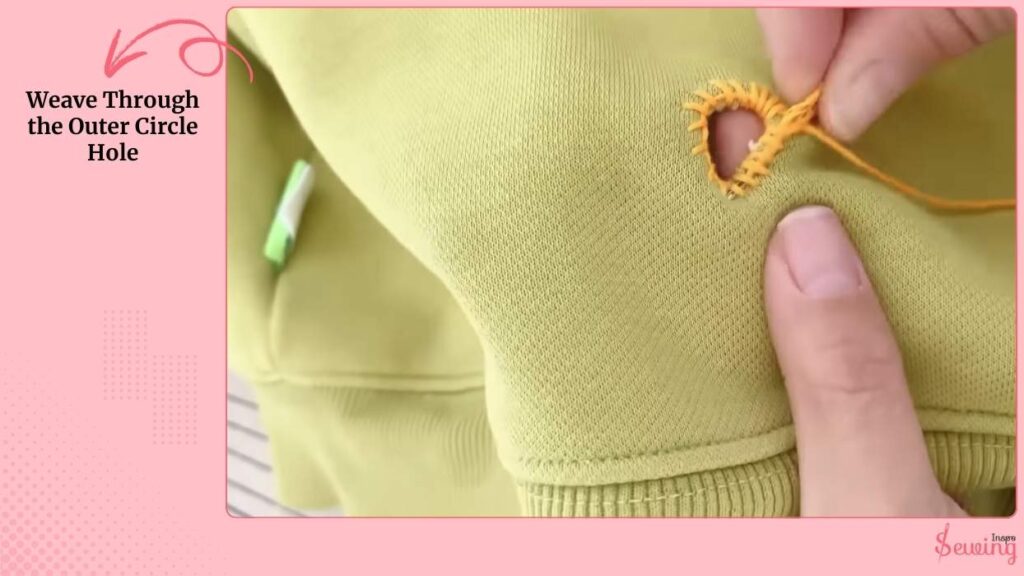
Weave Through the Outer Circle Hole
Weave your thread through each loop of the outer circle you just stitched. Make sure to pick up every single loop to create a solid, reinforced base. Keep the needle nearly horizontal (15–20°) for smooth weaving without pulling too tightly.
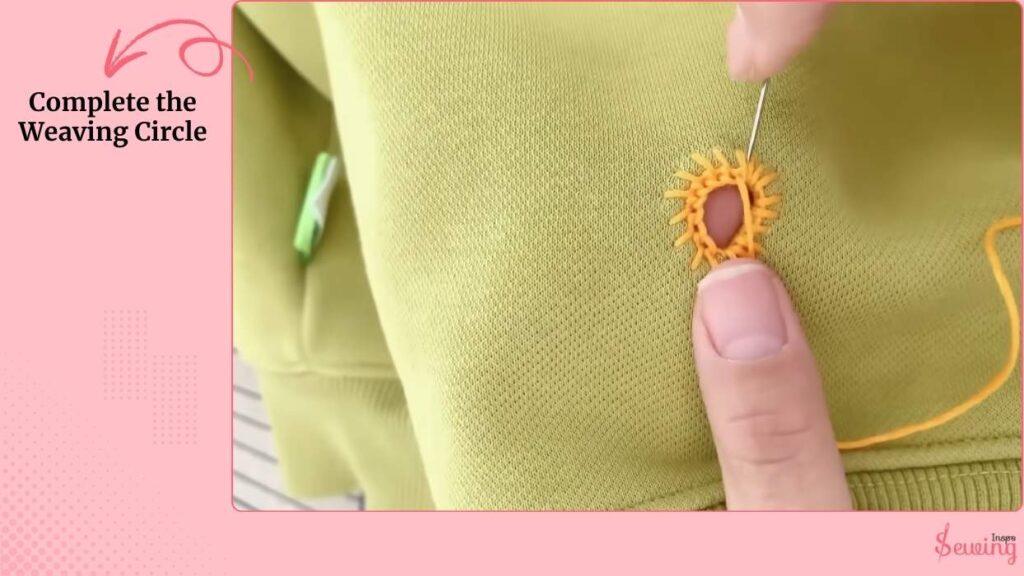
Complete the Weaving Circle
Continue weaving systematically until the entire circle is covered and the center is filled. The goal is a tight, evenly woven patch that holds the hole securely. I do this while doing handkerchief stitch hem too.
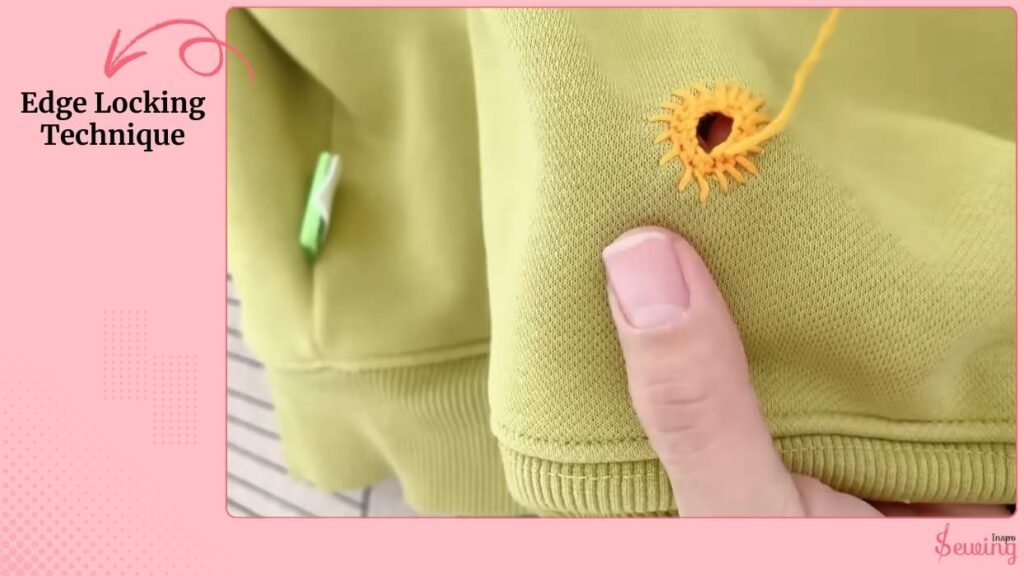
Edge Locking Technique
Pick up one loop, pass the thread through, and pull gently to tighten. This will lock the stitch. Repeat around the circle: pick a loop, weave, and tighten.
This single-thread edge locking method ensures the patch stays strong and prevents the hole from reopening.
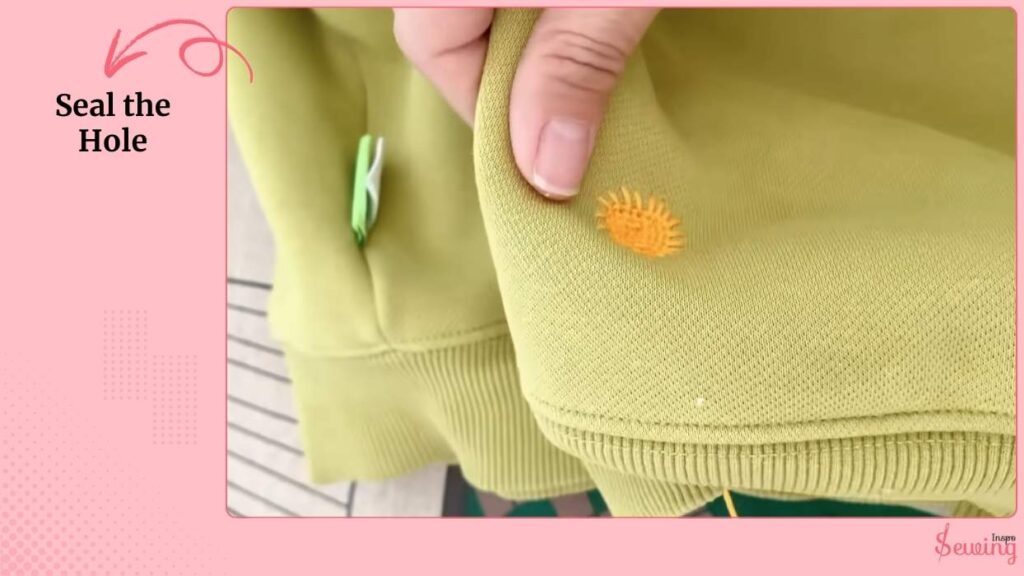
Seal The Hole
Continue picking up loops and tightening until the hole is completely sealed. Trim any excess thread on the inside. The finished patch should resemble a tiny sunburst. Strong, neat, and almost invisible on most fabrics.
Expert Tips:
- For quilts or padded fabrics, work slowly to avoid puckering. This works for triple straight stitch, too.
- On leather or heavier materials, use a thimble and slightly thicker thread to prevent breakage.
- Always start with short lengths of thread (12–15 inches) to avoid tangles.
This method works beautifully on t-shirts, quilts, jackets, pants, sofas, and even leather items. With practice, the sunburst repair not only fixes the hole but adds a subtle decorative touch. It will give your favorite items a second life.
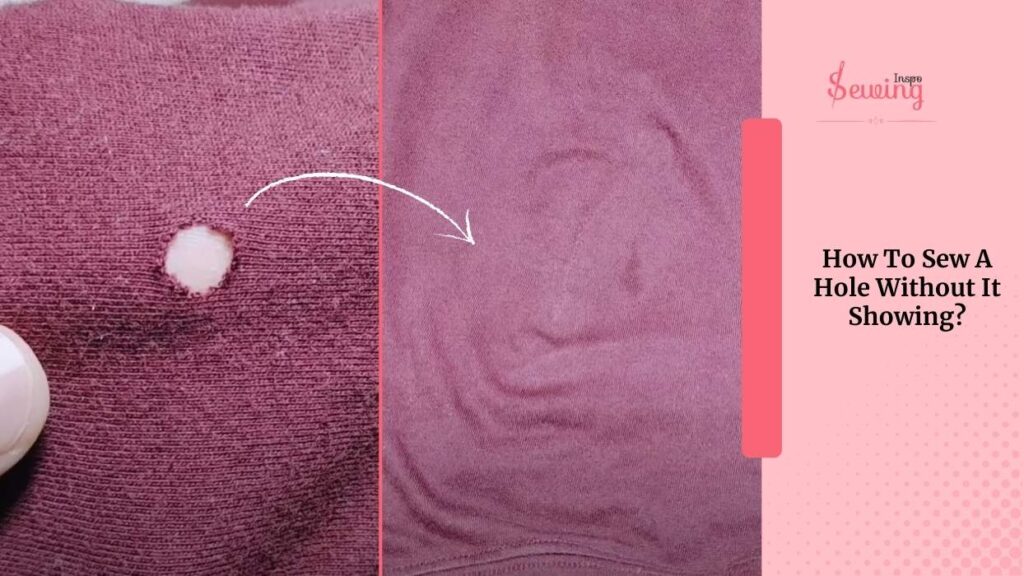
How To Sew A Hole Without It Showing?
The above method I showed you will leave an embroidery effect on the circle. But if you don’t want that, then do this-
- Ladder stitch or slip stitch is perfect for hiding your repair.
- Start from the inside of the fabric so the knot is hidden.
- Take small stitches on either side of the hole, moving straight across like rungs of a ladder.
- Pull the thread gently. The edges will come together without puckering.
- For very small holes, tiny whip stitches right at the edge can also be nearly invisible if you keep them close and even.
- Once the hole is closed, gently press the area with a warm iron.
- This flattens the stitches and helps the repair blend with the surrounding fabric.
The smaller and closer your stitches, the less visible the repair. Using a matching thread and working from the inside are the real secrets to a seamless fix.
Sewing Other Types Of Circle Holes
As I told you before. Different types need different types of repair. Above, I explained the sunburn one. Now let’s give you a glance at repairing other holes-
Sewing Clean-Edged Holes
These typically come from sharp objects or insects and have neat edges. Here is how to fix this-
- I start by carefully trimming any stray fibers to prevent further damage.
- Then I use fine, matching thread and work small whip stitches around the edge, making sure each stitch is tight but not puckering the fabric.
- Finally, I close the hole with a series of small over-and-under stitches, blending seamlessly into the shirt.
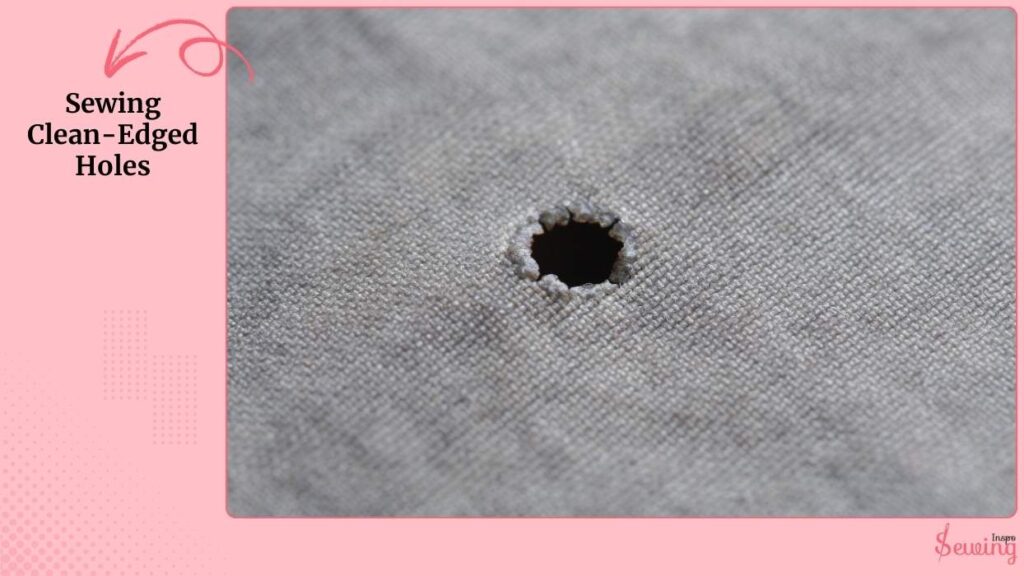
Always test your thread tension on a hidden seam first to avoid pulling the fabric too tight.
Sew Frayed-Edge Holes
These develop from wear and washing and can get messy fast.
- I gently trim the frayed edges, but I never cut too close to the hole. You want some fiber to anchor your stitches.
- Then I reinforce the edges with blanket stitches or a simple whip stitch, creating a stable base.
- After reinforcement, I fill the hole with a crisscross or woven stitch pattern, effectively “rebuilding” the fabric.
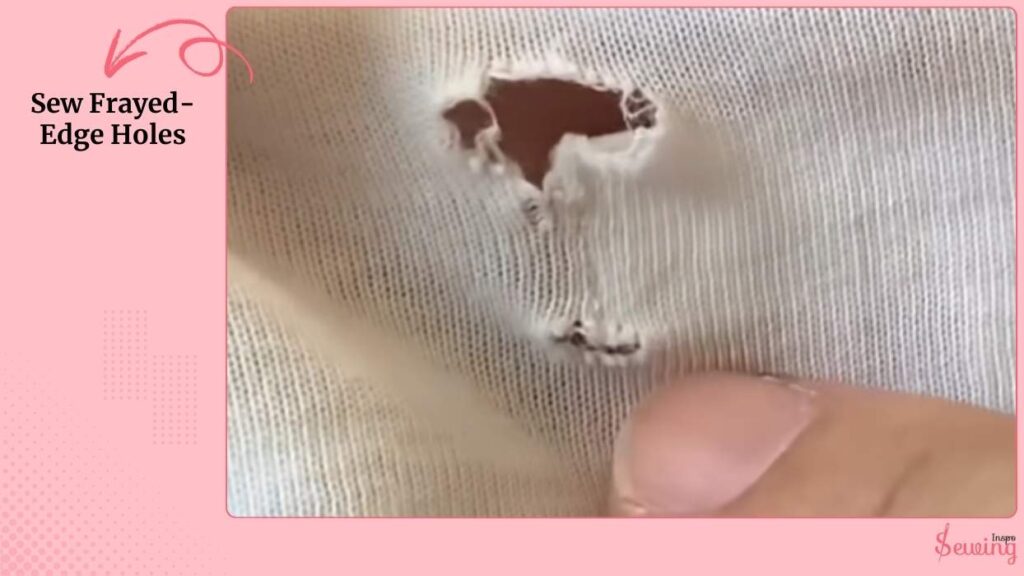
Extra insight: Using a slightly stronger thread than the fabric itself can prevent future fraying.
Fix Stretched Holes
Usually in high-movement areas like elbows, knees, or underarms.
- First, I gather the stretched fabric back into its original shape using running stitches.
- Then I reinforce around the hole with tiny backstitches, making sure to follow the curve.
- Finally, I close the hole with invisible stitches that mimic the fabric’s natural weave.
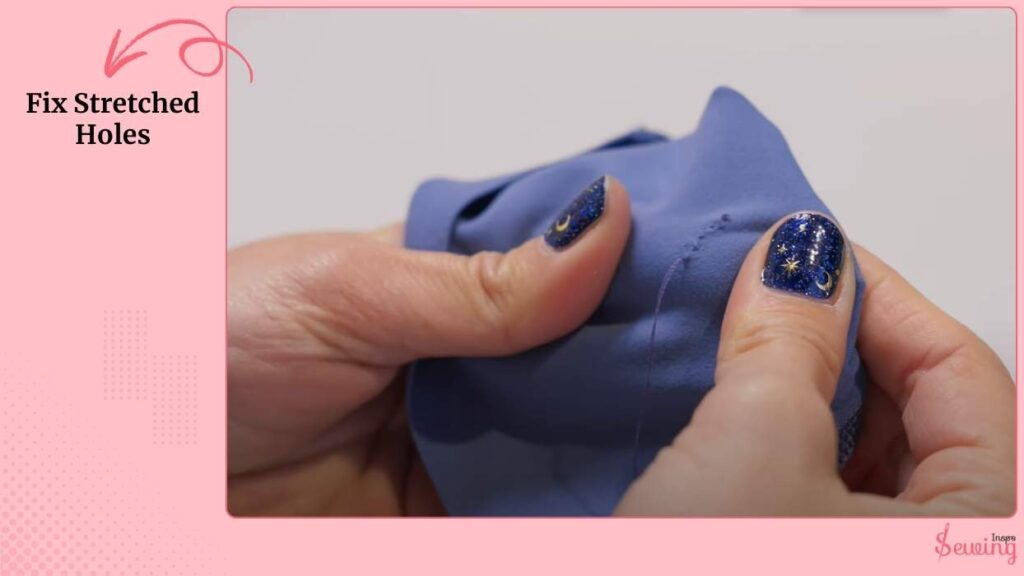
Pro Tip: Lightly pressing the area with a warm iron before stitching helps realign fibers for a cleaner repair.
Repair Threadbare Holes
These are slow-developing holes where the fibers have thinned.
- I focus on reinforcing the weak area rather than just closing the hole.
- Using darning stitches, I create long parallel stitches across the hole.
- Then weave perpendicular threads to reconstruct the fabric.
- This builds a durable “fabric patch” that blends naturally.
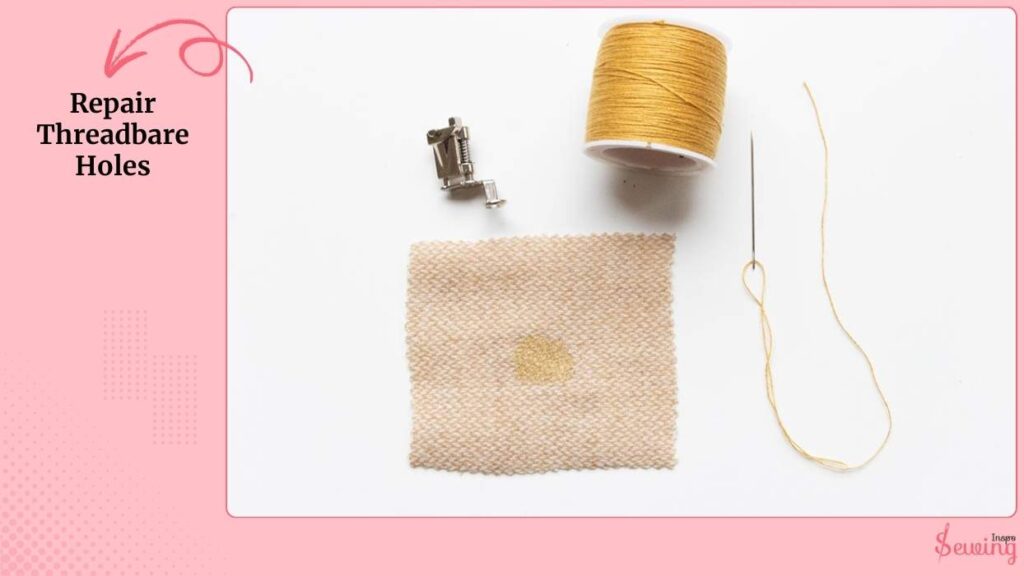
For shirts you wear often, consider reinforcing other high-wear areas preemptively with the same method.
FAQ
How to discreetly sew up a hole in fabric?
To make a repair invisible, use a thread that closely matches the fabric color and work tiny, even stitches from the inside. Ladder stitches or small whip stitches along the edges will pull the fabric together without creating noticeable bumps.
How to sew a circle piece of fabric?
Place the circular fabric piece over the hole or target area, pin it in place, and stitch around the edge with small, even stitches. Using matching thread and keeping your stitches close to the edge helps the circle blend seamlessly with the main fabric.
How to sew in a perfect circle?
To sew a perfect circle, lightly mark the outline with a fabric pencil or chalk first. Then, follow the line with consistent small stitches, taking your time to keep the curve smooth. Using a hoop or stabilizer can help maintain tension and accuracy.
Now It’s Your Time To Sew A Circle Hole
That’s how to sew a circle hole by hand.
Which technique would you follow to repair a circular hole? Tell us in the comments.


Leave a Reply