
One of my friends was getting married. I wanted to do something special for her. Gift her something that she will cherish. And, of course, as a crafter, only an embroidery comes to mind.
So I made a wedding cross stitch, resembling her wedding dress and the venue. When I give it to her, she smiles in a way I will never forget.
So I thought, why not share this idea with my sewinginspo readers? That’s why I made this whole page with a pattern idea for a wedding.
Table of Contents
Wedding Cross Stitch Patterns Free
Looking for a meaningful wedding cross-stitch pattern?
Here are some beautiful design ideas that can make the perfect handmade gift for a newlywed couple. Let’s explore cross stitch wedding patterns.

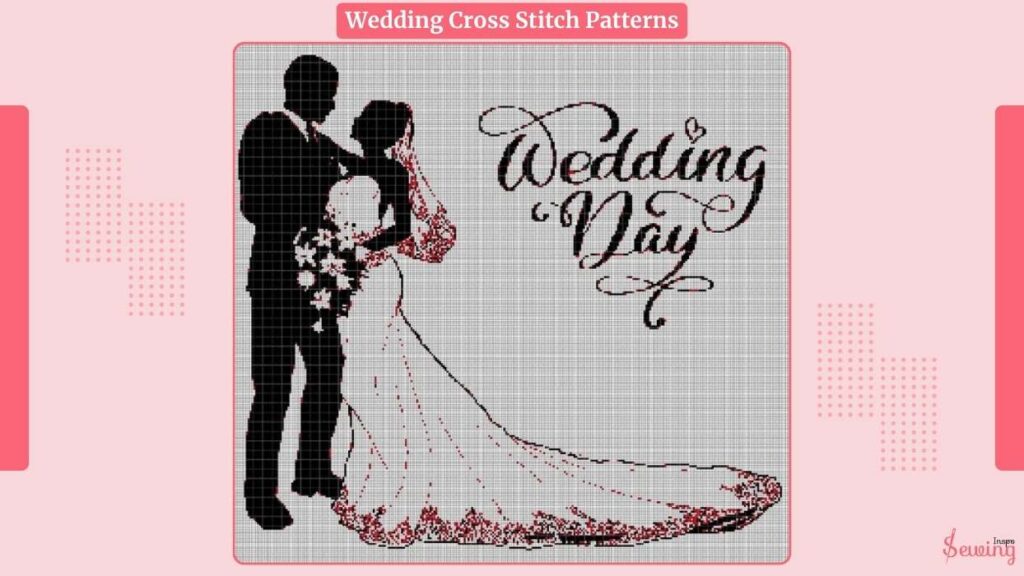

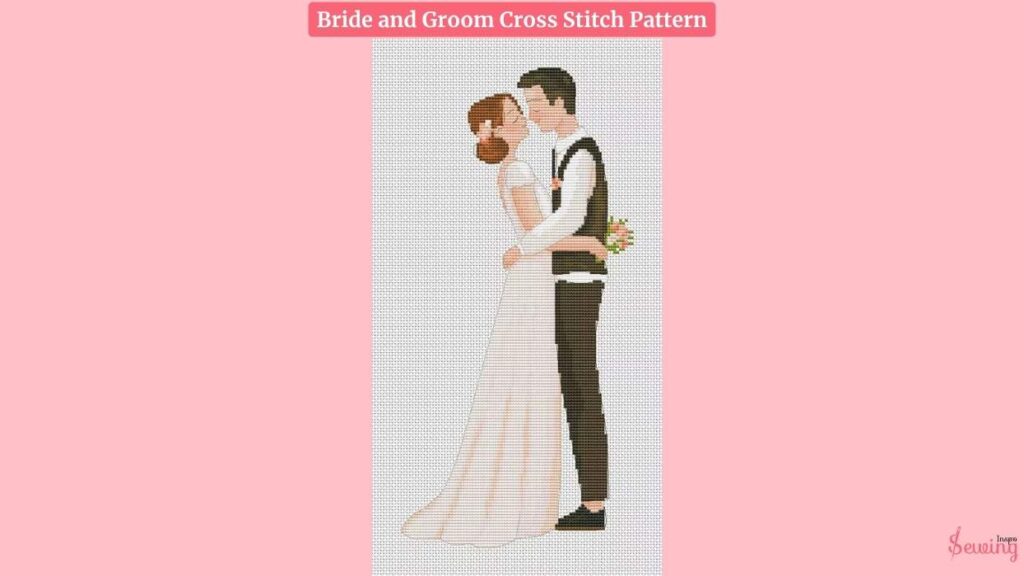
Bride & Groom Silhouette
A classic and timeless design featuring a silhouette of the bride and groom. This can be stitched in traditional black-and-white or with soft pastel tones for a more delicate look.
Adding their names and wedding dates at the bottom makes it even more personal. You can also frame it for a stunning display piece.

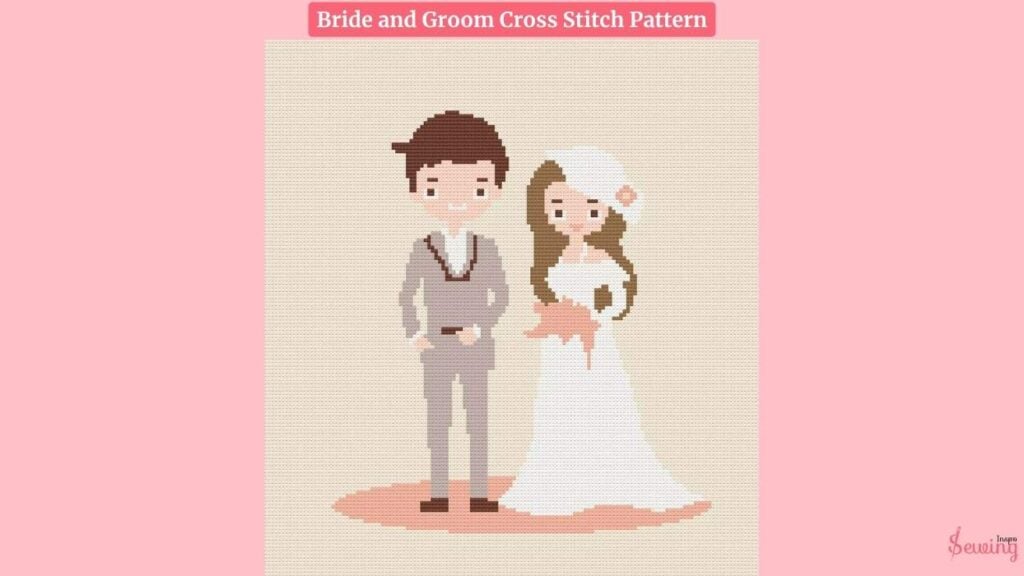
Bride And Groom Cross Stitch Pattern
If you wanna explore more then use those pattern
Floral Wreath with Initials
A circular floral wreath filled with roses, lilies, or greenery surrounding the couple’s initials or a short phrase like “Mr. & Mrs.” Choose soft, romantic colors for a traditional look or bold and vibrant shades for a modern twist.
This design is perfect for a pillow cover, framed wall art, or even a decorative hoop.

Interlocking Hearts
Two intertwined hearts represent love and unity, making this a simple yet meaningful wedding pattern. You can stitch the hearts in a classic red or go for gold and silver tones for a more elegant feel.
Adding a delicate border or floral accents enhances the design. This works beautifully as a small framed piece or a decorative pillow. You can even use this with 7 permanent stitches with pictures, too.

Wedding Date & Names
A personalized wedding keepsake featuring the couple’s names in an elegant cursive font and their wedding date. You can add decorative elements like small flowers, vines, or tiny hearts to make the design more visually appealing.
This piece looks beautiful when framed and gifted as a wedding or anniversary present. Use the grid technique if you find it hard to follow the pattern.

Lovebirds or Doves
A sweet and symbolic design featuring two birds sitting together on a branch, often with a heart or wedding rings in between them.
This can be cross-stitched in soft pastel colors for a romantic feel or in a monochrome style for a timeless look. It makes a perfect decorative piece for a new couple’s home. You can try these designs for needlepoint, too.

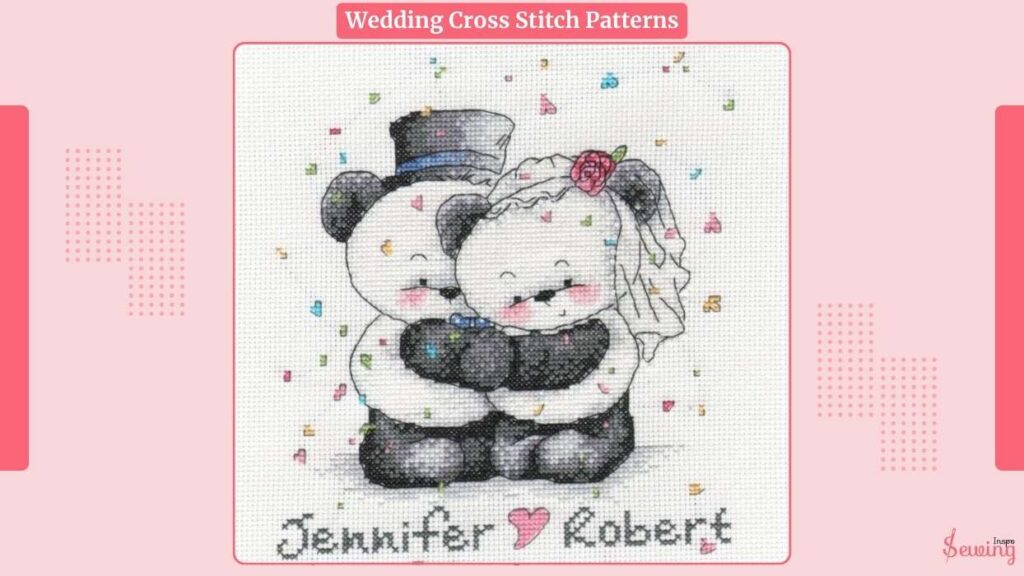
Wedding Dress & Tuxedo Motif
A fun and stylish design featuring a miniature wedding dress and tuxedo side by side. For a charming effect, you can add tiny details like lace patterns on the dress and bow ties on the tuxedo.
This pattern works well for wedding cards, framed wall art, or a stitched accent on a gift bag.

“Happily Ever After” Home Scene
A cozy and heartwarming design that includes a small house with the phrase “Happily Ever After” stitched underneath. This can be done in a traditional folk-art style or a more modern aesthetic with simple line work.
To create a complete scene, you can add small details like trees, flowers, or a picket fence. This is a great housewarming gift for newlyweds. You can try it out with different types of hand embroidery, too.

Minimalist Ring Design
A sleek and modern design featuring two interlocked wedding bands with the couple’s initials or wedding date inside or underneath. For an elegant touch, you can stitch this using metallic gold or silver thread. This pattern is ideal for a simple, understated framed piece or a special wedding card.
These wedding cross-stitch patterns offer a variety of styles, from traditional and romantic to modern and minimalist. Whether you’re making a gift or a keepsake for yourself, a handmade cross-stitch piece will always be a cherished reminder of love and commitment.

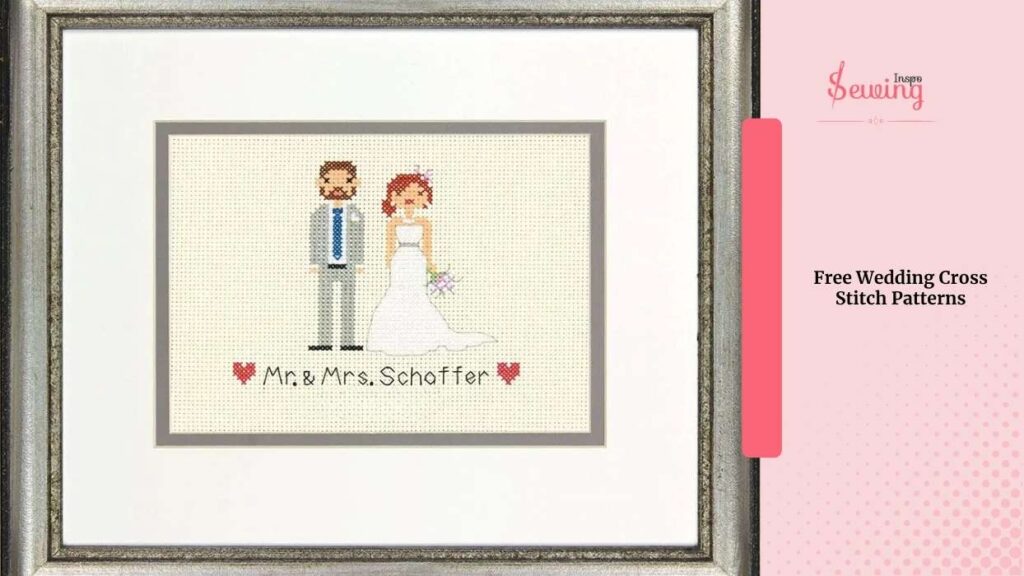
Free Wedding Cross Stitch Patterns To Download
Download these free wedding cross stitch patterns and try it on your fabric to gift someone.
Frame Cross Stitch
Already done a pattern? Ok, now it’s time to Frame Cross Stitch. Cause you can’t just hand over the fabric with pattern right?
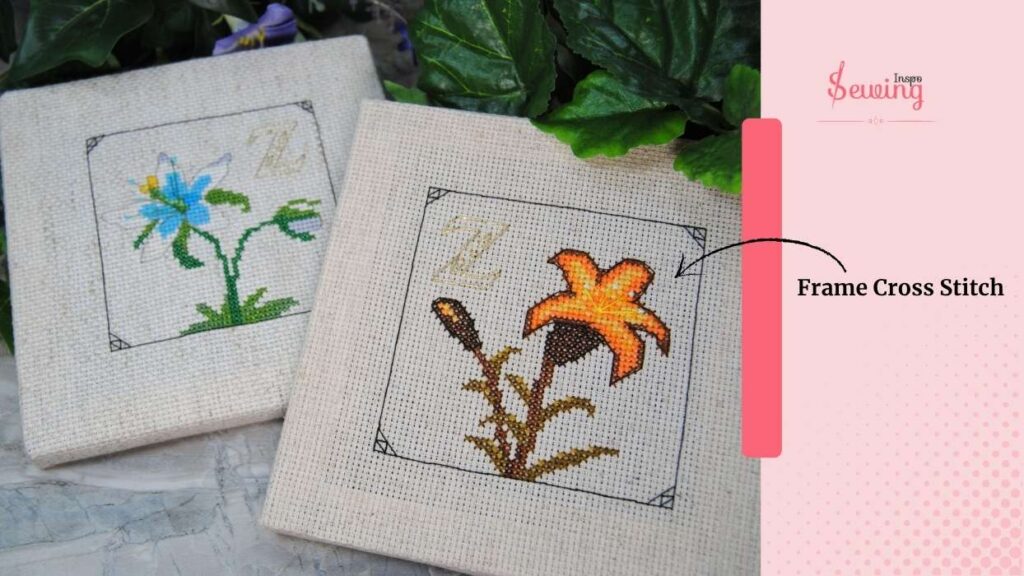
So here is how you can frame it,
Place fabric over the batting inside the frame, smooth it out, center it properly, and press final edges with an iron.
Cut around 1″ outside the marked lines to leave room for folding and adjustments.
Measure the actual opening from the back (e.g. 4 1/2″) and redraw centered lines on the fabric.
Fold fabric along the new lines and press with a seam roller (not iron yet, to avoid erasing marks).
Cut a square of batting (same size as frame opening); use one or two layers for extra puff.
Modern Wedding Cross Stitch Patterns
If you love clean lines, bold typography, and stylish minimalism, modern wedding cross-stitch patterns are the perfect way to create a unique keepsake.
Some contemporary designs balance elegance with a fresh, updated feel.

Minimalist Monogram
A sleek and simple pattern featuring the couple’s initials in a bold, modern font, often paired with a geometric border or subtle floral accents. You can stitch this in black and white for a classic look or use a pop of color for a more playful touch.
This makes a great framed piece or pillow cover. You can do this pattern with any type of cross stitch.

Geometric Heart Design
A trendy take on the traditional heart, this pattern uses geometric shapes—triangles, diamonds, or hexagons—to form a unique, modern heart. Choose a monochrome palette for sophistication or experiment with ombré effects for a contemporary, artistic vibe. This design works well for wall art or a wedding gift.
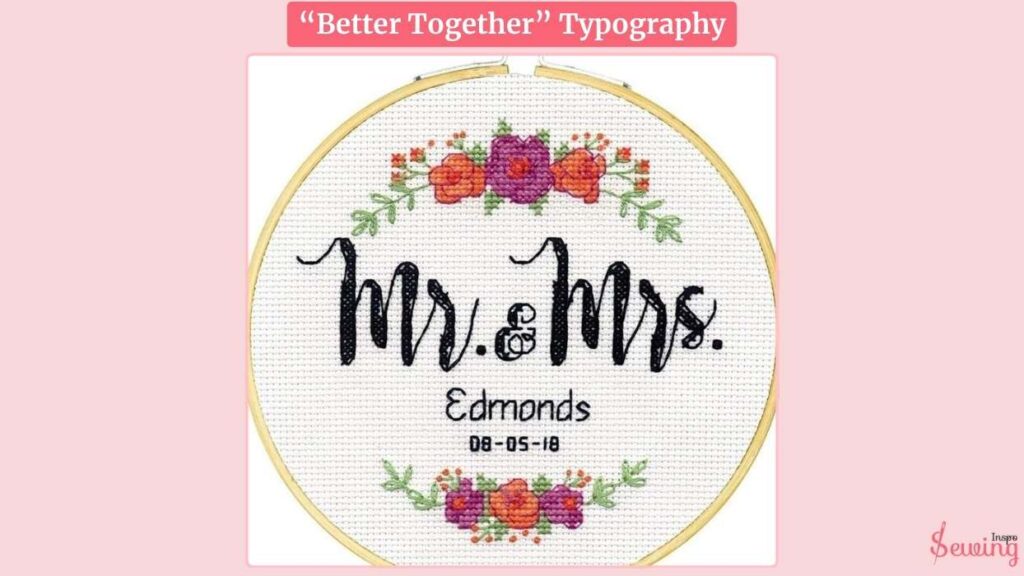
“Better Together” Typography
Bold, script-style lettering with the phrase “Better Together,” “You & Me,” or “Forever & Always” stitched in a sleek modern font.
You can combine this with a small heart, a minimal border, or a tiny wedding ring motif for extra detail. Keep it clean and simple, using one or two colors for a refined look.
City Skyline Wedding
Perfect for couples who love urban life, this pattern features a minimalist city skyline with the couple’s names and wedding date below. Choose the skyline of their wedding location, hometown, or favorite city for a personal touch. Keep the design simple with a single-color silhouette or add subtle shading for depth.
Modern Rings with Negative Space
Instead of traditional wedding bands, this design uses minimalist line work to depict two rings overlapping. Add the couple’s initials to each ring or stitch them in metallic thread for a subtle shimmer. The use of negative space makes this design feel sleek and stylish. Use cross stitch length calculator If you are confused about the length or anything.
Date in Roman Numerals
Stitch the couple’s wedding date in Roman numerals for a clean and stylish pattern. This creates a sophisticated, timeless design that looks amazing in a simple frame.
For extra detail, you can add small embellishments like a thin border or a tiny heart above the numbers.

Wedding Cross Stitch Patterns/Free Download PDF
Loved those ideas? Great, then download and save it to use whenever your friend’s wedding is knocking at the door. I hope this wedding cross stitch patterns/free download pdf will help you out.
Modern Wedding Cross Stitch Patterns Free Download PDF
If you want something modern-looking or something like out of the box, then check out these free cross stitch wedding patterns.
Wedding Cross Stitch Kits
So, selecting the pattern, it’s time to cross-stitch, right? Yes, but with the right cross-stitch kits. What is that? Wait, there’s no need to bag your head. Cause I got your back there, too. This will help you out like cross stitch wedding patterns free.
You can find many brand kits online, but not all are worthy. But I love some favourites.

Stoney Creek Cross Stitch Kit
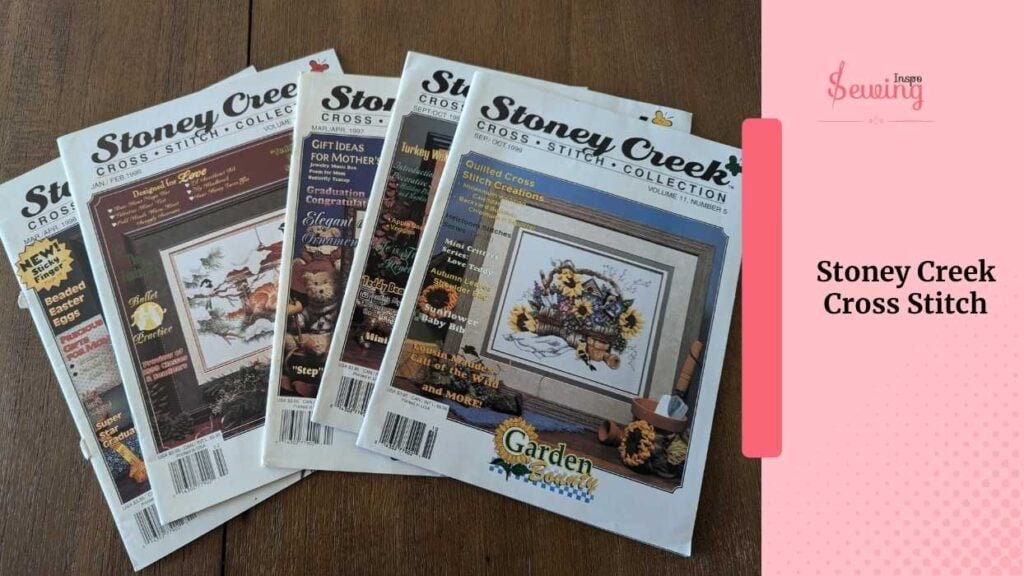
If you wanna invest in a kit and do a stunning work to gift, then go for the Stoney Creek cross stitch kit. They have very pretty patterns in their collections.
How To Read Cross Stitch Pattern?
I know reading those patterns is kinda tough. But a wrong read can mess up your whole pattern,
Start by finding the centre of the pattern and fabric to ensure proper alignment. Use the key (legend) to match symbols with floss colours. Work methodically, row by row or by colour blocks, to avoid mistakes.
But remember—count twice, stitch once!
Stamped Wedding Cross Stitch Kits
Stamped kits are my go-to for a relaxed, stress-free stitching experience. Since the design is printed directly on the fabric, I don’t have to count stitches or follow a grid—it’s all right there. I just stitch over the stamped lines, and once I’m done, the ink disappears when washed.
This is perfect for intricate wedding samplers with detailed florals or romantic script.

Dimensions Wedding Cross Stitch Kits
Dimensions kits always feel like a little luxury. The designs are detailed and elegant, often including blended threads to add depth and shading.
I love how their wedding patterns usually feature delicate roses, intertwined rings, or romantic quotes. The high-quality Aida fabric and pre-sorted floss make the whole process much smoother.

Wedding Cross Stitch Kits by DMC
DMC is my go-to for vibrant thread colors; their kits are just as reliable. They offer classic and modern wedding designs with crisp details and smooth stitching.
I like how their patterns often include metallic accents or soft pastel palettes, making the finished piece look extra special. Plus, since it’s DMC, I know I can easily find extra floss if I run out.

Wedding Cross Stitch Card Kit
If I want to stitch a wedding gift but don’t have time for a full sampler, a wedding cross-stitch card kit is the perfect solution. These small designs usually feature hearts, rings, or sweet wedding phrases, and they come with a pre-cut card and envelope.
I just stitch the design and attach it to the card, and it’s ready to be gifted—handmade and heartfelt!

Outro
No matter which pattern you choose, a wedding cross-stitch is a heartfelt gift that lasts a lifetime. You’ll create something truly special with the right kit and a little stitching love. So grab your needle, pick a design, and start stitching a keepsake they’ll cherish forever.

Leave a Reply