Grandma, you taught me so much. Now, teach me how to hand sew embroidery stitch. I know it’s a huge process, so teach me a simple project!?
Sure, dear!
So, to do a hand embroidery stitch is –
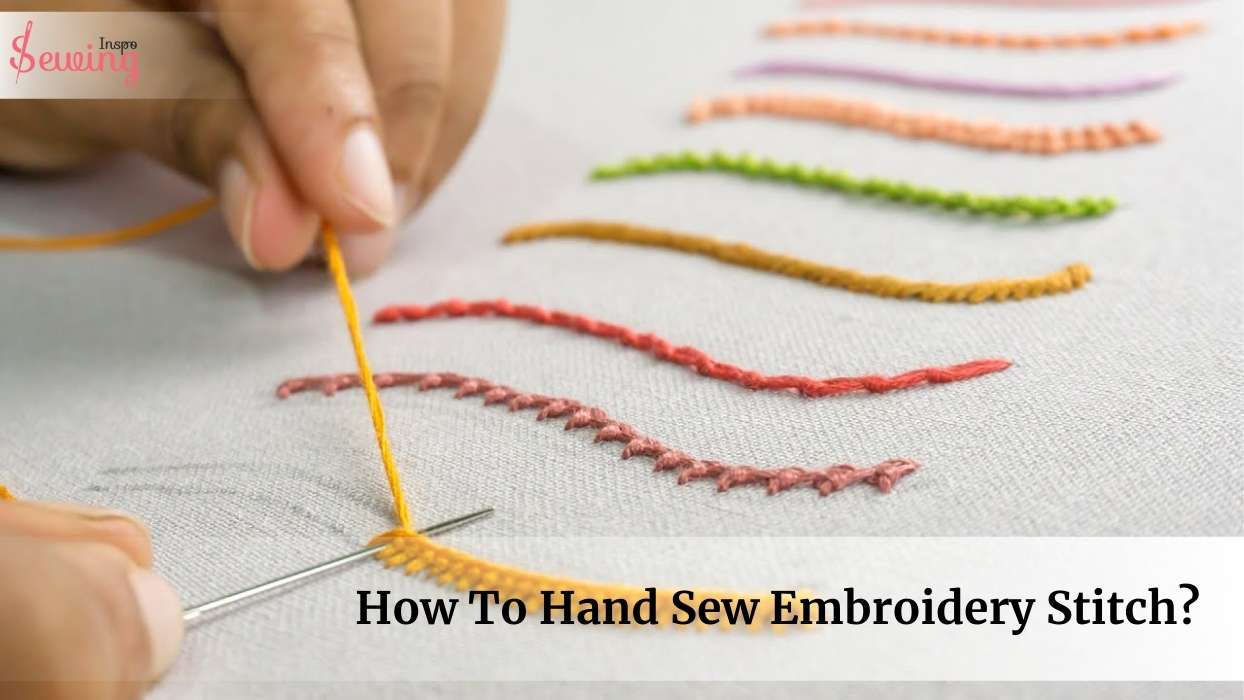
Hand Sew Embroidery Stitch
To hand sew an embroidery stitch, push the needle through the fabric from the back to the front, forming your desired pattern.
I know you feel like basic, but don’t worry; let’s see how to start a hand sewn stitch.
Project Overview:
- Grab embroidery hoop size between 3 to 14 inches.
- Select a 100% cotton piece of fabric.
- Start with simple sewing stitches such as the satin stitch.
Table of Contents
10 Basic Embroidery Stitches
Here are basic embroidery stitches.
So yeah, that’s 10 basic embroidery stitches. Each stitch is lovely and really stands out in any embroidery work. If you use the right stitch at the right work, then your embroidery will be worth showcasing in any exhibition. Trust me! 😉
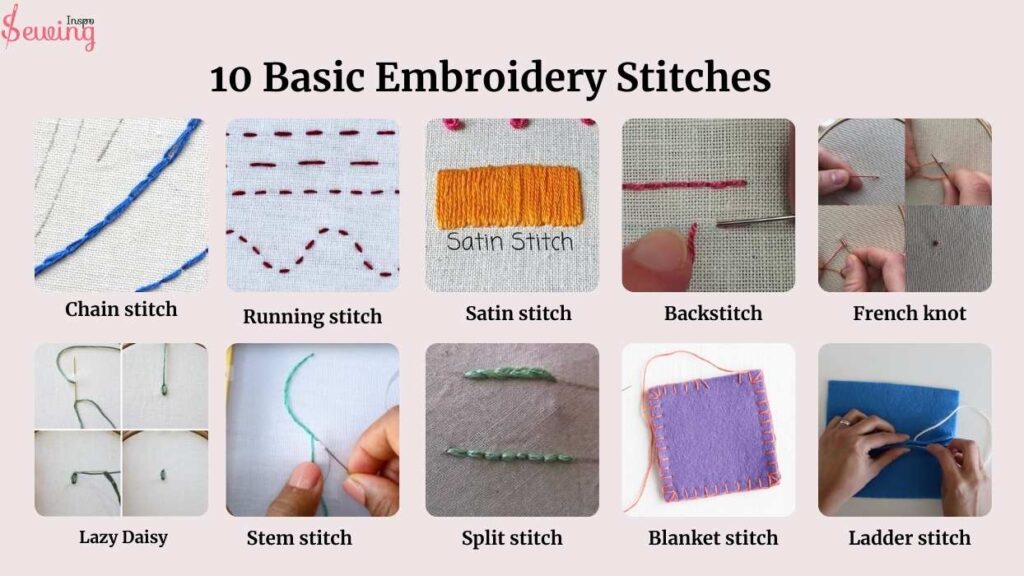
- Chain stitch
- Running stitch
- Satin stitch
- Back stitch
- French knot
- Lazy Daisy
- Stem stitch
- Split stitch
- Blanket stitch
- Ladder stitch
But since you are practicing, let’s teach you the satin stitch embroidery pattern.
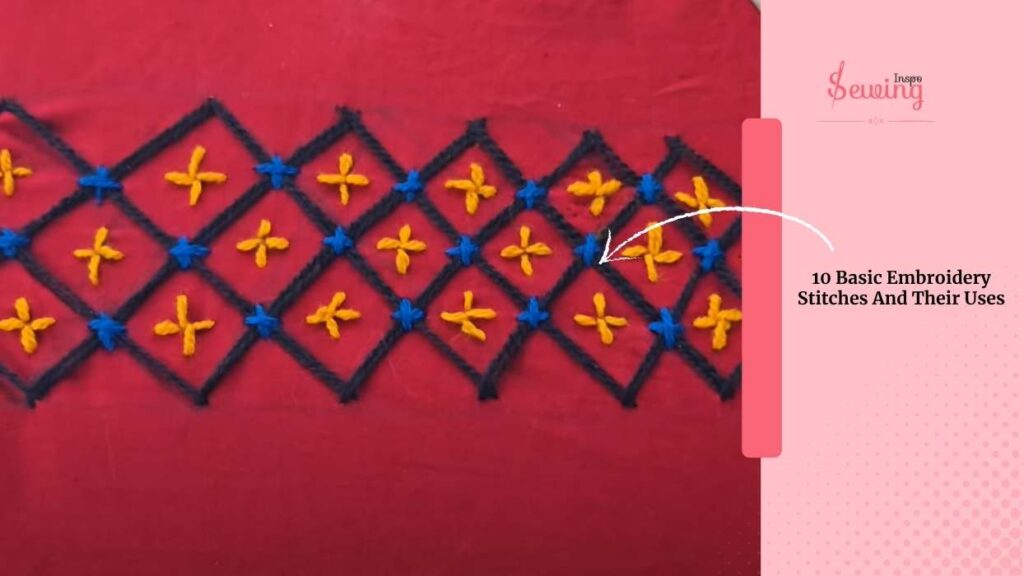
10 Basic Embroidery Stitches And Their Uses
After knowing the names of embroidery from my grandma, I had to know more about it. She knew my curiosity, so she began to explain it,
- Chain Stitch – Looped “chains” with soft, bouncy texture. Great for outlines, borders, filling shapes, curves, flowers, and vines. This is perfect for any embroidery pattern.
- Running Stitch – Small straight stitches like dashed lines. Good for outlines, details, gathering fabric, or dotted patterns.
- Satin Stitch – Smooth, flat, parallel lines. I like to call it needle stitch embroidery, too. Best for filling shapes, flowers, leaves, letters, or bold designs.
- Backstitch – Solid, continuous line. Strong for outlines, detailing, floral designs, and text.
- French Knot – Tiny raised thread dots. Adds texture for flower centers, eyes, or decorative dots.
- Lazy Daisy – Looped petals. Perfect for flowers, leaves, and soft floral embroidery. It will create a beautiful needle painting.
- Stem Stitch – Twisted, rope-like line. Great for stems, vines, and smooth curves.
- Split Stitch – Similar to stem but textured. Good for outlines, leaves, petals, and dimensional lettering.
- Blanket Stitch – Neat loops on edges. Ideal for finishing raw edges, appliqué, and decorative borders.
- Ladder Stitch – Invisible stitch between two fabrics. Best for hemming or closing seams discreetly.
How To Hand Sew Embroidery Stitch?
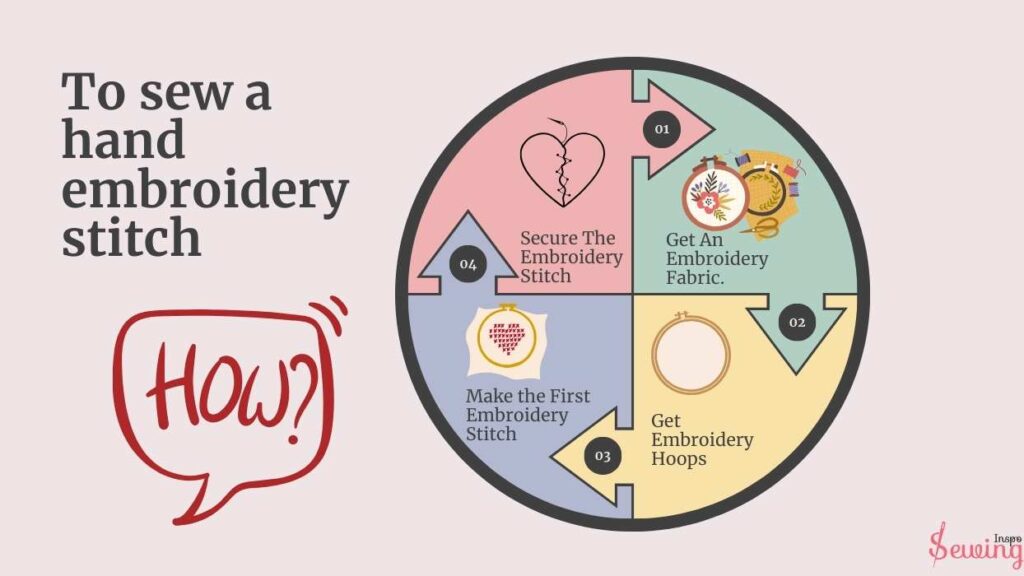
To sew a hand embroidery stitch, you need to follow 4 steps.
- Make the First Embroidery Stitch
- Make A Circle Shape
- Constitute The Stitch
- Secure The Embroidery Stitch
Make The First Embroidery Stitch
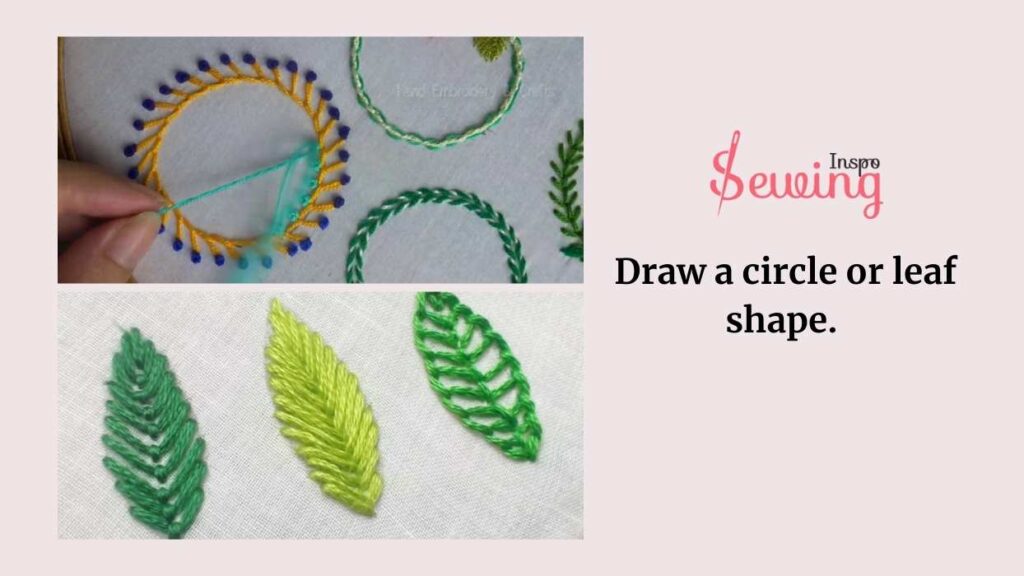
To make the first embroidery stitch, First of all, put the fabric in the 3 inch embroidery hoop and draw a circle or leaf shape. That’s how to start a hand embroidery stitch?
Then, get 5 size embroidery needle with 50 weight cotton thread or embroidery floss. This is the perfect thread; even for straight stitch hand sewing.

Make A Circle Shape
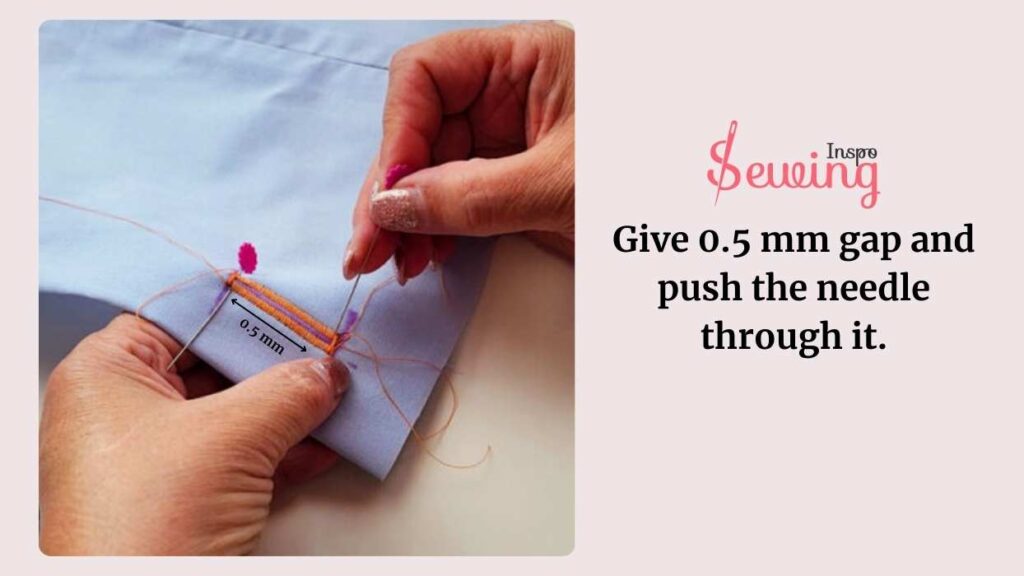
Let’s practice using a circle shape, for example. First things first, bring your needle up from the back of the fabric to the front. Then, give a 1\4 inch gap and push the needle through the end. You can start with running stitch!
Next, take that needle straight down and push back about 0.5 mm from the first stitch. Then again, go above the second stitch, give a 0.5 mm gap, and push the needle through it.
Constitute The Stitch
Now, pop that needle back up on the same side where you started, close to where it came up on the previous stitch.
Keep up the rhythm! Repeat these steps, making stitches side by side, until your shape or area is all filled in. It’s like connecting the dots but with embroidery thread.
Securing Embroidery Stitches
To secure an embroidery stitch, slide the needle through the stitch part. Just like you would do with tacking stitch. Don’t pull the needle down. Leave a loop and push the needle through the loop. This will make a double knot. Now, do this again. Then, slide your needle through under the stitch and cut the thread taut.
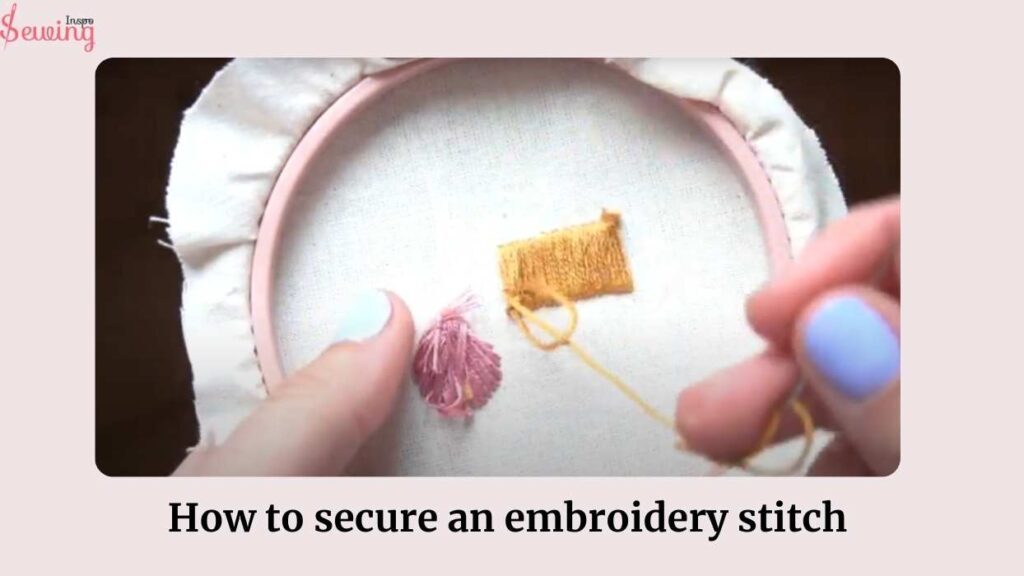
And that’s how do you secure an embroidery stitch. You’ve finished the hand embroidery for beginners! 😍 With satin stitch, you can easily create various shapes and designs.
Watch The Tutorial
How to secure an embroidery stitch
What Fabric To Use For An Embroidery Hoop For Embroidery Stitch
You need a cotton fabric for hand stitch embroidery.
It’s all about personal preference when it comes to stitching! Some people like working with cotton, felt, or flannel, while others prefer linen or denim.
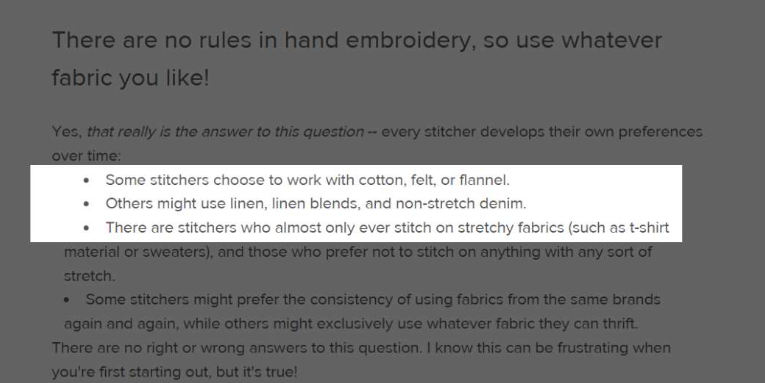
Some swear by stretchy fabrics like T-shirt material. Sticking to one brand or mixing it up with thrifted finds is cool.
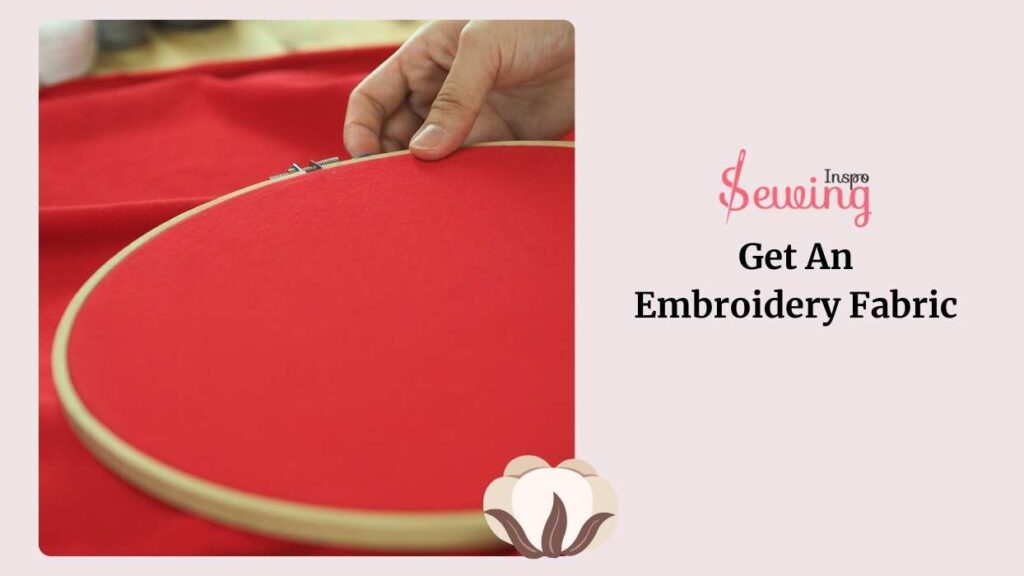
-However, then I like to do embroidery stitches on 100% cotton fabric. 😁
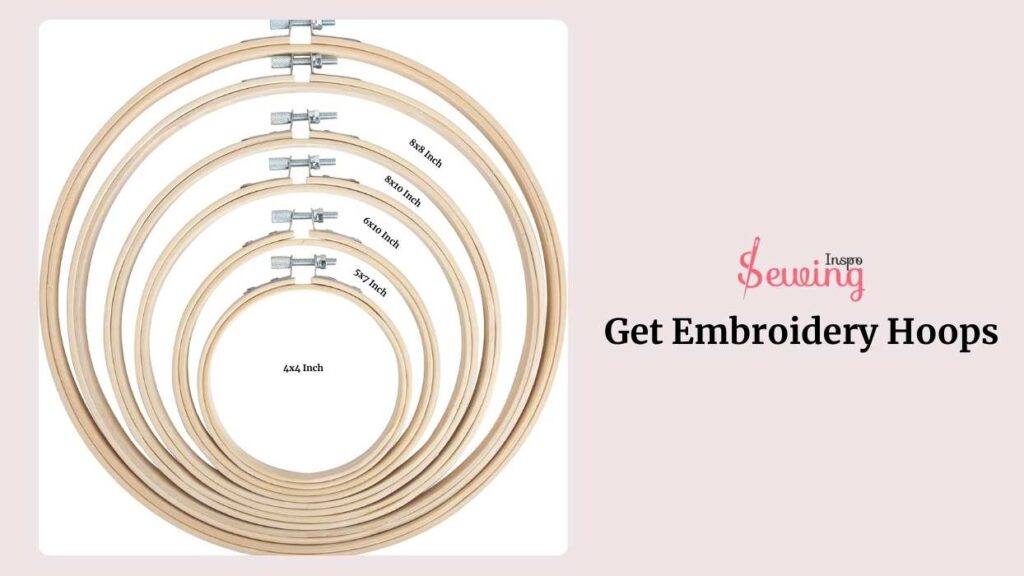
Then you need a perfect size embroidery hoop to learn how to do embroidery designs by hand step by step. There are different sizes of embroidery hoops, such as:
-Well, which size of embroidery hoop is ideal?
-Well, you can use a 3-14 inch embroidery hoop is perfect for basic hand embroidery stitches. You can use this size hope for catch stitch steps too.

How To Put Fabric Into An Embroidery Hoop?
To put fabric into an embroidery hoop, first separate the inner and outer rings. Lay the fabric over the inner ring, ensuring it’s centered. Place the outer ring on top, pressing it down to sandwich the fabric between the two rings. Tighten the screw on the outer ring slightly. Pull the fabric taut, ensuring it’s smooth and evenly stretched, then finish tightening the screw. Your fabric should now be securely held in place, ready for embroidery.
Now, you know how to start a hand embroidery stitch. However, you can also try out some advanced embroidery stitch. Such as:
Chain Stitch
To create a chain stitch, start by threading your needle and tying a knot at the end. Bring the needle up through the piece of fabric and then insert it back into the same hole or very close to it, but don’t pull the thread all the way through, leaving a loop on the surface.
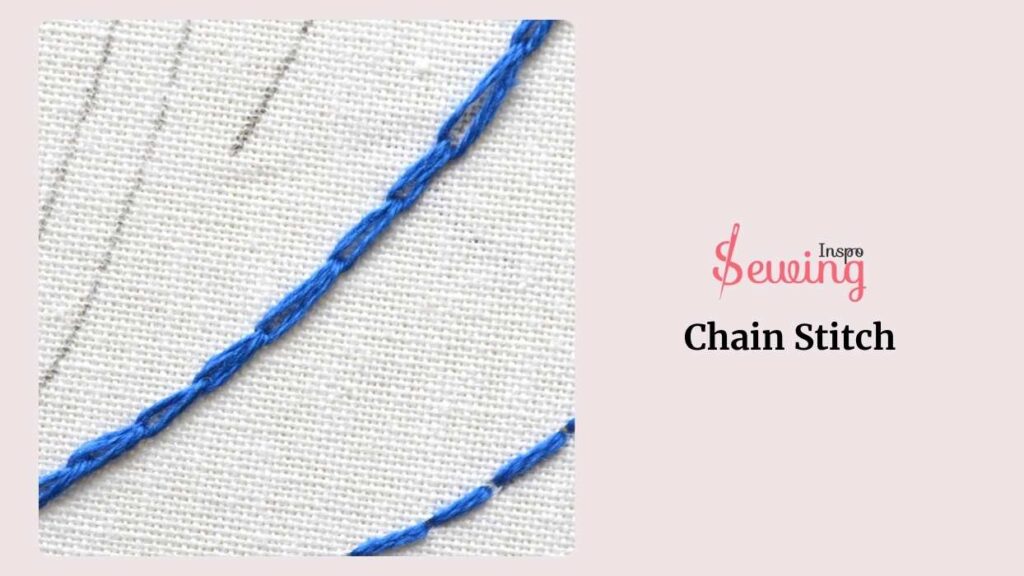
Next, bring the needle up a short distance away, inside the loop, and pull the thread to form a chain link. Continue this process, making sure each new stitch begins inside the previous loop, creating a series of connected loops that resemble a chain.
This technique can be helpful for Darning Stitch too.
Running Stitch
To start running stitch, thread your needle and tie a knot at the end. Bring the needle up through the fabric to start the first stitch. Insert the needle back down through the fabric a short distance away to create a small stitch.
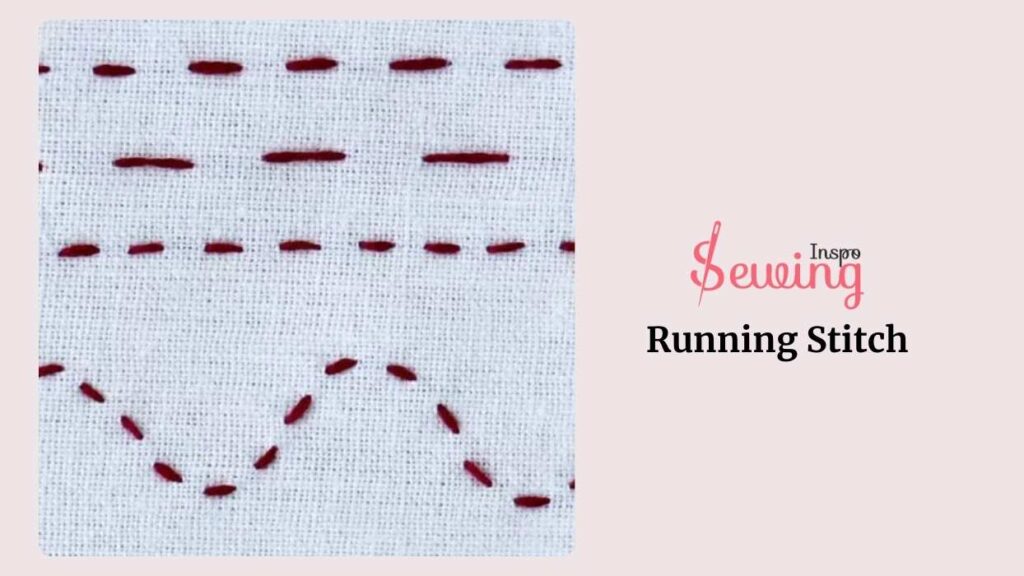
Continue bringing the needle up and down through the fabric at regular intervals, maintaining an even spacing between each stitch to create a dashed line. The running stitch is simple and versatile, suitable for seams, gathering, and outlining.
Backstitch
To start a backstitch, thread your needle and knot the end. Start by bringing the needle up through the fabric for the first stitch, then insert it down a short distance away.
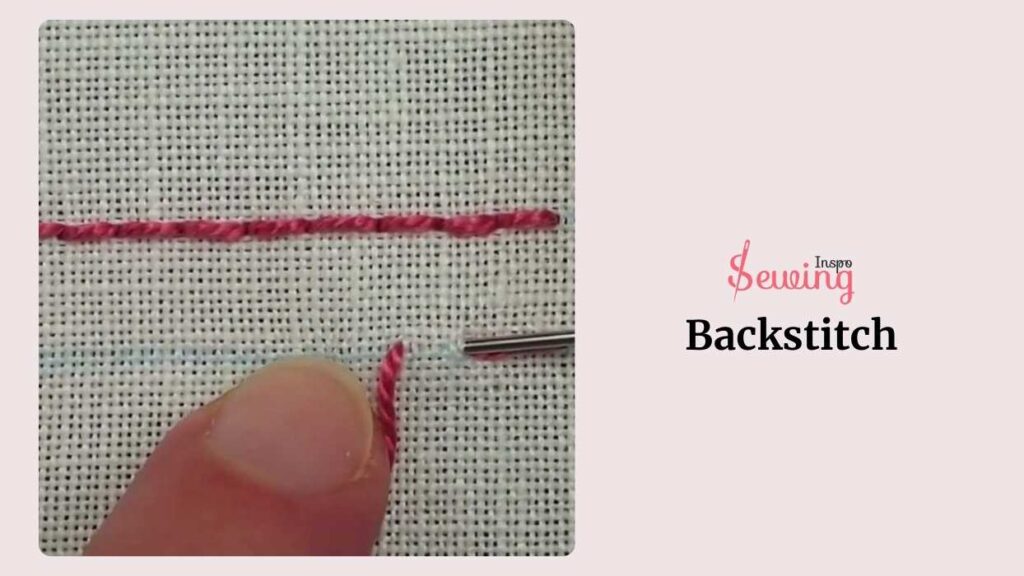
Bring the needle up again a stitch length away from the first stitch, and then insert it back into the end of the previous stitch. Repeat this process, always stitching back into the end of the last stitch you made. This creates a solid, continuous line ideal for outlines and seams.
French Knot
To start a french knot, push your needle and tie a knot at the end. Bring the needle up through the fabric at the desired point for the knot. Wrap the thread around the needle one or two times, depending on how large you want the knot to be.
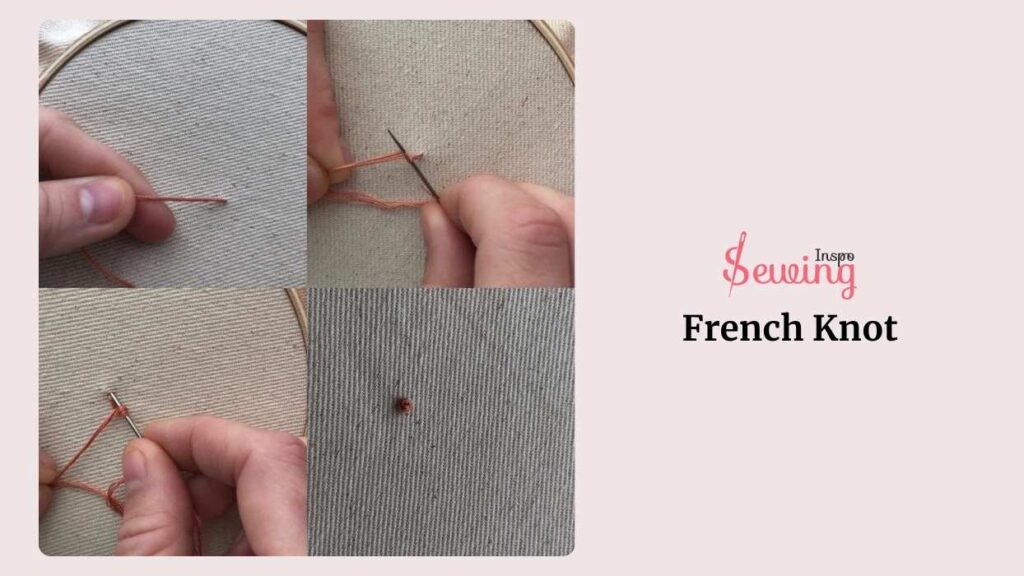
Holding the wraps in place, insert the needle back into the fabric close to where it came up. Gently pull the needle and thread through to form a small, tight knot on the fabric surface, adding texture and detail to your embroidery.
Lazy Daisy
To start lazy daisy, thread your needle and knot the end, then bring the needle up through the fabric. Insert the needle back into the same hole or very close to it, but leave a loop of thread on the surface.
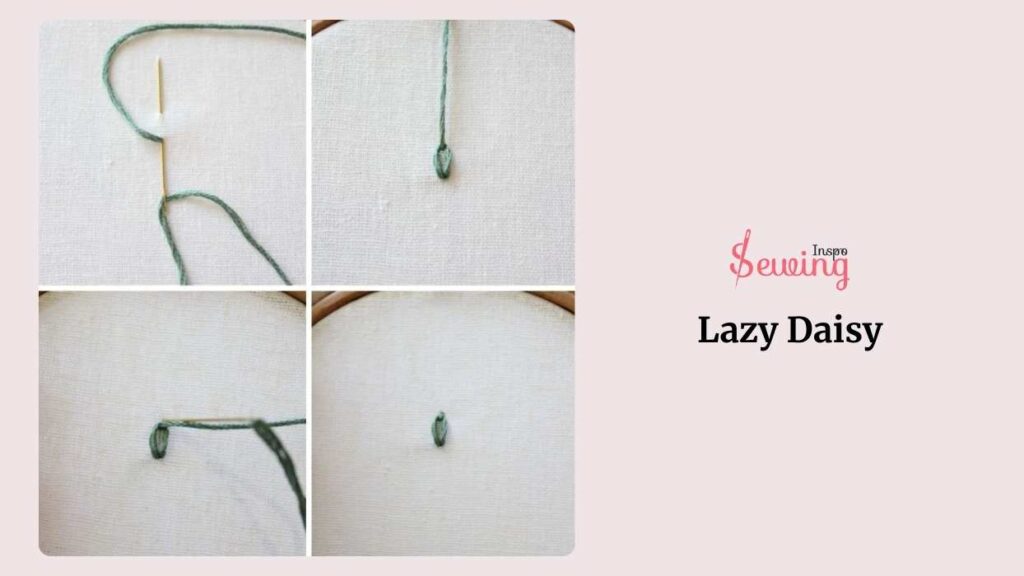
Bring the needle up outside the loop to anchor it, forming a petal shape. Insert the needle back down just outside the loop to secure the petal. Repeat this process to create additional petals, forming a daisy-like flower. Lazy daisy stitches add a floral touch to embroidery projects.
Stem Stitch
To start a stem stitch, start by threading your needle and tying a knot at the end. Bring the needle up through the fabric for the first stitch, then insert it down a short distance away.
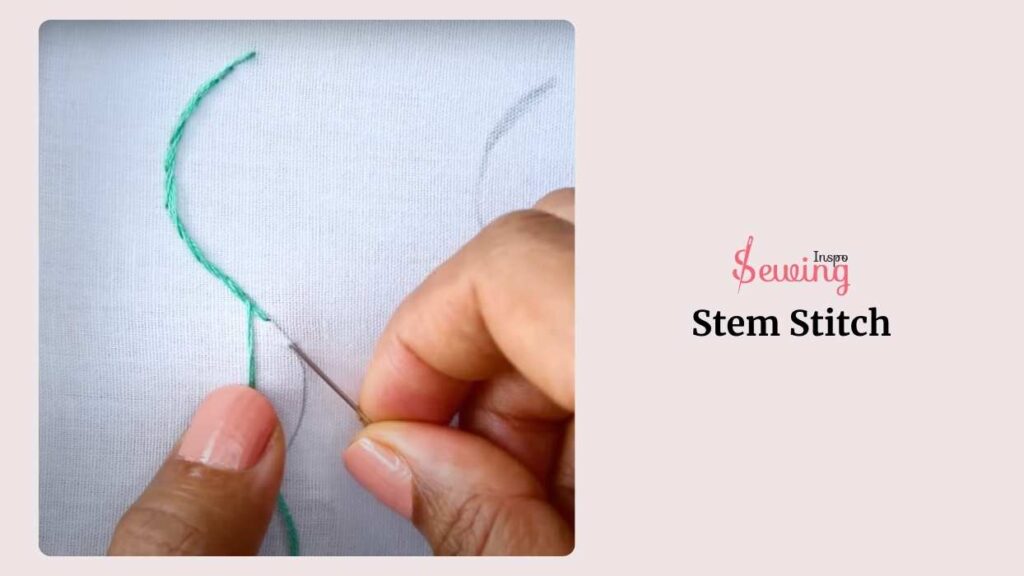
For the next stitch, bring the needle up halfway back from the first stitch to the second. Continue stitching in this manner, always bringing the needle up halfway back on the previous stitch. This creates a slightly twisted line, ideal for outlining and adding texture to embroidery.
Split Stitch
To start the slip stitch, insert the needle down a short distance away. For the next stitch, bring the needle up in the middle of the previous stitch, splitting the thread.
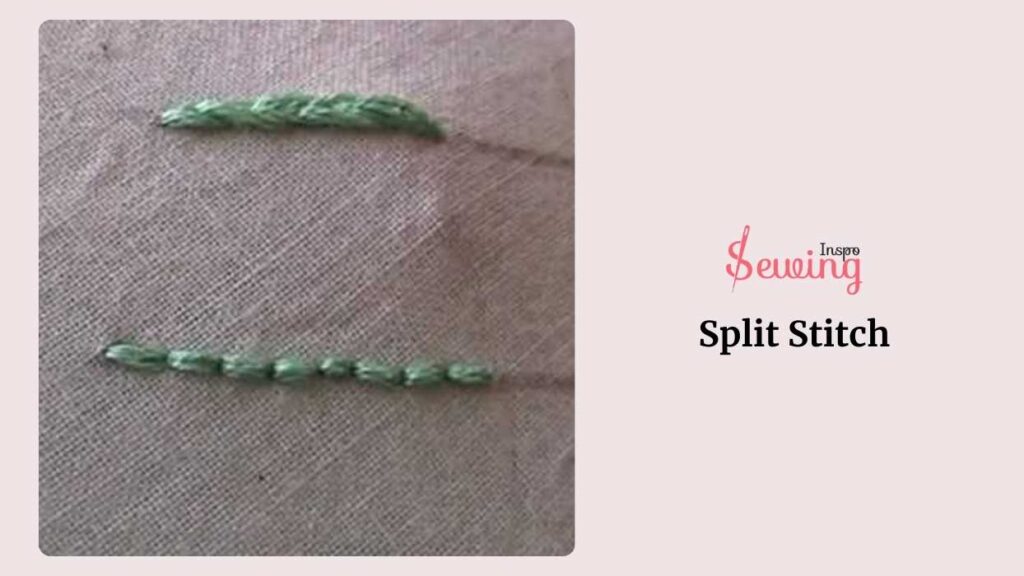
Continue this process, always bringing the needle up through the middle of the last stitch. Split stitches create a solid, textured line, perfect for outlining and filling shapes.
Blanket Stitch
To start the blanket stitch, thread your needle and knot the end, then bring the needle up through the edge of the fabric to start the first stitch. Insert the needle down a short distance away along the edge, leaving a loop of thread.
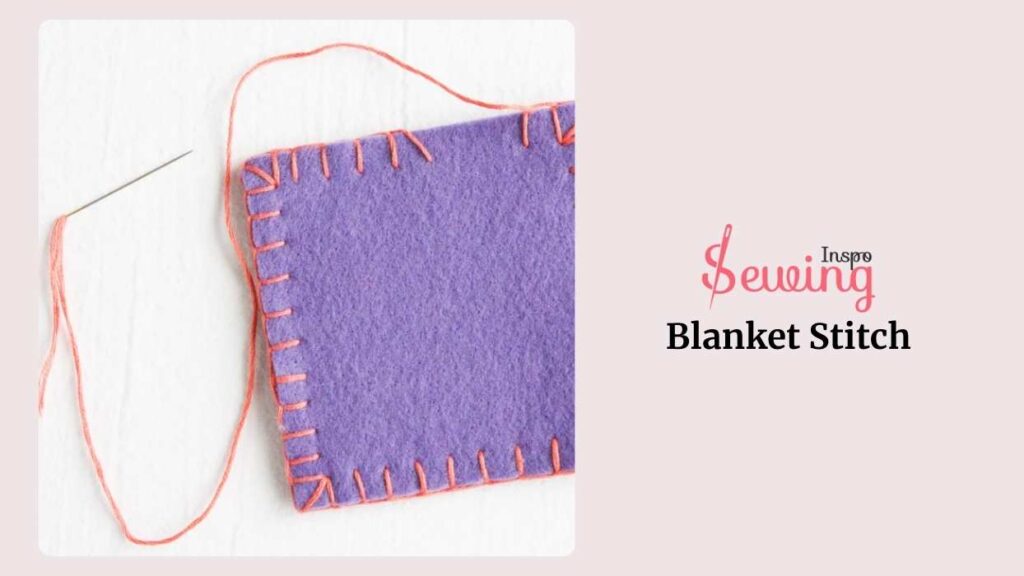
Bring the needle up through the loop to secure it along the fabric edge. Continue stitching in this manner, creating a series of linked loops along the edge of the fabric. Blanket stitches are commonly used for edging and decorative finishes.
Ladder Stitch
To start the ladder stitch, thread your needle and knot the end, then bring the needle up through one edge of the fabric. Insert the needle into the opposite edge directly across and bring it up through the fabric a short distance away.
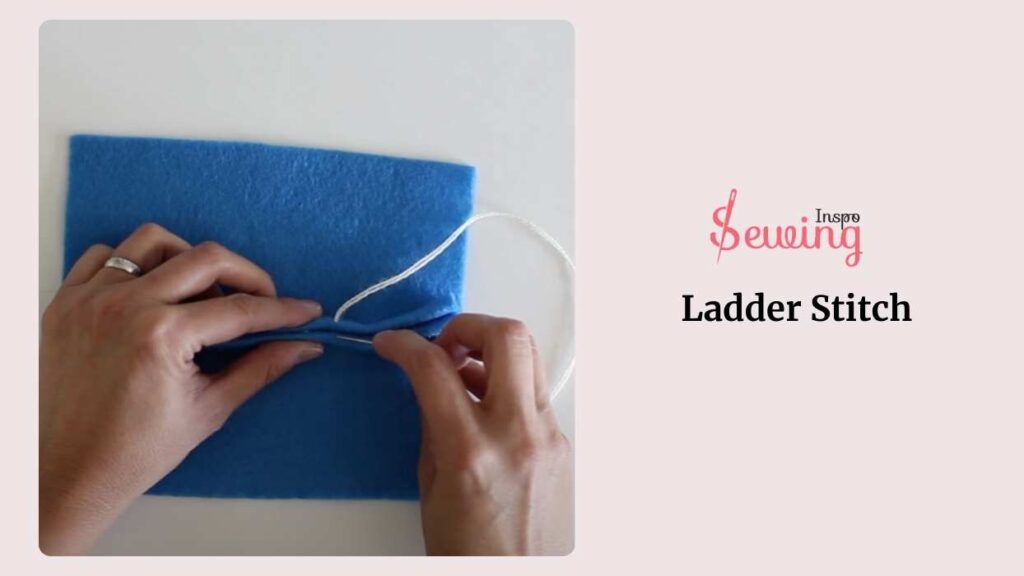
Continue stitching back and forth between the two edges, creating a ladder-like pattern. Gently pull the thread tight to close the seam, hiding the stitches inside. Ladder stitches are ideal for closing seams invisibly, such as in hemming or sewing up stuffed items.
If you want to go easy and unique above all, try embroidery with top stitched.
So, what do you think? Is satin stitch embroidery easy or hard?
- Yap, it is pretty easy. I will share my embroidery work in the comment section.
- Ah, not really. I’m still kinda confused.
If you are struggling with holes in fabric, then read how to darn a hole by hand.
Embroidery Stitches Names With Pictures PDF
-we can collab various embroidery stitches pic and make a pdf and add them here so that you don’t get confused between cross stitch vs embroidery.
If you want to learn each stitch, nothing is better than a sewing book! Try it out, and I can guarantee you won’t have to come running if you get stuck!
Frequently Asked Questions (FAQ’s)
What Is Considered As The Basic Stitch In Hand Sewing And Embroidery?
The basic stitch in both hand sewing and embroidery is the straight stitch.
How Many Stitches Are In Hand Embroidery?
Hand embroidery offers over 300 stitches with endless possibilities. You can tweak each stitch in width, length, and materials to create unique looks. That’s why it’s so versatile and creative! There are over 200 tutorials available for different hand embroidery stitches, making it easy to learn and experiment with new techniques.
Warp Up
Do you know how to hand sew embroidery stitch?
So, why not try it out? Did you try it already?
I would love to see your embroidery work! 🧵
So, please share your embroidery work.


Leave a Reply